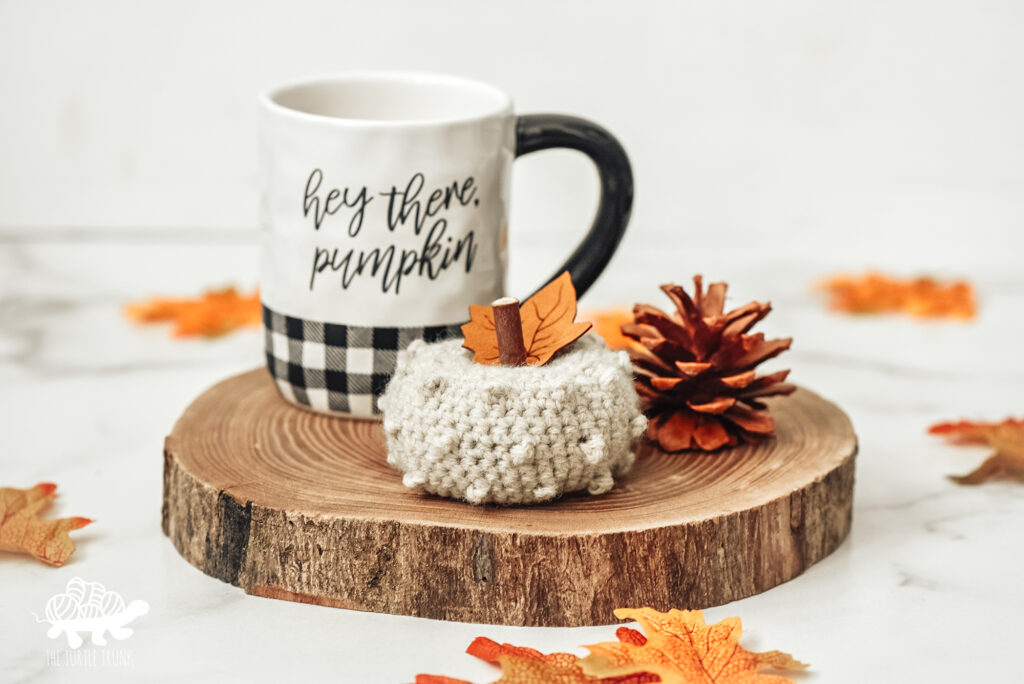
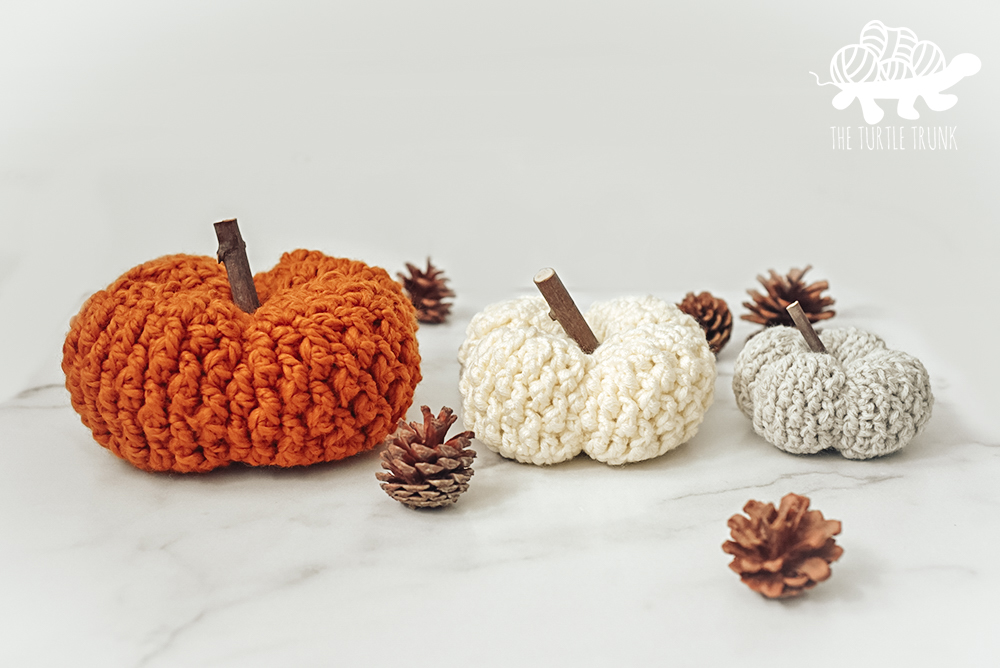
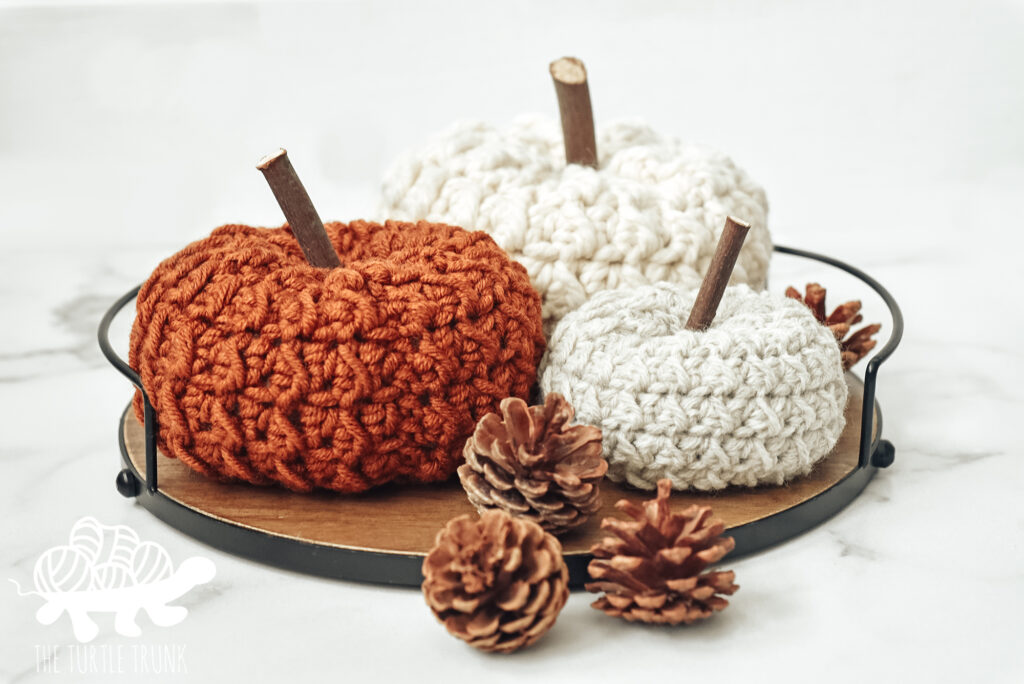
Picot Pumpkin Crochet Pattern
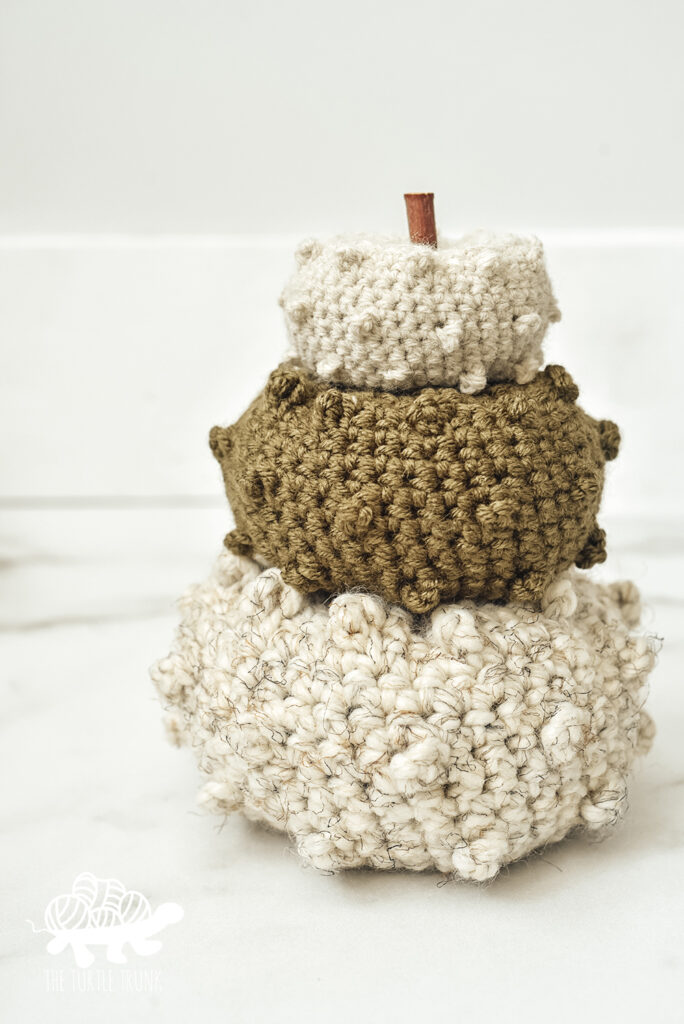
The Picot Pumpkin features mini bobble like stitches called picot single crochet stitches. These little bumps add a fun texture that looks like little pumpkin warts! This crochet pumpkin pattern us worked in a continuous round so there is no sewing or seaming required! You can use any weight of yarn to small, medium, or large sized pumpkins!
Introducing the Picot Pumpkin! If you’re familiar with my designs, then this pattern probably isn’t a surprise. I have quite a few Picot Patterns available because I just LOVE the picot single crochet stitch! This ‘mini bobble’ adds so much texture and uniqueness that I can’t help myself from putting it on everything!
These bumpy stitches are staggered around the pumpkin and give it that ‘warty pumpkin’ look, but in a super cute way! Like 2 of my other crochet pumpkin patterns, the Farm Fresh Pumpkin and Country Cottage Pumpkin, the Picot Pumpkin can also be made with almost any yarn to create different sized pumpkins!
Continue reading below to hear my inspiration for this pattern and to learn more about the yarn I used, then scroll down for the free written crochet pattern!
FOLLOW ALONG WITH THE AD-FREE AND PRINTABLE PDF FROM ETSY AND RAVELRY!
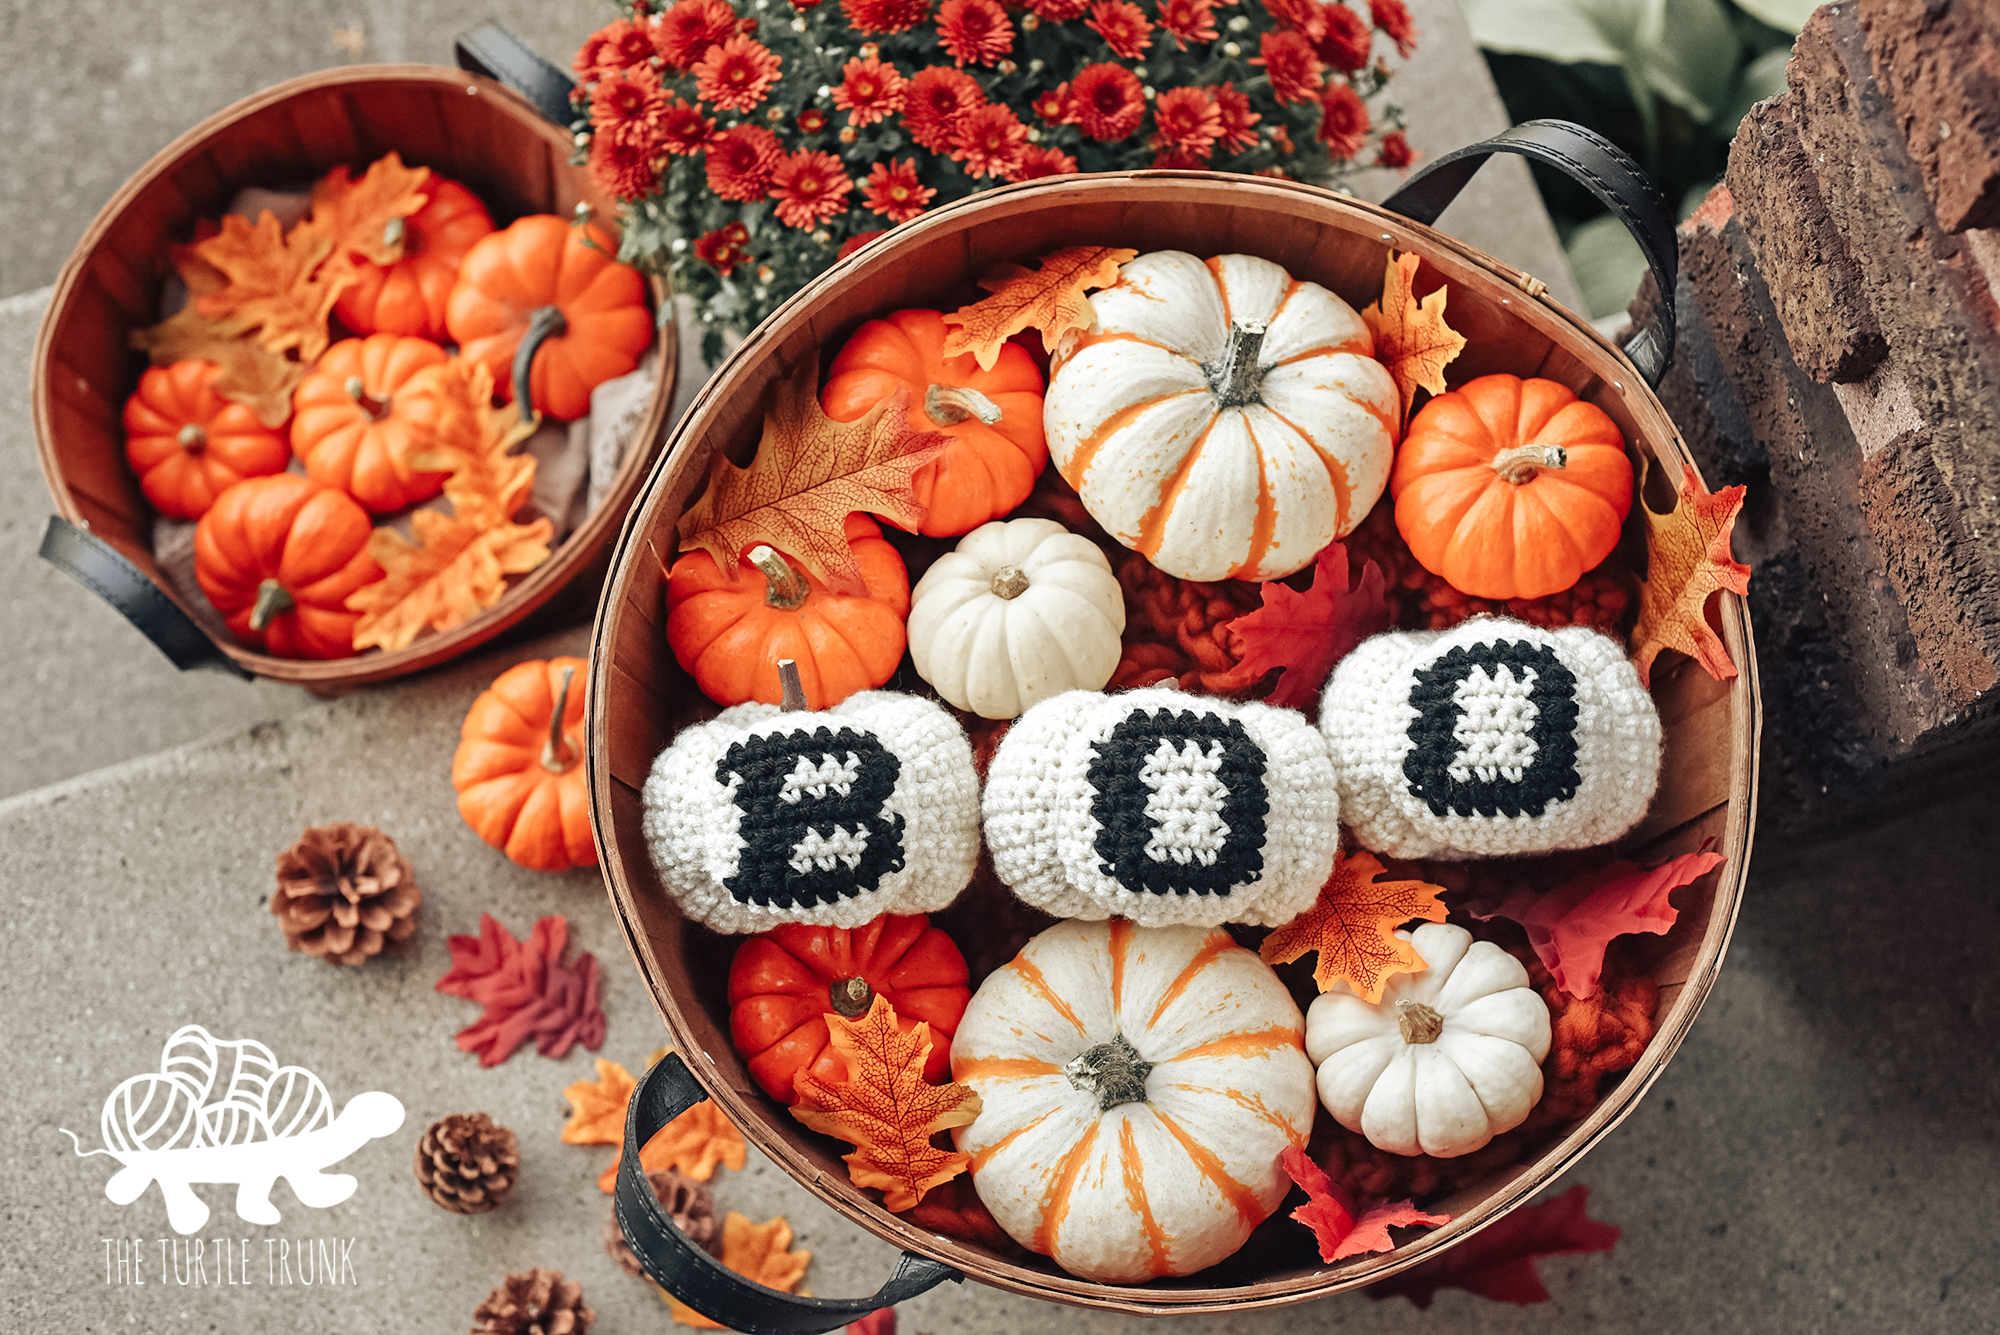
If you’re looking for more crochet pumpkin patterns, then check out the Basic Pumpkin, Country Cottage Pumpkin, Farm Fresh Pumpkin, and BOO Pumpkins!

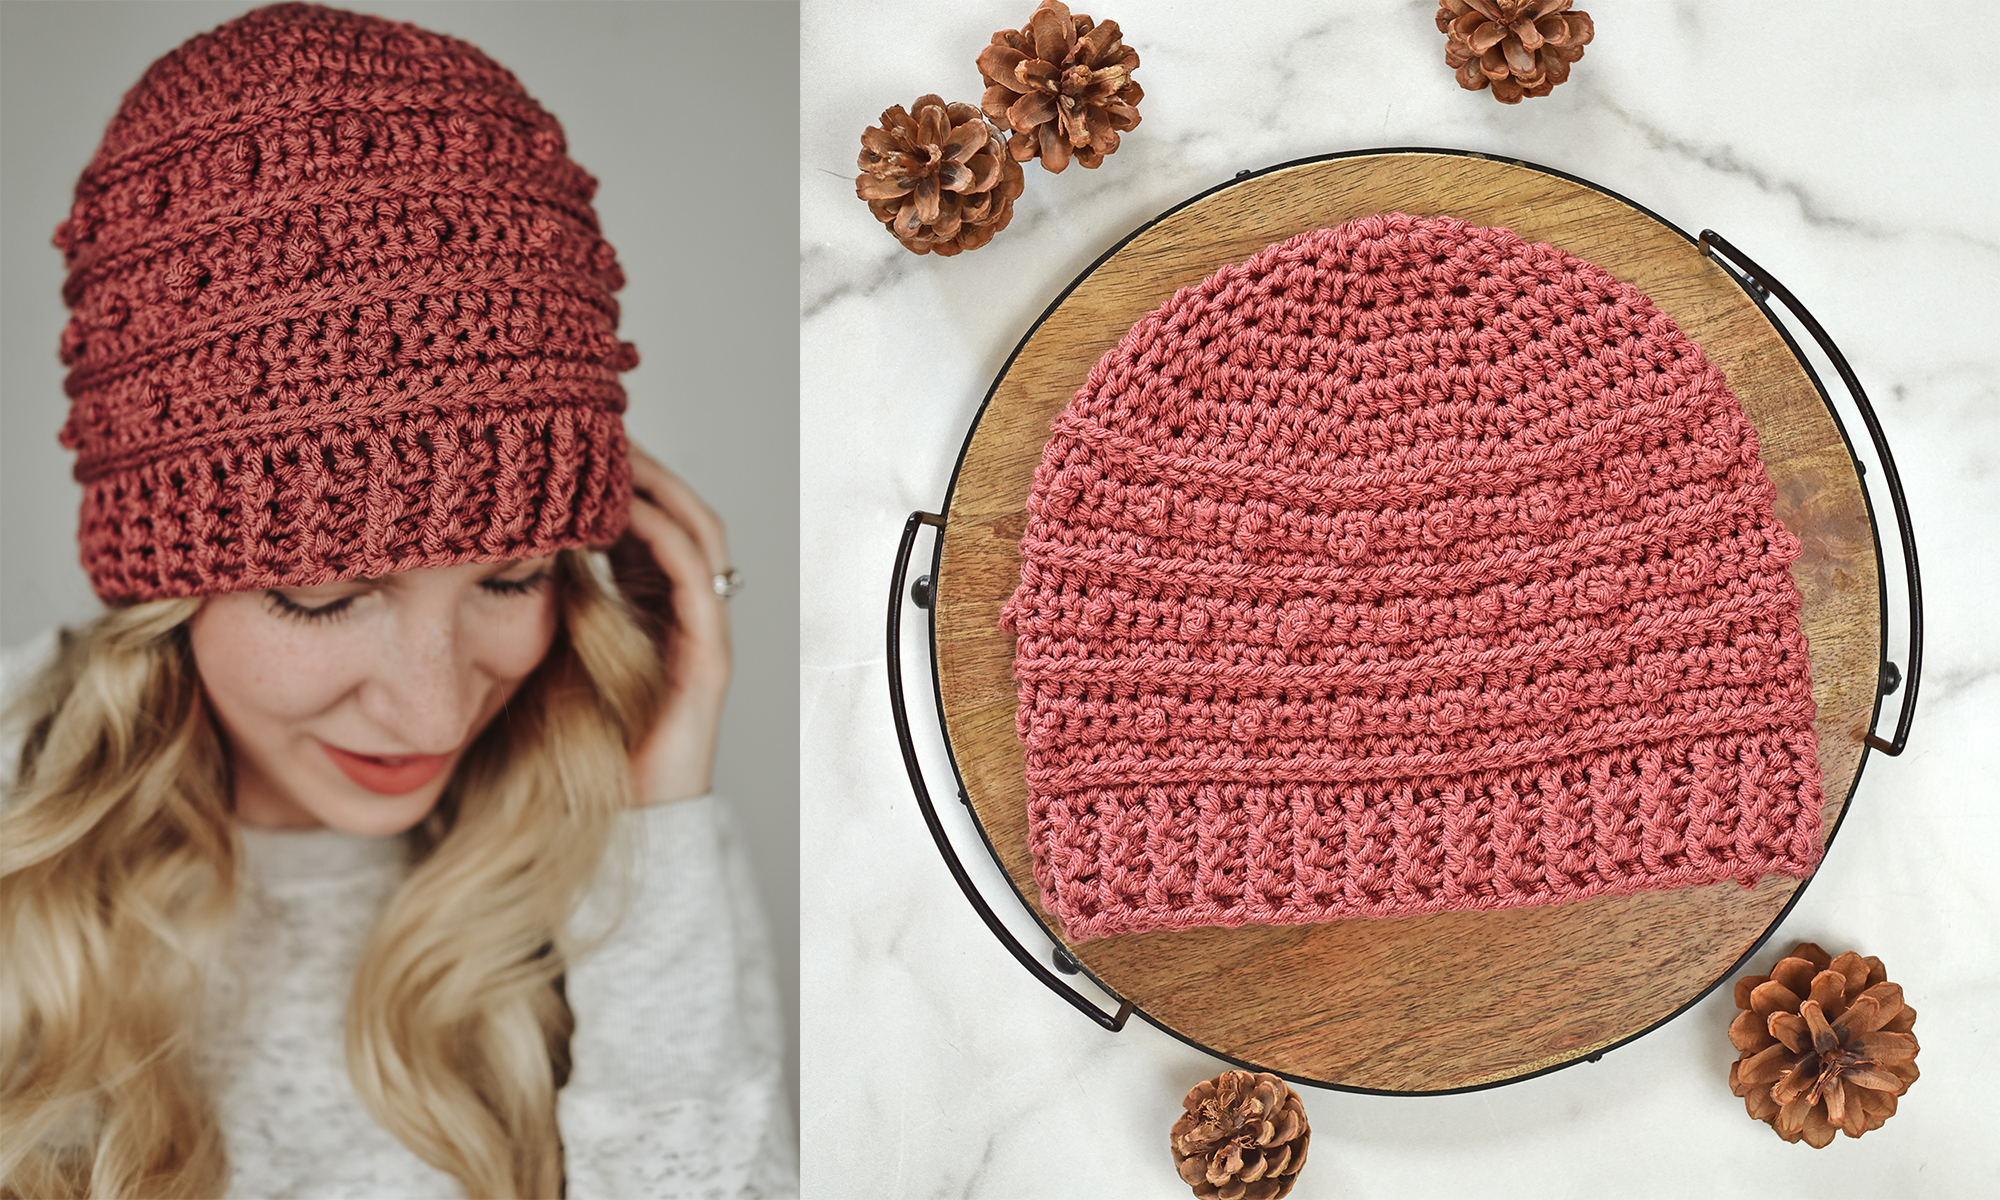
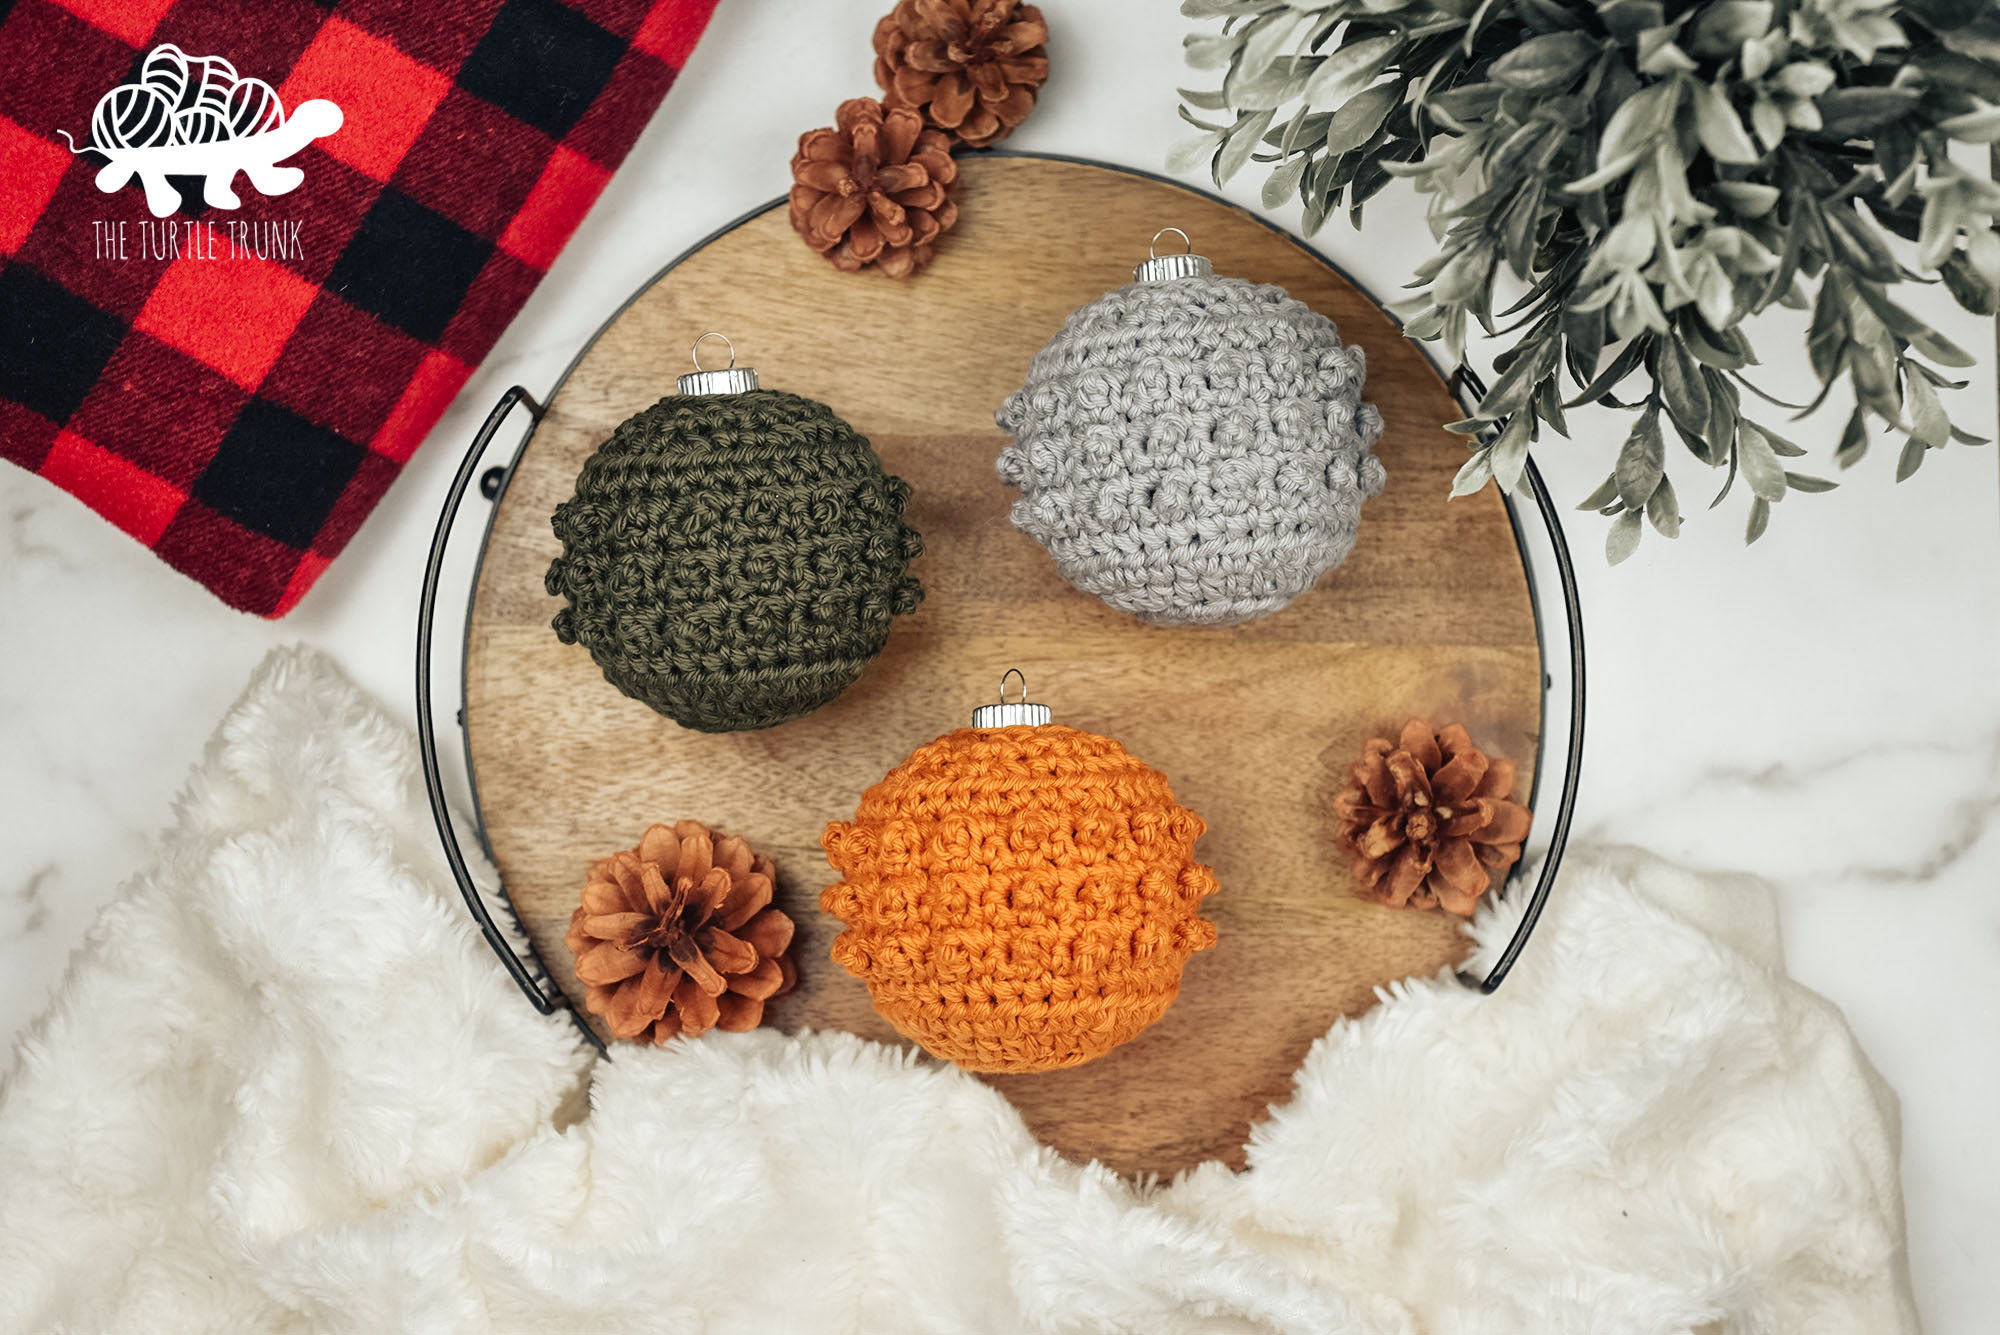
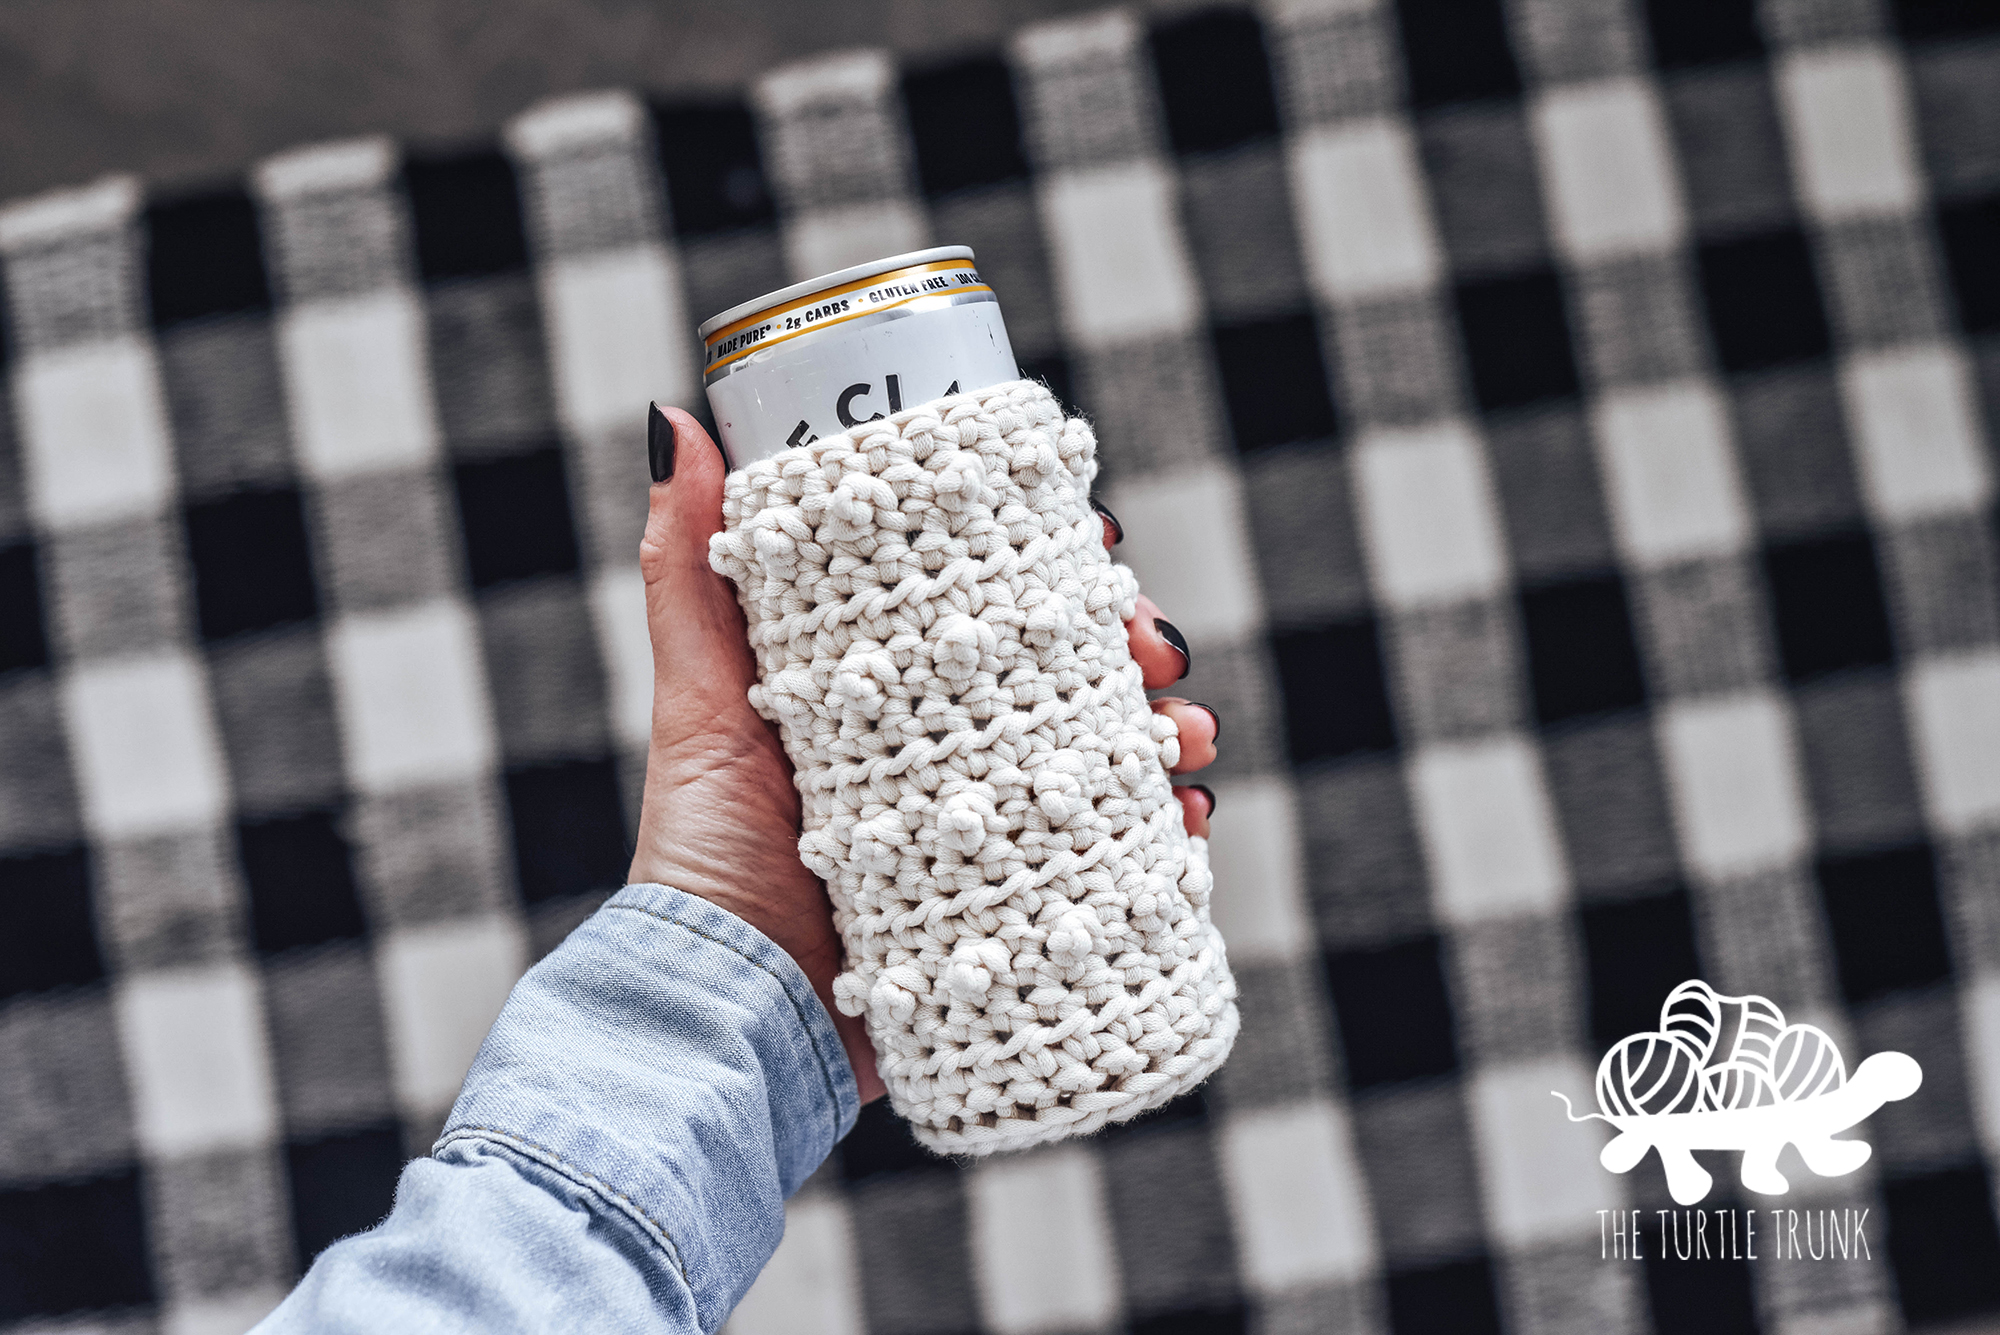
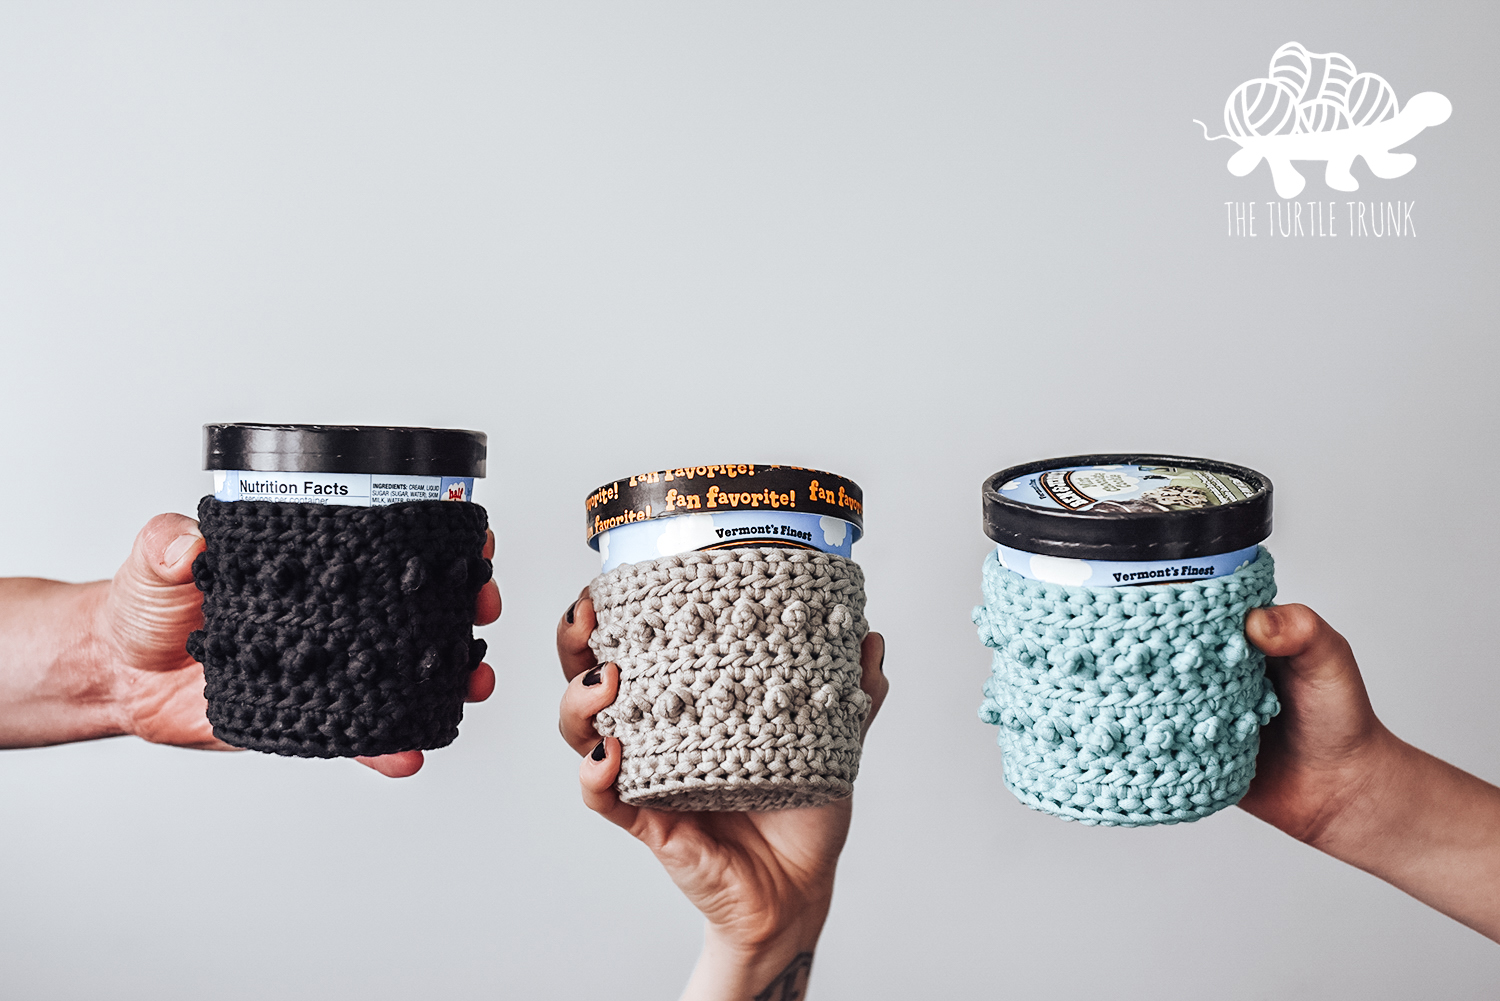
Check out these other Picot patterns: Skinny Picot Headband, Picot Headband, Picot Scarf & Cowl, Picot Beanie, Picot Blanket, Picot Tree Ornament, Picot Beverage Holder, and Picot Ice Cream Pint Holder.
PIN NOW, MAKE LATER!

Follow along with the video tutorial on YouTube!
Inspiration
I wanted to design a handful of crochet pumpkins that each had their unique style and textures. With the single picot single crochet being one of my most favorite crochet stitches I knew I wanted to design a pumpkin pattern that featured it! Not only does the the picot single crochet stitch offer a fun texture this this crochet pumpkin, but it also kind of looks like a little wart you may find on a real pumpkin!
Yarn & Sizes
I used Lion Brand Yarn Wool-Ease, Color Made Easy, and Wool-Ease Thick and Quick, to create a small, medium, and large sized pumpkin! Unfortunately Color Made Easy has since been discontinued, but no worries, Lion Brand Yarn has added Hue + Me to their bulky (5) weight yarn line up and it’s a great substitution!
If you want multiple sized pumpkins but only use one type of yarn here’s how to adjust the pattern:
Width: subtract or add more increase rounds (rounds 1-5) to make your pumpkin narrower or wider. Be sure to do the same number of decrease rounds at the end to ensure your pumpkin closes properly.
Height: for a shorter pumpkin, start your decrease rounds (rounds 13-15) when you reach your desired height. For a taller pumpkin, after round 12, work 2 rounds of only single crochets, then repeat rounds starting at round 6 until desired height is reached. Be sure to always start your decrease rounds after working any round with the PSC stitches.
| Size | Yarn | Hook | Yards | Gauge (Diameter of base Rounds 1-5) |
| Small 3” x 2” | Medium (4) | 4.00mm (G) | 50 yards | 2.5” |
| Medium 4.5” x 2.5” | Bulky (5) | 6.00mm (J) | 50 yards | 4” |
| Large 5” x 3.5” | Super Bulky (6) | 7.00mm | 55 yards | 4.5” |
Difficulty
Easy
Gauge
Gauge is not important, but you can measure the base of your pumpkin (Rounds 1-5) and compare to the chart below for exact sizing. Adjust your hook size up or down if need be.
Notes
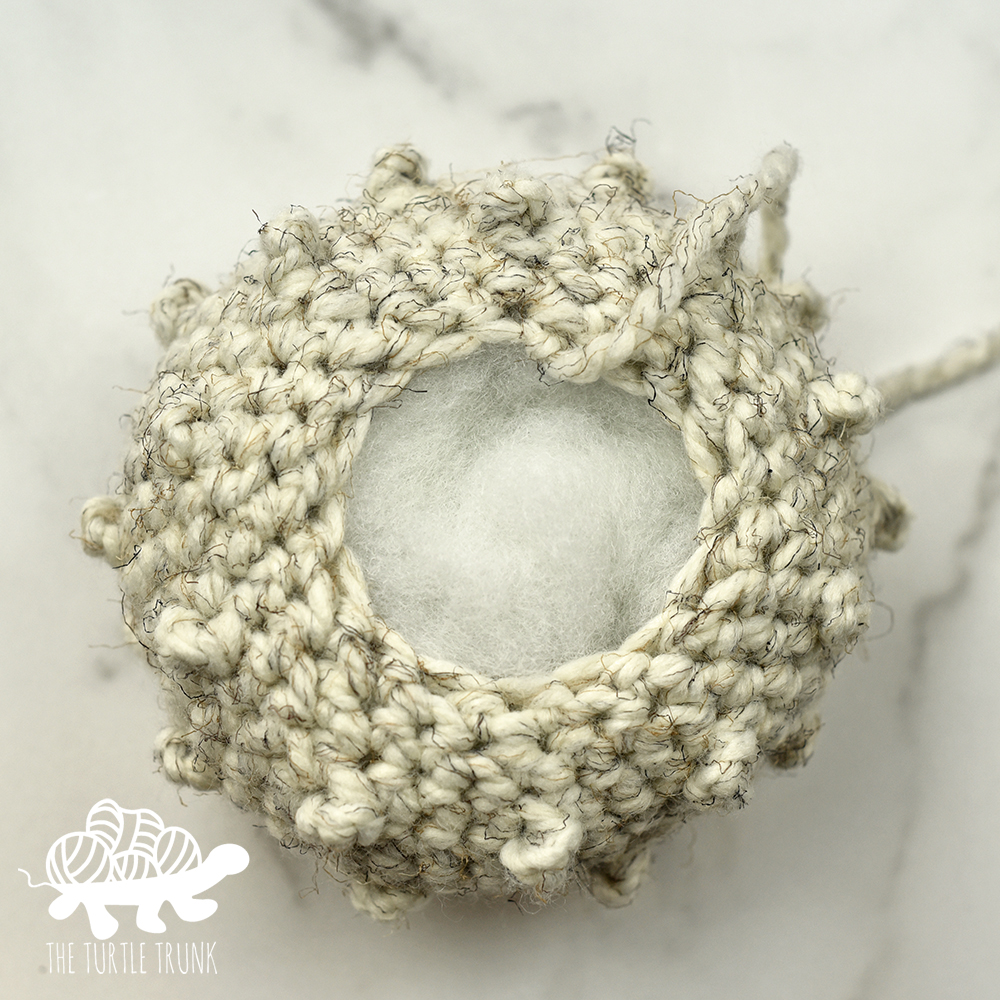
- This pattern is worked in the round and will not be joined at the end of each round. Use a stitch marker to keep proper stitch count.
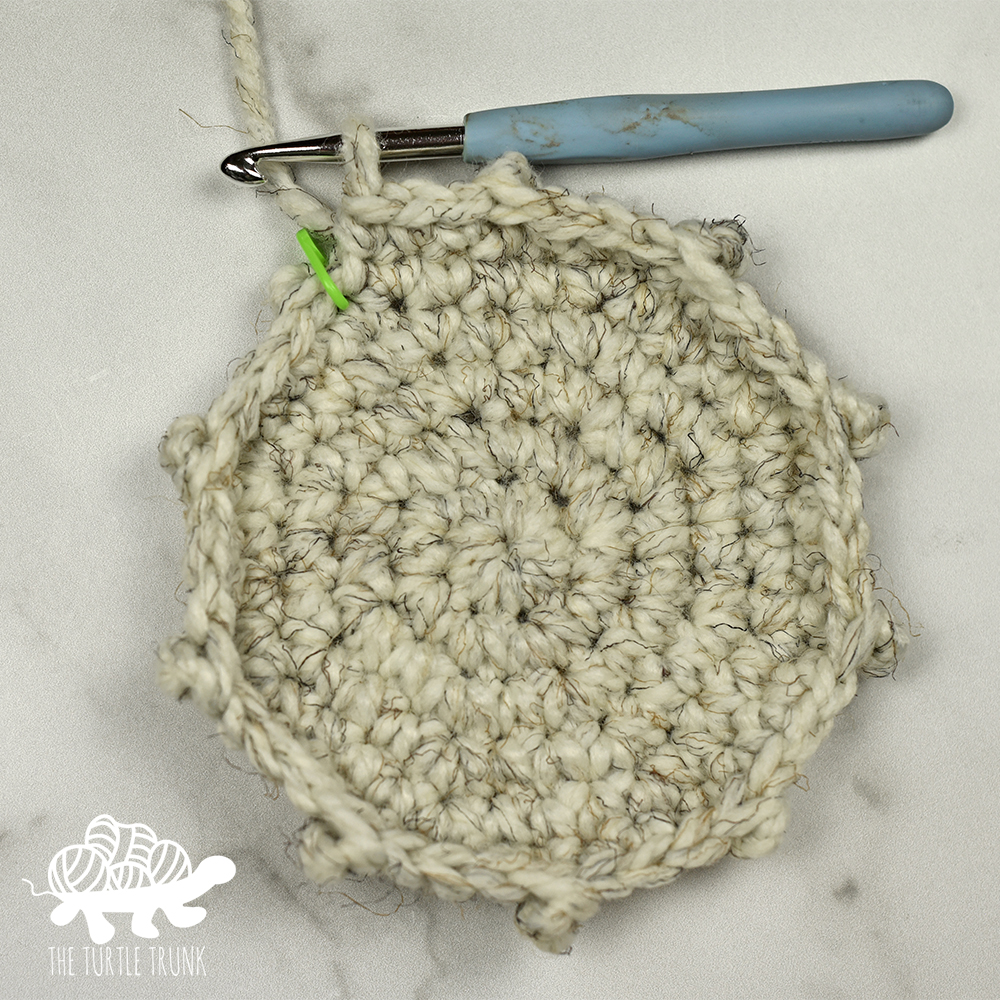
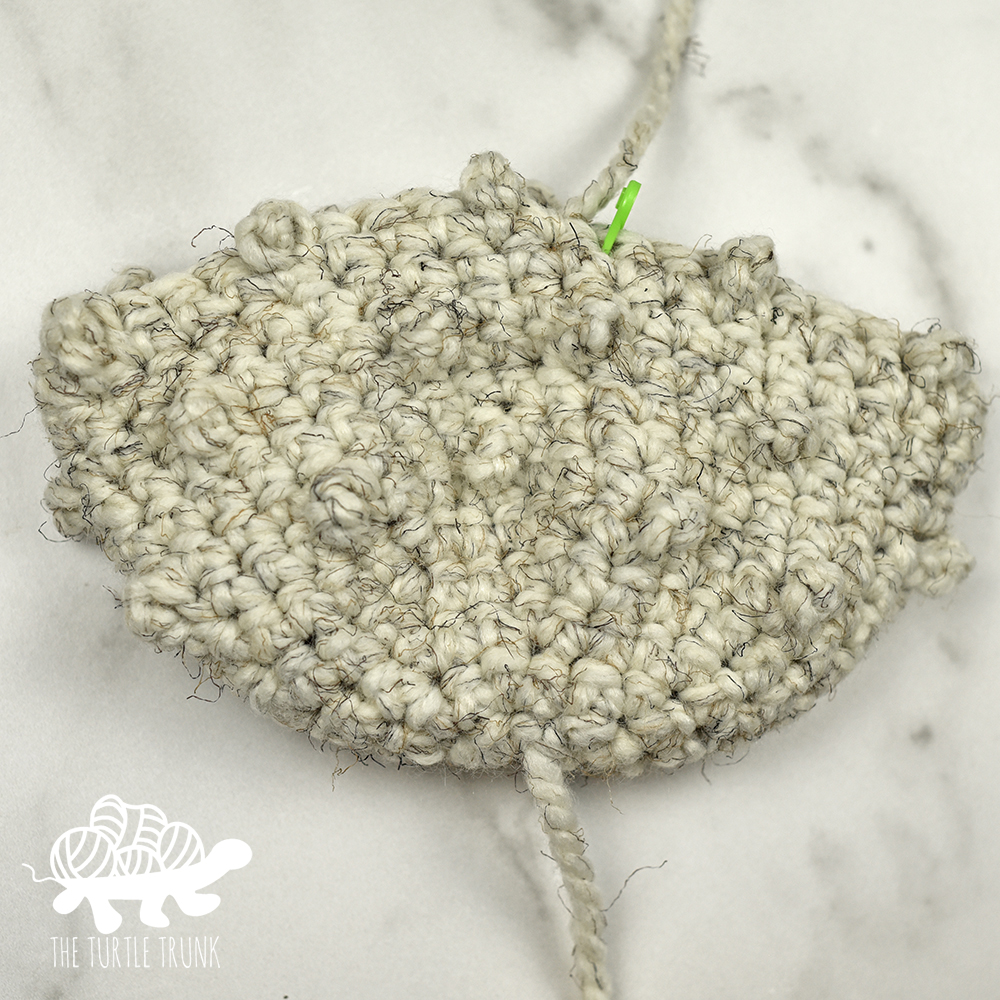
- Picot Single Crochet stitches bump out on the “wrong side” of the fabric, so this pumpkin will be worked inside out. We will flip the pumpkin to the right side after all the rounds are complete to have the bumps on the outside.
- Repeat stitches between the ** until the end of the row/round or until otherwise stated.
Supplies
- Medium (4), Bulky (5), or Super Bulky (6) weight yarn
- 4.00mm (G), 6.00mm (J), or 7.00mm hook
- Stitch Marker
- Fiber Fill
- Yarn Needle
- Scissors
- Tape Measure
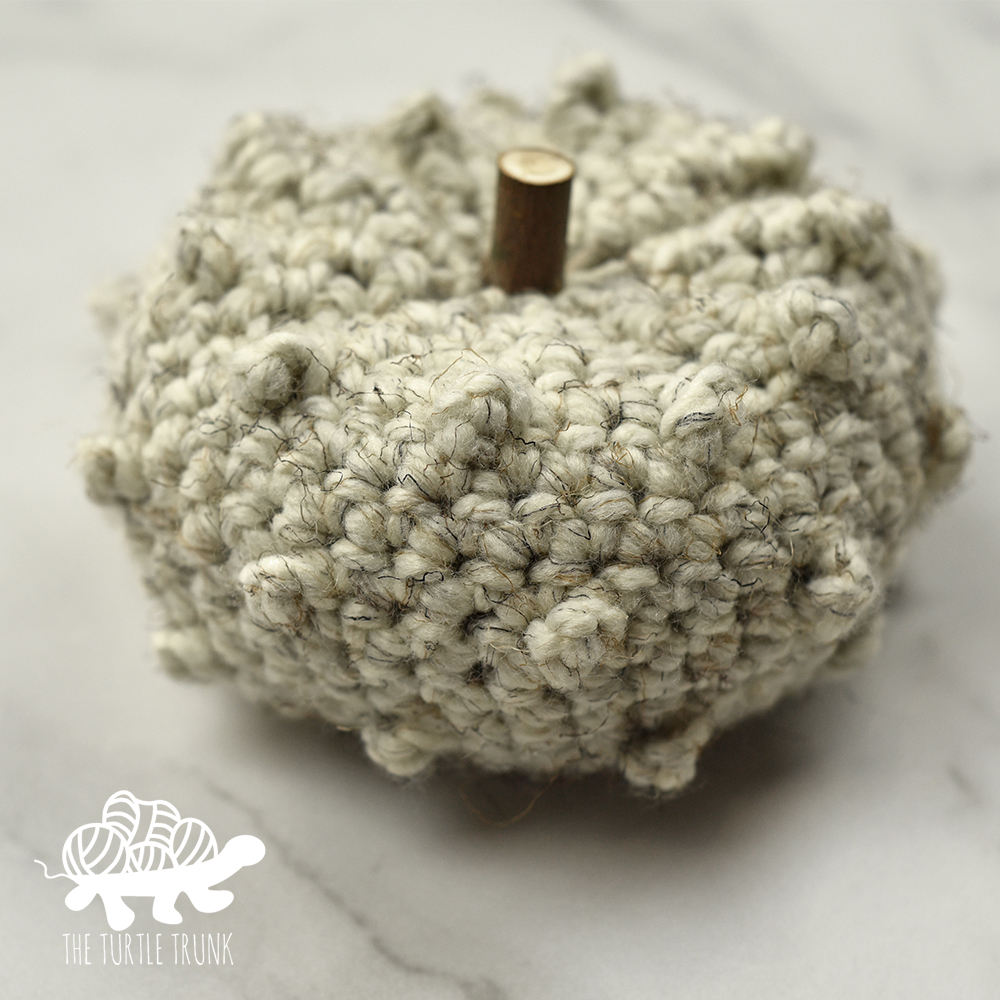
- 2-3” Pumpkin Stem (stick from fallen tree branch, cinnamon stick, scrap leather or satin lace, ect.)
Abbreviations (US Terms)
ST(s) – Stitch(es)
CH – Chain
SL ST – Slip Stitch
SC – Single Crochet
SC2TOG – Half Double Crochet Two Together
PSC – Picot Single Crochet
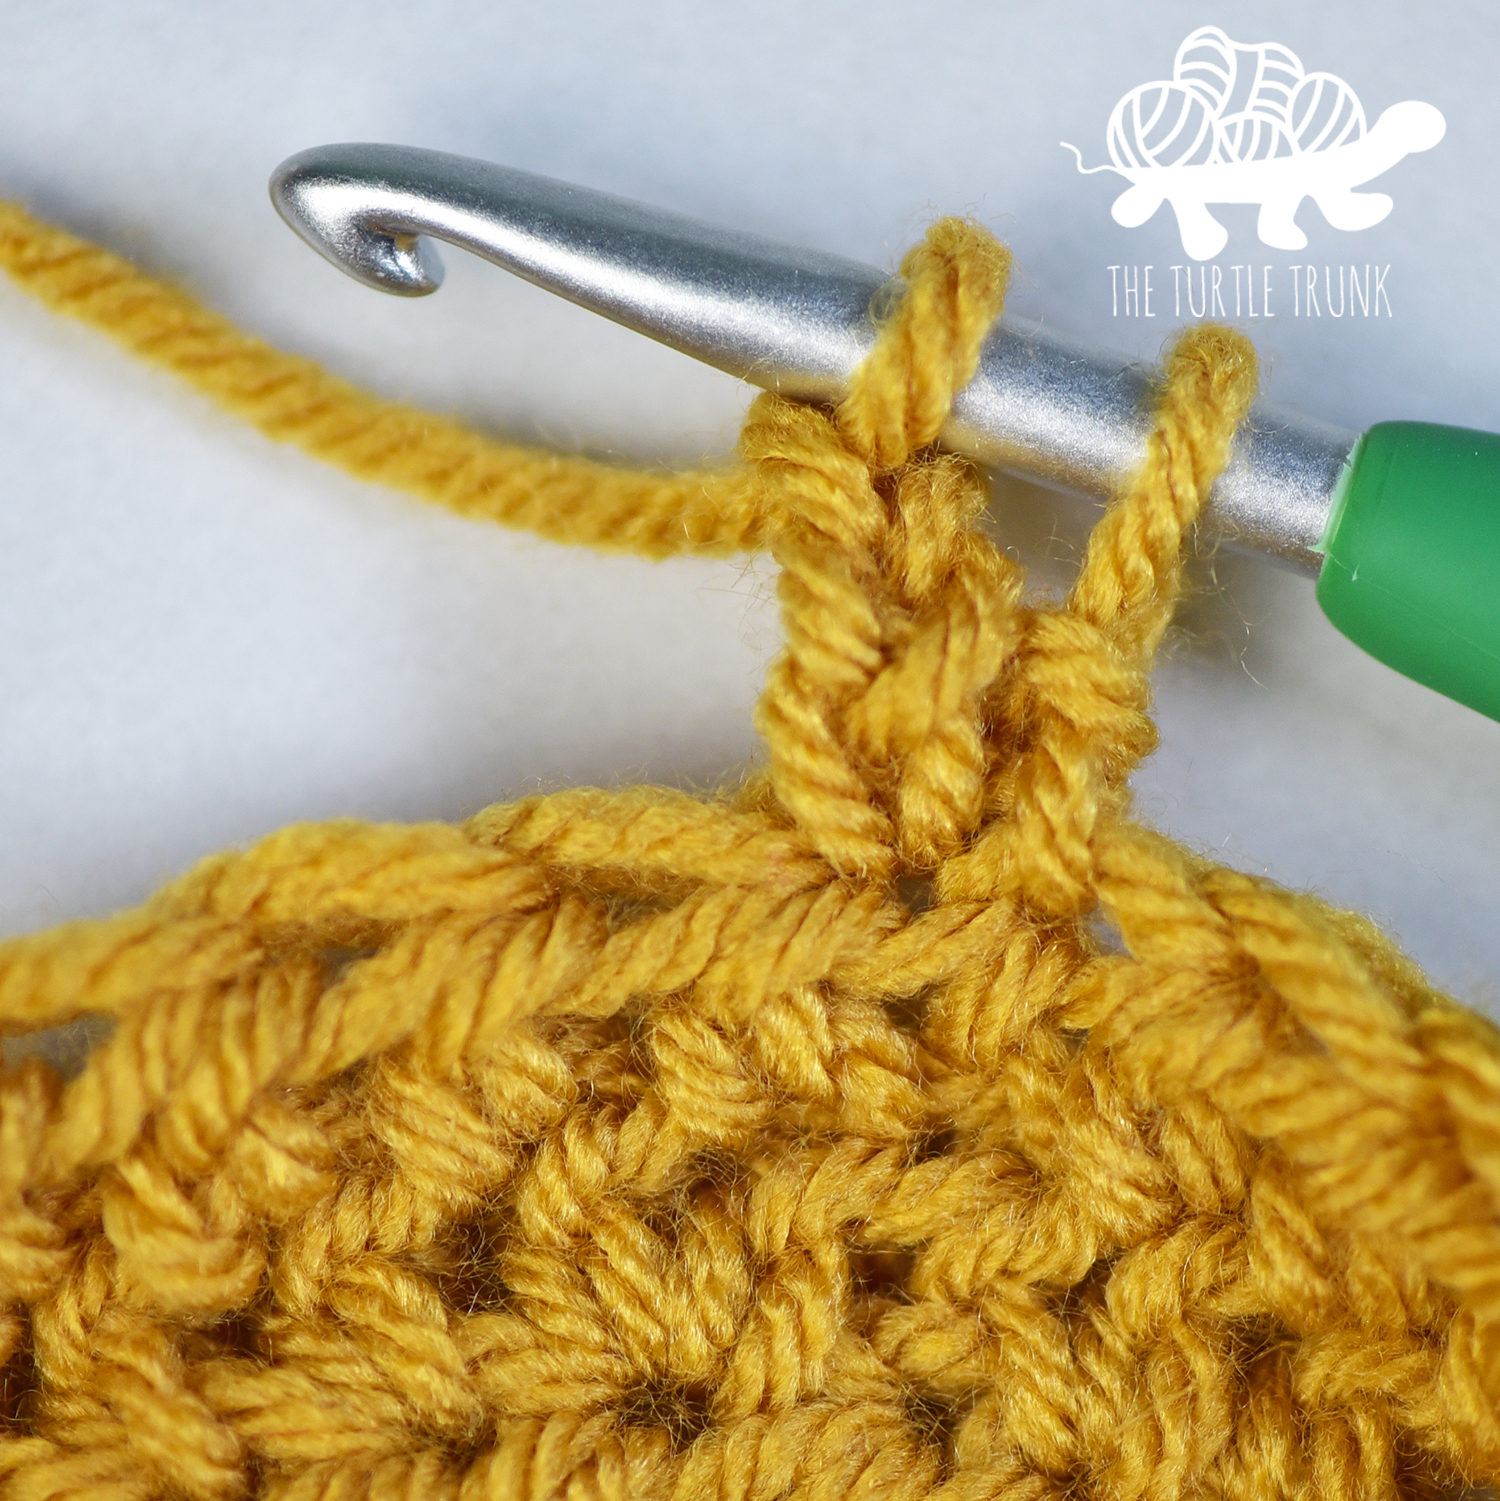
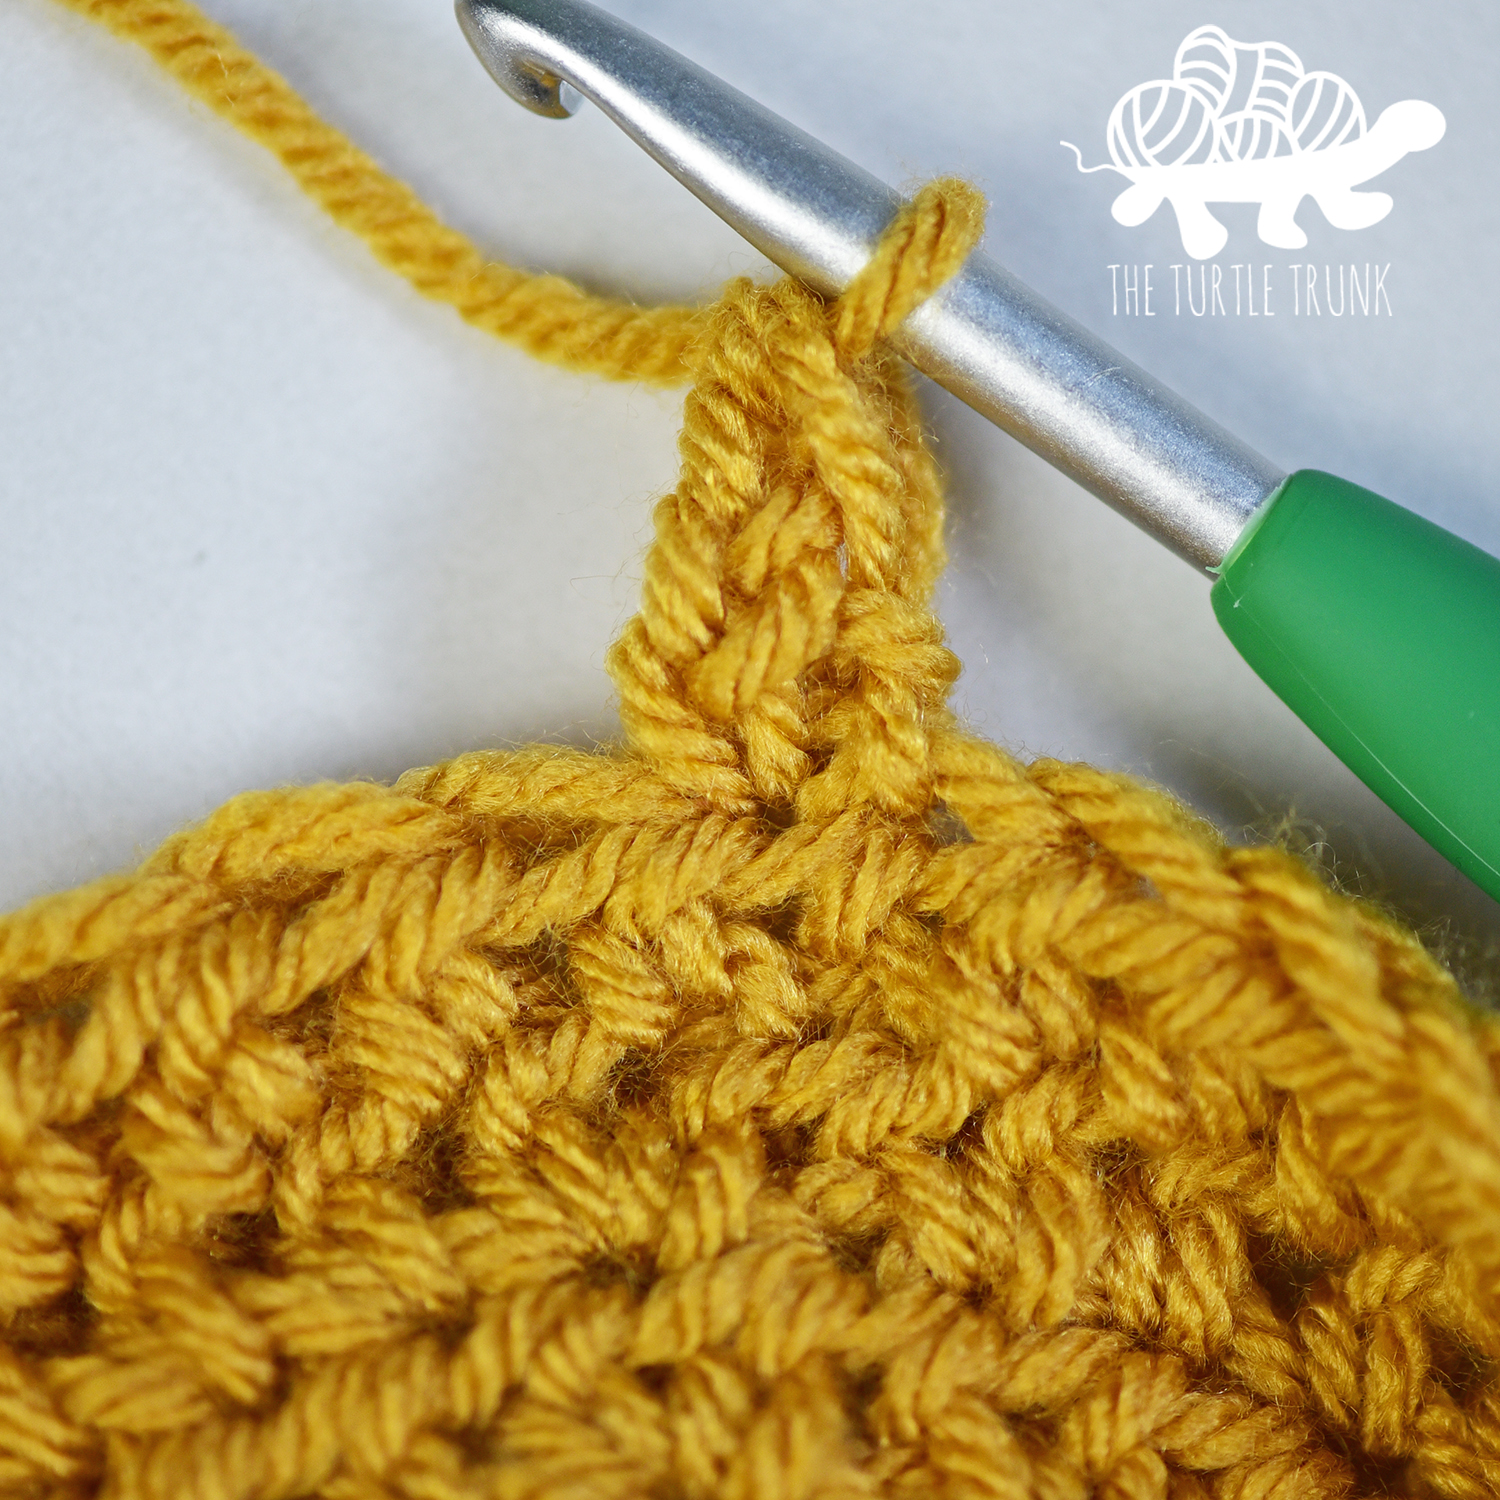
How to picot single crochet (PSC) – Insert your hook into the designated stitch. Pull up a loop, yarn over, and pull through the 1st loop on your hook. Yarn over and pull through the 1st loop again. Yarn over and pull through the 1st loop once more. Yarn over and pull through both loops on your hook. Push the CH 3 you just created behind so that it bumps out on the right side of your work and work the next ST.


Picot Pumpkin Pattern
Magic Circle, CH 1
Round 1: SC x 8 inside the circle (8)
Round 2: 2 SC in each ST around (16)
Round 3: *SC, 2 SC* (24)
Round 4: *SC x 2, 2 SC* (32)
Round 5: *SC x 3, 2 SC* (40)
Round 6: *PSC, SC x 3* (40)
Rounds 7 & 8: SC in each ST around (40)
Round 9: *SC x 3, PSC* (40)
Rounds 10 & 11: SC in each ST around (40)
Round 12: SC x 2, PSC, *SC x 3, PSC*, SC in last ST (40)
Round 13: *SC x 3, SC2TOG* (32)
Round 14: *SC x 2, SC2TOG* (24)
Round 15: *SC, SC2TOG* (16)
Join to next ST and tie off, leaving a 12” long tail. Flip pumpkin inside out so that the bumpy stitches are facing out. Stuff pumpkin with Fiber Fill. Using a yarn needle, weave tail end through last 16 STs and pull tight to cinch the top hole closed. Leave hole large enough for your pumpkin stem to fit inside.
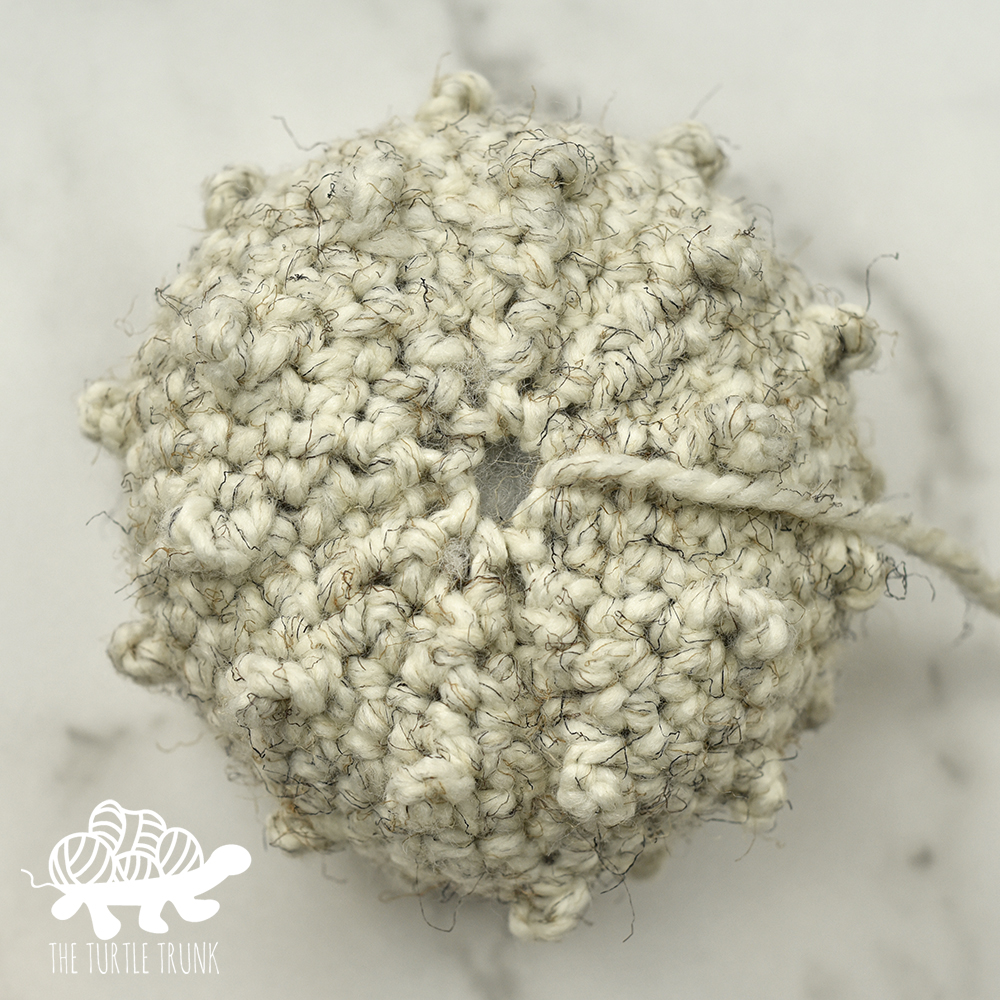
Pull tail end through the top center hole, down to the bottom center hole. Keeping yarn tight, tie your tail end off on the bottom with a few knots. Weave in ends.
Finish your pumpkin off with a stem. There are endless possibilities for pumpkin stems: twigs and sticks from fallen branches in your yard, cinnamon sticks from your local market, or satin lace from the craft store! Simply stick stem through the center hole and voila! You can even use a dab of hot glue or fabric glue to keep the stem extra secure.
For extra pizazz add twine or fake leaves and berries!
And you’re all done!
I hope you enjoyed the Picot Pumpkin pattern! I can’t wait to see your finished pumpkins, so be sure to tag @theturtletrunk on Instagram!
You are free to sell the items you make with this crochet pattern, and I’d love if you could please credit The Turtle Trunk as the pattern designer. You do not have permission to republish or distribute this pattern in any way or claim it as your own. Do not use my photos in your sale listings or for any other purposes. Thank you.
This page includes affiliate links. If you make a purchase from these links, I may make a small commission at no cost to you! Thank you for your support!