Picot Beanie Crochet Pattern
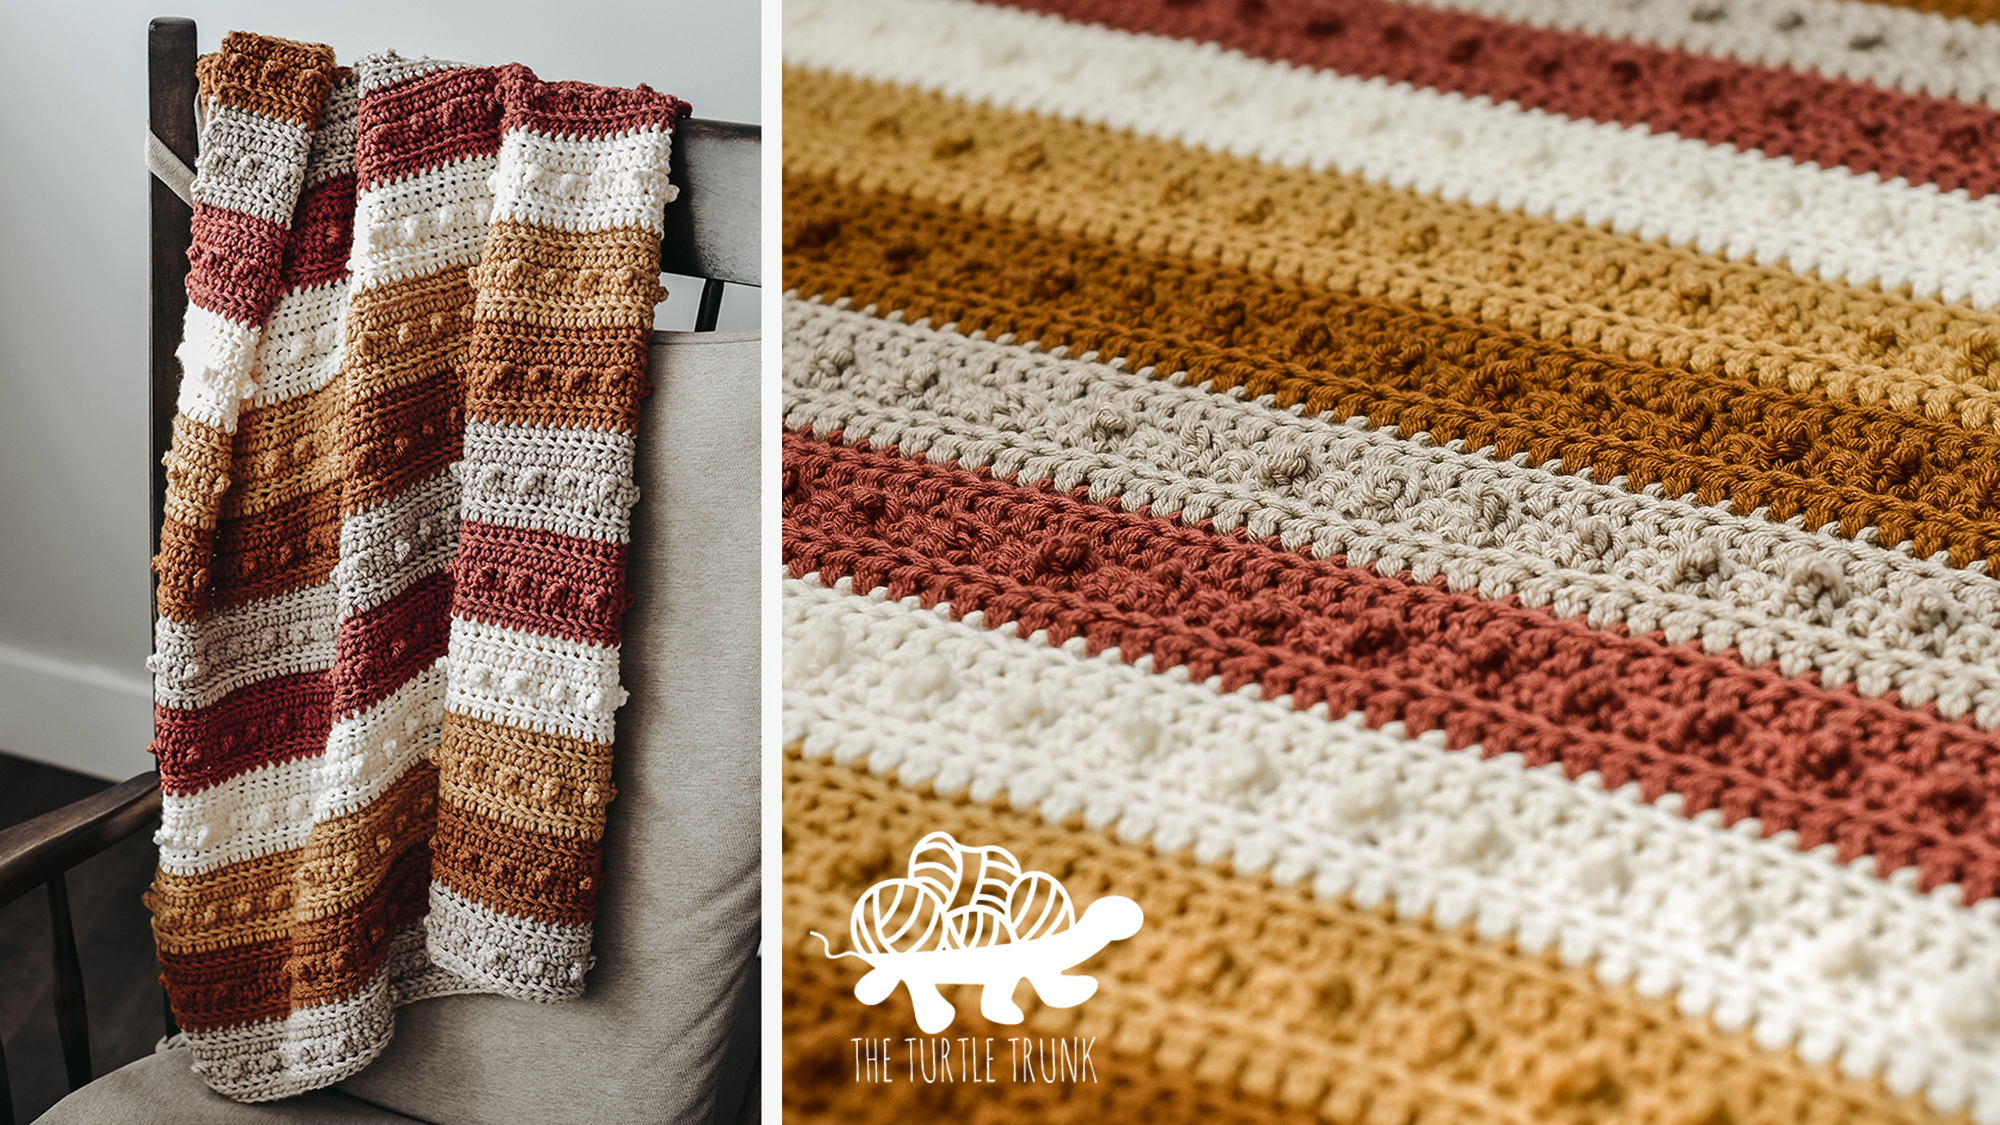
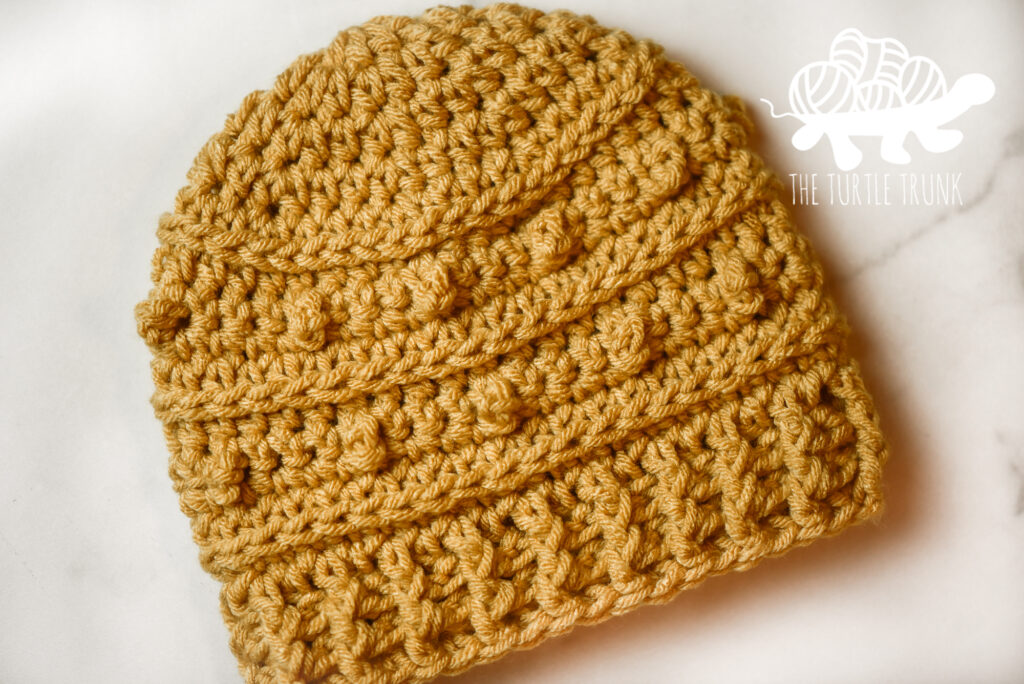
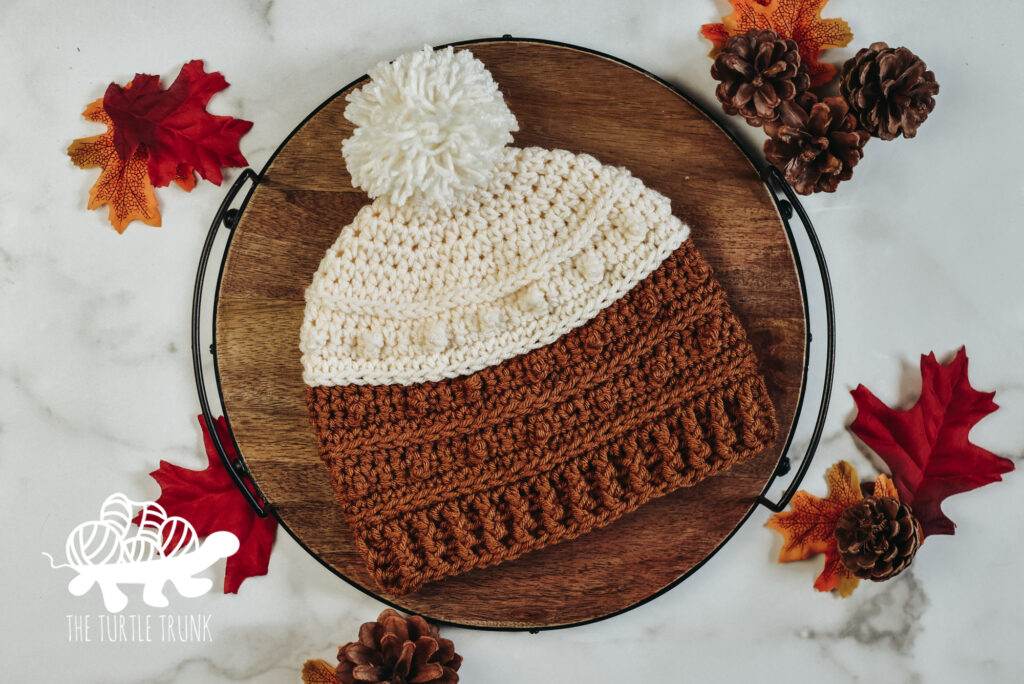
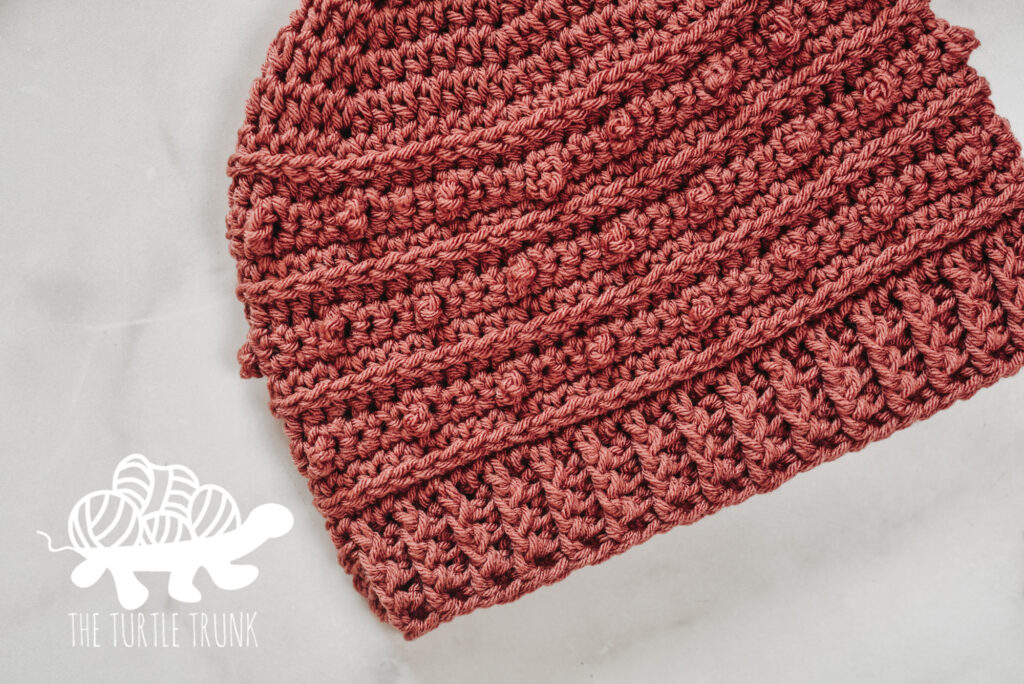
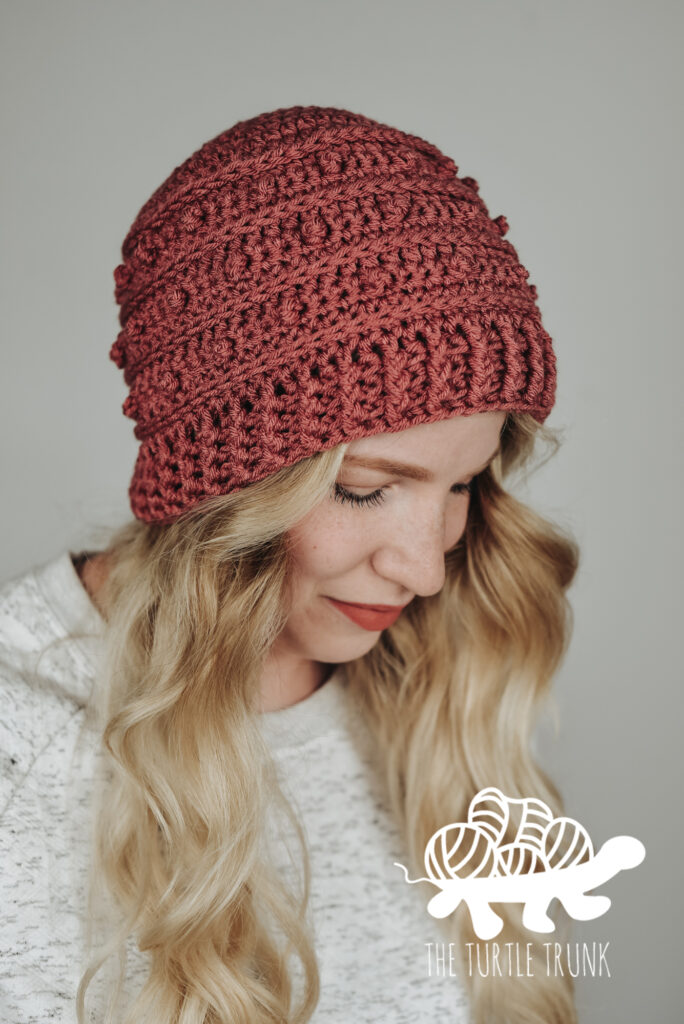
The Picot Beanie features a wonderful texture from picot single stitches and back loop stitches! This easy crochet beanie includes 4 sizes, baby to adult, so you can make one for any head size! Make in one solid color or multiple colors! The Picot Beanie is worked from the top down and features a ribbed brim.
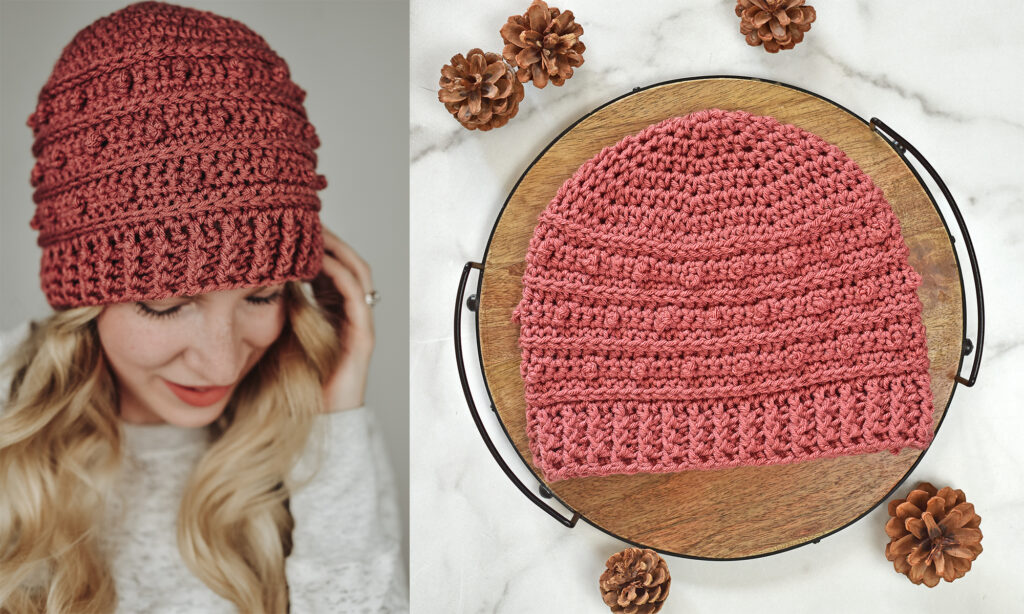
The Picot Beanie is a new addition to my always growing picot pattern family! I just love the gorgeous texture that the picot single crochet gives, add some ribbed texture, and we get some amazing fabric!
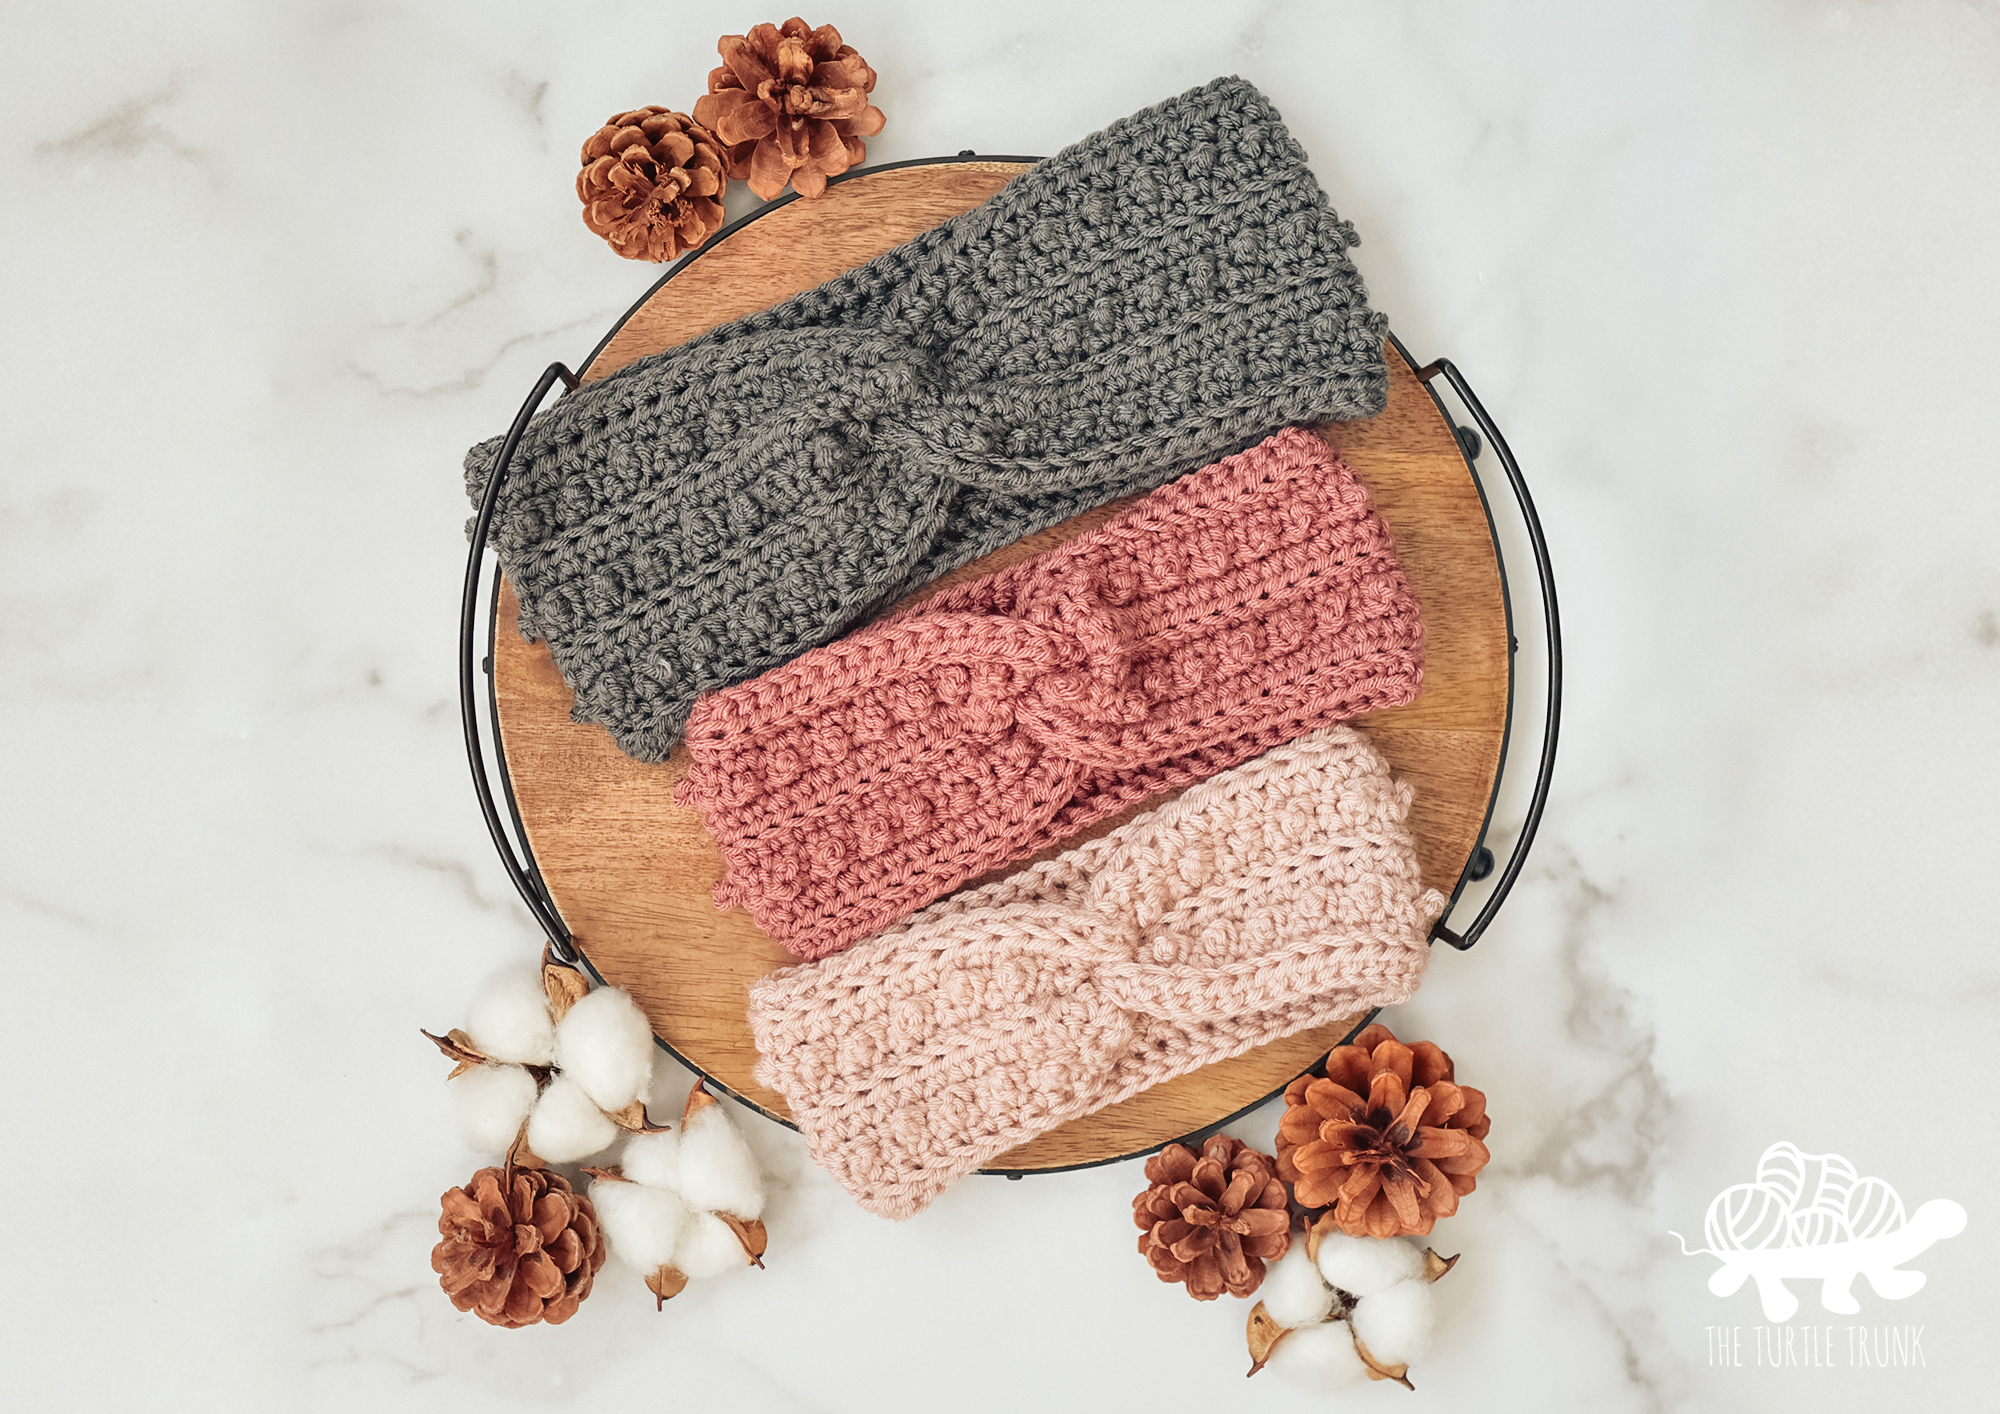
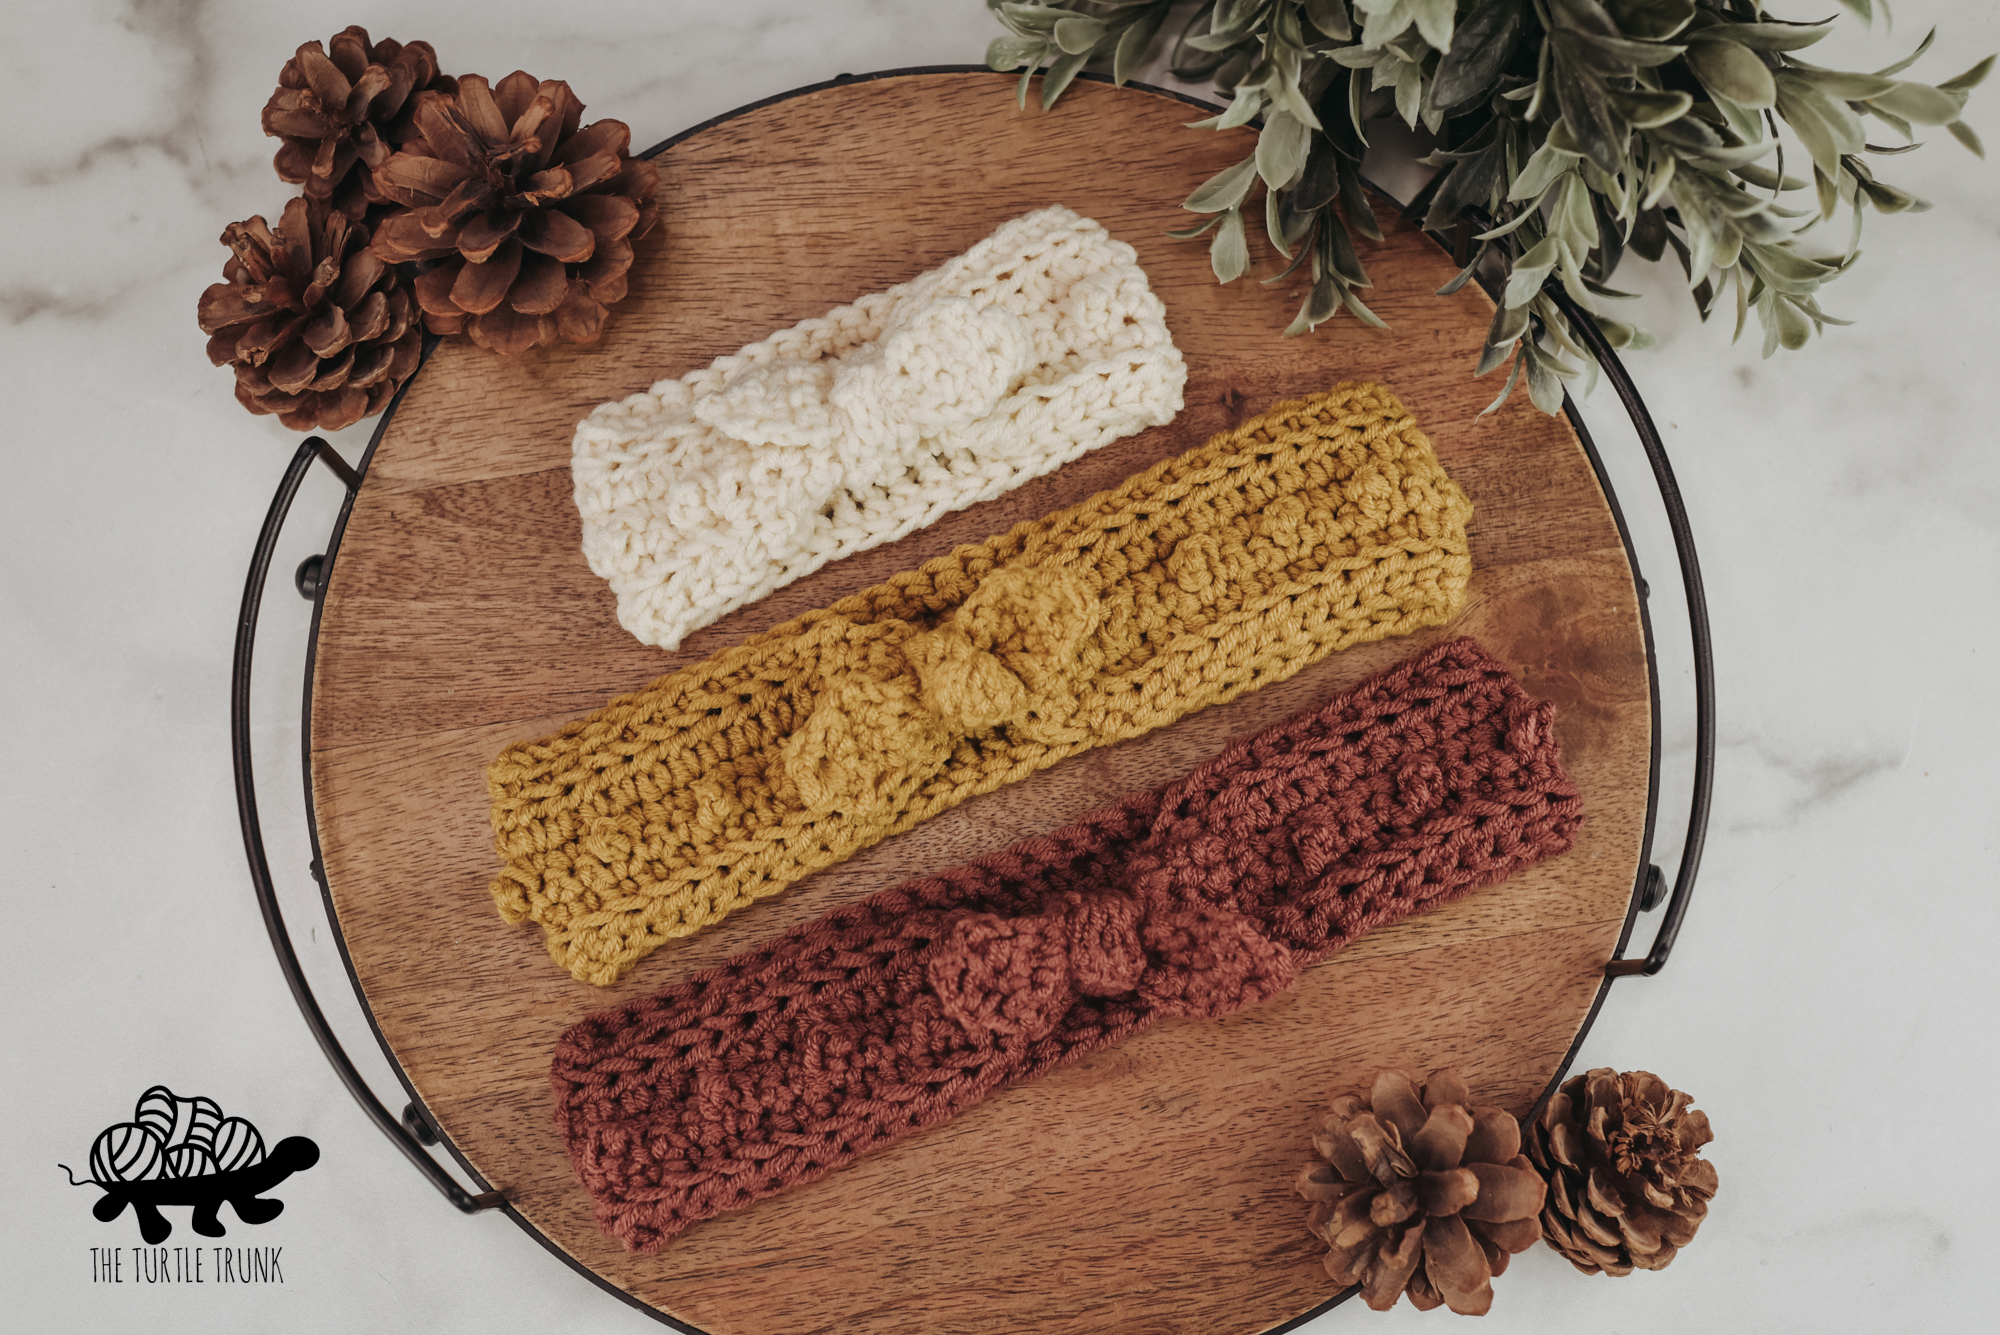
In 2020, I released the Picot Headband pattern and it has been my most popular pattern to date! The video tutorial skyrocketed my YouTube channel and even a year later, it still gets the most daily views! I think it did so well because it was an easy and quick pattern that wasn’t short on style and texture. I knew I wanted to make a beanie version for those who wanted something a little warmer with more coverage, so here’s the Picot Beanie!
Continue reading below to hear my inspiration for this pattern and to learn more about the yarn I used, then scroll down for the free written crochet pattern!
FOLLOW ALONG WITH THE AD FREE & PRINTABLE PDF PATTERN FROM Etsy and Ravelry!
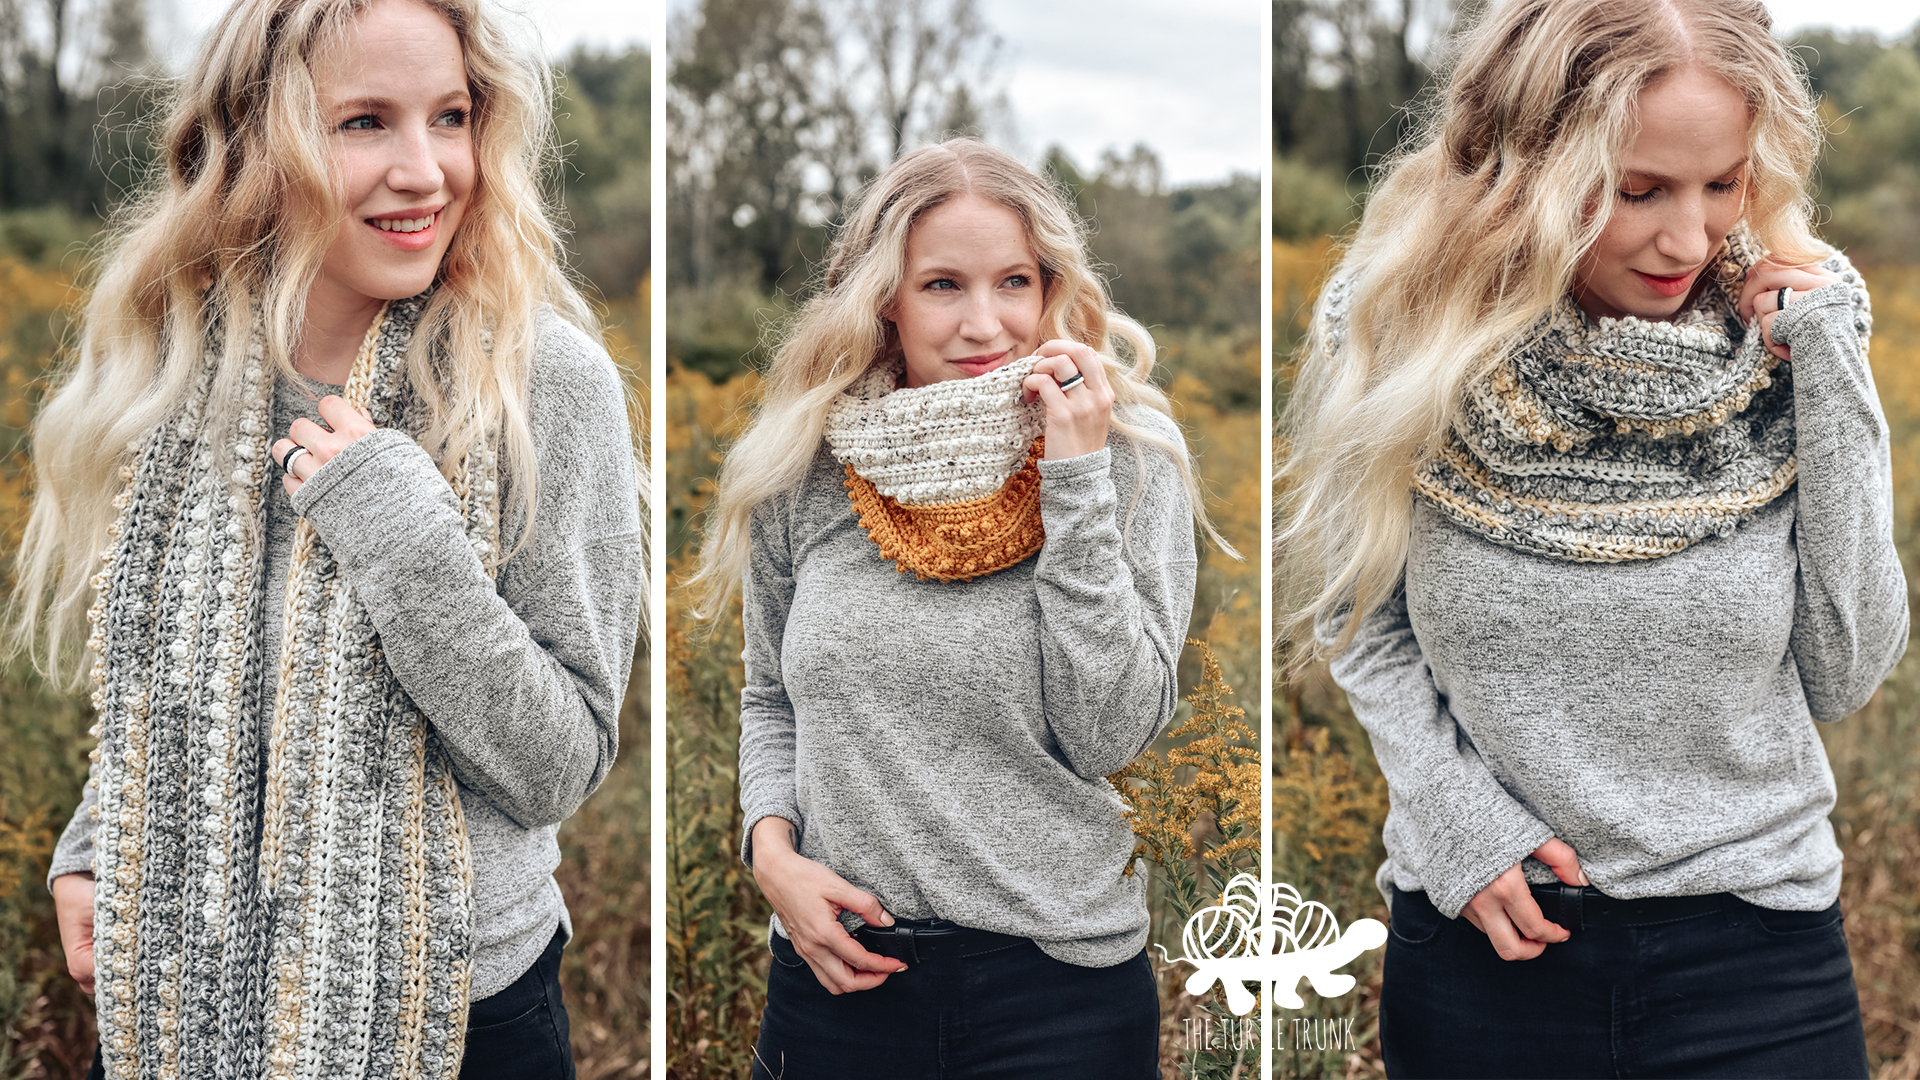
If you enjoy this pattern, then check out these other picot patterns: Picot Headband, Skinny Picot Headband, Picot Scarf & Cowl, Picot Blanket, and more picot patterns.
Not ready to make just yet?! Save this PIN for later!

Follow along with the video tutorial on YouTube!
Yarn
For the Picot Beanie we’ll be using a medium (4) weight / worsted weight yarn. I used Yarn Bee Soft & Sleek yarn for my beanies, but you can use whatever brand you’d like! Some other yarns I think would work great for this pattern are: Lion Brand Yarn Color Theory, Lion Brand Yarn Basic Stitch, Red Heart Super Saver.
Sizes
The Picot Beanie includes 4 sizes: Baby, Toddler, Child/Teen, and Adult. It’s a fitted beanie that can easily be made slouchy by repeating the last row as many times as necessary to get your desired length. Check out the size chart below for all the measurements for each size.
The instructions show how to make your beanie with one solid color, but feel free to use as many or few colors as you want! To ensure proper sizing, measure the crown of your beanie as you go. If the crown diameter is too small, you’ll need to go up a hook size or 2. If the crown diameter is too big, you’ll need to go down a hook size or 2.
| Size (head circumference) | Hat Circumference | Hat Length | Crown Diameter | Yardage |
| Baby (13-15”) | 13” | 6” | 5” | 75 yards |
| Toddler (16-18”) | 16” | 7.5” | 6” | 85 yards |
| Child/Teen (18”-20”) | 18” | 8” | 7” | 126 yards |
| Adult (21”-23”) | 20” | 9” | 8” | 140 yards |
Difficulty
Advanced Beginner / Easy
Gauge
Rounds 1-5 = 5” diameter
Adjust hook size up or down to reach gauge.
Notes
- The instructions will make a fitted beanie. To make your beanie slouchy, repeat the last row as many times until you reach your desired length.
- Beginning chains do not count as stitches. At the end of each round, join to the 1st stitch of the round with a slip stitch.
- The number in parenthesis at the end of the round represents the total stitch count at the end of that round.
- The rounds that use the Picot Single Crochet (PSC) stitches need to be worked on the ‘wrong side’ of the beanie so that the “bumps” poke out to the ‘right side’ of the beanie. For those rounds, you will CH 1 and turn your work so you are working back the way you came from the previous round. At the end of the round, join to the beginning of the round, CH 1 and turn, and work the next round on the ‘right side’.
- Stitches between *asterisks* are to be repeated until the end of the round.
- The right side of your work will show the texture from the PSC and BLO stitches. The wrong side will be flat.
Supplies
- Medium (4) Weight Yarn (I used Yarn Bee Soft & Sleek)
- 5.50 mm (I) Hook
- Yarn Needle
- Scissors
Abbreviations (US Terms)
ST(s) – Stitch(es)
CH – Chain
SC – Single Crochet
PSC – Picot Single Crochet
HDC – Half Double Crochet
DC – Double Crochet
FPDC – Front Post Double Crochet
BPDC – Back Post Double Crochet
Special Stitches
The Picot Beanie features a lot of special stitches to give it such great texture! If you’re unfamiliar with these stitches, below I’ve added some written explanations with photos. If you need extra assistance with these stitches, check out the video tutorial for this pattern HERE!
The rounds that use the Picot Single Crochet (PSC) stitches need to be worked on the ‘wrong side’ of the beanie so that the “bumps” poke out to the ‘right side’ of the beanie. For those rounds, you will CH 1 and turn your work so you are working back the way you came from the previous round. At the end of the round, join to the beginning of the round, CH 1 and turn, and work the next round on the ‘right side’.
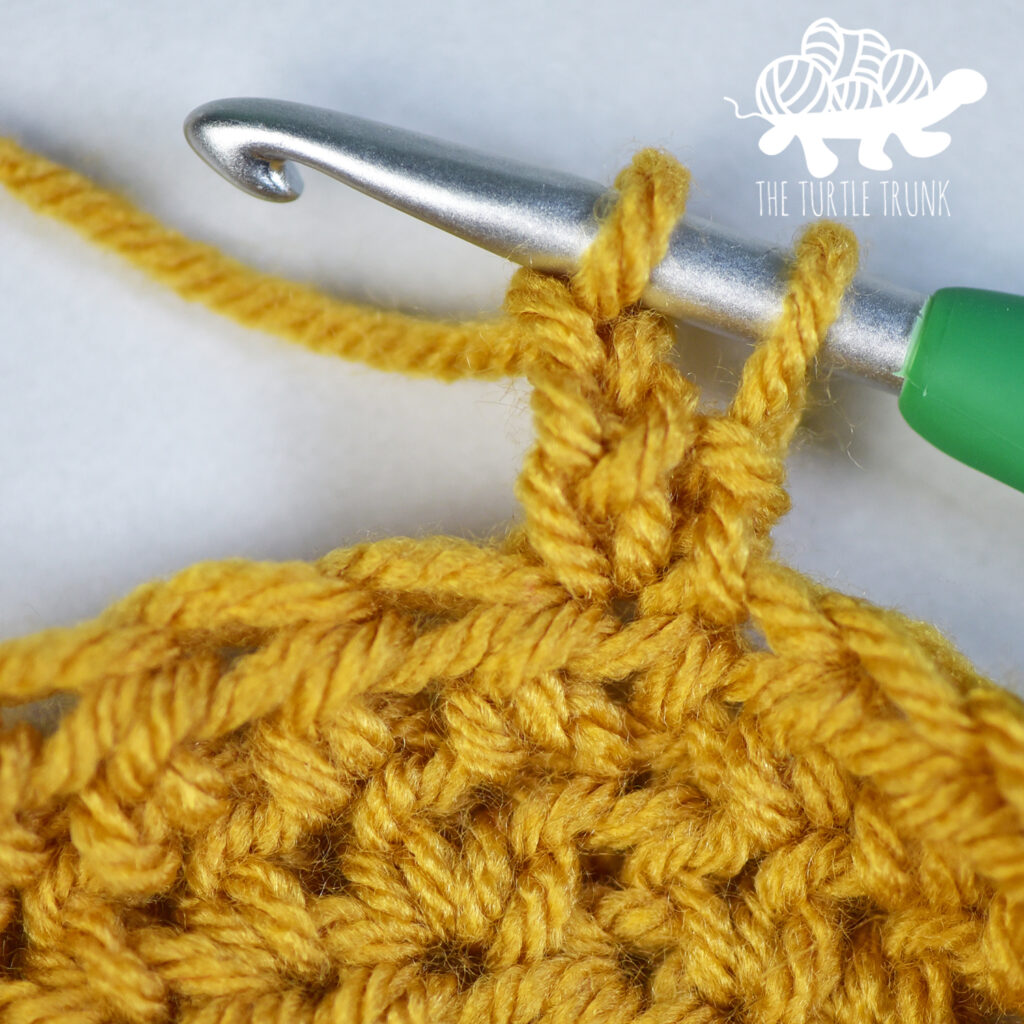
To Picot Single Crochet (PSC) – Insert your hook into the designated stitch. Pull up a loop, yarn over, and pull through the 1st loop on your hook. Yarn over and pull through the 1st loop again, yarn over and pull through the 1st loop once more, yarn over and pull through both loops on your hook. Push the CH 3 you just created behind so that it bumps out on the right side of your work and work the next ST.


3rd Loop Only: A HDC has 3 loops, a front loop, a back loop, and the 3rd loop. The 3rd loop is on the back of the HDC stitich. When called for, work the stitch into the 3rd loop only, this will create ribbed stitches on the front of the beanie.


FPDC – Front Post Double Crochet: Yarn over, insert your hook through the front and behind and back around the post of the next ST, yarn over and pull up a loop, yarn over and pull through 2 loops, yarn over and pull through the last 2 loops.


BPDC – Back Post Double Crochet: Yarn over, insert your hook from the back around the front and around the post of the next ST, yarn over and pull up a loop, yarn over and pull through 2 loops, yarn over and pull through the last 2 loops.


Are you a visual learner or do you need extra assistance with the special stitches?! Follow along with the video tutorial for the Picot Beanie on YouTube!
Picot Beanie Pattern
Baby
Magic Circle, CH 1
Round 1: HDC x 8 inside circle. Join & CH 1. (8)
Round 2: 2 HDC in each ST around. Join & CH 1. (16)
Round 3: *HDC in next ST, 2 HDC in the next* repeat ** around. Join & CH 1. (24)
Round 4: *HDC in each of the next 2 STs, 2 HDC in the next* repeat ** around. Join & CH 1. (32)
Round 5: *HDC in each of the next 3 STs, 2 HDC in the next* repeat ** around. Join & CH 1. (40)
The diameter of the crown should be approximately 5”
Round 6: HDC in the 3rd loop only in each ST around. Join. CH 1 & turn. (40)
Round 7: *PSC in the next ST, SC in each of the next 3 STs* repeat around. Join. CH 1 & turn. (40)
Round 8: SC in each ST around. Join & CH 1. (40)
Round 9: HDC in each ST around. Join & CH 1. (40)
Round 10: HDC in the 3rd loop only in each ST around. Join. CH 1 & turn. (40)
Round 11: *SC in the next ST, PSC in the next, SC in each of the next 2 STs* repeat around. Join. CH 1 & turn. (40)
Round 12: SC in each ST around. Join & CH 1. (40)
Round 13: HDC in each ST around. Join & CH 1. (40)
Round 14: SC in the 3rd loop only in each ST around. Join & CH 2. (40)
Round 15: DC in each ST around. Join & CH 2. (40)
Rounds 16-17: *FPDC in the next ST, BPDC in the next* repeat ** around. Join & CH 2. (40)
Tie off yarn and weave in ends.
Toddler
Magic Circle, CH 1
Round 1: HDC x 8 inside circle. Join & CH 1. (8)
Round 2: 2 HDC in each ST around. Join & CH 1. (16)
Round 3: *HDC in next ST, 2 HDC in the next* repeat ** around. Join & CH 1. (24)
Round 4: *HDC in each of the next 2 STs, 2 HDC in the next* repeat ** around. Join & CH 1. (32)
Round 5: *HDC in each of the next 3 STs, 2 HDC in the next* repeat ** around. Join & CH 1. (40)
Round 6: *HDC in each of the next 4 STs, 2 HDC in the next* repeat ** around. Join & CH 1. (48)
The diameter of the crown should be approximately 6”
Round 7: HDC in the 3rd loop only in each ST around. Join. CH 1 & turn. (48)
Round 8: *PSC in the next ST, SC in each of the next 3 STs* repeat around. Join. CH 1 & turn. (48)
Round 9: SC in each ST around. Join & CH 1. (48)
Round 10: HDC in each ST around. Join & CH 1. (48)
Round 11: HDC in the 3rd loop only in each ST around. Join. CH 1 & turn. (48)
Round 12: *SC in the next ST, PSC in the next, SC in each of the next 2 STs* repeat around. Join. CH 1 & turn. (48)
Round 13: SC in each ST around. Join & CH 1. (48)
Round 14: HDC in each ST around. Join & CH 1. (48)
Round 15: HDC in the 3rd loop only in each ST around. Join. CH 1 & turn. (48)
Round 16: *SC in each of the next 2 STs, PSC in the next ST, SC in the next ST* repeat around. Join. CH 1 & turn. (48)
Round 17: SC in each ST around. Join & CH 1. (48)
Round 18: HDC in each ST around. Join & CH 1. (48)
Round 19: SC in the 3rd loop only in each ST around. Join & CH 2. (48)
Round 20: DC in each ST around. Join & CH 2. (48)
Round 21: *FPDC in the next ST, BPDC in the next* repeat ** around. Join & CH 2. (48)
Tie off yarn and weave in ends.
Child/Teen
Magic Circle, CH 1
Round 1: HDC x 8 inside circle. Join & CH 1. (8)
Round 2: 2 HDC in each ST around. Join & CH 1. (16)
Round 3: *HDC in next ST, 2 HDC in the next* repeat ** around. Join & CH 1. (24)
Round 4: *HDC in each of the next 2 STs, 2 HDC in the next* repeat ** around. Join & CH 1. (32)
Round 5: *HDC in each of the next 3 STs, 2 HDC in the next* repeat ** around. Join & CH 1. (40)
Round 6: *HDC in each of the next 4 STs, 2 HDC in the next* repeat ** around. Join & CH 1. (48)
Round 7: *HDC in each of the next 5 STs, 2 HDC in the next* repeat ** around. Join & CH 1. (56)
The diameter of the crown should be approximately 7”
Round 8: HDC in the 3rd loop only in each ST around. Join. CH 1 & turn. (56)
Round 9: *PSC in the next ST, SC in each of the next 3 STs* repeat around. Join. CH 1 & turn. (56)
Round 10: SC in each ST around. Join & CH 1. (56)
Round 11: HDC in each ST around. Join & CH 1. (56)
Round 12: HDC in the 3rd loop only in each ST around. Join. CH 1 & turn. (56)
Round 13: *SC in the next ST, PSC in the next, SC in each of the next 2 STs* repeat around. Join. CH 1 & turn. (56)
Round 14: SC in each ST around. Join & CH 1. (56)
Round 15: HDC in each ST around. Join & CH 1. (56)
Round 16: HDC in the 3rd loop only in each ST around. Join. CH 1 & turn. (56)
Round 17: *SC in each of the next 2 STs, PSC in the next ST, SC in the next ST* repeat around. Join. CH 1 & turn. (56)
Round 18: SC in each ST around. Join & CH 1. (56)
Round 19: HDC in each ST around. Join & CH 1. (56)
Round 20: SC in the 3rd loop only in each ST around. Join & CH 2. (56)
Round 21: DC in each ST around. Join & CH 2. (56)
Rounds 22-23: *FPDC in the next ST, BPDC in the next* repeat ** around. Join & CH 2. (56)
Tie off yarn and weave in ends.
Adult
Magic Circle, CH 1
Round 1: HDC x 8 inside circle. Join & CH 1. (8)
Round 2: 2 HDC in each ST around. Join & CH 1. (16)
Round 3: *HDC in next ST, 2 HDC in the next* repeat ** around. Join & CH 1. (24)
Round 4: *HDC in each of the next 2 STs, 2 HDC in the next* repeat ** around. Join & CH 1. (32)
Round 5: *HDC in each of the next 3 STs, 2 HDC in the next* repeat ** around. Join & CH 1. (40)
Round 6: *HDC in each of the next 4 STs, 2 HDC in the next* repeat ** around. Join & CH 1. (48)
Round 7: *HDC in each of the next 5 STs, 2 HDC in the next* repeat ** around. Join & CH 1. (56)
Round 8: *HDC in each of the next 6 STs, 2 HDC in the next* repeat ** around. Join & CH 1. (64)
The diameter of the crown should be approximately 8”
Round 9: HDC in the 3rd loop only in each ST around. Join. CH 1 & turn. (64)
Round 10: *PSC in the next ST, SC in each of the next 3 STs* repeat around. Join. CH 1 & turn. (64)
Round 11: SC in each ST around. Join & CH 1. (64)
Round 12: HDC in each ST around. Join & CH 1. (64)
Round 13: HDC in the 3rd loop only in each ST around. Join. CH 1 & turn. (64)
Round 14: *SC in the next ST, PSC in the next, SC in each of the next 2 STs* repeat around. Join. CH 1 & turn. (64)
Round 15: SC in each ST around. Join & CH 1. (64)
Round 16: HDC in each ST around. Join & CH 1. (64)
Round 17: HDC in the 3rd loop only in each ST around. Join. CH 1 & turn. (64)
Round 18: *SC in each of the next 2 STs, PSC in the next ST, SC in the next ST* repeat around. Join. CH 1 & turn. (64)
Round 19: SC in each ST around. Join & CH 1. (64)
Round 20: HDC in each ST around. Join & CH 1. (64)
Round 21: SC in the 3rd loop only in each ST around. Join & CH 2. (64)
Round 22: DC in each ST around. Join & CH 2. (64)
Round 23-25: *FPDC in the next ST, BPDC in the next* repeat ** around. Join & CH 2. (64)
Tie off yarn and weave in ends.
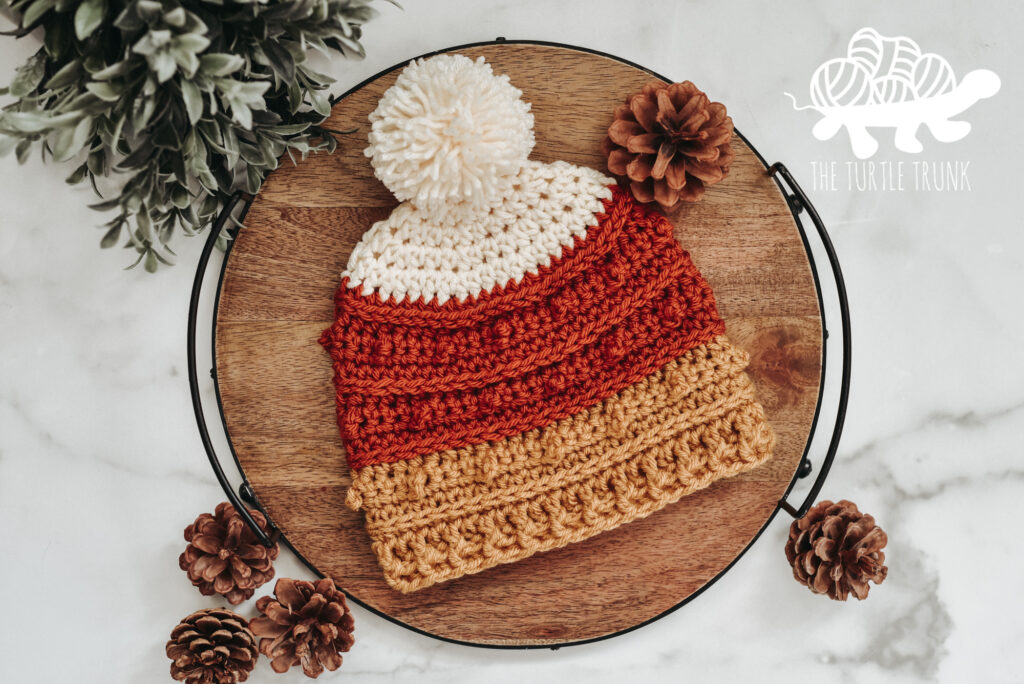
And you’re all done! Feel free to leave your beanie as is or add a pom pom!
You are free to sell the items you make with this pattern, and I’d love if you could please link back to this page. You do not have permission to republish or distribute this pattern in any way or claim it as your own. Do not use my photos in your sale listings or for any other purposes. Thank you.
This page includes affiliate links. If you make a purchase from these links, I may make a small commission at no cost to you! Thank you for your support!