
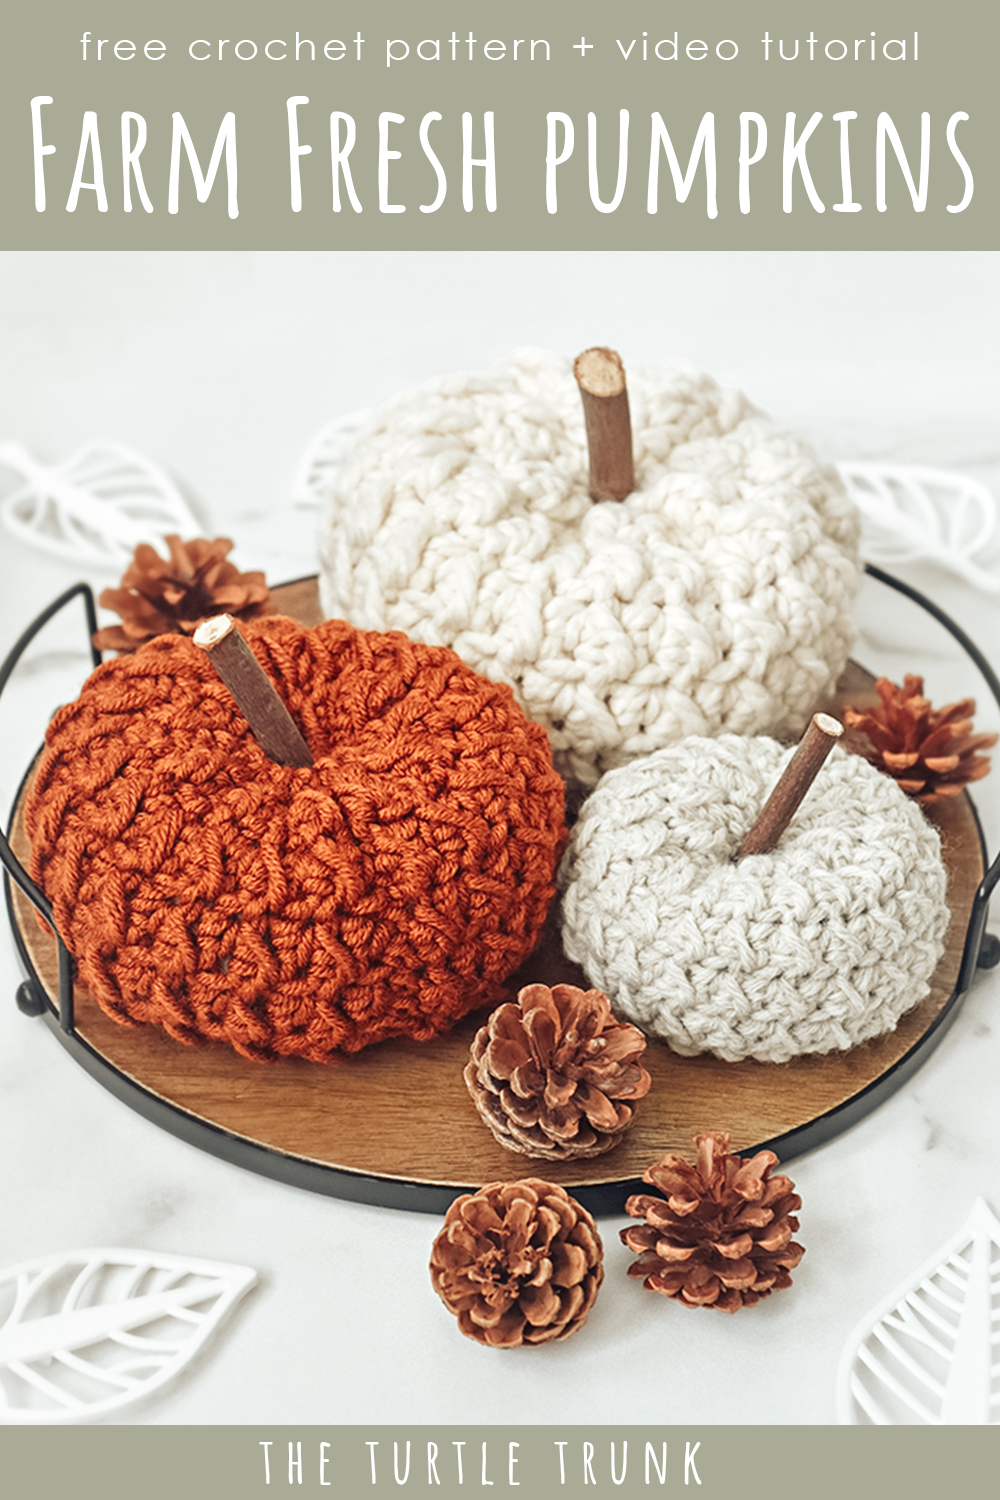
Farm Fresh Pumpkin Crochet Pattern
The Farm Fresh Pumpkin crochet pattern uses only 2 basic crochet stitches to create a gorgeous textured pumpkin! You can use any yarn weight to create different sized pumpkins and even adjust the length and width to customize the size! This crochet pumpkin pattern works up so quick and easy and you won’t want to stop making them!
I love crochet pumpkins! I have 5 free crochet pumpkin patterns on my blog and the Farm Fresh Pumpkin has been the most popular design of them all! It uses basic crochet stitches so it’s beginner friendly but it also has a fun and unique texture, making them perfect home decor pieces and gifts!
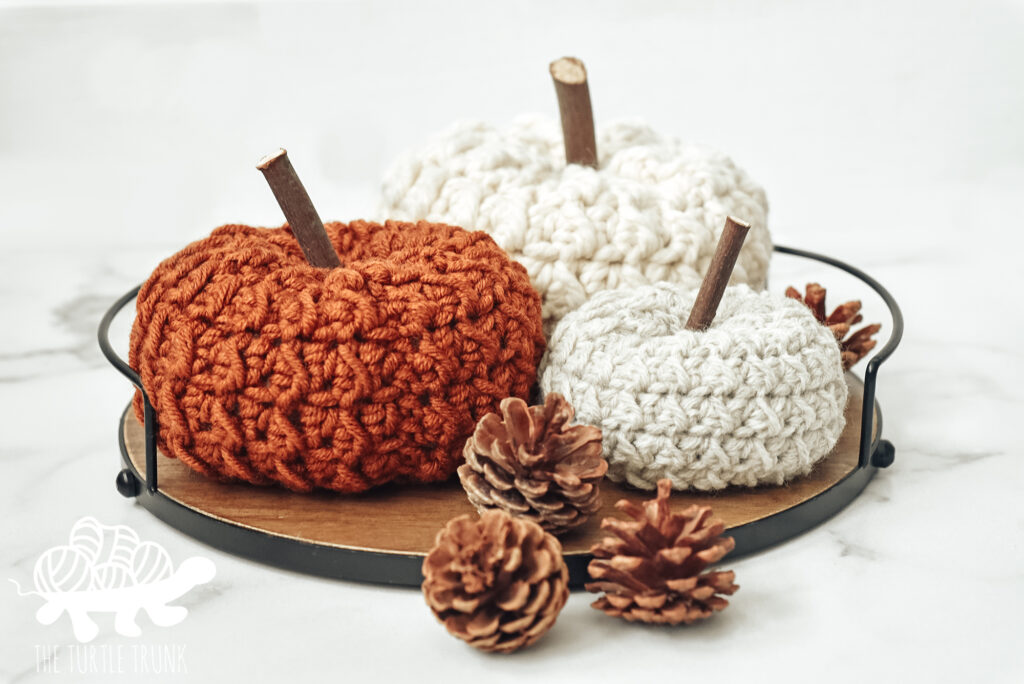
The Farm Fresh Pumpkin features a beautiful, rigid texture, taking it up a notch from just your standard single crochet pumpkin. It uses the even moss stitch which is just 2 basic crochet stitches alternated so it’s simple enough for a beginner! This crochet pumpkin pattern is worked in rows then seamed, sewed, and cinched at the end. Top it off with a stem and you’ve got yourself a gorgeous crochet pumpkin!
Continue reading below to hear my inspiration for this pattern and to learn more about the yarn I used, then scroll down for the free written crochet pattern!
FOLLOW ALONG WITH THE AD-FREE AND PRINTABLE PDF FROM ETSY AND RAVELRY!
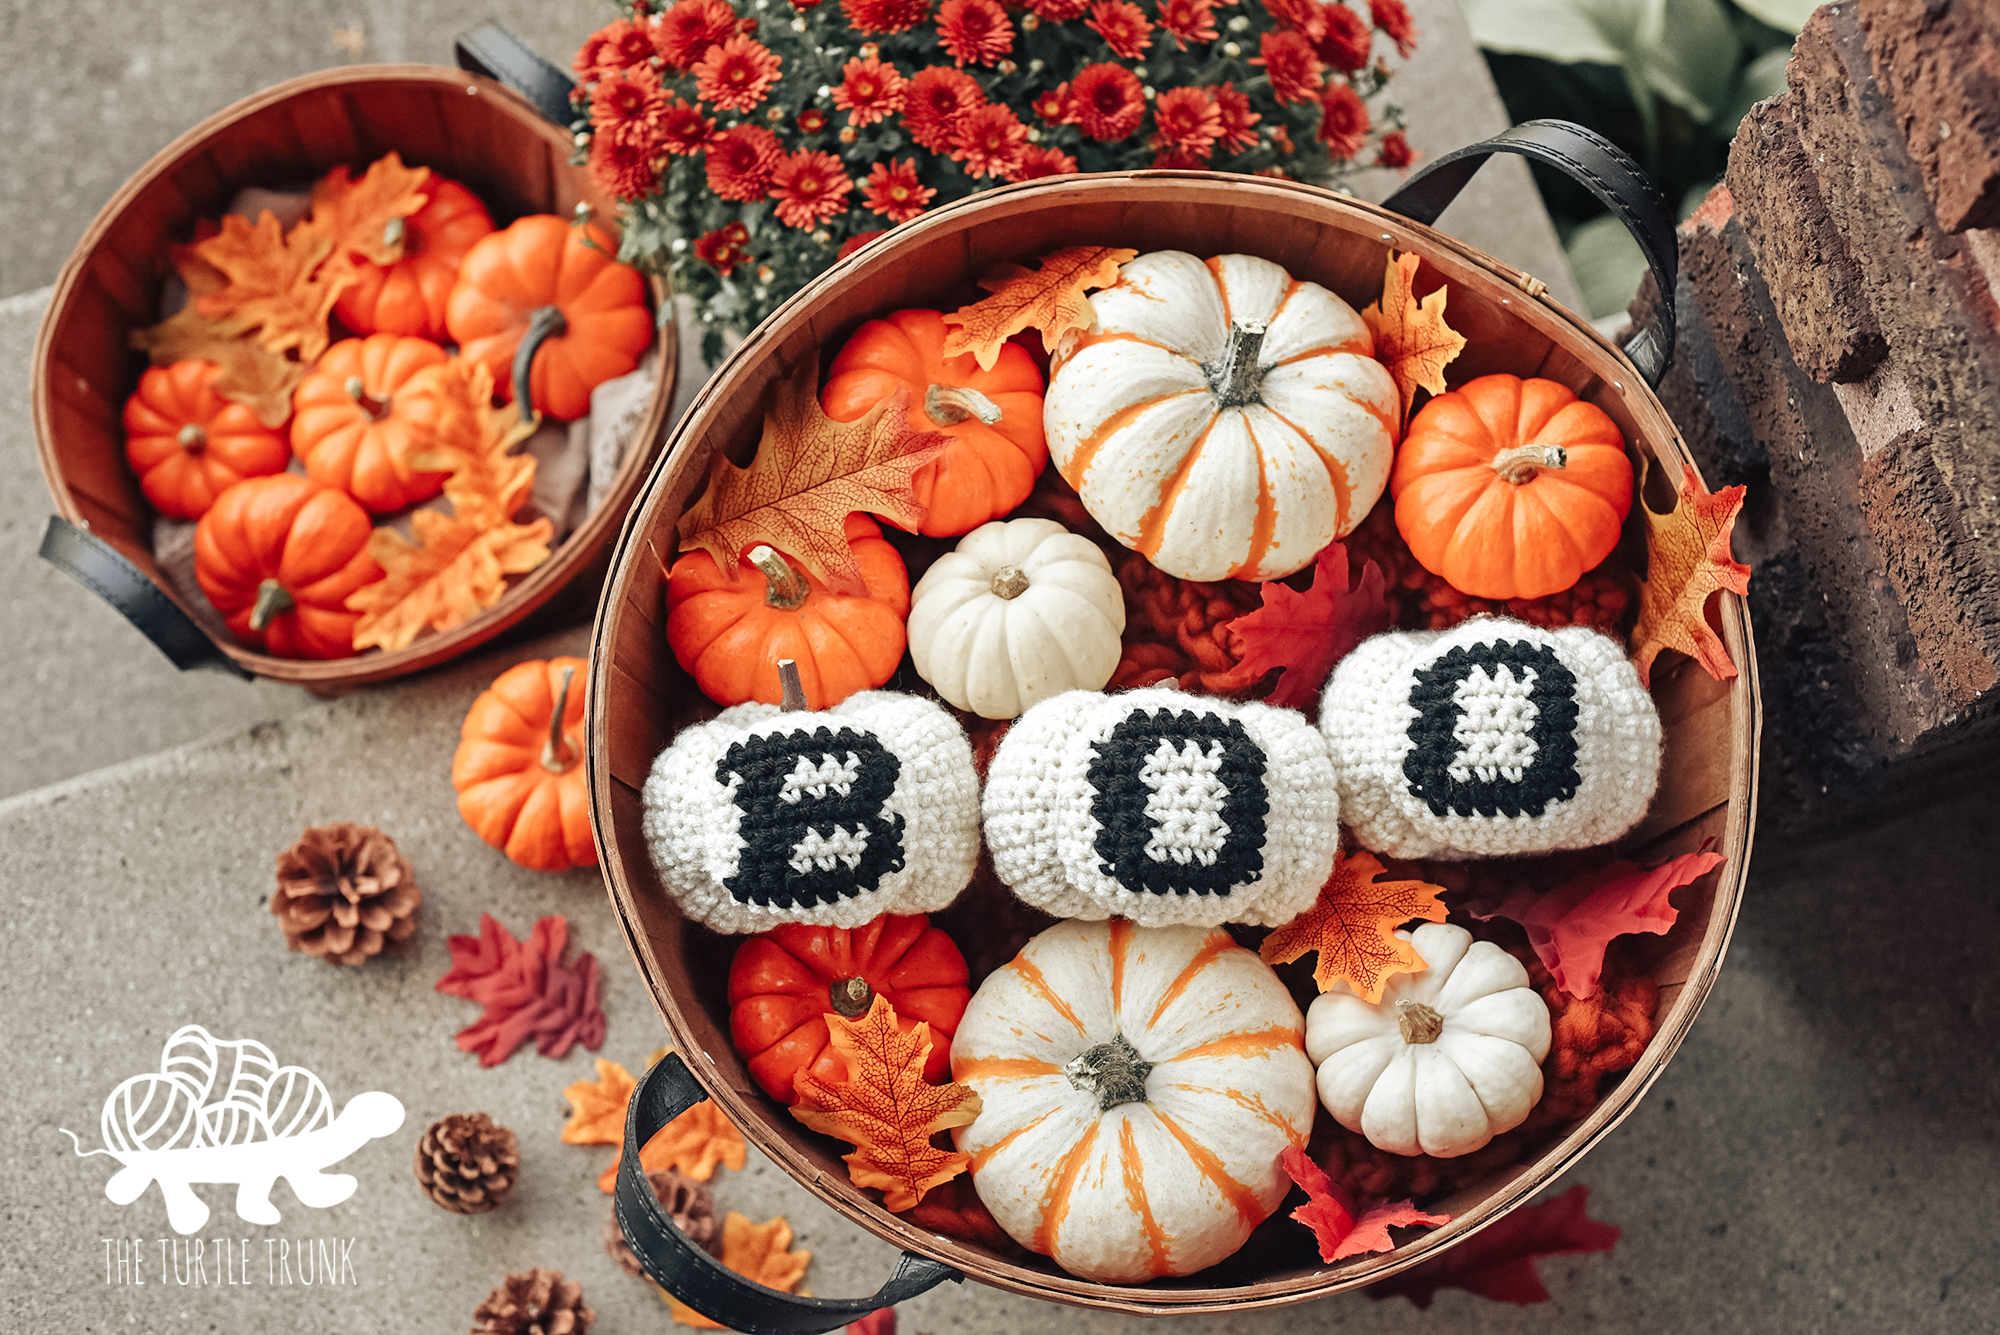
If you’re looking for more crochet pumpkin patterns, then check out the Basic Pumpkin, Country Cottage Pumpkin, Picot Pumpkin, and BOO Pumpkins!

NOT READY TO MAKE JUST YET?! PIN THIS PATTERN FOR LATER!
Follow along with the video tutorial on YouTube!
Inspiration
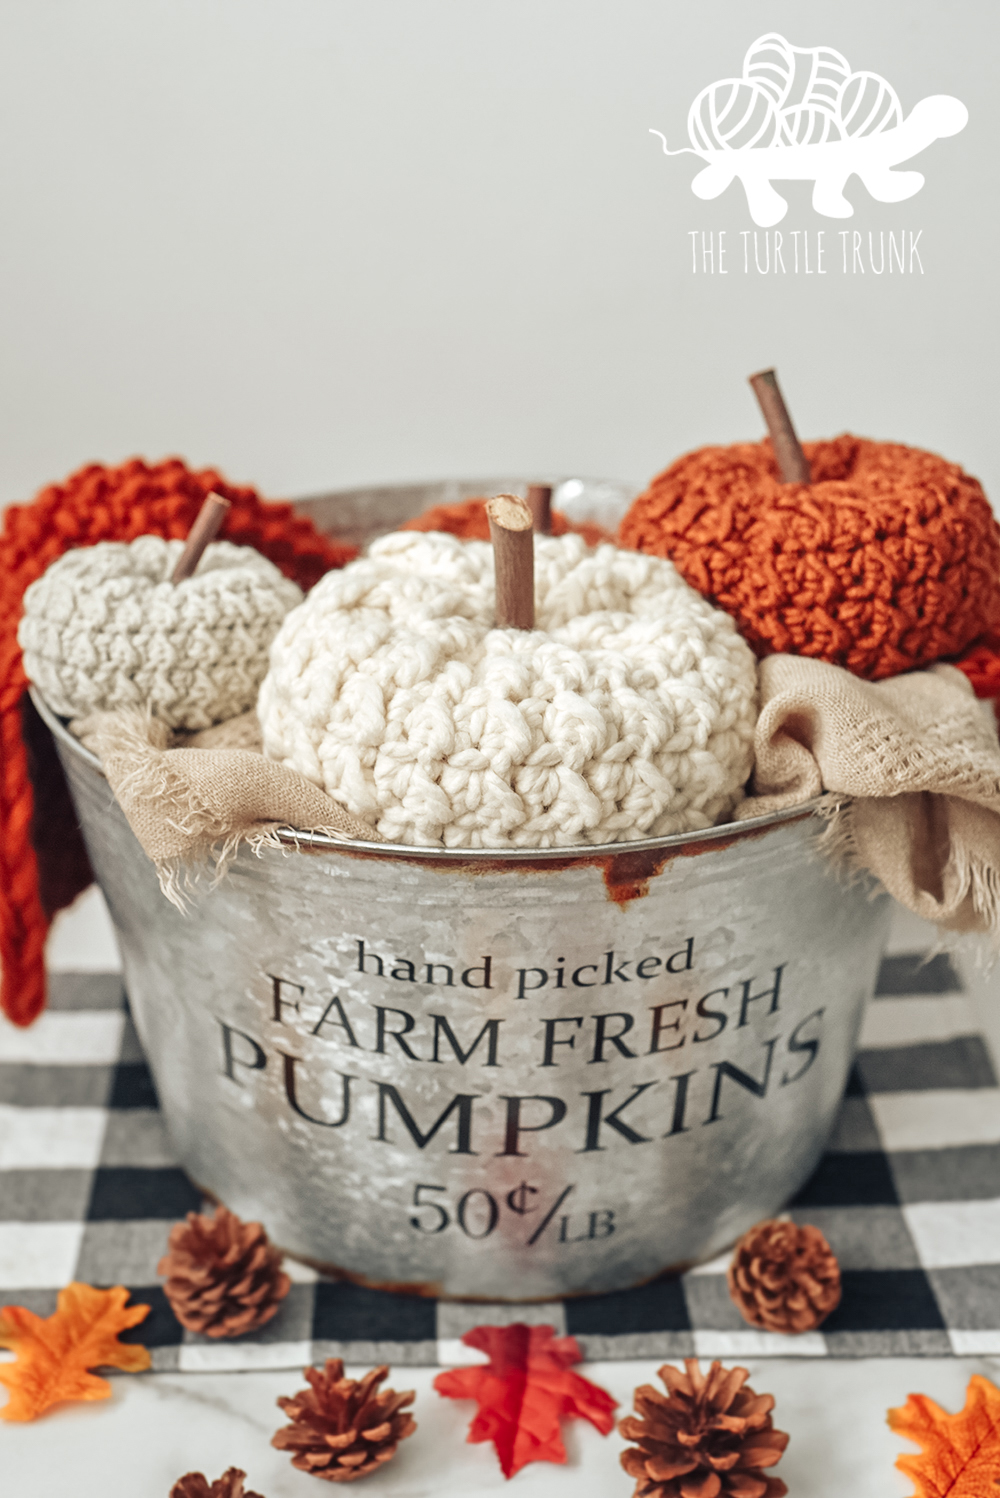
Crochet pumpkins are my favorite Fall decor pieces! Don’t get me wrong, I love real pumpkins too but they eventually spoil and you have to buy new ones each year. Crochet pumpkins last forever and can be used year after year! You can also make them any size and color you want to go with your own personal style and your home.
I was inspired to design these Farm Fresh Pumpkins from my other patterns that use the even moss stitch, like the Farmhouse Dish Set, Farmhouse Pot Holder, and the Farmhouse Coaster. The even moss stitch creates this wonderfully, rigid texture and I just knew it would look amazing for a crochet pumpkin!
Yarn
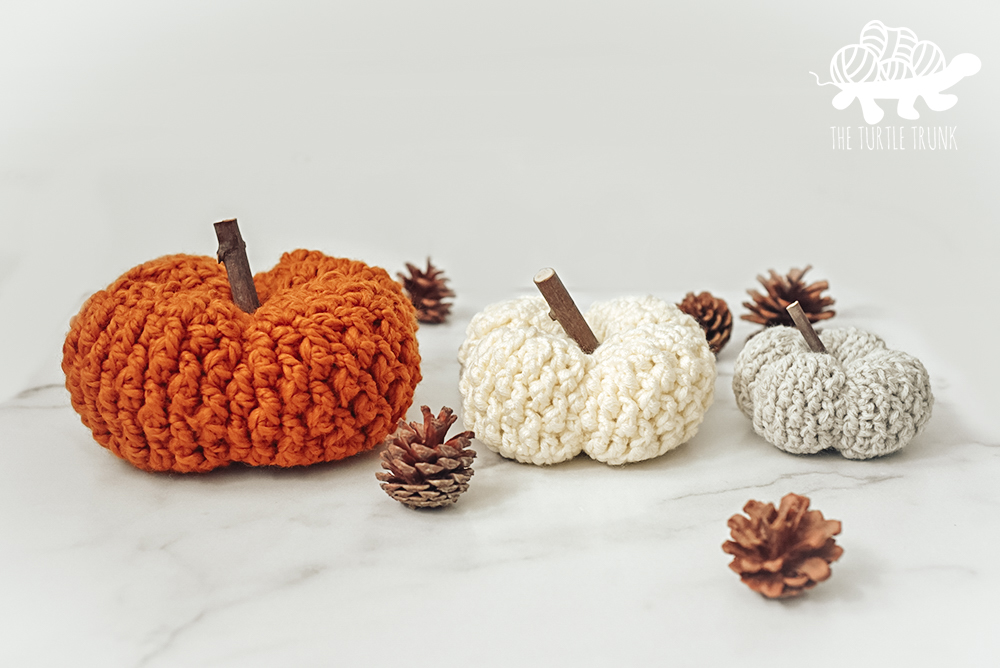
The best part about this pattern is that you can use almost any yarn in your stash! I used three different types of Lion Bran Yarn to create three different sized pumpkins!
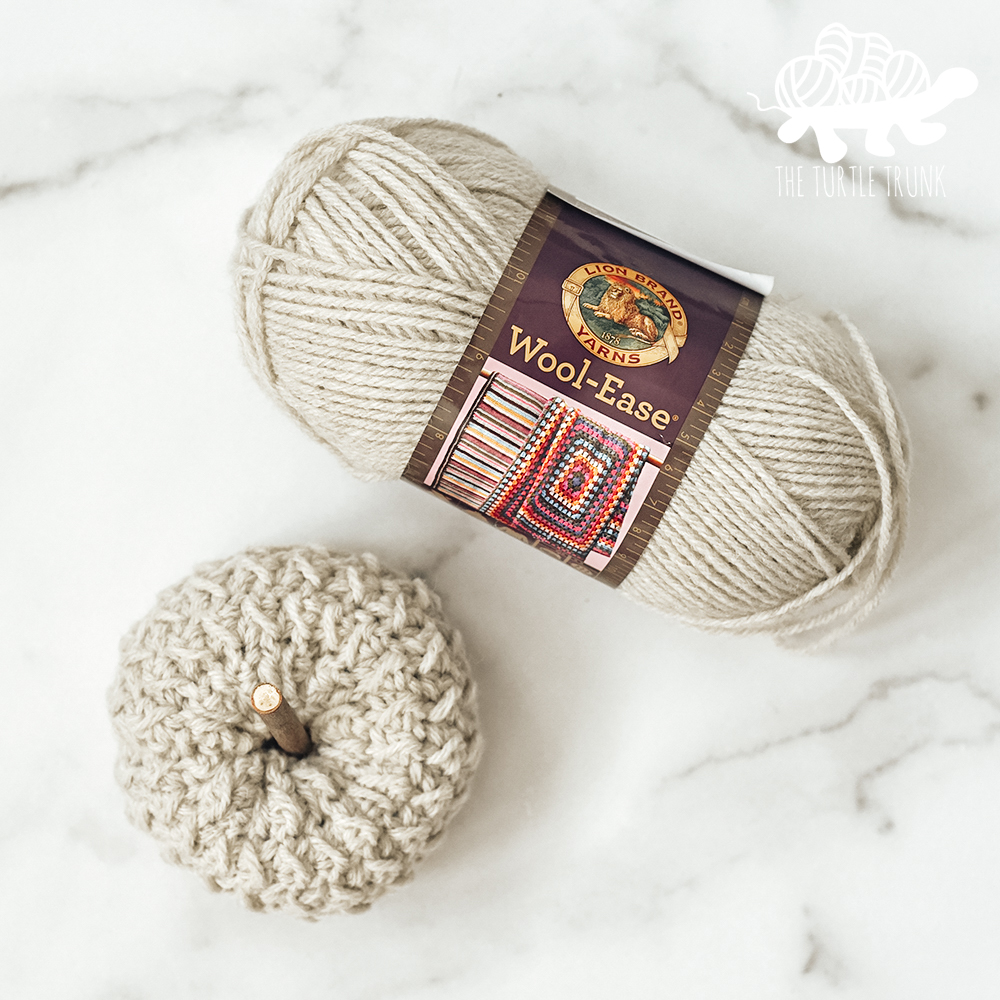
For the smallest pumpkin I used Wool-Ease in the color Natural Heather. It is a medium (4) weight yarn, an acrylic/wool blend, and it also comes in a variety of colors. Each skein of Wool-Ease can make 3 small sized pumpkins with yarn to spare! Another great medium weight yarn option would be Color Theory. It also comes in a variety of beautiful colors but its a softer option as it’s 100% acrylic.
For the medium sized pumpkin I used Color Made Easy which is a bulky (5) weight yarn. Unfortunately this yarn has since been discontinued but Lion Brand Yarn now has Hue + Me as a great, bulky weight yarn option and I love it so much! Hue + Me comes in so many gorgeous colors. It’s a wool/acrylic blend and it will create a wonderfully squishy pumpkin.
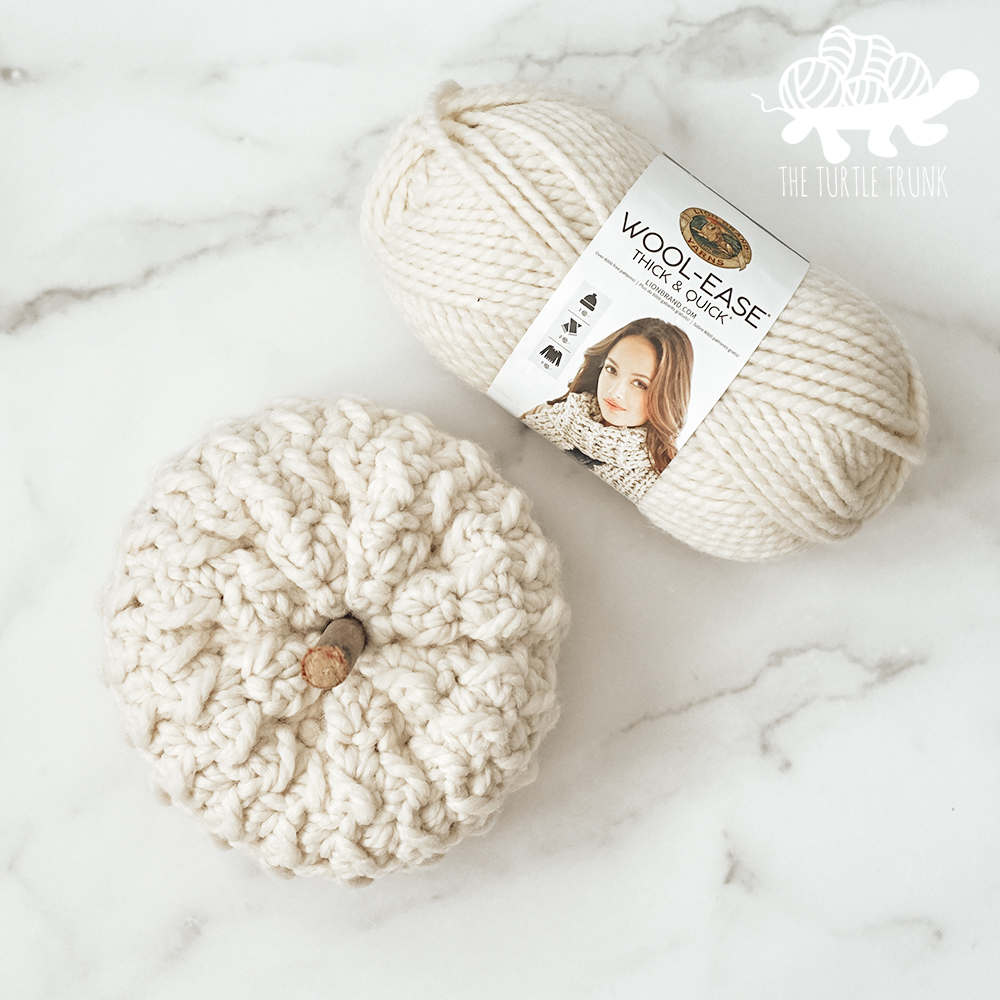
Lastly for the largest pumpkin I used Wool-Ease Thick and Quick in the color Fisherman. Wool-Ease Thick and Quick is a super bulky (6) weight yarn and is a wool/acrylic blend. I love the larger pumpkins a they are so chunky and really make a statement when displayed!

Sizes
The instructions for each size are all the same but the yarn weight and hook size will determine the finished size. But if you only want to use one type of yarn but make multiple sizes, you can do that too! This pattern is so easy to adjust so you can make your pumpkins whatever size you want! Note that this pattern is worked in vertical rows so the number of stitches you work will determine the height of your pumpkin and the number of rows you work will determine the width of the pumpkin.
To adjust the width, just repeat Row 2 as many times as you want! To adjust the height of your pumpkin, make your starting chain as long as you want! Just be sure to always end on a even numbered row and make your starting chain an even number!
| Size | Yarn | Hook | Yardage (approx.) | Gauge (Even Moss Stitch) |
| Small 2.5” x 4” | Medium (4) | 4.00mm (G) | 53 yards | 15 STs x 16 Rows = 4×4 |
| Medium 3.5” x 6” | Bulky (5) | 6.00mm (J) | 85 yards | 9 STs x 11 Rows = 4×4 |
| Large 4” x 7.5” | Super Bulky (6) | 7.00mm | 78 yards | 7 STs x 10 Rows = 4×4 |
Difficulty
Easy
Gauge
Gauge is not important but you can follow along with the gauge pattern in the chart if you want your pumpkins to be the exact size mine are.
Start with a chain one more than the stitch stated in the chart below. Starting in the 2nd CH from the hook, work the Even Moss Stitch across. Repeat the Even Moss Stitch until the row stated below is reached. Adjust your hook size up or down if need be.
Notes
- The chain 1 at the beginning of each row does not count as a stitch.
- Repeat stitches between the ** until the end of the row or until otherwise stated.
- The number in parentheses at the end of the row represents the number of stitches to worked in that row.
Supplies
- Medium (4), Bulky (5), or Super Bulky (6) weight yarn
- 4.00mm (G), 6.00mm (J), or 7.00mm hook
- Fiber Fill
- Yarn Needle
- Scissors
- Tape Measure
- 2-3” Pumpkin Stem (stick from fallen tree branch, cinnamon stick, scrap leather or satin lace, ect.)
Abbreviations (US Terms)
ST(s) – Stitch(es)
CH – Chain
SL ST – Slip Stitch
HDC – Half Double Crochet
HDC2TOG – Half Double Crochet Two Together
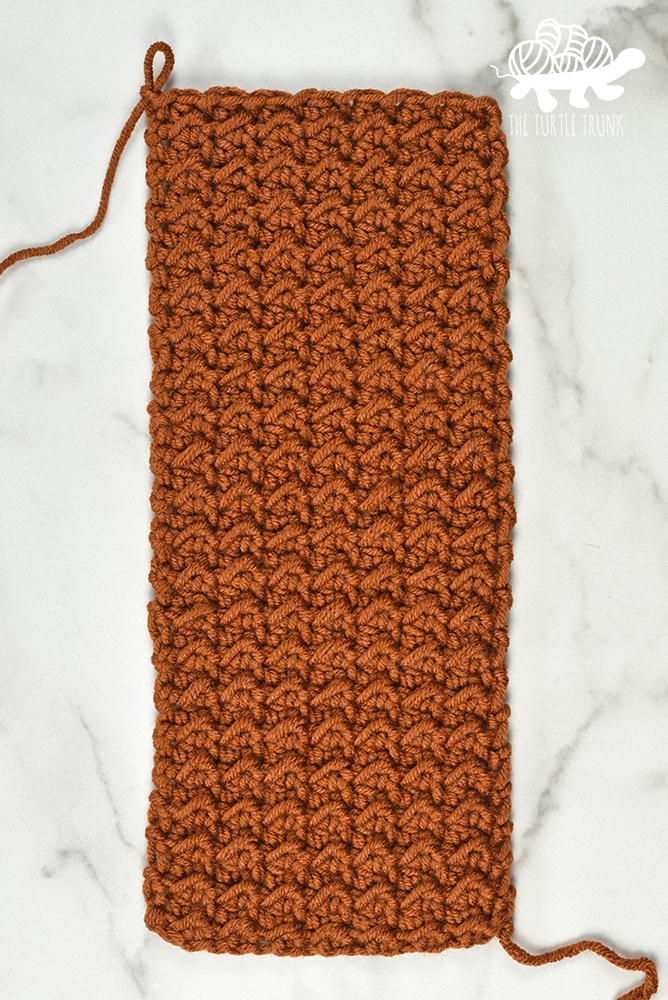
This pattern uses the Even Moss Stitch. The Even Moss Stitch is created by working a SL ST into the first ST then a HDC in the next. You will repeat those stitches across, ending with a SL ST. For each row the pattern will be repeated, you will always work a SL ST in the SL ST from the previous row and a HDC in the HDC from the previous row. This will create a beautifully textured piece.
Farm Fresh Pumpkin Pattern
CH 16
Row 1: SL ST in 2nd CH from hook, *HDC, SL ST* across. CH 1 & turn. (15)
Row 2: SL ST in 1st ST, *HDC, SL ST* across. CH 1 & turn. (15)
Row 3-42: Repeat Row 2
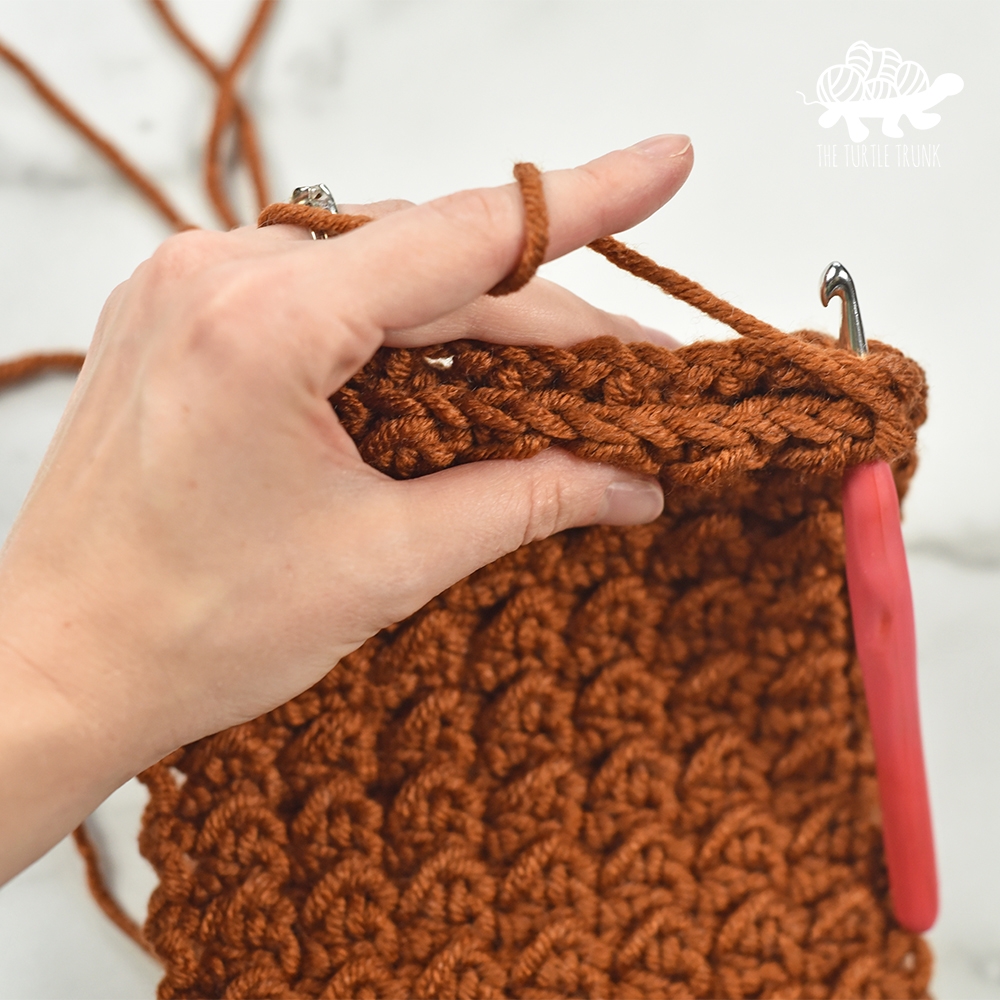
Fold rectangle in half, bringing the 2 short sides together. SL ST the ends together, working 15 SL ST’s across. Do not tie off. Flip inside out so that the seam is on the inside.

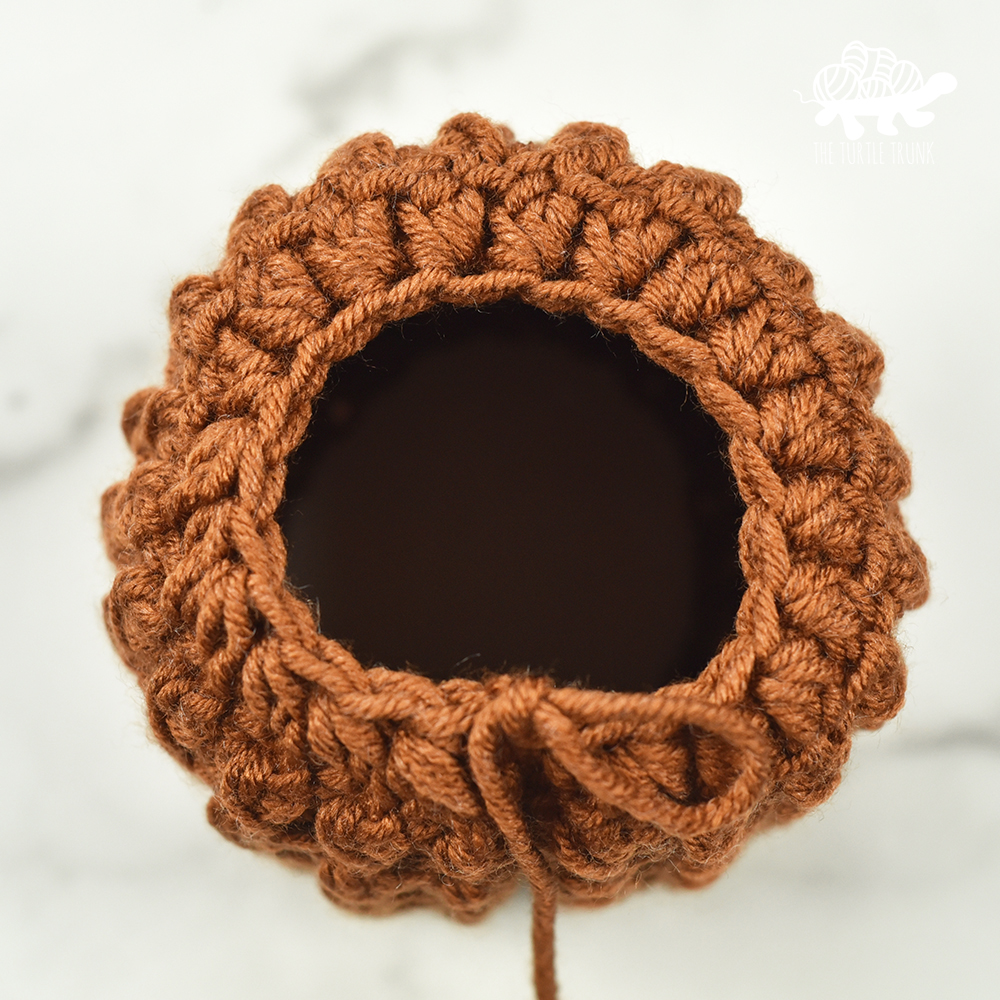
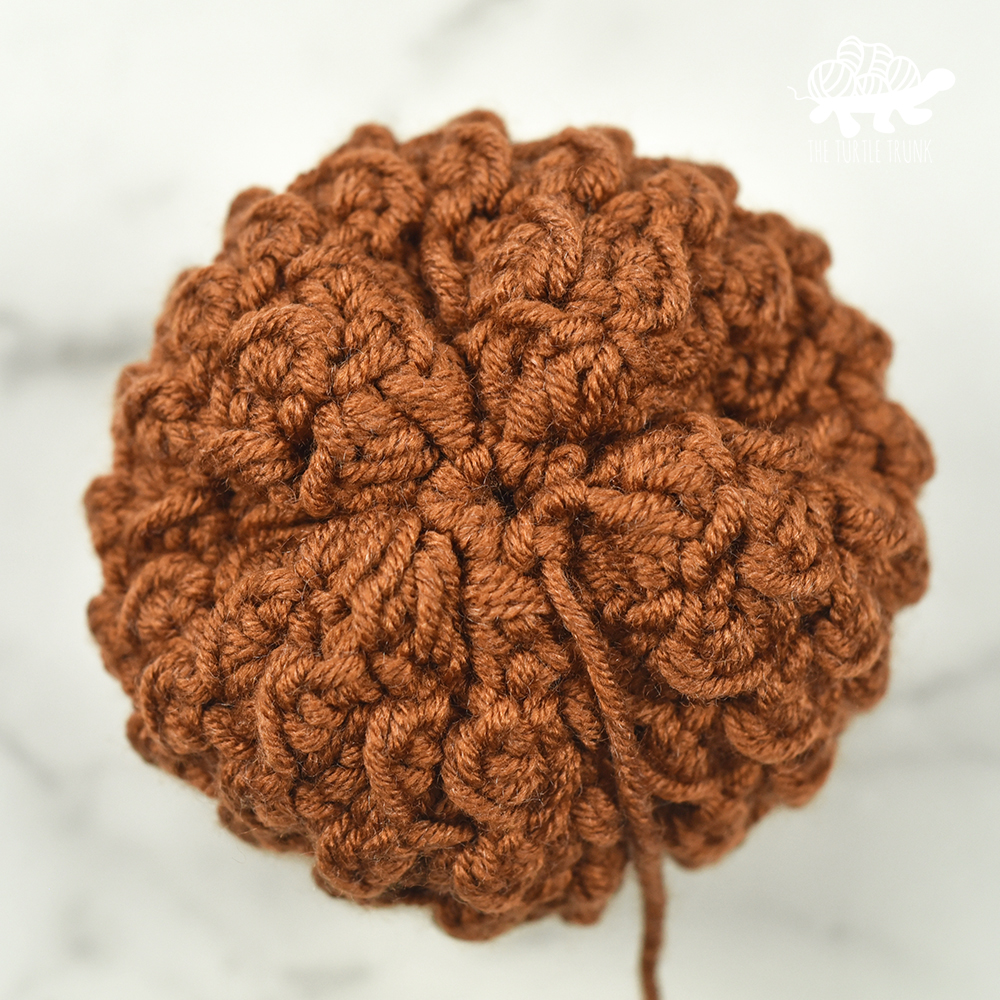
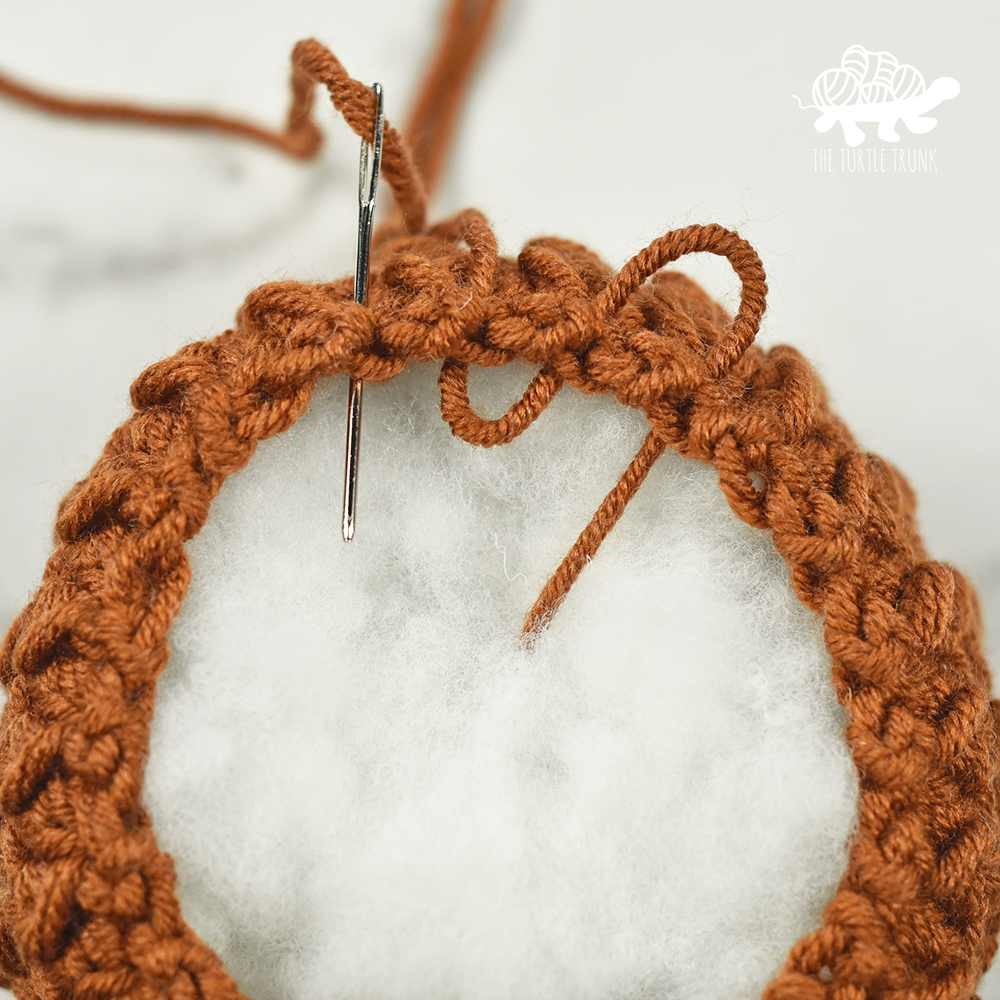
CH 1, turn work 90 degrees and HDC2TOG around. SL ST to the 1st HDC2TOG. Tie off yarn leaving a 24” long tail. Using a yarn needle, weave tail end through the HDC2TOG STs. Pull tight to cinch bottom closed. Pull tail end through the hole at the bottom and stuff pumpkin with Fiber Fill, working around the tail end and keeping it centered. Weave tail end around the top of the pumpkin and cinch tight to close. Pull tail end through the top center hole, down to the bottom center hole. Keeping yarn tight, tie off with a few knots to the bottom of the pumpkin. Weave in end.

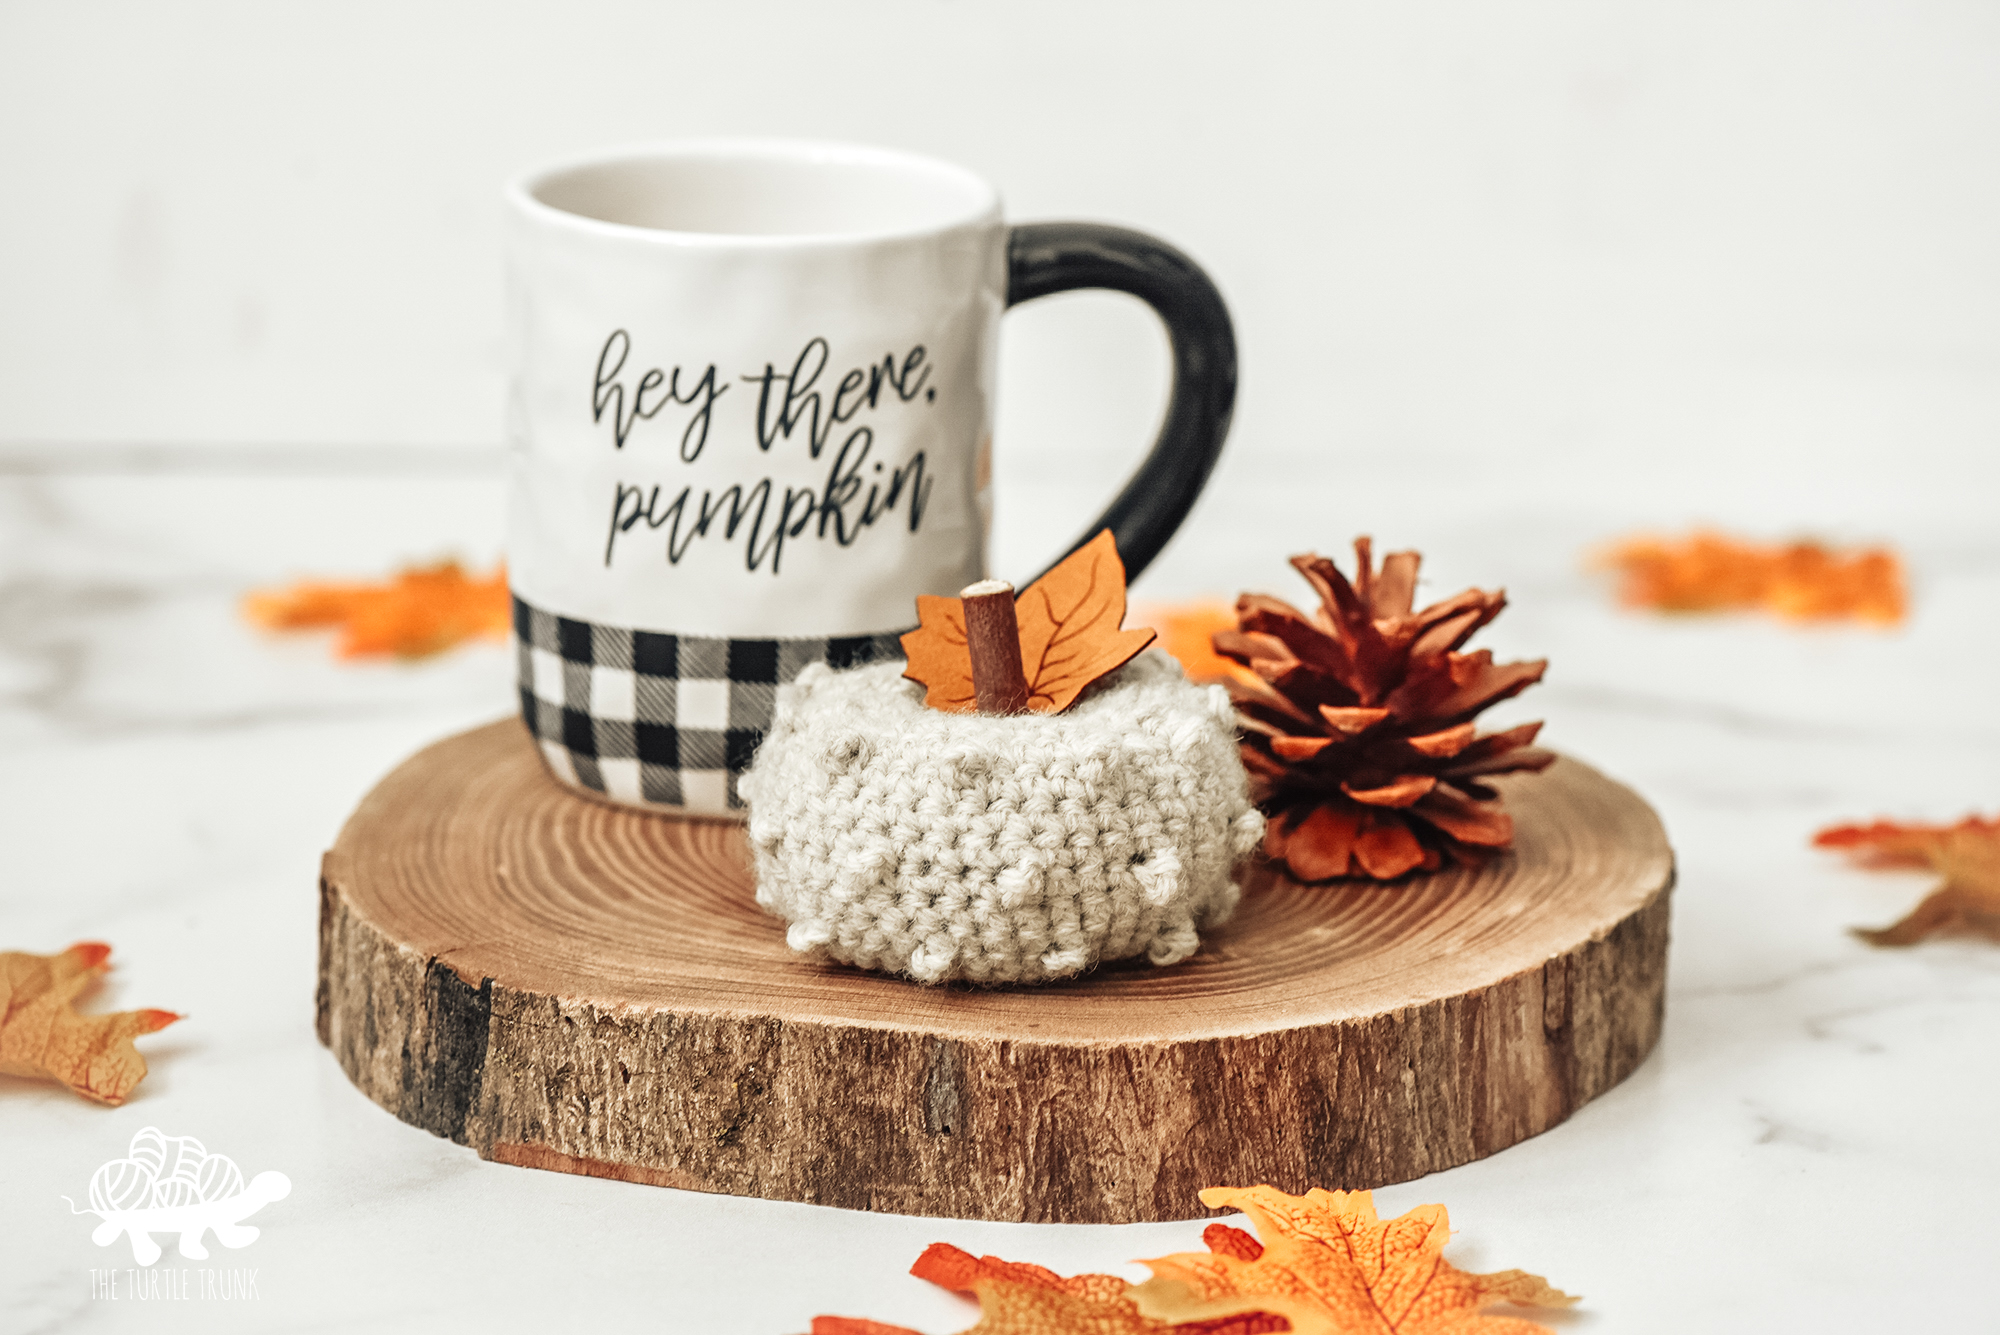
Finish your pumpkin off with a stem. There are endless possibilities for pumpkin stems: twigs and sticks from fallen branches in your yard, cinnamon sticks from your local market, or satin lace from the craft store! Simply stick stem through the center hole and voila! You can even use a dab of hot glue or fabric glue to keep the stem extra secure.
For extra pizazz add twine or fake leaves and berries!
And you’re all done!

I hope you enjoyed the Farm Fresh Pumpkin pattern! I can’t wait to see your finished pumpkins, so be sure to tag @theturtletrunk on Instagram!
You are free to sell the items you make with this crochet pattern, and I’d love if you could please credit The Turtle Trunk as the pattern designer. You do not have permission to republish or distribute this pattern in any way or claim it as your own. Do not use my photos in your sale listings or for any other purposes. Thank you.
This page includes affiliate links. If you make a purchase from these links, I may make a small commission at no cost to you! Thank you for your support!
I am definitely making these! So refreshingly different with such a pretty stitch. Thank you for sharing the pattern!
You are welcome! I’m so happy you enjoy these. Thank you!
How many chains do you do for each size?
To make different sizes I used different weights of yarn. You can chain as many as you’d like though to adjust the sizes (just be sure to chain an odd number).
Ali