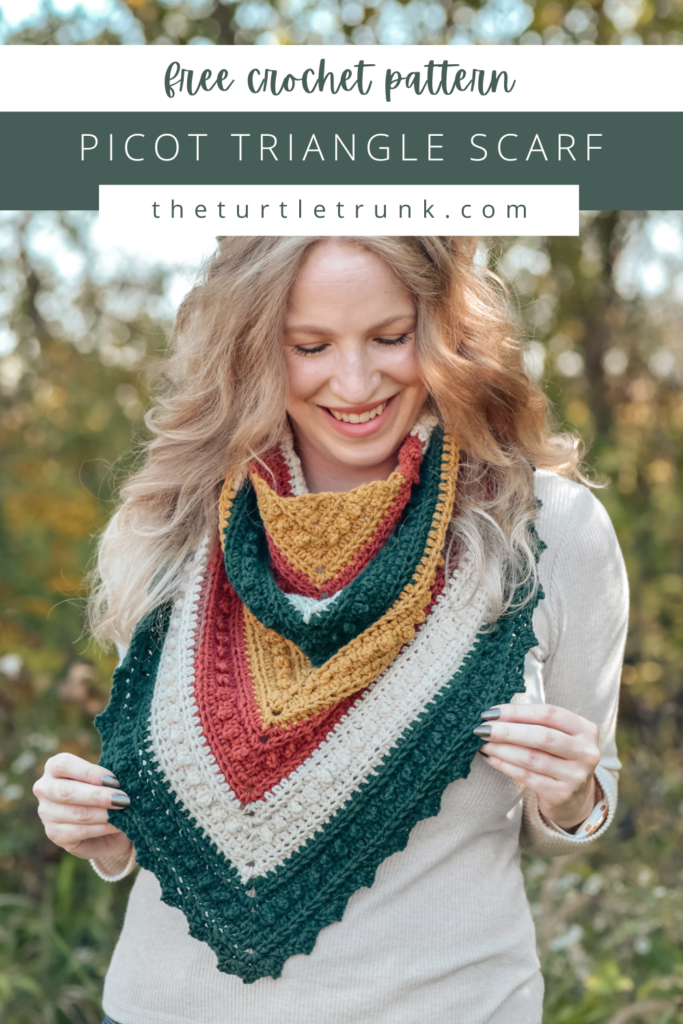
Picot Triangle Scarf Crochet Pattern
The Picot Triangle Scarf is full of gorgeous and unique textures! It’s perfect for cool, Fall and Winter temperatures and the size is customizable! Make for yourself, kids, to sell at Fall markets, or to give as a gift! This crochet triangle scarf is cozy and elegant all in one!
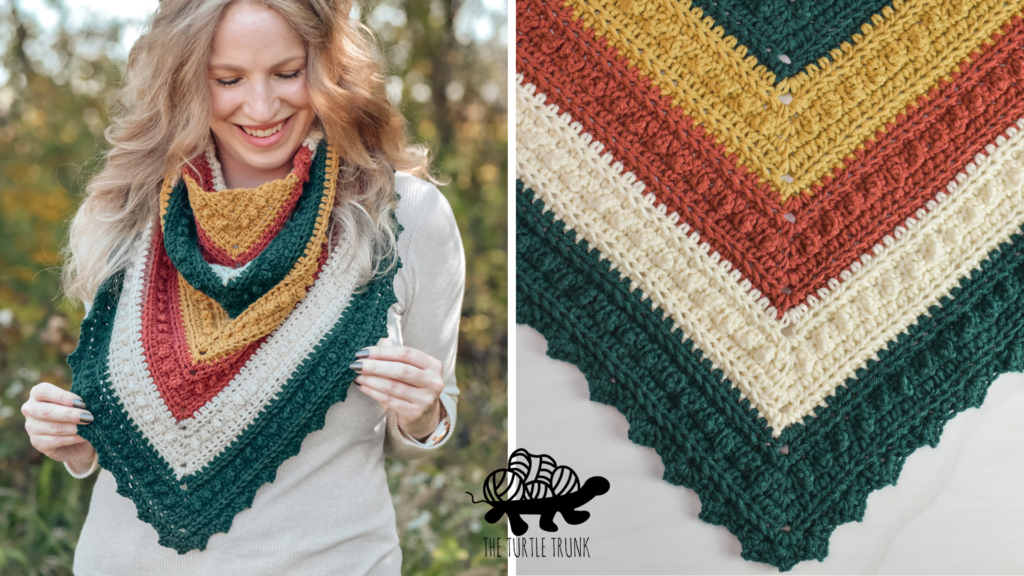
The Picot Triangle Scarf is the latest addition to my Picot Collection! This crochet scarf features lot’s of gorgeous textures from a variety of fun and unique stitches.
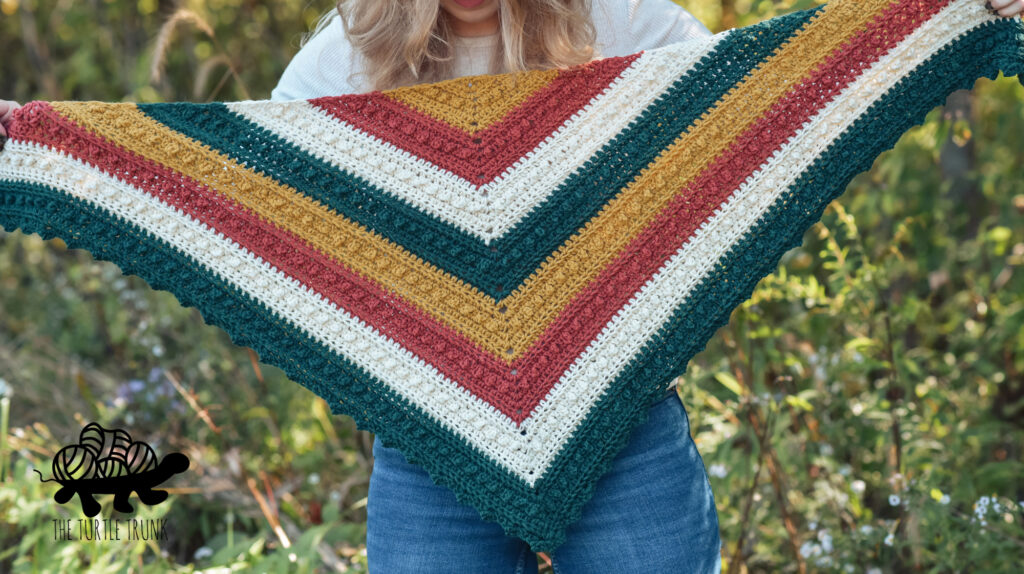
The triangle shape is formed by working increases in the corners of each row. You can easily customize the size by working as many rows until your desired size is reached! Also use as few or as many colors as you’d like!
This crochet triangle scarf can be made any size and for anyone! It would make a great gift, sell at markets, or make for yourself, kids, friends, and family!
Continue reading below to hear my inspiration for this pattern and to learn more about the yarn I used, then scroll down for the free written crochet pattern!
FOLLOW ALONG WITH THE AD FREE & PRINTABLE PDF PATTERN FROM
ETSY AND RAVELRY!
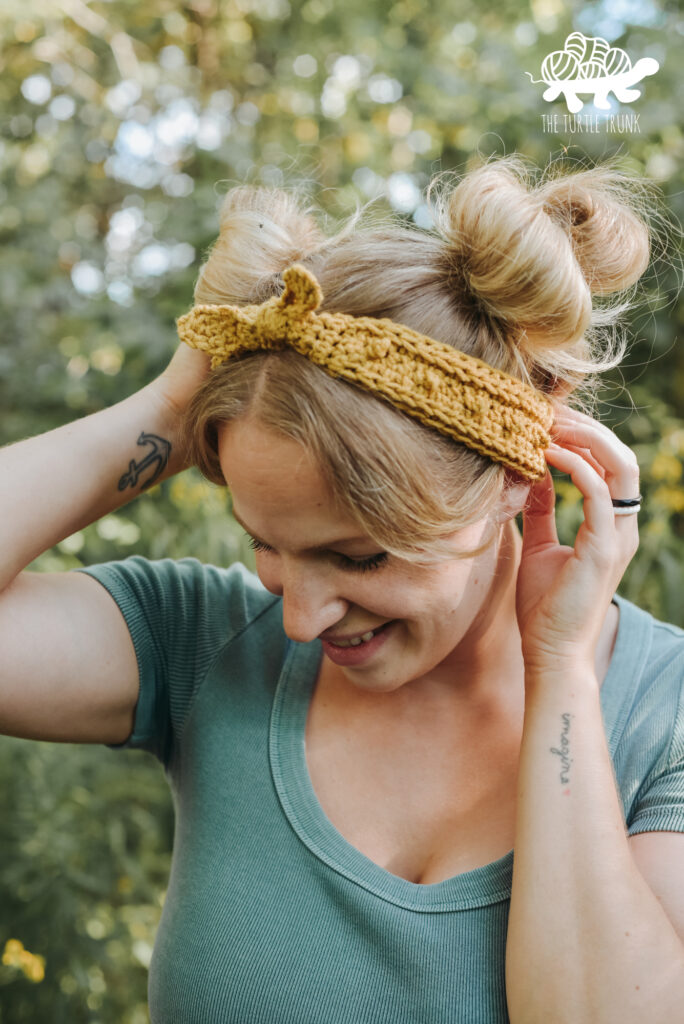
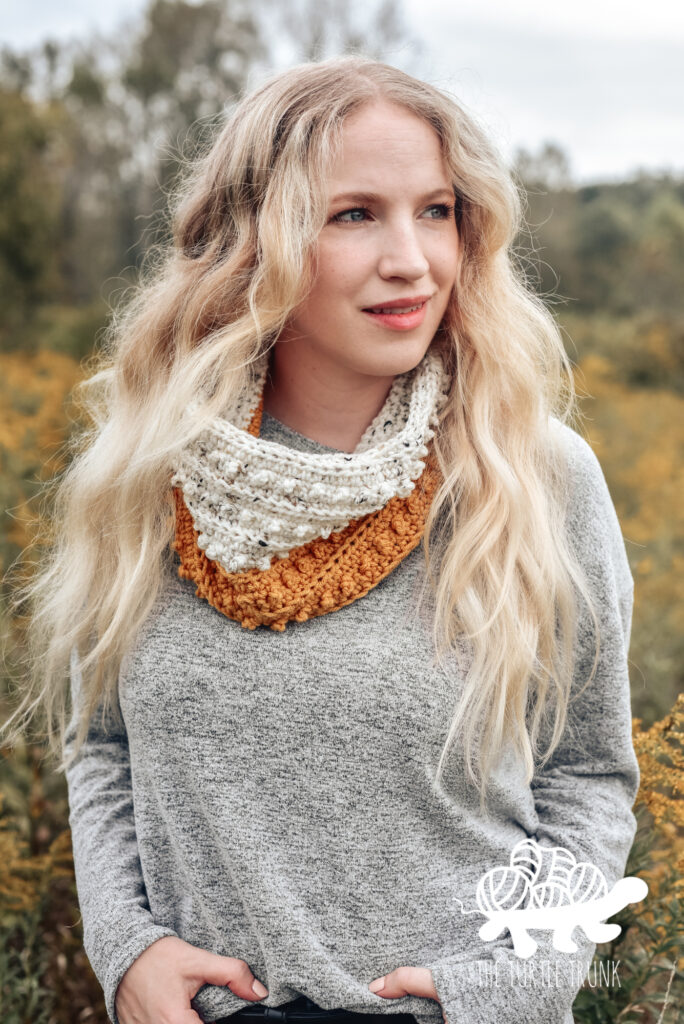
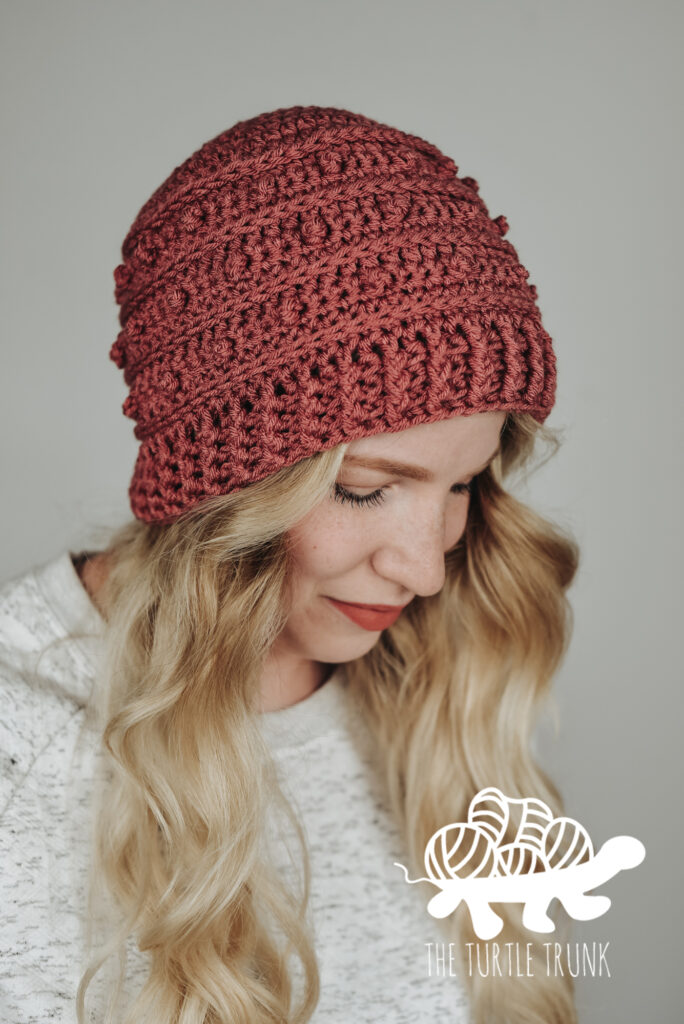
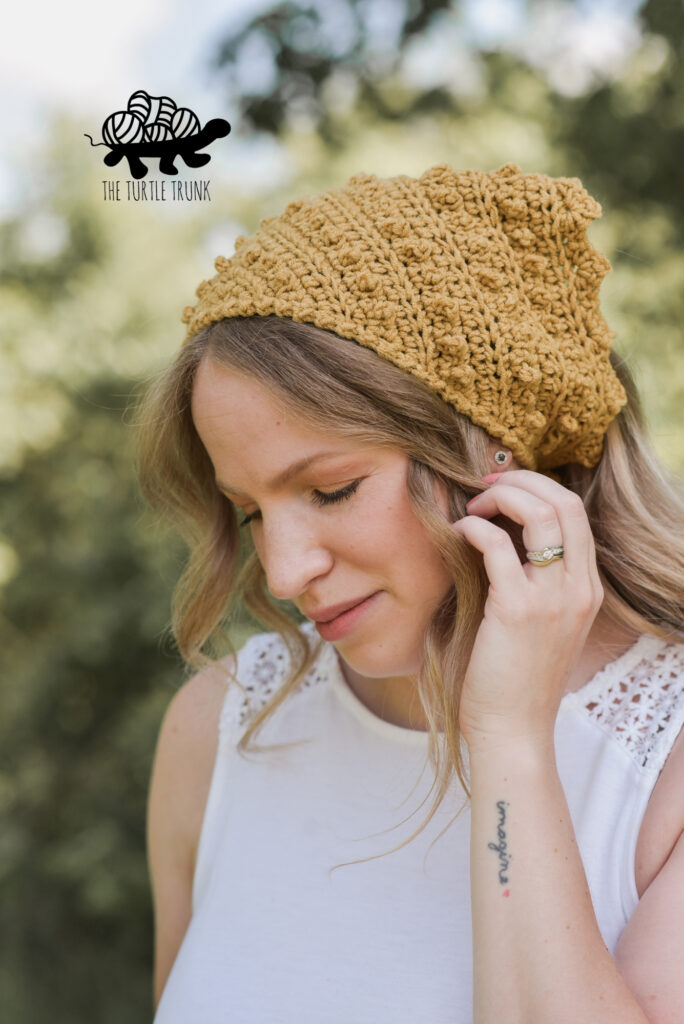
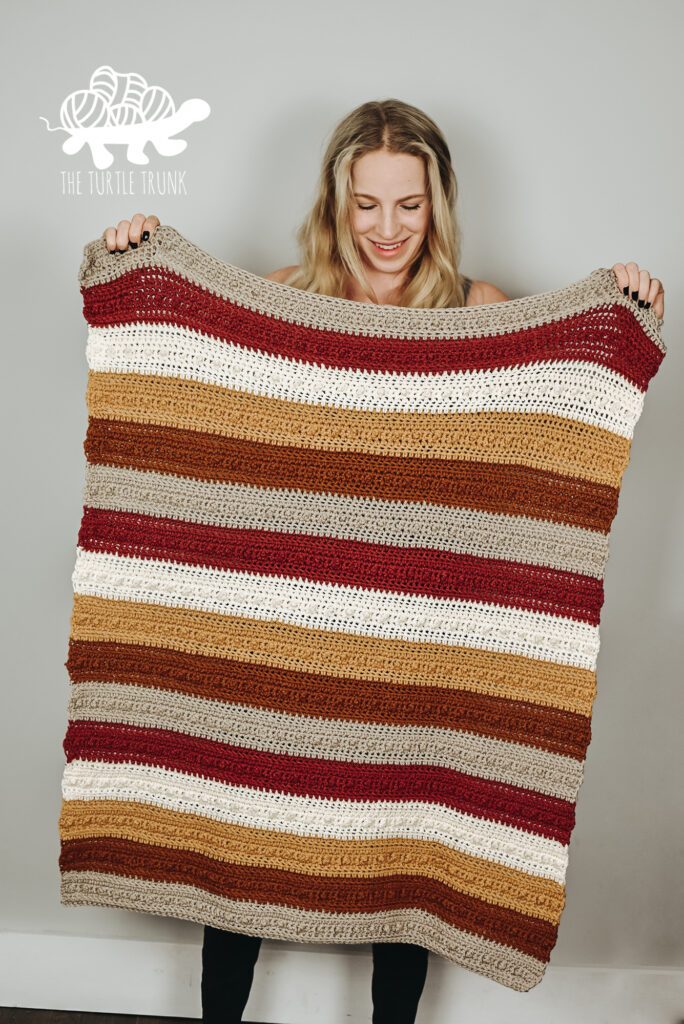
If you enjoy this pattern, then check out these other picot patterns: Skinny Picot Headband, Picot Headband, Picot Scarf & Cowl, Picot Beanie, Picot Bandana, Picot Blanket and more picot patterns.

to ready to make just yet? save this pattern to pinterest!
Follow along with the video tutorial on YouTube!
Inspiration
If you’re familiar with my designs, then you know I have a lot of Picot Patterns! The picot single crochet stitch (PSC) is one of my all time favorite stitches, so I try and use it for as many designs as I can!
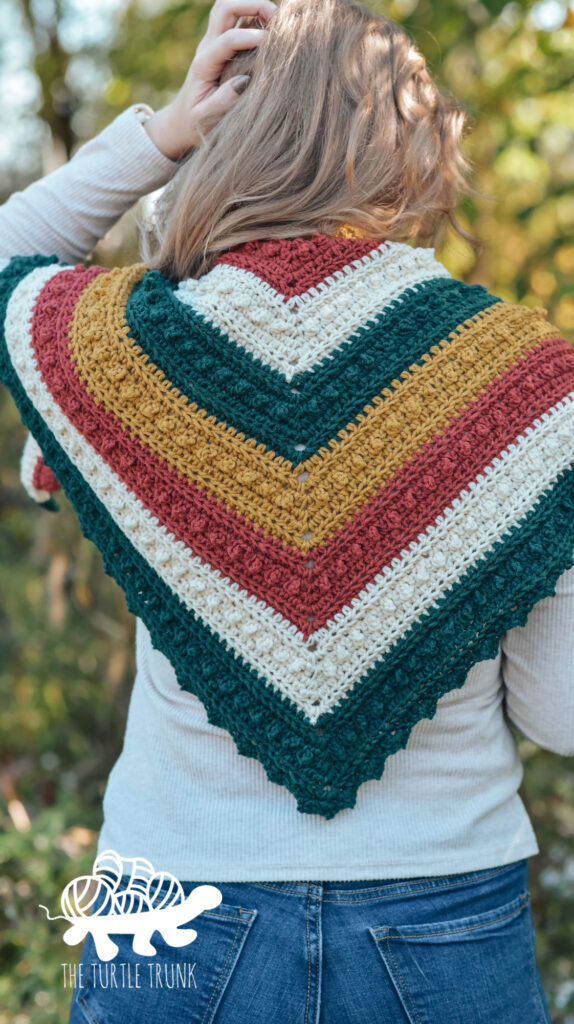
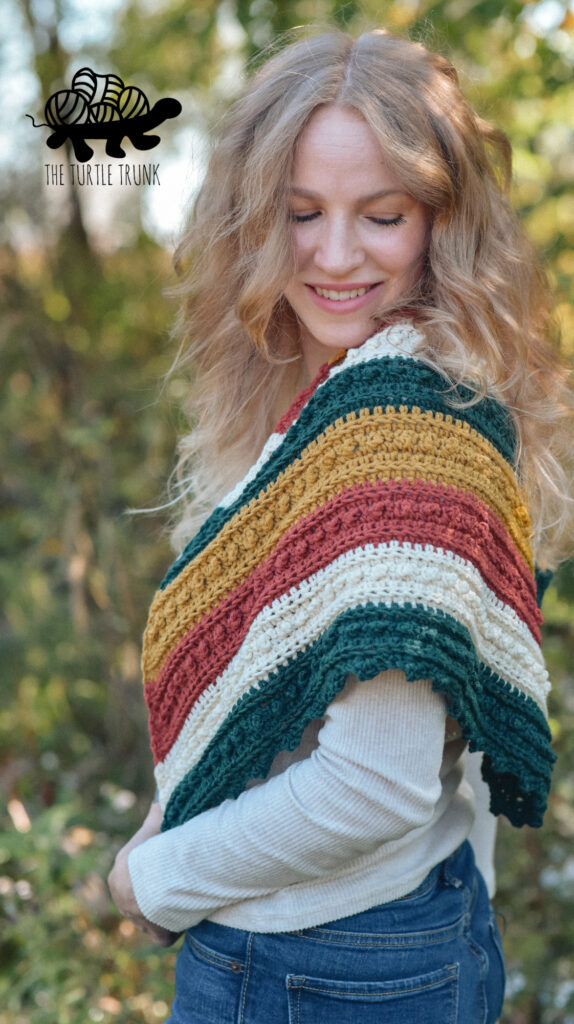
A few months ago, I released my Picot Bandana pattern. As I was making it, I realized that if I just kept working more rows and making it bigger, then it would be a triangle scarf! I know I wanted to make the triangle scarf version with stripes so I changed the row repeat from 4 rows (that the bandana uses) to 6 rows! It’s actually the same row repeat as my Picot Blanket pattern! This allows for even color changes between the stripes!
Yarn
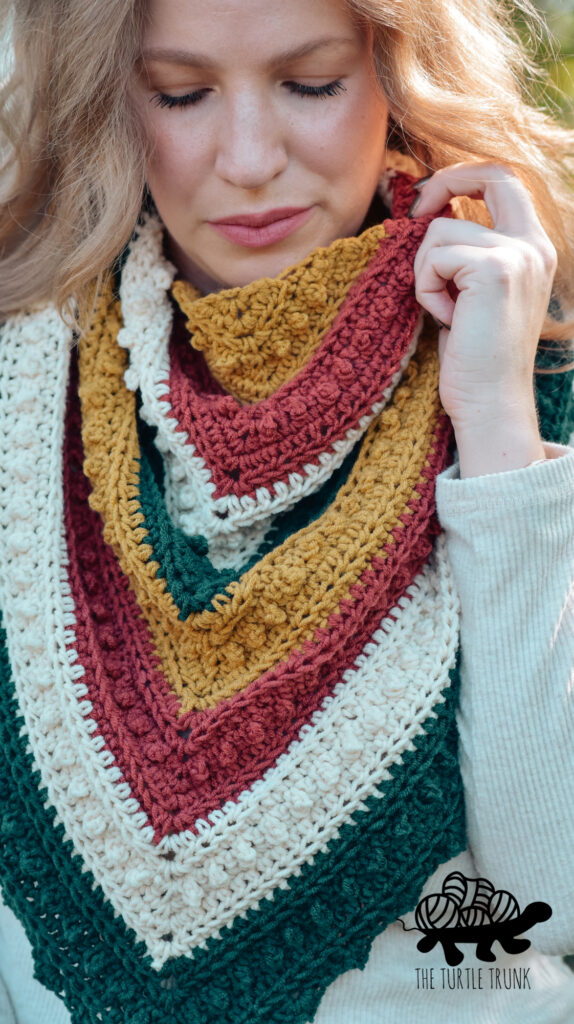
The Picot Triangle Scarf uses medium (4) weight yarn. I used Lion Brand Yarn Color Theory which is one of my absolute favorites! It’s a soft, 100% acrylic yarn that’s durable and available in variety of gorgeous colors. I used the colors Bee Pollen (yellow), Canyon (red), Ivory (white), and Peacock (green).
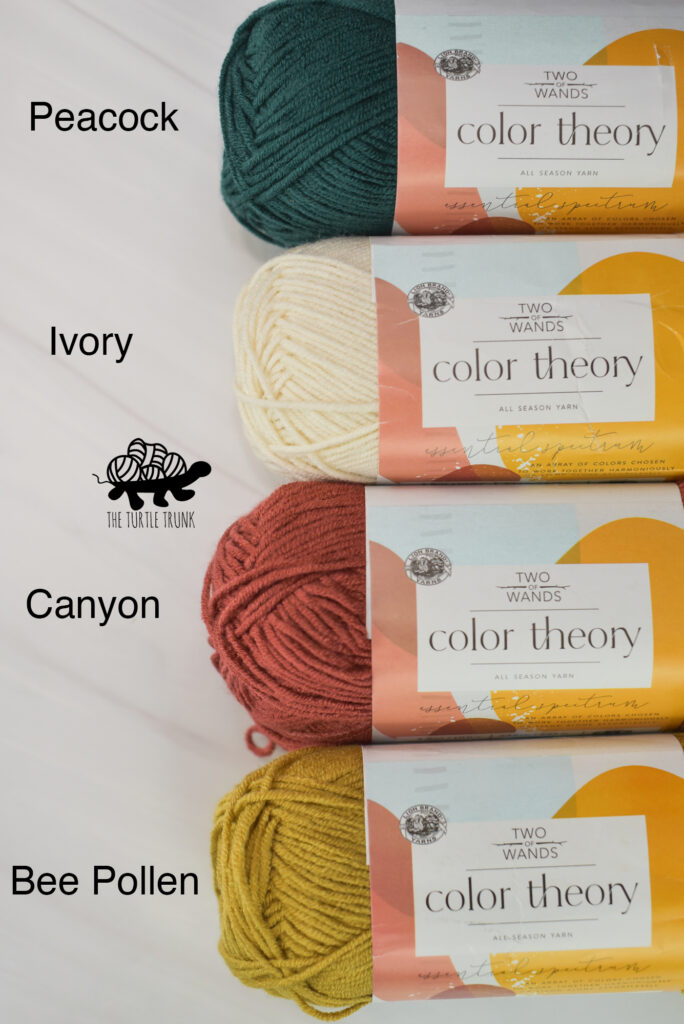
I used less than 1 skein of each color and made a total of 8 stripes (2 of each color) for my scarf. Feel free to use as few or many colors as you’d like though! There are so many color/stripe combinations you can try like alternating between 2 contacting colors, rainbow, ombre, ect.
Sizing
The instructions below will create a triangle scarf that is approximately 46″ x 22″. You can customize the size to be any size though by working as many stripes as you’d like! I worked a total of 8 stripes (49 rows) but feel free to work more or less to get a larger or smaller scarf!
To finish the scarf off, I added a pointed border around the sides of my scarf. You can leave your scarf without a border, use a different border stitch, or even add fringe or tassels!
There are so many fun customizations you can make to this triangle scarf to make it perfect for you or the recipient you’re making it for!
DIFFICULTY
Advanced Beginner
Finished Size
46” x 22”
Size can be customized byrepeating rows 2-7 until desired size is reached.
GAUGE
Gauge is not important for this pattern, but if you want to check it, then your scarf should be 4.5” x 2” at the end of Row 5. Adjust hook size up or down to meet gauge.
SUPPLIES
- 520 yards of Medium (4) weight yarn (I used Lion Brand Yarn Color Theory)
- Color A – Yellow (Bee Pollen) – 76 yards
- Color B – Red (Canyon) – 113 yards
- Color C – White (Ivory) – 141 yards
- Color D – Green (Peacock) – 190 yards
- 5.50mm (I) Crochet Hook
- Yarn Needle
- Scissors
NOTES
- The CH 1 at the beginning of each row does NOT count as a stitch. The CH 2 at the top of the triangle DO count as stitches.
- The number in parentheses at the end of the row represents the total number of stitches to be worked in that row. Each row will increase by 4 stitches.
- Stitches between *asterisk* are to be repeated until stated. Stitches between [brackets] are to be working all into the same stitch.
ABBREVIATIONS (US TERMS)
ST(s) – Stitch(es)
SK – Skip
CH – Chain
SC – Single Crochet
SC BLO – Single Crochet in the Back Loop Only
PSC – Picot Single Crochet
HDC – Half Double Crochet
SPECIAL STITCHES
Check out the video tutorial HERE if extra assistance is needed for the special stitches.
SC BLO – Single Crochet Back Loop Only
When looking at the top of a stitch you will see 2 loops. The one closest to you is the front loop and the one furthest away from you is the back loop. For a SC BLO, work a single crochet as normal but only work in the back loop of the stitch.

PSC – Picot Single Crochet
Insert your hook into the designated stitch. Pull up a loop, yarn over, and pull through the 1st loop on your hook. Yarn over and pull through the 1st loop again. Yarn over and pull through the 1st loop once more. Yarn over and pull through both loops on your hook. Push the CH 3 you just created behind so that it bumps out on the right side of your work and work the next ST.
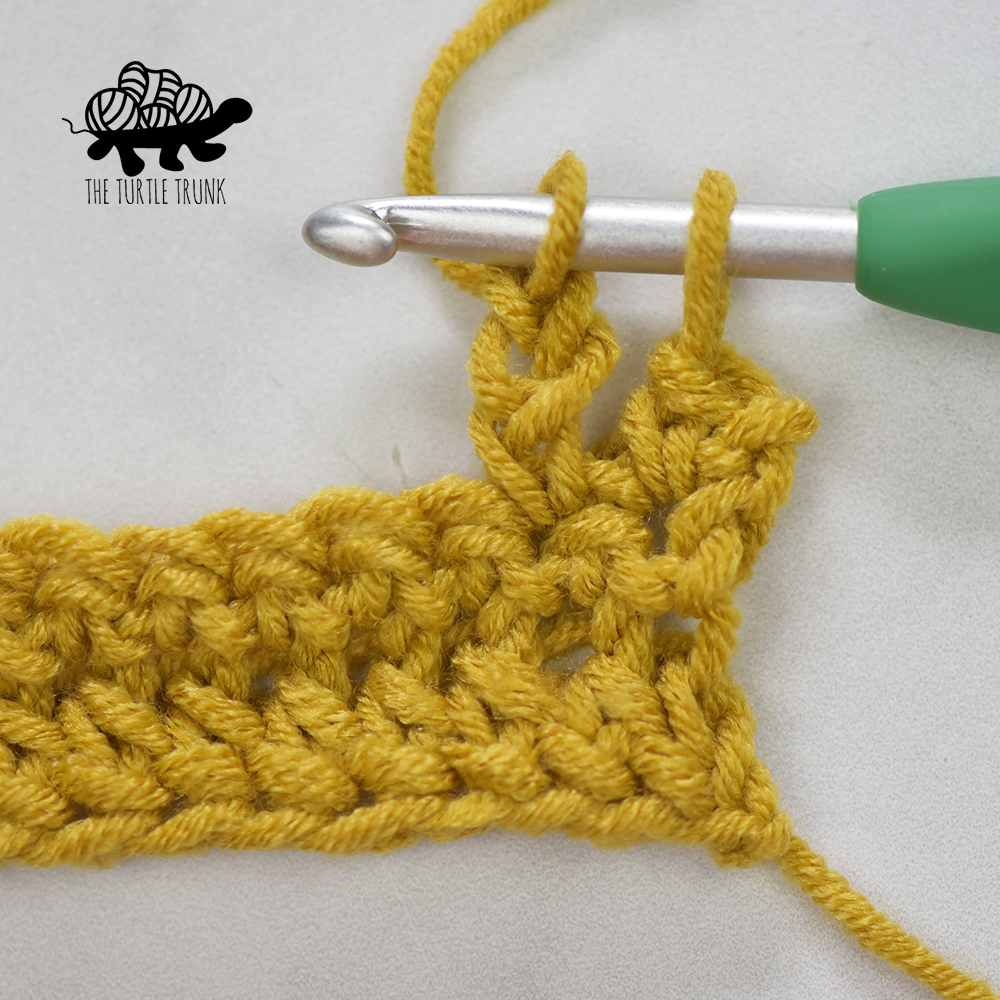
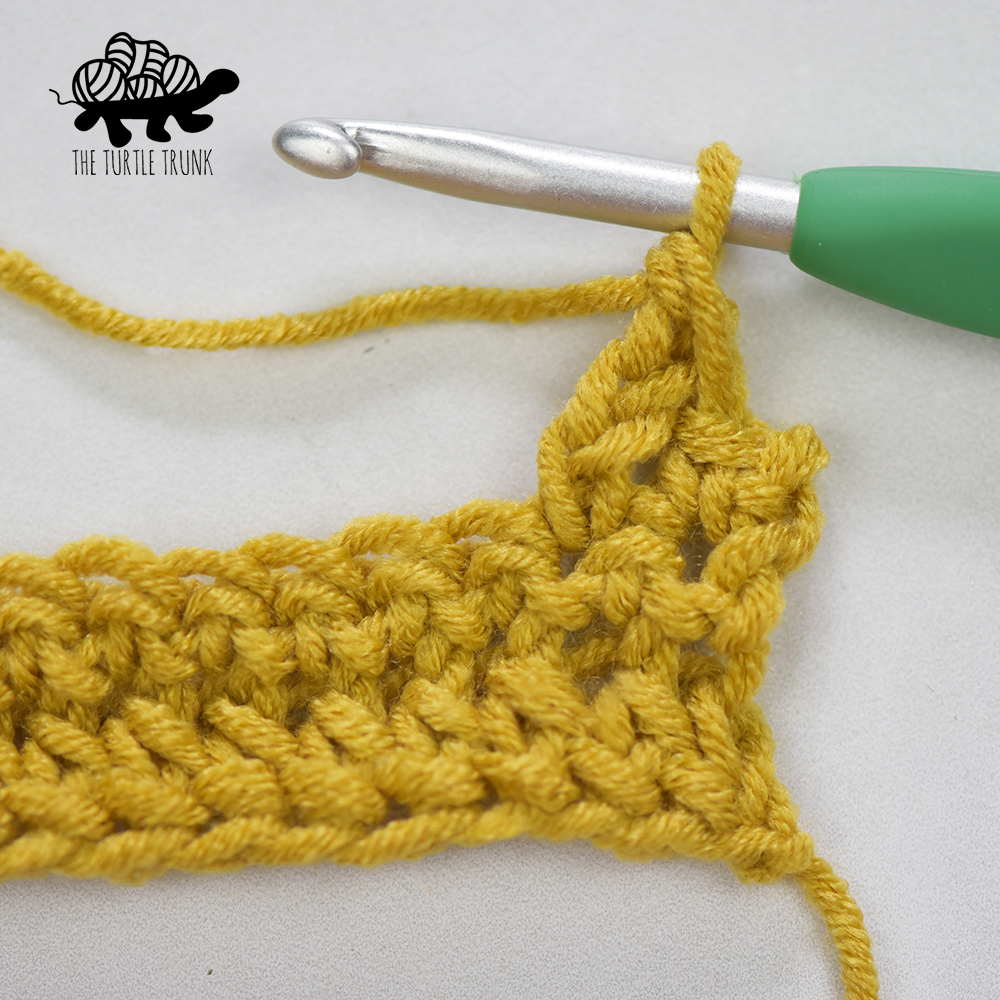
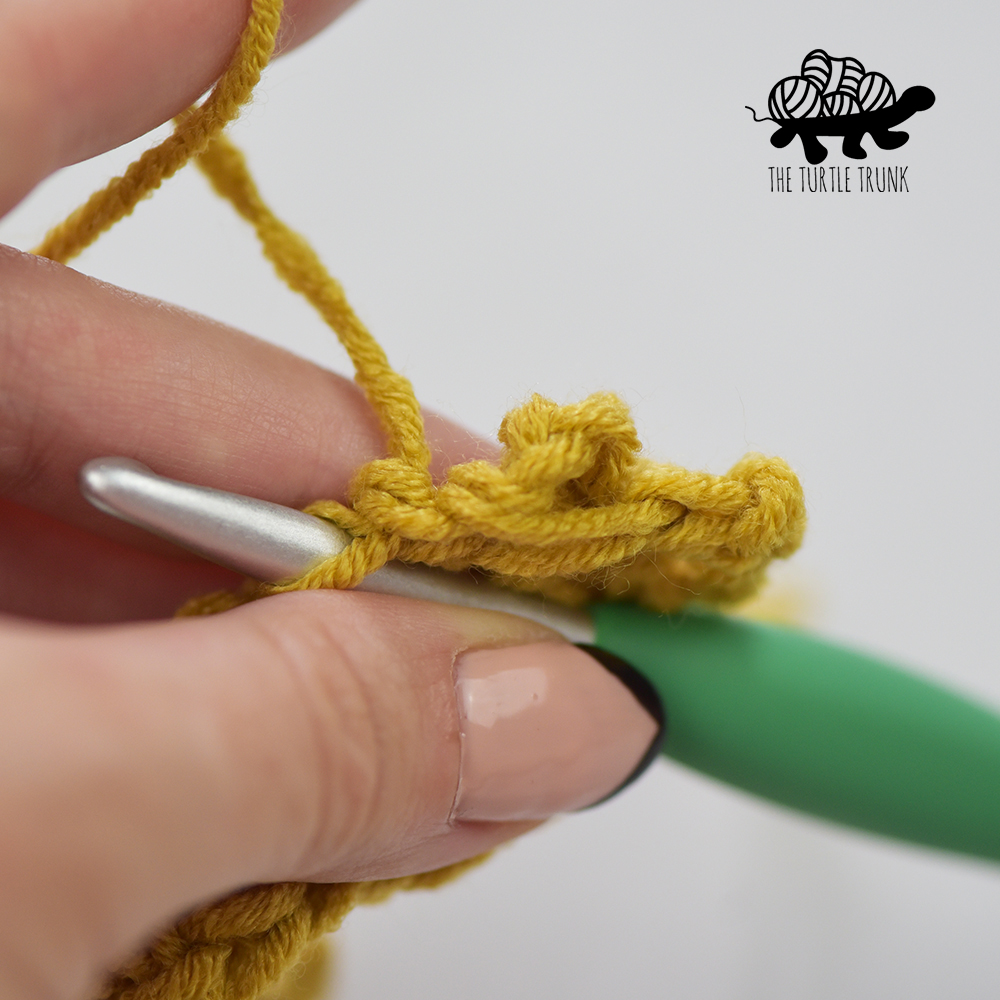
Picot Triangle Scarf Pattern
Starting with Color A
CH 2
Row 1: [2 SC, CH 2, 2 SC] into 2nd CH from the hook. CH 1 & turn. (6)
Row 2: 2 HDC in 1st ST, HDC in each ST until the CH 2 space, [HDC, CH 2, HDC] in CH 2 space, HDC in each ST until 1 ST remains, 2 HDC in the last ST. CH 1 & turn. (10)
Row 3: 2 SC BLO in 1st ST, SC BLO in each ST until the CH 2 space. [SC, CH 2, SC] in the CH 2 space, SC BLO in each ST until 1 ST remains. 2 SC BLO in the last ST. CH 1 & turn. (14)
Row 4: 2 SC in 1st ST, PSC in the next ST, *SC, PSC* repeat ** until the CH 2 space. [SC, CH 2, SC] in the CH 2 space. PSC in the next ST, then *SC, PSC* until 1 ST remains. 2 SC in the last ST. CH 1 & turn. (18)
Row 5: 2 SC in 1st ST, SC in each ST across until the CH 2 space, [SC, CH 2, SC] in the CH 2 space. SC in each ST until 1 ST remains, 2 SC in the last ST. CH 1 & turn. (22)
Row 6: 2 HDC in 1st ST, HDC into each ST until the CH 2 space. [HDC, CH 2, HDC] in CH 2 space, HDC in each ST until 1 ST remains, 2 HDC in the last ST. CH 1 & turn. (26)
Row 7: 2 SC BLO in 1st ST, SC BLO in each ST across until the CH 2 space. [SC, CH 2, SC] in the CH 2 space, SC BLO in each ST across until 1 ST remains. 2 SC BLO in the last ST. CH 1 & turn. (30)
Change to Color B
Rows 8-13: Repeat Rows 2-7 (34, 38, 42, 46, 50, 54)
Change to Color C
Rows 14-19: Repeat Rows 2-7 (58, 62, 66, 70, 74, 78)
Change to Color D
Rows 20-25: Repeat Rows 2-7 (82, 86, 90, 94, 98, 102)
Change to Color A
Rows 26-3: Repeat Rows 2-7 (106, 110, 114, 118, 122, 126)
Change to Color B
Rows 32-37: Repeat Rows 2-7 (130, 134, 138, 142, 146, 150)
Change to Color C
Rows 38-43: Repeat Rows 2-7 (154, 158, 162, 166, 170, 174)
Change to Color D
Rows 44- 49: Repeat Rows 2-7 (178, 182, 186, 190, 194, 198)
Do not tie off yarn. Move onto border.
Border
Row 50: 2 SC in 1st ST, SK next ST, *SC, SK, [2 SC, CH 2, 2 SC], SK* repeat ** until you reach the CH 2 space. [SC, CH 2, SC] in the CH 2 space. SK next ST, *[2 SC, CH 2, 2 SC], SK, SC, SK* repeat ** until 1 ST remains. 2 SC in the last ST.
Tie off yarn and weave in ends.
And you’re all done!
I hope you enjoyed the Picot Triangle Scarf crochet pattern! Be sure to tag me @theturtletrunk in your photos on Instagram so I can see your finished creations!
You are free to sell the items you make with this pattern, and I’d love if you could please link back to this page. You do not have permission to republish or distribute this pattern in any way or claim it as your own. Do not use my photos in your sale listings or for any other purposes. Thank you.
This page includes affiliate links. If you make a purchase from these links, I may make a small commission at no cost to you! Thank you for your support!


