
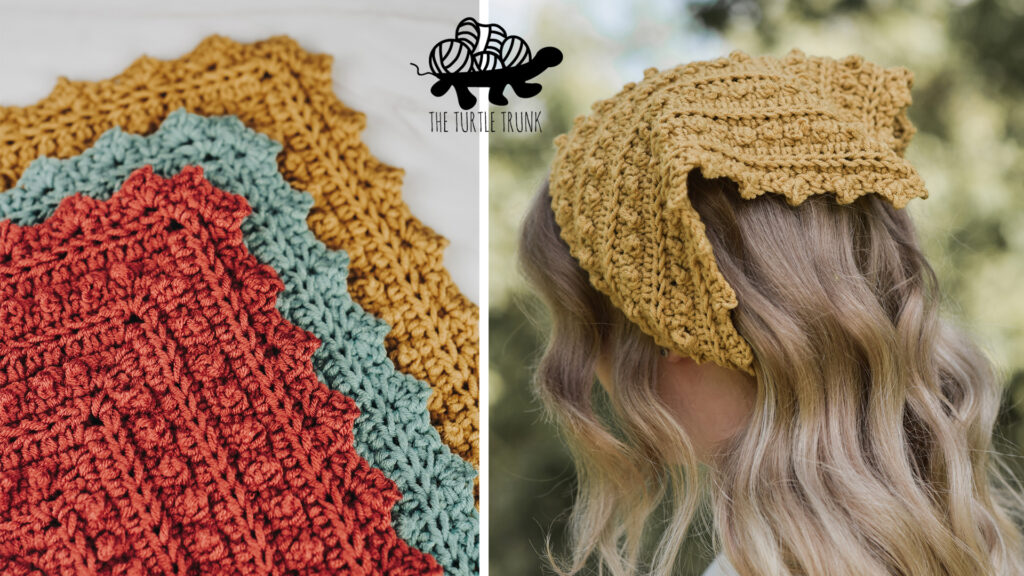
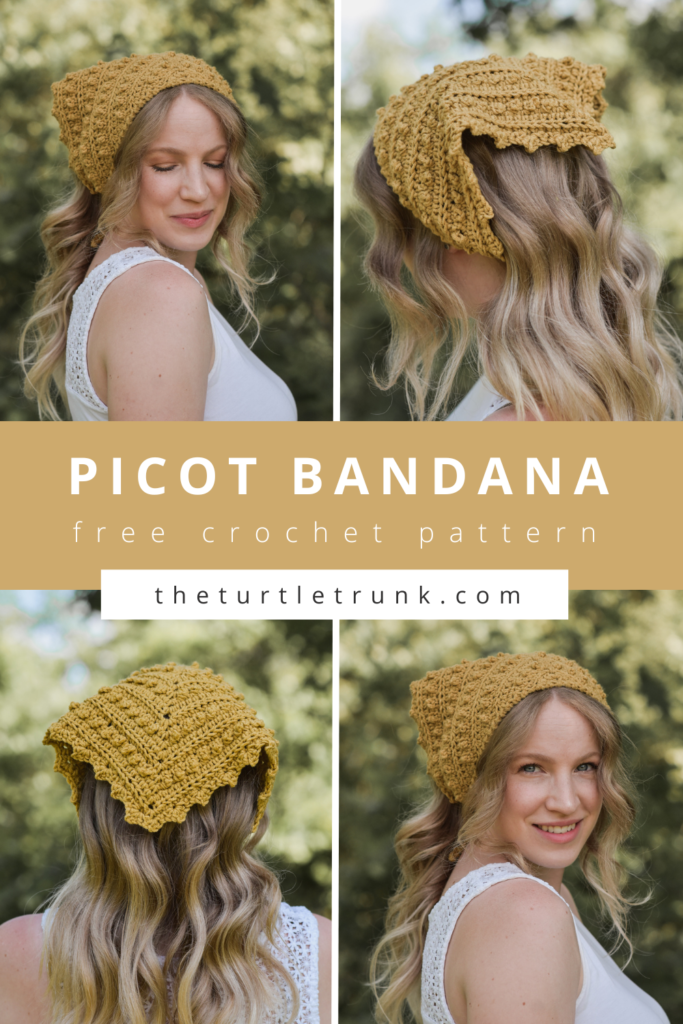
Picot Bandana Crochet Pattern
The Picot Bandana crochet pattern features lots of beautiful texture that’s easy to create! It includes 3 sizes so you can make one for anyone and it’s the perfect warm weather accessory to protect your head from the sun, keep your hair back, or just to look cute!
The Picot Bandana is my latest addition to my Picot Collection!
This crochet summer accessory features lot’s of texture from a variety of fun and unique stitches! Although this design may look complicated, it actually works up quite quickly and easily!
This crochet bandana pattern includes 3 sizes to fit any head size. You can even customize the size by continuing the 4 row repeat as many times as you desire!
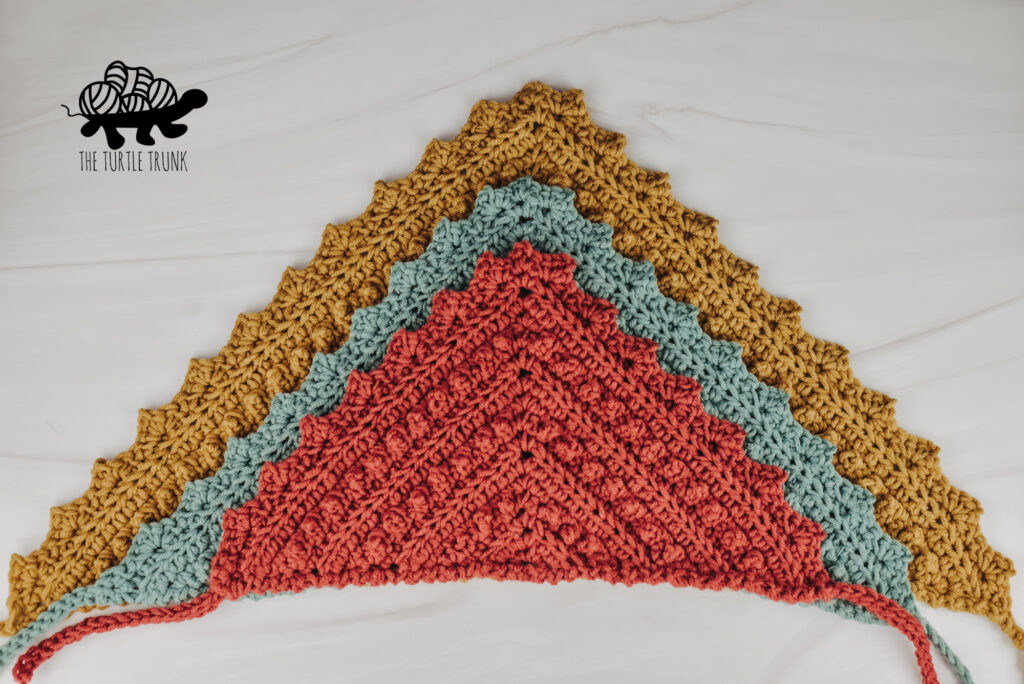
Along with tons of texture for the main body of the bandana, it also features a fun, pointed border, and a unique top edge with a twist!
Continue reading below to hear my inspiration for this pattern and to learn more about the yarn I used, then scroll down for the free written crochet pattern!
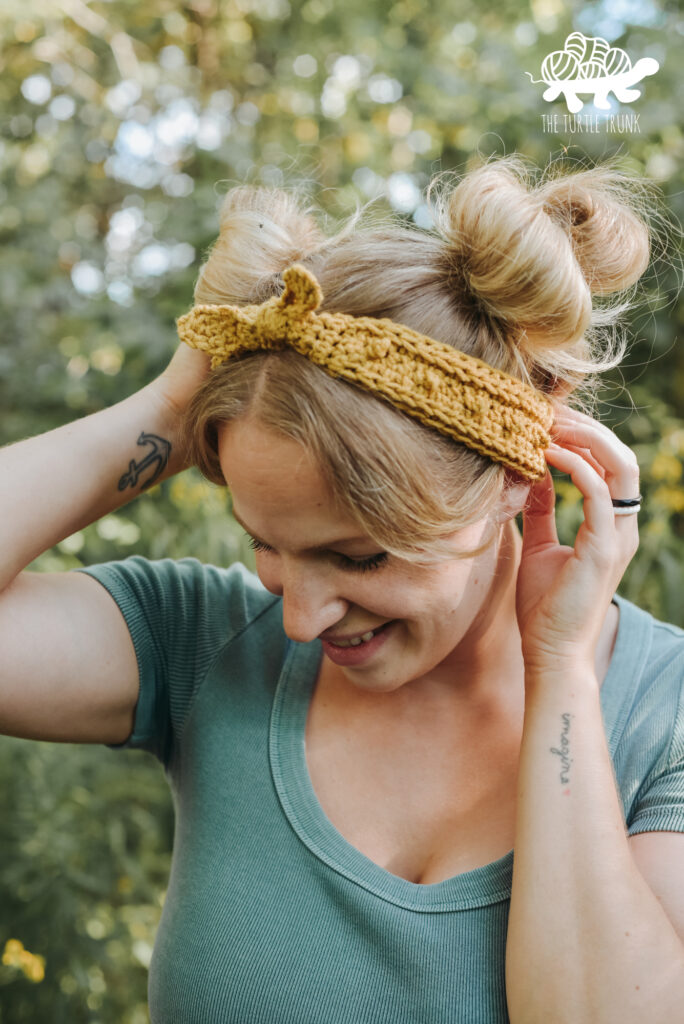
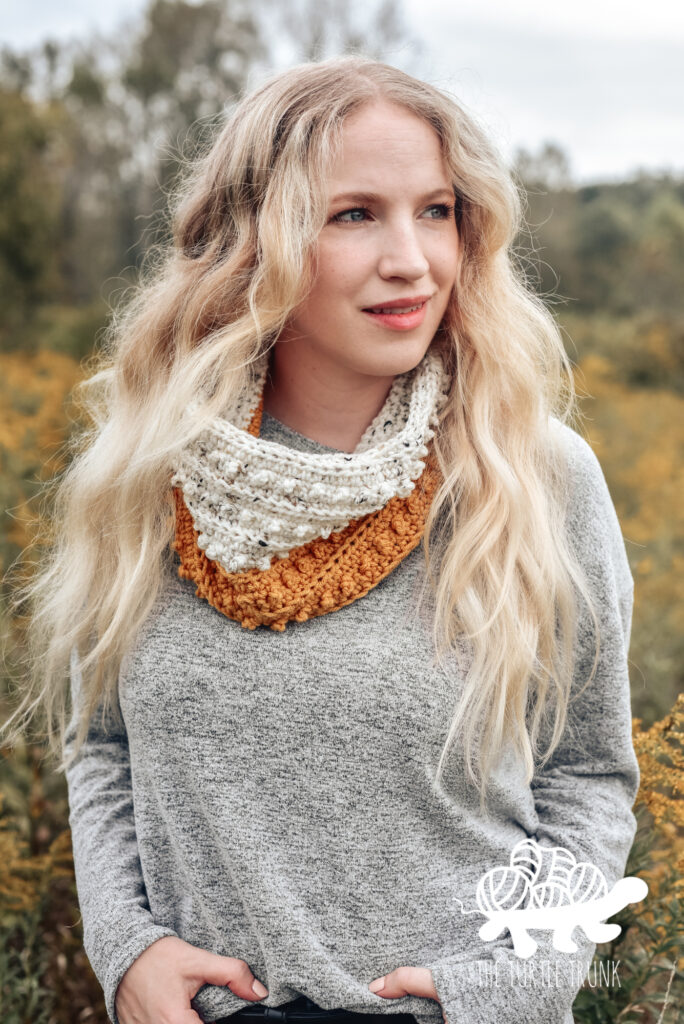
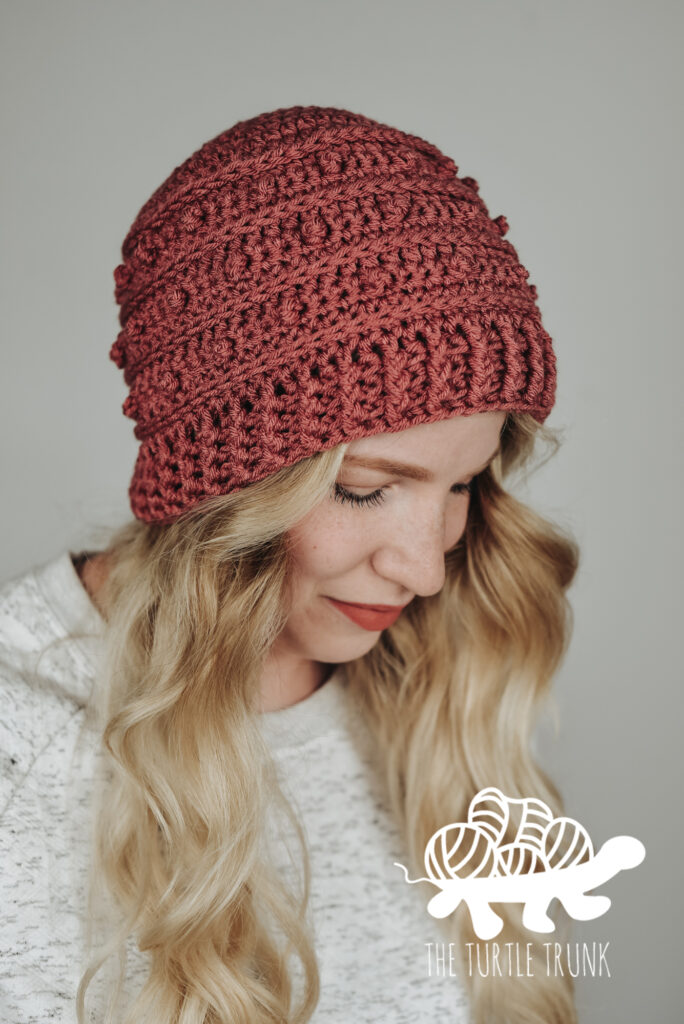
If you enjoy this pattern, then check out these other picot patterns: Skinny Picot Headband, Picot Headband, Picot Scarf & Cowl, Picot Beanie, and more picot patterns.

FOLLOW ALONG WITH THE AD FREE &
PRINTABLE PDF PATTERN FROM
ETSY AND RAVELRY!
Not ready to make just yet?
Save this pattern to Pinterest for later!
Follow along with the video tutorial on YouTube!
INSPIRATION
If you’re familiar with my crochet patterns and designs then the picot single crochet stitch should not be new to you. It is one of, if not my number 1, favorite crochet stitch! It offers such a fun and unique texture and is so easy to create!
While I already have the Skinny Picot Headband, which is a summery, crochet head piece, the Picot Bandana is a fun alternative for more coverage.
If you’re wanting cute, crochet headwear that’ll help keep your hair back AND protect and cover the top of your head, then the Picot Bandana is perfect for you!

YARN
The Picot Bandana uses medium (4) weight yarn. I used Lion Brand Yarn Color Theory which is one of my absolute favorite worsted/medium weight yarns!
It’s a soft, 100% acrylic yarn that’s durable and available in variety of gorgeous colors. I used the colors Bee Pollen (yellow), Tourmaline (teal), and Canyon (red). Check out all the other amazing colors HERE!
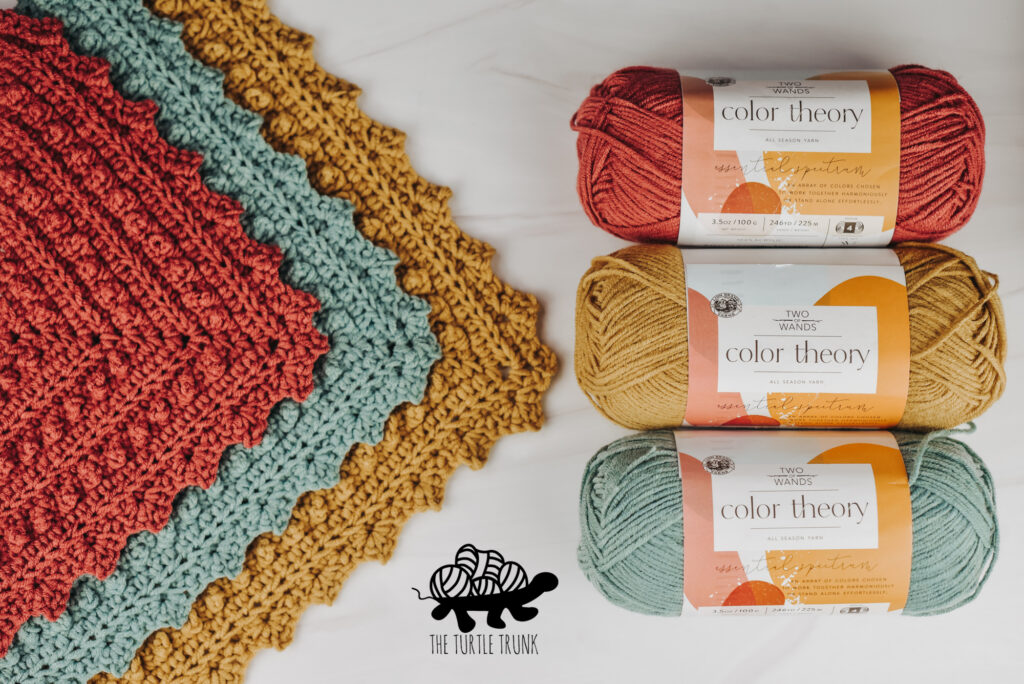
Lion Brand Yarn Color Theory offers amazing stitch definition, feels great, and can be machine washed and dried! I love the unique and modern colors which are more muted than most yarns available.
Feel free to use any medium (4) weight yarn though! You can even use cotton yarn!
Want to make your Picot Bandana lighter? The best part about this crochet pattern is its versatility! Use a lighter weight yarn and a smaller hook to make a lighter bandana! Follow the pattern as normal and continue to repeat rows 4-7 until your desired size is reached.
Sizes
The instructions for the Picot Bandana include 3 sizes: small, medium, and large. See the size chart down below of the measurements of each. Any size can be made for anyone depending on the fit and coverage you’d like! Here is a comparison of each size on a child and adult:
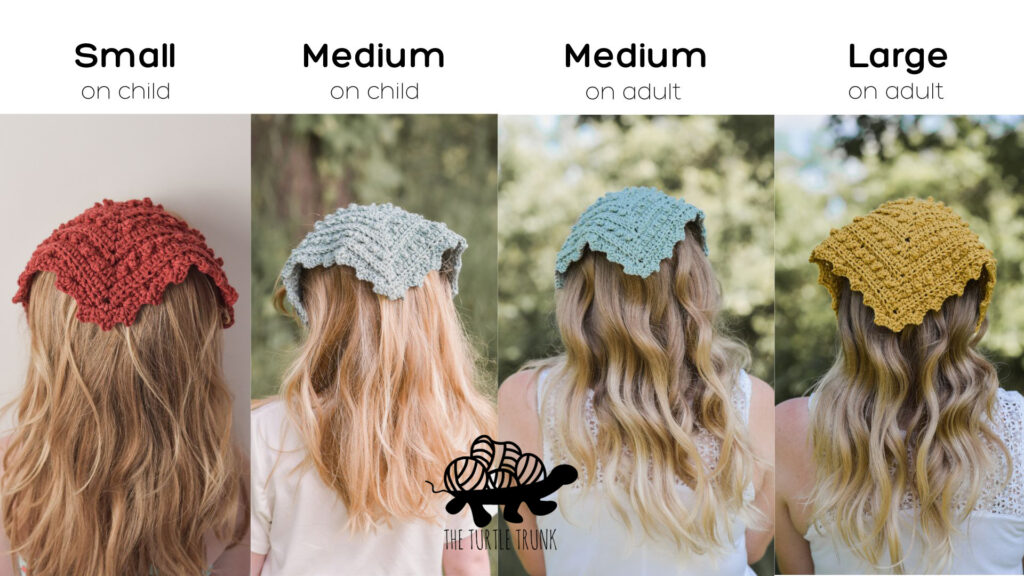
The size small is best suited for babies and toddlers, which will offer full coverage for both.
It will come down behind the ears and cover the top and back of the head.
A size small can also be worn by older children, teens, and adults for lighter coverage and daintier look! It will not drape as far down to the ears and will only cover the very top of the head.
Medium is best suited for children for a fuller coverage, which will cover the top and back of the head and come down past the ears.
For teens and adults, a medium will offer lighter coverage, covering the top of the head but not coming as far down the back of the head.
A large will offer the most coverage for teens and adults, covering the top and the back of the head and wrapping down past the ears.
If you’re unsure of what size to make, I think medium is a great fit for anyone and offers the best versatility for head sizes. You can also make the ties as long or short as you want to fit any head circumference.
| Size | Length (not including ties) | Width | Yardage |
| Small | 14” | 7” | 60 yards / 55 meters |
| Medium | 17” | 9” | 85 yards / 78 meters |
| Large | 20” | 11” | 135 yards / 124 meters |
Difficulty
Advanced Beginner
Gauge
At the end of Row 5 your bandana should be 4” in length by 2” wide.
Adjust hook size up or down to meet gauge.
Supplies
- Medium (4) weight yarn (I used Lion Brand Yarn Color Theory)
- 5.00 mm (H) Hook
- Yarn Needle
- Scissors
Notes
- Instructions for all sizes start off the same. When each size has a different row count, the smallest size will be listed first followed by the next size up.
- The CH 1 at the beginning of each row does NOT count as a stitch. The CH 2 at the top of the triangle DO count as stitches.
- The number in parentheses at the end of the row represents the total number of stitches to be worked in that row. Each row will increase by 4 stitches.
Stitches between *asterisk* are to be repeated until stated. Stitches between [brackets] are to be working all into the same stitch.
Abbreviations (US Terms)
ST(s) – Stitch(es)
SL ST – Slip Stitch
SK – Skip
CH – Chain
SC – Single Crochet
PSC – Picot Single Crochet
BLO – Back Loop Only
HDC – Half Double Crochet
Special Stitches
Check out the video tutorial HERE if extra assistance is needed for the special stitches.
SC BLO – Single Crochet Back Loop Only
When looking at the top of a stitch you will see 2 loops. The one closest to you is the front loop and the one furthest away from you is the back loop. For a SC BLO, work a single crochet as normal but only work in the back loop of the stitch.

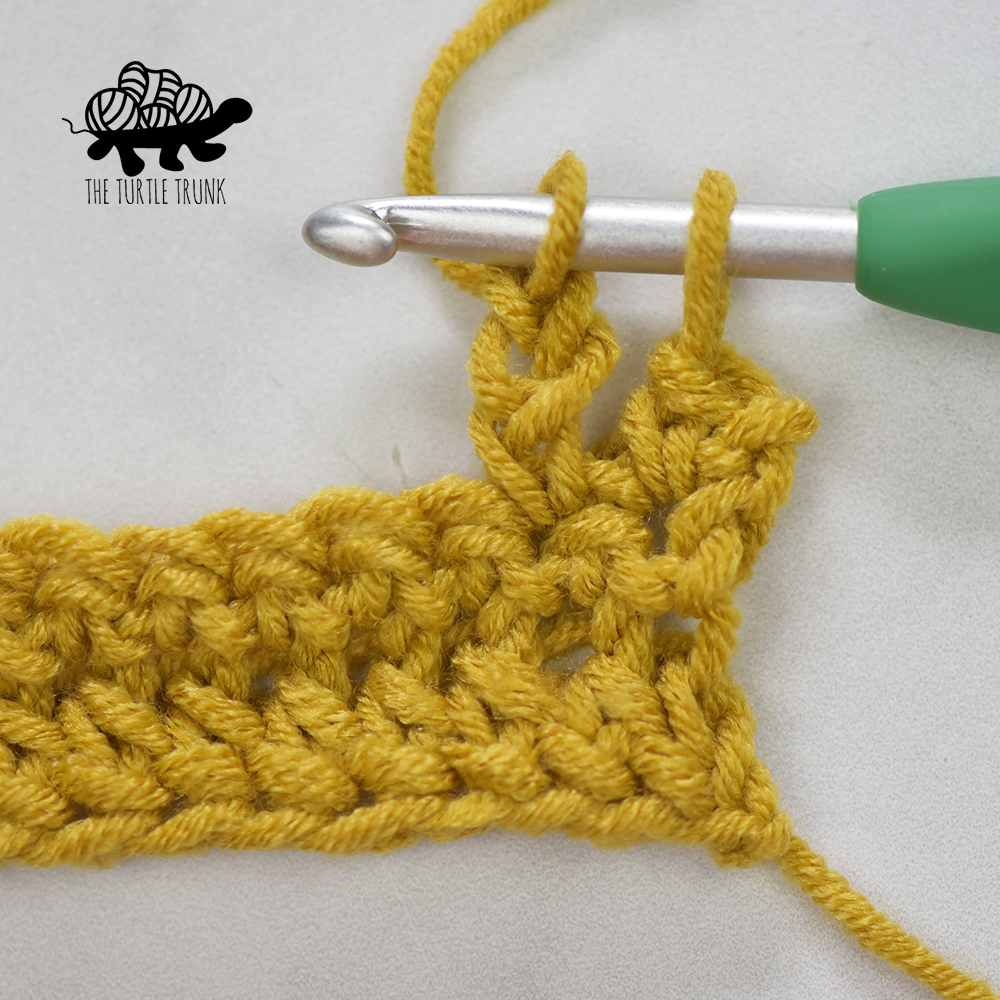
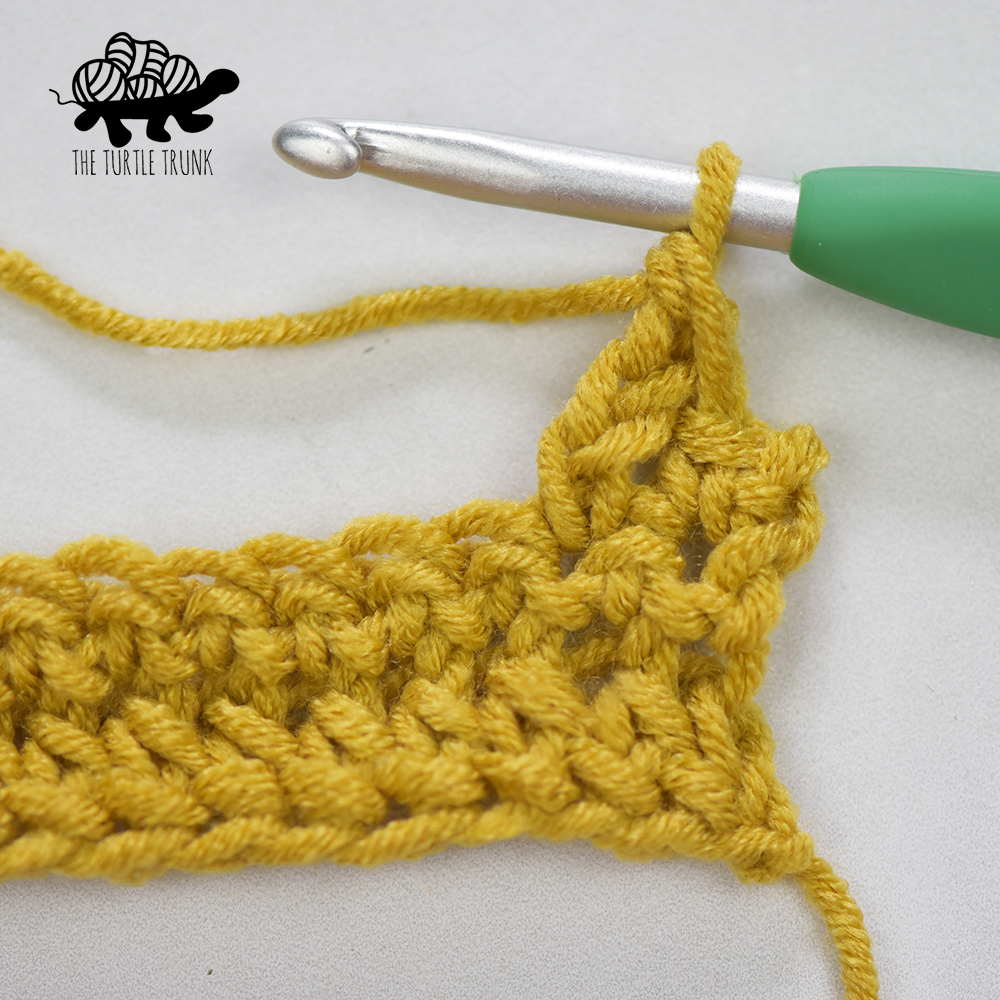
PSC – Picot Single Crochet
Insert your hook into the designated stitch. Pull up a loop, yarn over, and pull through the 1st loop on your hook. Yarn over and pull through the 1st loop again. Yarn over and pull through the 1st loop once more. Yarn over and pull through both loops on your hook. Push the CH 3 you just created behind so that it bumps out on the right side of your work and work the next ST.

Twisted Single Crochet (Reverse Crab Stitch)
With the loop on your hook loose, insert hook into stitch, yarn over, pull up a loop, keeping the 2nd loop on your hook loose as well, rotate your crochet hook 360° counterclockwise. Yarn over and pull through both loops on your hook.
Picot Bandana Pattern
CH 2
Row 1: [2 SC, CH 2, 2 SC] into 2nd CH from the hook. CH 1 & turn. (6)
Row 2: 2 HDC in 1st ST, HDC into next ST, [HDC, CH 2, HDC] in CH 2 space, HDC in next ST, 2 HDC in the last ST. CH 1 & turn. (10)
Row 3: 2 SC BLO in 1st ST, SC BLO in the next 3 STs. [SC, CH 2, SC] in the CH 2 space, SC BLO in the next 3 STs. 2 SC BLO in the last ST. CH 1 & turn. (14)
Row 4: 2 SC in 1st ST, PSC in the next ST, *SC, PSC* repeat ** across until the CH 2 space. [SC, CH 2, SC] in the CH 2 space. PSC in the next ST, then *SC, PSC* across until 1 ST remains. 2 SC in the last ST. CH 1 & turn. (18)
Row 5: 2 SC in 1st ST, SC in each ST across until the CH 2 space, [SC, CH 2, SC] in the CH 2 space. SC in each ST across until 1 ST remains, 2 SC in the last ST. CH 1 & turn. (22)
Row 6: 2 HDC in 1st ST, HDC into each ST until you reach the CH 2 space. [HDC, CH 2, HDC] in CH 2 space, HDC in each ST across until 1 ST remains, 2 HDC in the last ST. CH 1 & turn. (26)
Row 7: 2 SC BLO in 1st ST, SC BLO in each ST across until you reach the CH 2 space. [SC, CH 2, SC] in the CH 2 space, SC BLO in each ST across until 1 ST remains. 2 SC BLO in the last ST. CH 1 & turn. (30)
Rows 8-15/19/23: Repeat Rows 4-7 (Small: 2 times, Medium: 3 times, Large: 4 times).
Do not tie off yarn. Move onto border.
Border
Row 16/20/24: 2 SC in 1st ST, SK next ST, *SC, SK, [2 SC, CH 2, 2 SC], SK* repeat ** until you reach the CH 2 space. [SC, CH 2, SC] in the CH 2 space. SK 1, *[2 SC, CH2, 2 SC], SK, SC, SK* repeat ** until 1 ST remains. 2 SC in the last ST.
Do not tie off yarn. Move onto ties.
Ties
CH 21 (this will make a tie that is approximately 6” long, feel free to make the chain longer or short). Working in the back bump of the chain, loosely SL ST in the 2nd CH from the hook and in each CH across.
When you reach the main body of the bandana, work 1 Twisted Single Crochet in each row across the top (this stitch will add a fun texture to the top edge of the bandana, feel free to use regular single crochets across for a straight edge).
When you reach the other side of the bandana, CH 21 (or the same number you worked on the other side). Working in the back bump of the chain, loosely SL ST in the 2nd Ch from the hook and in each CH across.
SL ST into the top corner of the bandana and tie off yarn. Weave in ends.
And you’re all done!
I hope you enjoyed the Picot Bandana crochet pattern! Be sure to tag me @theturtletrunk in your photos on Instagram so I can see your finished creations!
You are free to sell the items you make with this pattern, and I’d love if you could please link back to this page. You do not have permission to republish or distribute this pattern in any way or claim it as your own. Do not use my photos in your sale listings or for any other purposes. Thank you.
This page includes affiliate links. If you make a purchase from these links, I may make a small commission at no cost to you! Thank you for your support!
