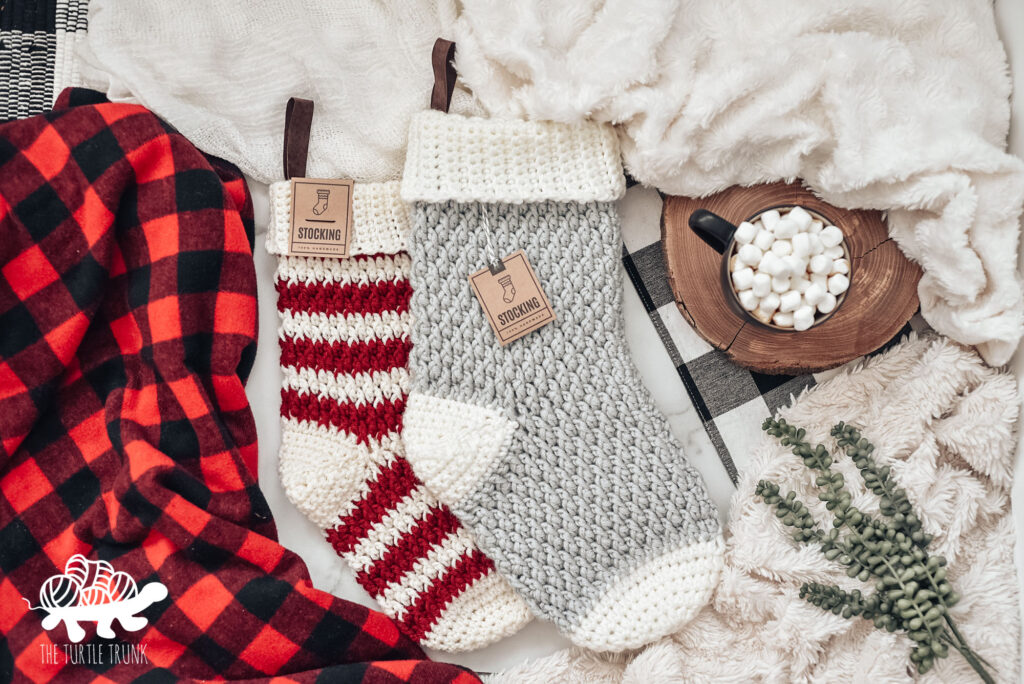
Picot Stocking Crochet Pattern
The Picot Stocking features amazing textures from fun crochet stitches! Perfect for gifting or making for the family for the holidays! You can make your stockings two-toned or striped, and use as many or few colors as you’d like!
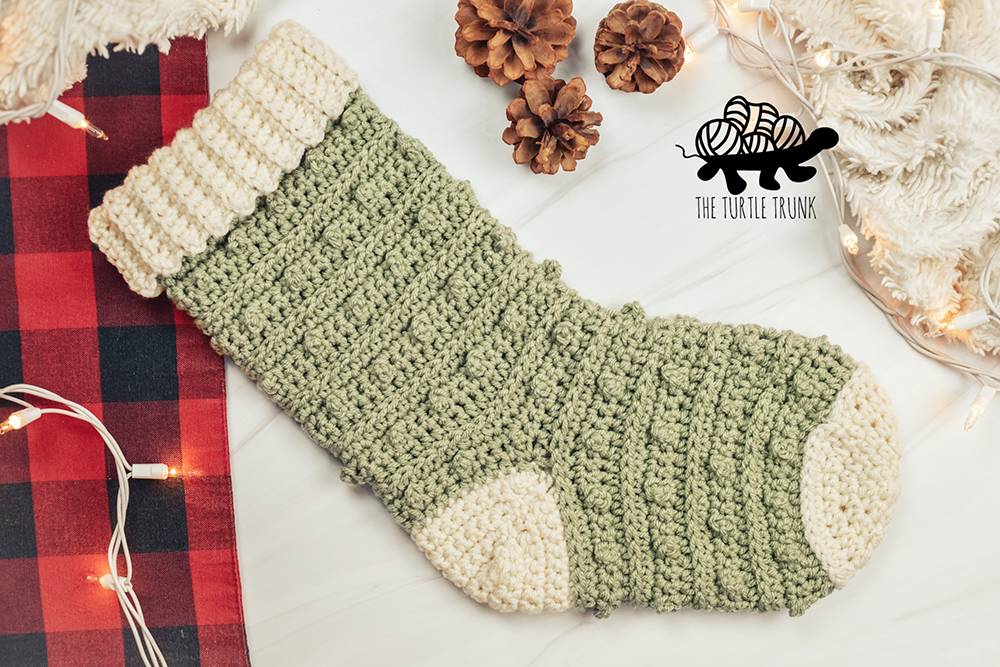
This Picot Stocking is the perfect project for the holidays! Make them for family, friends, or to sell at markets.
We’ll use a mix of basic crochet stitches, 3rd loop stitches, and picot stitches to create a beautifully textured fabric! Don’t be intimidated though, these stitches work up easily and the pattern uses a 4 round repeat so it’s simple to follow along with!
Want to follow along with the ad-free, printable PDF? You can purchase it HERE on Etsy or HERE on Ravelry!
Need some help with the stitches or construction of the stocking? Check out the step-by-step video tutorial for the Picot Stocking on my YouTube channel!
FOLLOW ALONG WITH THE AD FREE & PRINTABLE PDF PATTERN FROM
ETSY AND RAVELRY!
Not ready to make just yet?
Save this pattern to Pinterest!
Picot Patterns
If you’re familiar with my patterns and designs, then you’ll recognize the picot single crochet stitch. I use it A LOT!
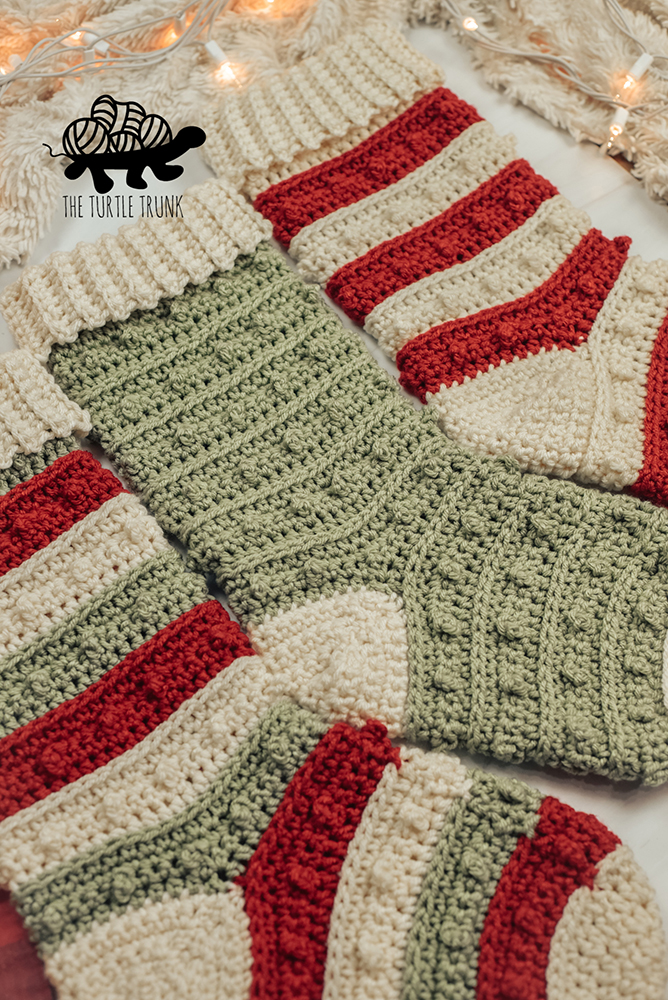
It’s one of my favorite crochet stitches because it easy to make and it gives a project a fun and unique texture! It appears as a tiny bump on the fabric, similar to a bobble or popcorn stitch, but the picot single crochet is much smaller.
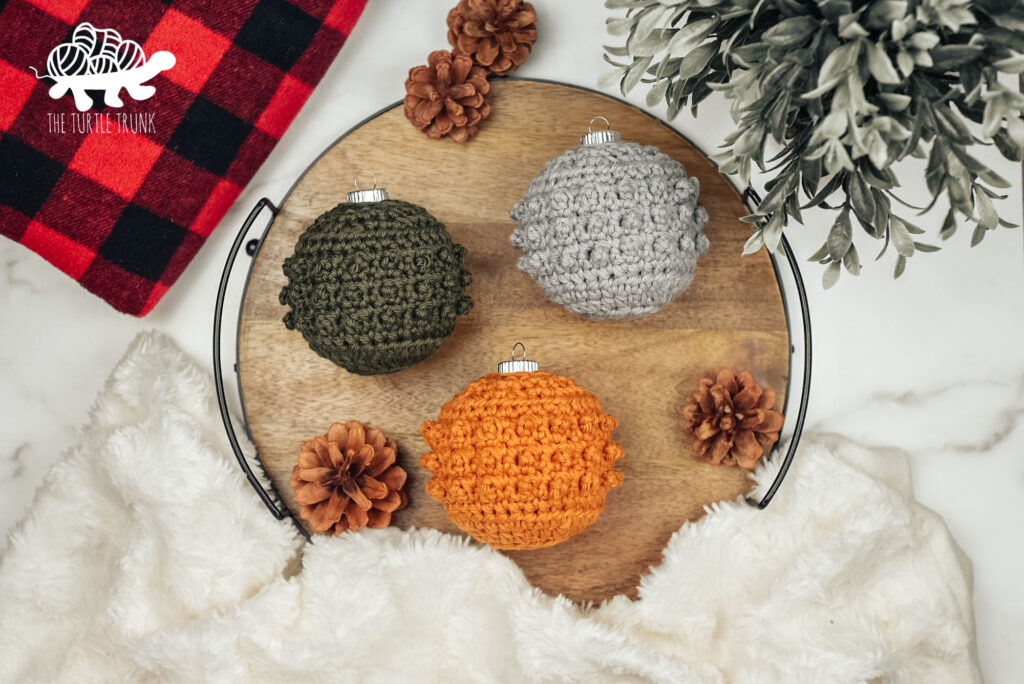
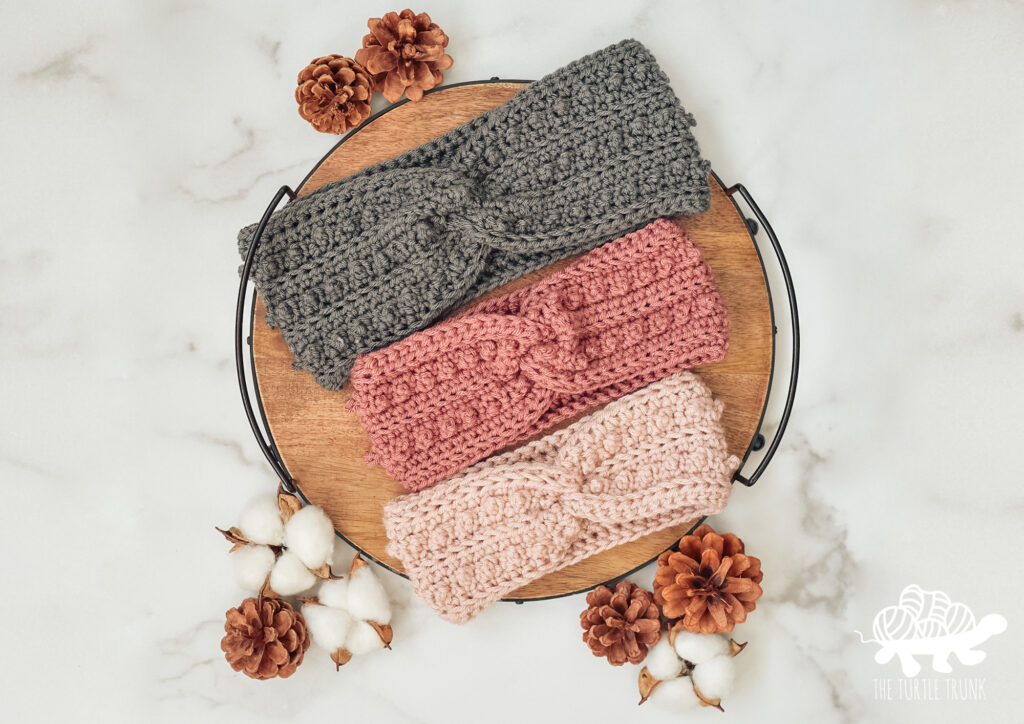
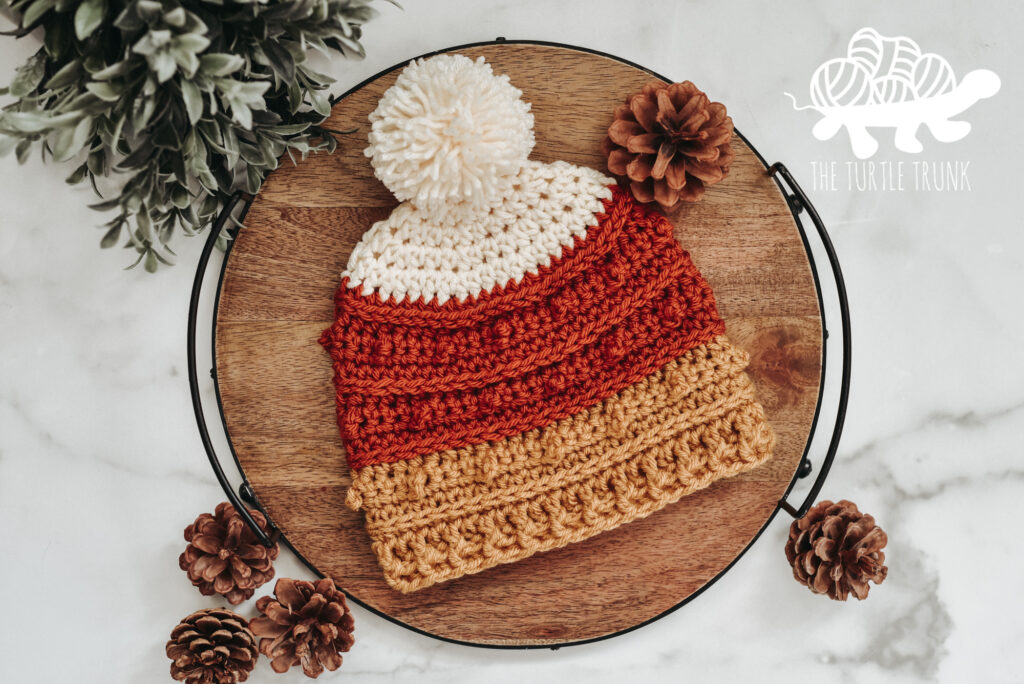
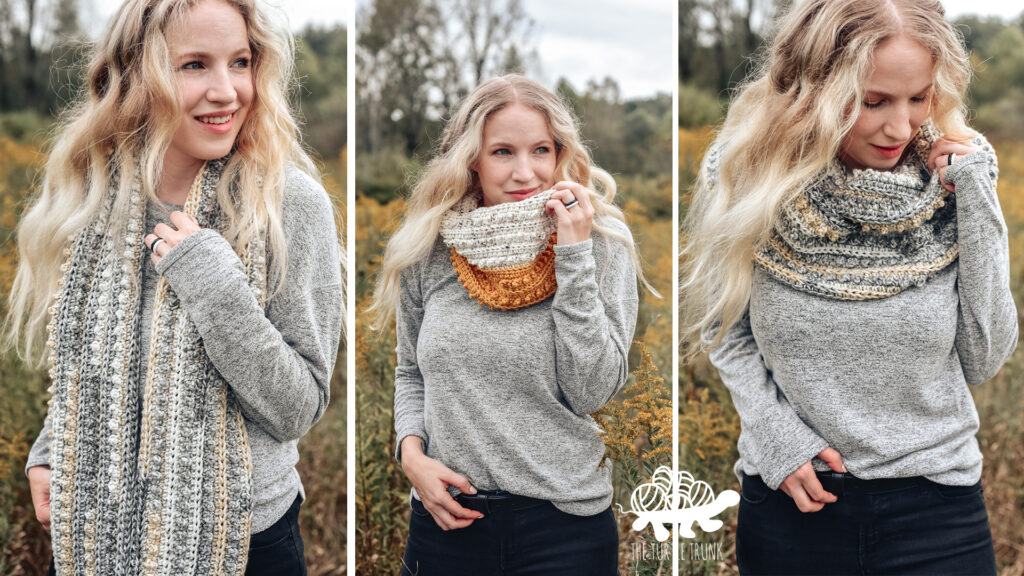
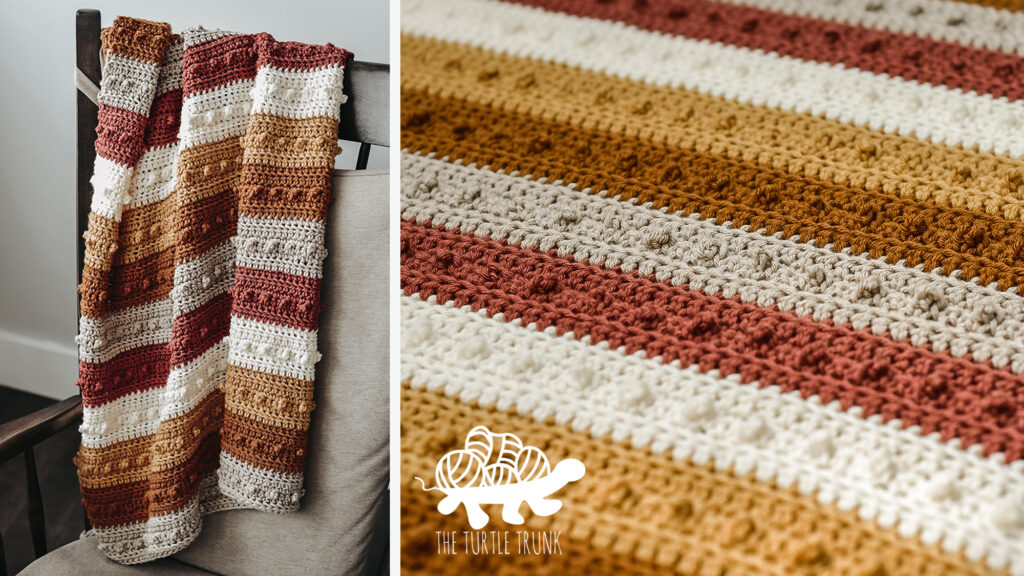
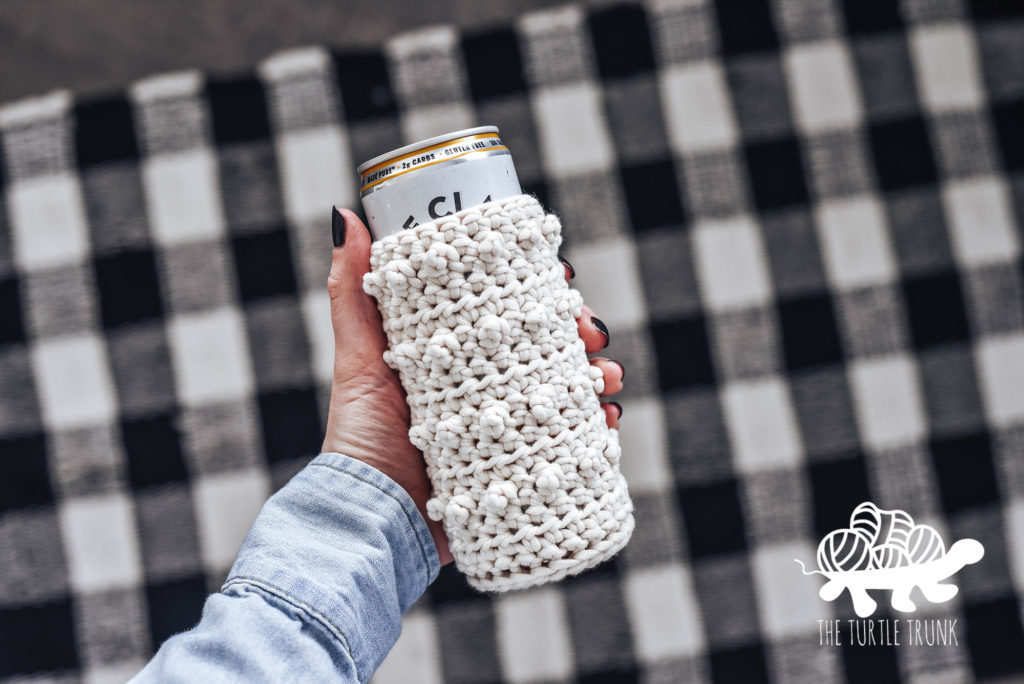
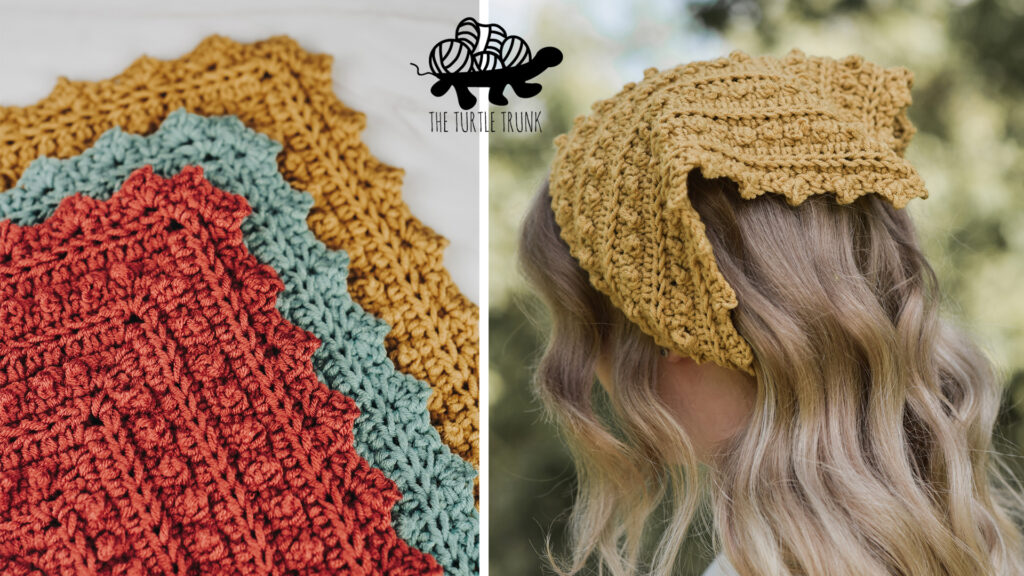
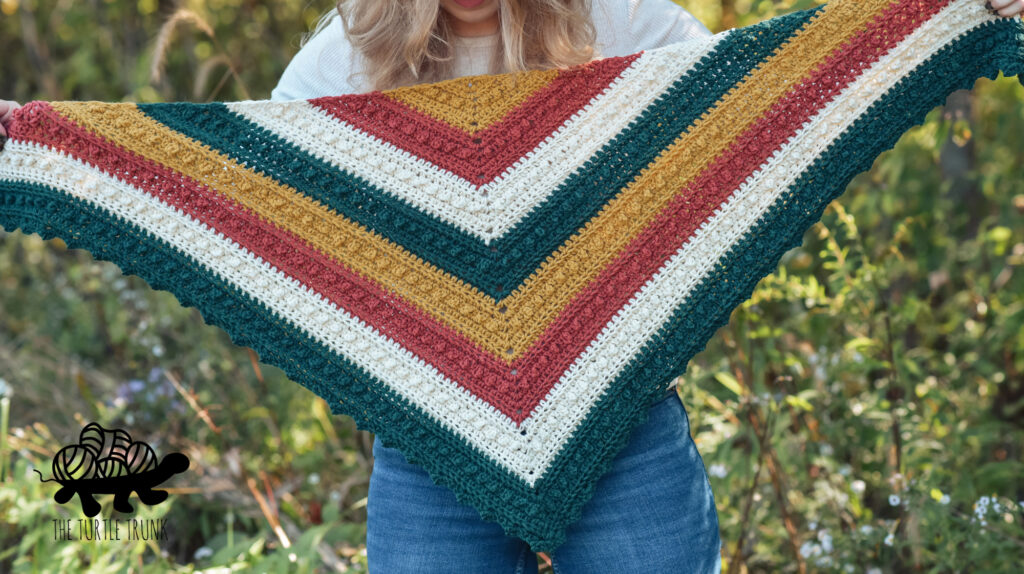
At this time, I have 12+ Picot Patterns and I still have plans to make more! So be sure to check out some of the other Picot Patterns HERE if you enjoy the picot single crochet stitch as much as I do!
yarn
For my Picot Stockings I used Big Twist Living. I found it at Joann’s and decided to try it as I had never seen or used it before, and I really enjoyed it!
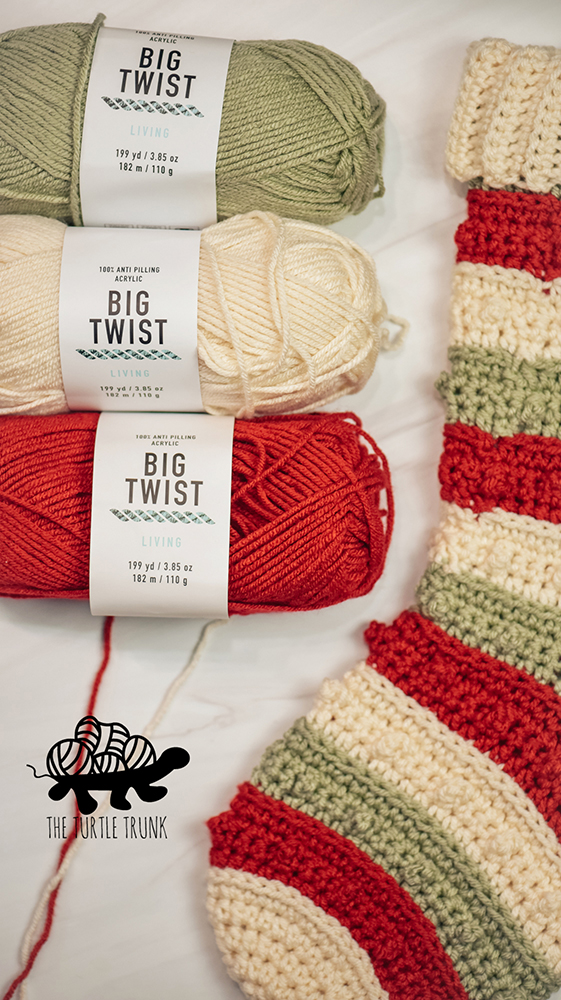
This yarn came in a variety of colors and it had a nice, soft feel to it. I find it very similar to I Love This Yarn and Yarn Bee Soft & Sleek, so you could definitely use either of those as well. You can really substitute for any medium 4 weight yarn or if you wanted your stocking to me larger, you could also use a bulky 5 or super bulky 6 weight yarn!
Colors and stripes
The pattern instructions for the Picot Stocking will make the two-toned, green and white stocking as shown below.
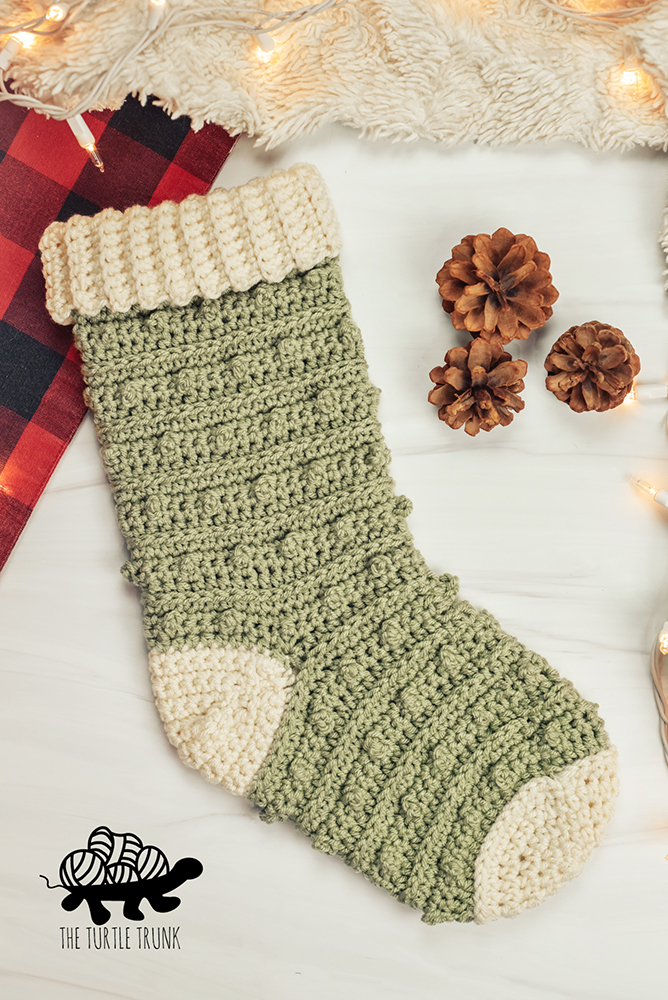
Color A will be for the toe, heel, and cuff. I used Cream for Color A. Color B will be for the body of the stocking, which I used Sage.
Feel free to use as many colors as you’d like though! I made 2 other stockings to make a candy cane striped one and a multi-colored stripe one.
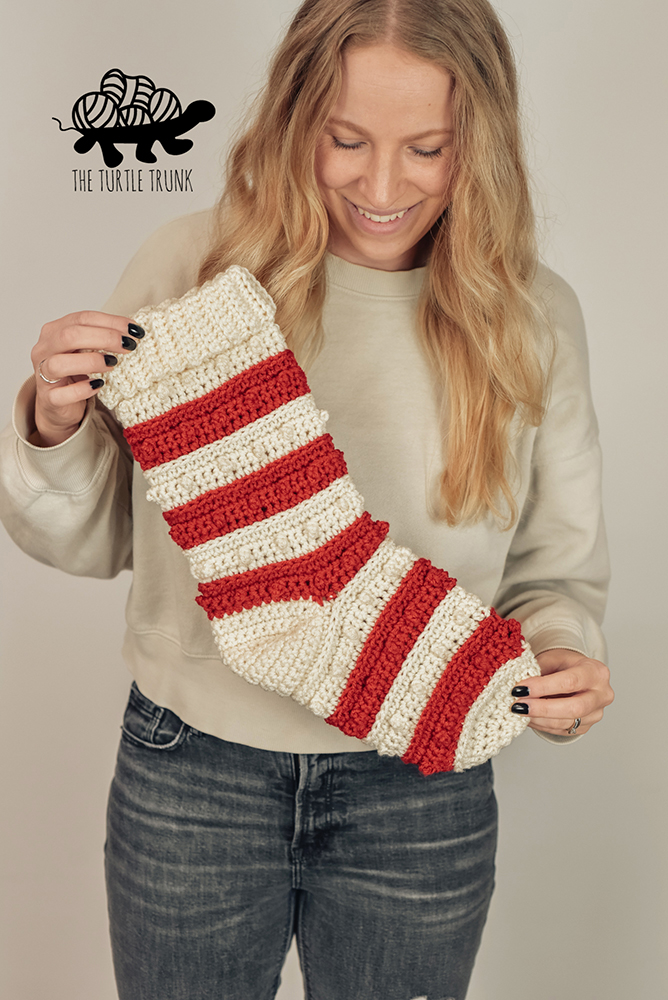
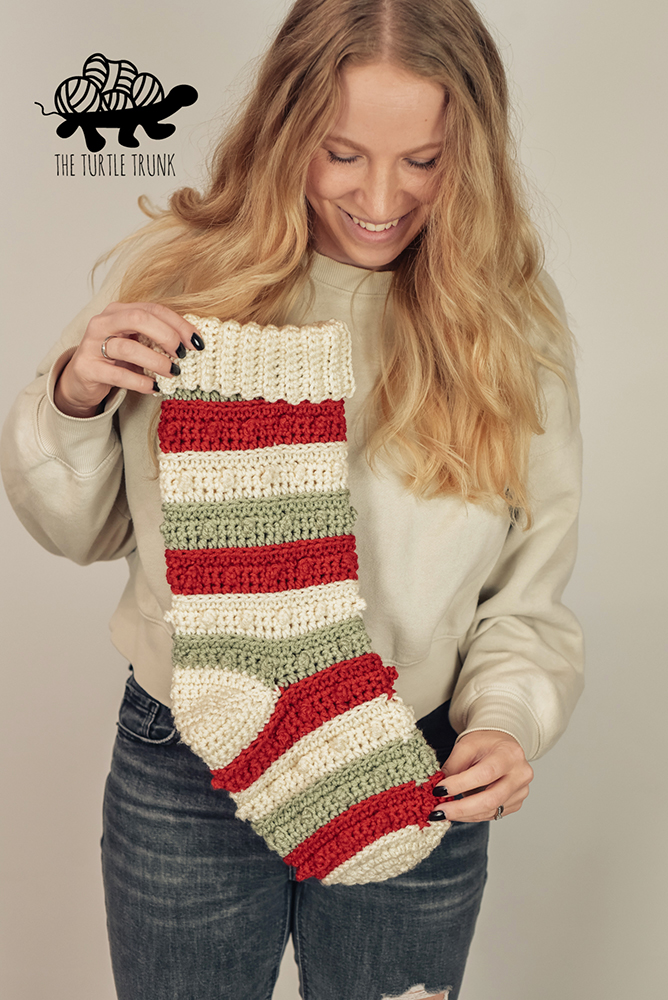
The Picot Stocking pattern uses a 4 round repeat, so to make even stripes, you can simply change colors after every 4 rounds (starting after the toe), like I did in the stockings shown above.
Difficulty
Advanced Beginner
finished size
17″ x 6.5″
notes
- The following instructions make a two-toned stocking (white and green). Feel free to use fewer or more colors. For my striped stocking (white/red and white/red/green) I changed colors every 4 rounds starting after the toe.
- Numbers in (parentheses) at the end of each round represent the number of stitches to be worked in that round.
- Starting chains do not count as stitches.
- This pattern is worked in joined rounds. At the end of each round, join to the 1st ST of the round with a SL ST and chain 1. Work the 1st ST in the last ST from the previous round.
- The rounds that use the Picot Single Crochet (PSC) stitches need to be worked on the ‘wrong side’ so that the “bumps” poke out to the ‘right side’. For those rounds, CH 1 and turn your work so you are working back the way you came from the previous round. At the end of the round, join to the beginning of the round, CH 1 and turn, then work the next round on the ‘right side’.
- Stitches between *asterisks* are to be repeated until the end of the round or until otherwise stated.
- 2 HDC or SC means to work 2 HDC or SC into the same stitch. HDC or SC x# means to work 1 stitch into that number of stitches across.
- Instructions are included to make a yarn hanging loop, but you can use other materials too, such as a strip of leather, string, or ribbon. You can also adjust the length of the chain to be any size.
supplies
- Medium (4) Weight Yarn in 2 colors
I used Big Twist Living in Cream (A) + Sage (B)- Color A – Toe/Heel/Cuff – 73 yards (67 meters)
- Color B – Body – 161 yards (148 meters)
- 5.00 mm (H) Hook
- Yarn Needle
- Scissors
gauge
Rounds 1-5 = 4.75” diameter
Adjust hook size up or down to meet gauge.
abbreviations (us terms)
ST(s) – Stitch(es)
CH – Chain
SL ST – Slip Stitch
SC – Single Crochet
SC BLO – Single Crochet Back Loop Only
HDC – Half Double Crochet
PSC – Picot Single Crochet
Special stitches
Changing Color
On the final pull through on the last ST before a new color starts, drop current color, and pull through with the new color.
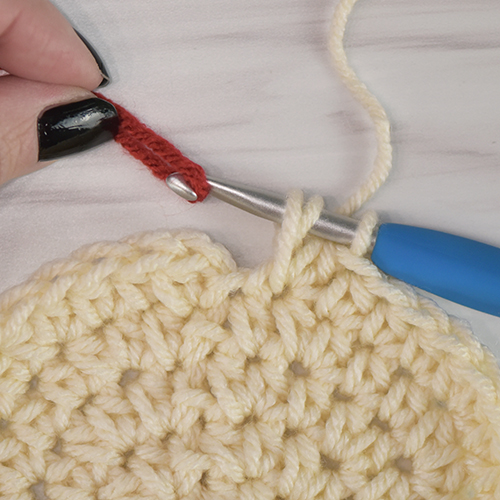
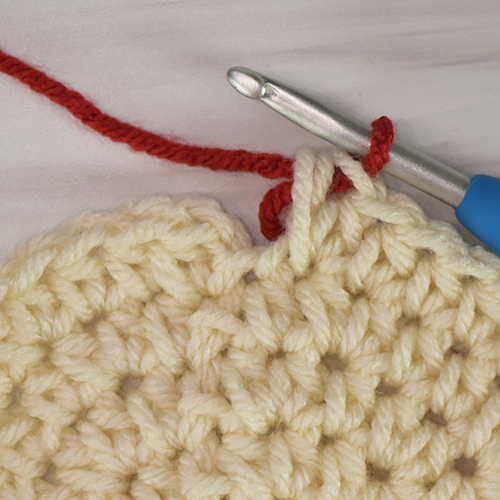
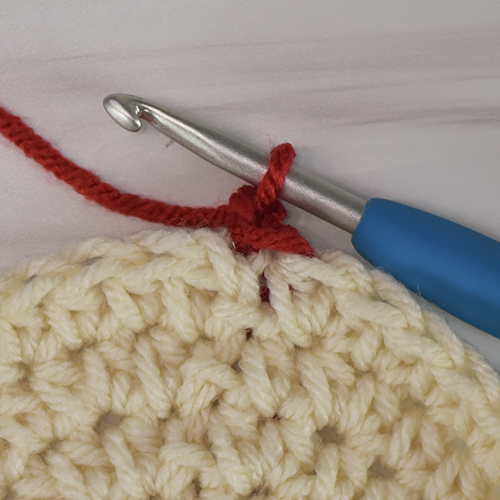
If changing colors before a round where you’ll be working in the 3rd loop only, join to the 3rd loop for a more seamless color change.
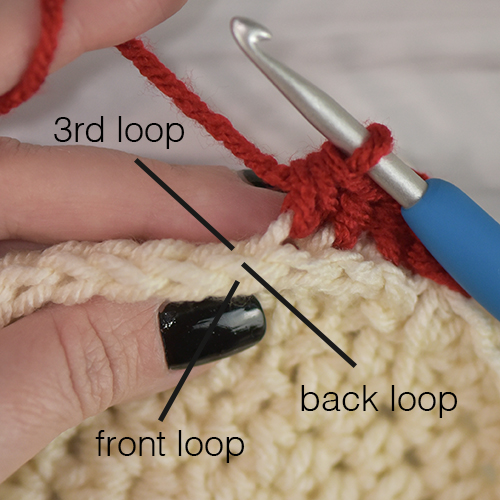
3rd Loop
A half double crochet stitch has 3 loops: 2 at the top and 1 on the back/front. When stated, work a half double crochet (HDC) but only in the 3rd loop on the back of the stitch we’re working into.
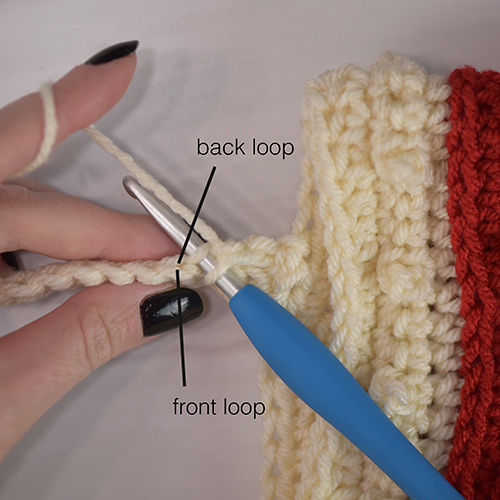
Back Loop Only (BLO)
When looking at the top of a stitch you will see 2 loops, a front loop (closest to you) and a back loop (furthest away from you). When stated, work your stitch in the back loop only.
Picot Single Crochet (PSC)
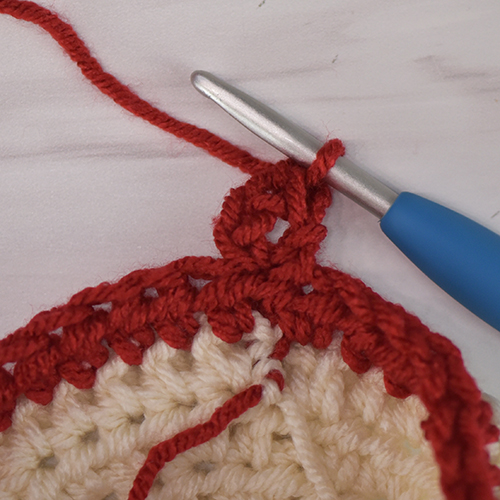
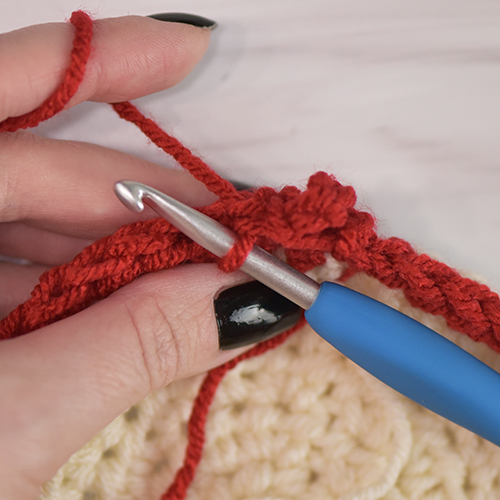
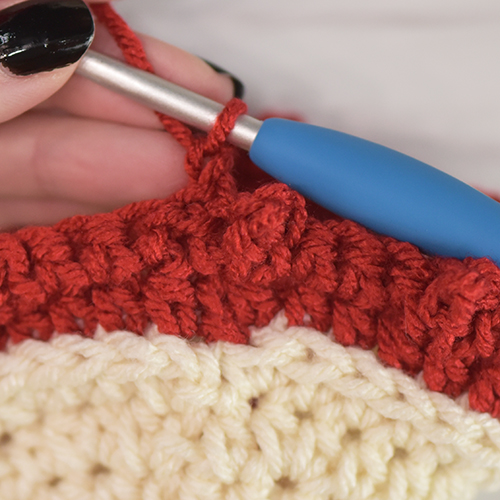
Insert your hook into the designated stitch. Pull up a loop, yarn over, and pull through the 1st loop on your hook. Yarn over and pull through the 1st loop again, yarn over and pull through the 1st loop once more, yarn over and pull through both loops on your hook. Push the CH 3 you just created behind so that it bumps out on the right side of your work and work the next stitch.
Picot Stocking Pattern
Starting with Color A
Magic Circle, CH 1
Round 1: HDC x8 inside circle. Join & CH 1. (8)
Round 2: 2 HDC in each ST around. Join & CH 1. (16)
Round 3: *HDC, 2 HDC*. Join & CH 1. (24)
Round 4: HDC, 2 HDC, *HDC x2, 2 HDC*, repeat until 1 ST remains, HDC in the last ST. Join & CH 1. (32)
Round 5: *HDC x3, 2 HDC*. Join & CH 1. (40)
Change to Color B and tie off Color A.
Round 6: HDC in the 3rd loop only in each ST around. Join & CH 1. Turn. (40)
Round 7: *PSC, SC x3*. Join & CH 1. Turn. (40)
Round 8: SC in each ST around. Join & CH 1. (40)
Round 9: HDC in each ST around. Join & CH 1. (40)
Round 10: HDC in the 3rd loop only in each ST around. Join & CH 1. Turn. (40)
Round 11: SC, *PSC, SC x3* repeat until 3 STs remain, PSC, SC x2 in the last 3 STs. Join & CH 1. Turn. (40)
Round 12: SC in each ST around. Join & CH 1. (40)
Round 13: HDC in each ST around. Join & CH 1. (40)
Round 14: HDC in the 3rd loop only in each ST around. Join & CH 1. Turn. (40)
Round 15: SC x2, *PSC, SC x3* repeat until 2 ST remains, PSC, SC in last 2 STs. Join & CH 1. Turn. (40)
Round 16: SC in each ST around. Join & CH 1. (40)
Round 17: HDC in each ST around. Join & CH 1. (40)
Rounds 18-21: repeat Rounds 6-9.
Do not tie off Color B, we will continue here after the heel.
Heel
Skip the 1st 10 STs & attach Color A to the 11th ST of Round 21.
Row 1: Working the 3rd loop only, SC in the same ST you’ve attached to and in each of the next 19 STs. CH 1 & turn. (20)
Row 2: SC2TOG, SC across until 2 STs remain, SC2TOG in last 2 STs. CH 1 & turn. (18)
Rows 3-8: Repeat Row 2 until 6 STs remain.
Row 9: 2 SC in 1st ST, SC across until 1 ST remains. 2 SC in last ST. CH 1 & turn. (8)
Rows 10-15: Repeat Row 9 until there are 20 STs across.
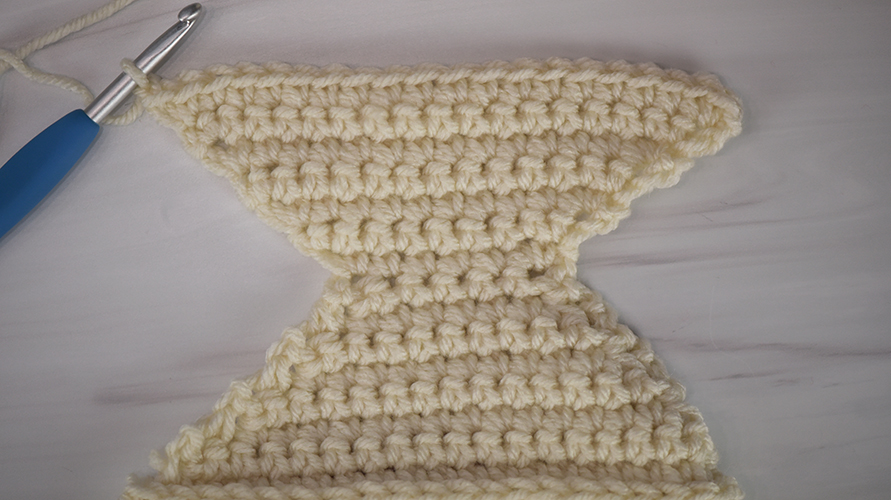
Tie off leaving a 10” tail. Fold heel in half so that it is inside out. Sew up the side using a whip stitch. Attach a 10” strand and repeat for the other side. Flip heel right way out.
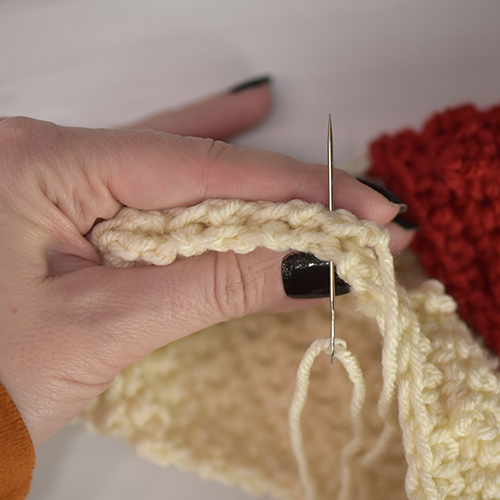
Continue onto round 22 where you left off on the foot with Color B.
Round 22: HDC in the 3rd loop only in the first 10 STs. SC2TOG into the side of Row 1 of the heel and into the 1st ST at the top of the heel (Photos A + B). HDC into the next 18 STs, SC2TOG into the last ST of the heel and the side of Row 1 of the heel (Photos B + C). HDC in the 3rd loop only in the last 10 STs. Join & CH 1. Turn. (40)
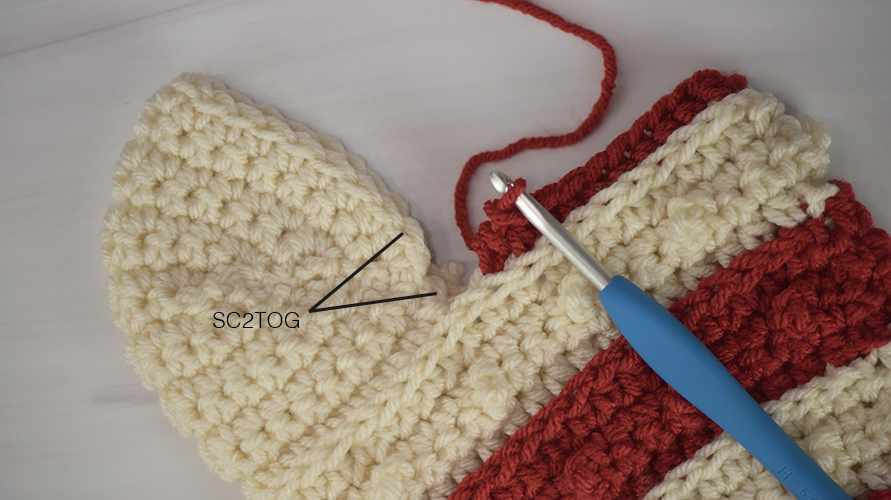
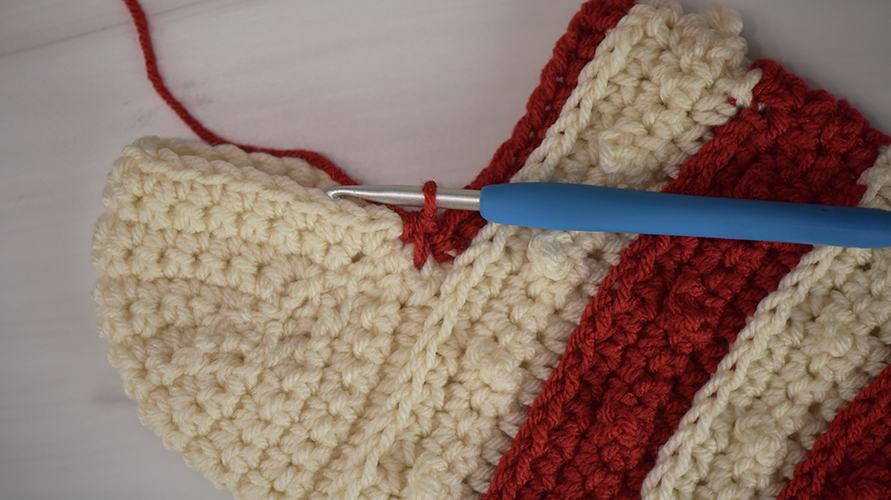
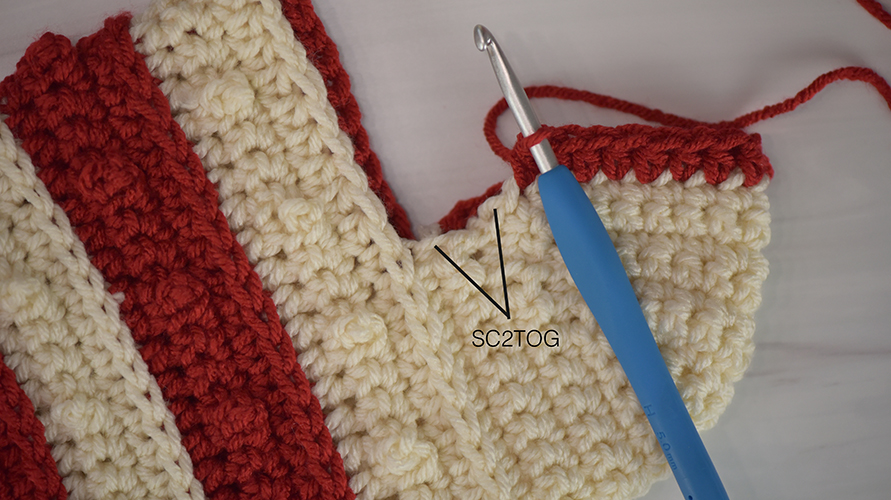
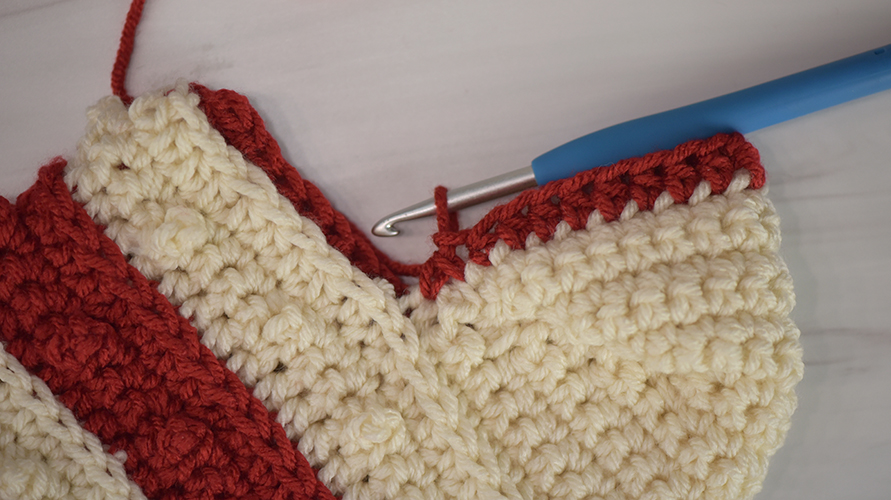
Round 23: SC, *PSC, SC x3* repeat until 3 STs remain, PSC, SC x2 in the last 3 STs. Join & CH 1. Turn. (40)
Round 24: SC in each ST around. Join & CH 1. (40)
Round 25: HDC in each ST around. Join & CH 1. (40)
Round 26: HDC in the 3rd loop only in each ST around. Join & CH 1. Turn. (40)
Round 27: SC x2, *PSC, SC x3* repeat until 2 ST remains, PSC, SC in last 2 STs. Join & CH 1. Turn. (40)
Round 28: SC in each ST around. Join & CH 1. (40)
Round 29: HDC in each ST around. Join & CH 1. (40)
Round 30: HDC in the 3rd loop only in each ST around. Join & CH 1. Turn. (40)
Round 31: *PSC, SC x3*. Join & CH 1. Turn. (40)
Round 32: SC in each ST around. Join & CH 1. (40)
Round 33: HDC in each ST around. Join & CH 1. (40)
Round 34: HDC in the 3rd loop only in each ST around. Join & CH 1. Turn. (40)
Round 35: SC, *PSC, SC x3* repeat until 3 STs remain, PSC, SC x2 in the last 3 STs. Join & CH 1. Turn. (40)
Round 36: SC in each ST around. Join & CH 1. (40)
Round 37: HDC in each ST around. Join & CH 1. (40)
Rounds 38-41: Repeat Rounds 26-29.
Rounds 42-45: Repeat Rounds 30-33.
Change to Color A and tie off Color B.
Cuff
CH 13
Row 1: SC in 2nd CH from hook and in each CH across. (12) SL ST in each of the next 2 STs from Round 45. Turn.
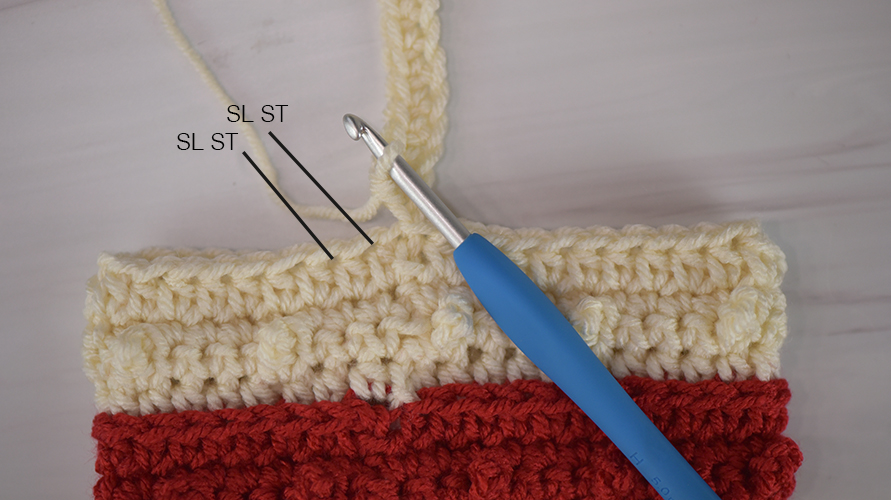
Row 2: Working back up the cuff, SC BLO in each ST across. CH 1 & turn. (12)
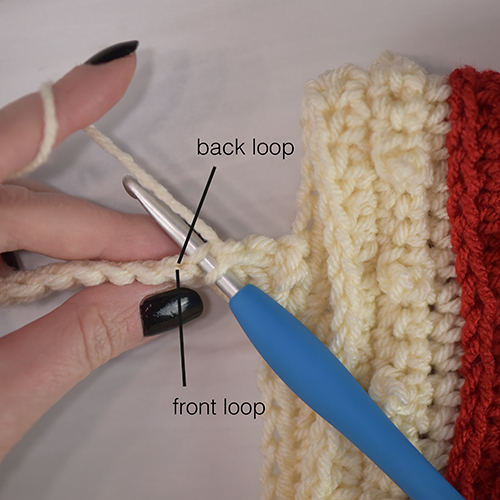
Row 3: SC BLO in each ST across. (12) SL ST in each of the next 2 STs from Round 45. Turn.
Row 4: Working back up the cuff, SC BLO in each ST across. CH 1 & turn. (12)
Rows 5-38: Repeat Rows 3 & 4
Row 39: SC BLO in each ST across. (12) SL ST in each of the last ST from Round 45. Turn.
Row 40: Working back up the cuff, SC BLO in each ST across. CH 1 & turn. (12)
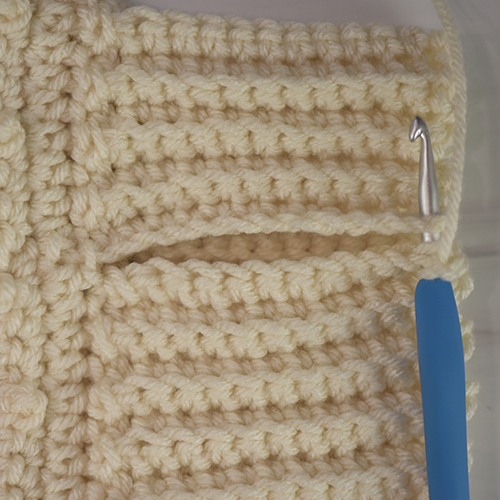
Join the ends of the cuff together by working a SL ST into each ST of the last row and the foundation chain opposite to it. Tie off yarn & weave in all ends.
Hanging Loop
Going from the inside of the stocking, attach yarn around the 20th ST from Round 45. CH 12 and join yarn back into the same ST from Round 45. Tie off and weave in ends.
And you’re all done!
I hope you enjoyed the Picot Stocking pattern! I can’t wait to see your finished creations, so be sure to tag @theturtletrunk on Instagram!
Check out this other crochet stocking pattern, the Country Cottage Stocking! You can also find these amazing stocking tags from The Knotty Boss on Etsy! Use code TURTLETRUNK30 for 30% off her shop!
You are free to sell the items you make with this pattern, and I’d love if you could please link back to this page. You do not have permission to republish or distribute this pattern in any way or claim it as your own. Do not use my photos in your sale listings or for any other purposes. Thank you
This page includes affiliate links. If you make a purchase from these links, I may make a small commission at no cost to you! Thank you for your support!


