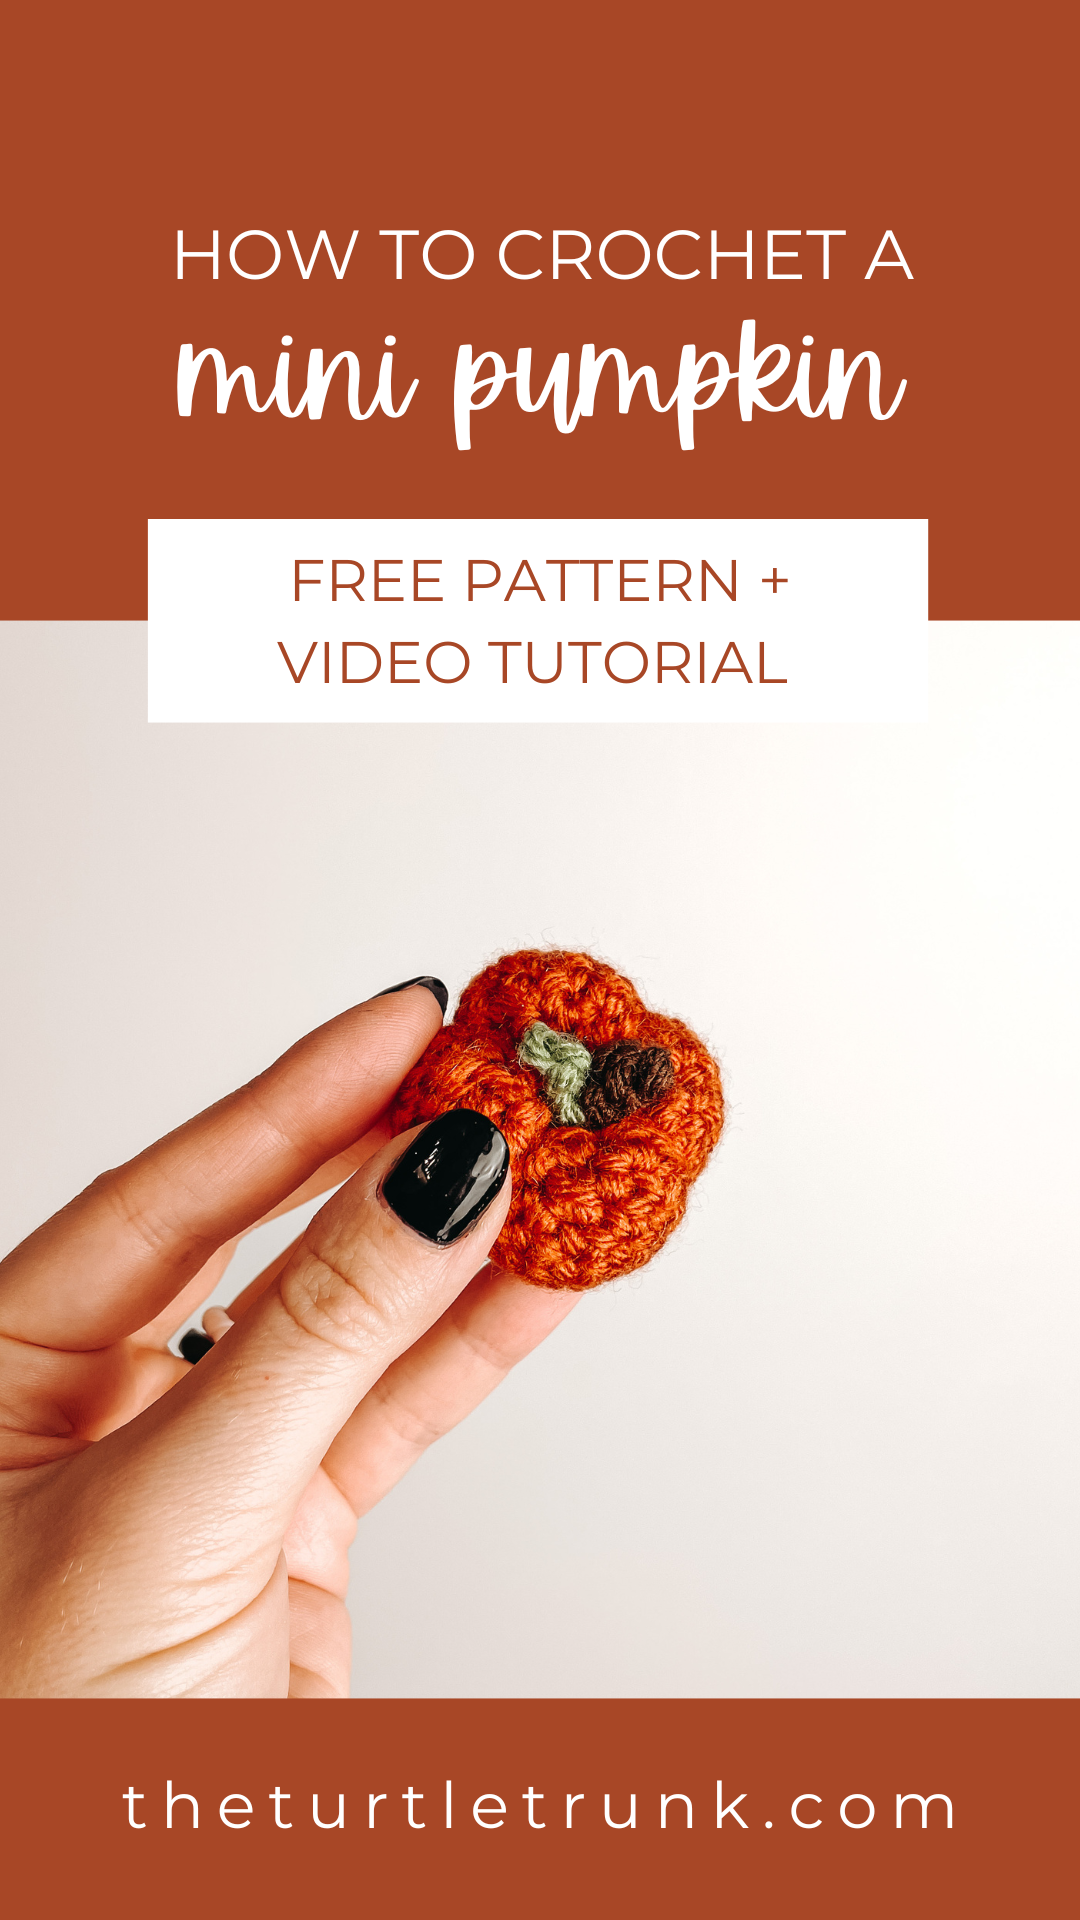
Mini Pumpkin Crochet Pattern
This Mini Pumpkin crochet pattern works up quickly and easily! It can be used for Fall and Halloween decor, string a few together to make a garland, fill a vase with them, or even make it into a pumpkin keychain! The Mini Pumpkin crochet pattern uses minimal yarn so it’s the perfect project for using up any scraps of yarn you may have laying around!
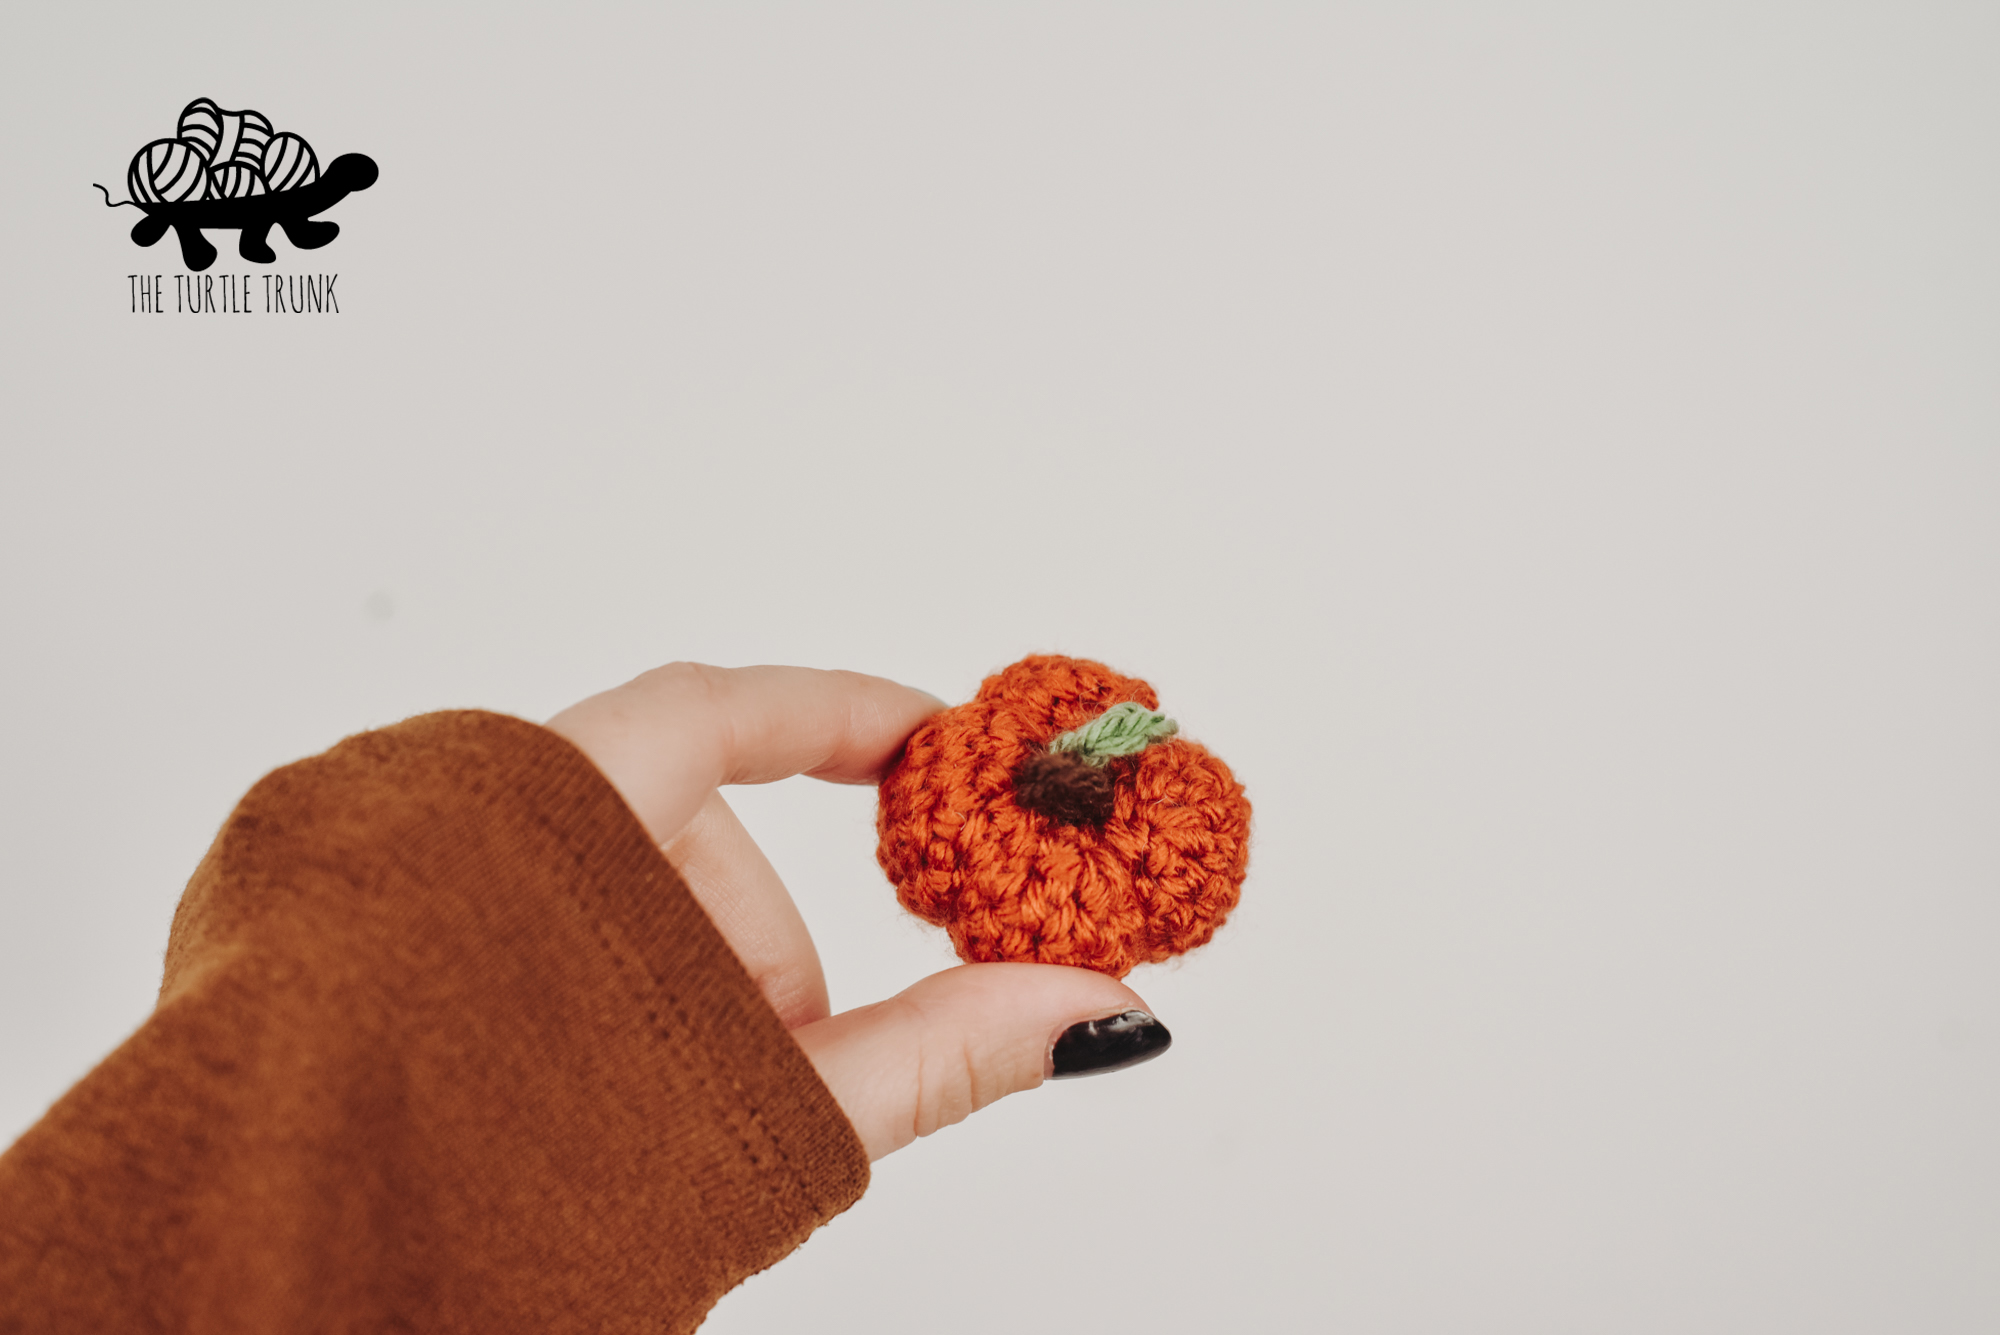
This Mini Pumpkin crochet pattern can be used for so many different things! Decorate for Fall and Halloween by making these into a garland or fill a vase with them! You can even make this mini crochet pumpkin into a key chain! These would make quick and easy gifts for kids and students too!
The Mini Pumpkin crochet pattern works up in only a few minutes and uses less than 25 yards of yarn! This is the perfect project for using up any left over yarn you may have laying around.
Continue reading below to hear my inspiration for this pattern and to learn more about the yarn I used, then scroll down for the free written crochet pattern!
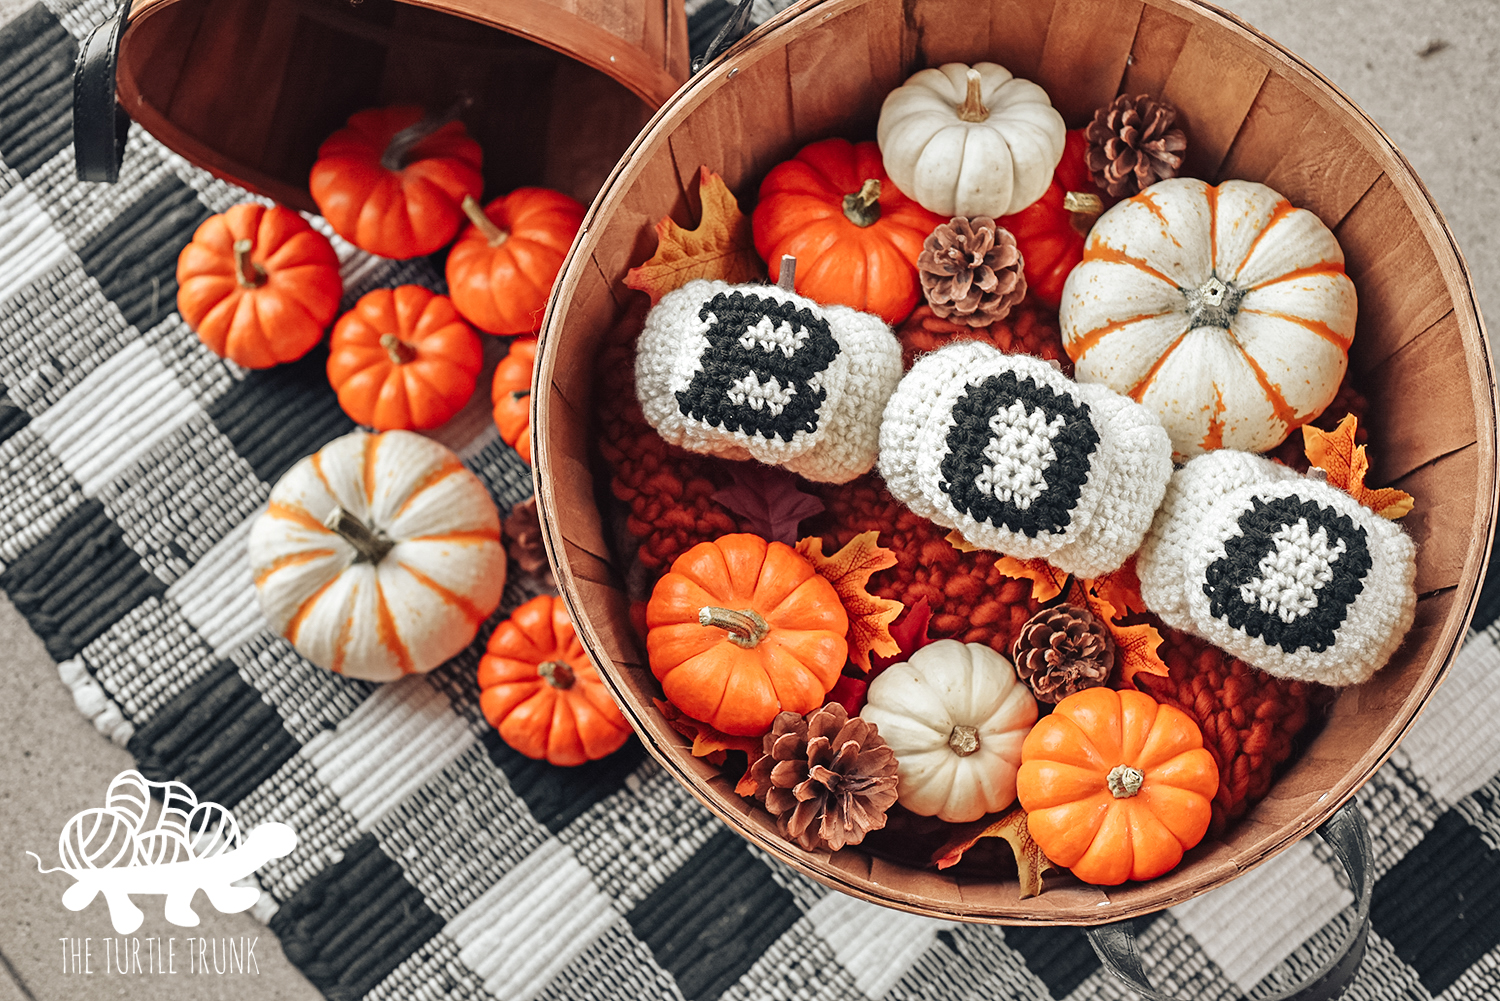
Check out these other crochet pumpkin patterns: Farm Fresh Pumpkin, Basic Pumpkin, Country Cottage Pumpkin, Picot Pumpkin, and BOO Pumpkins!
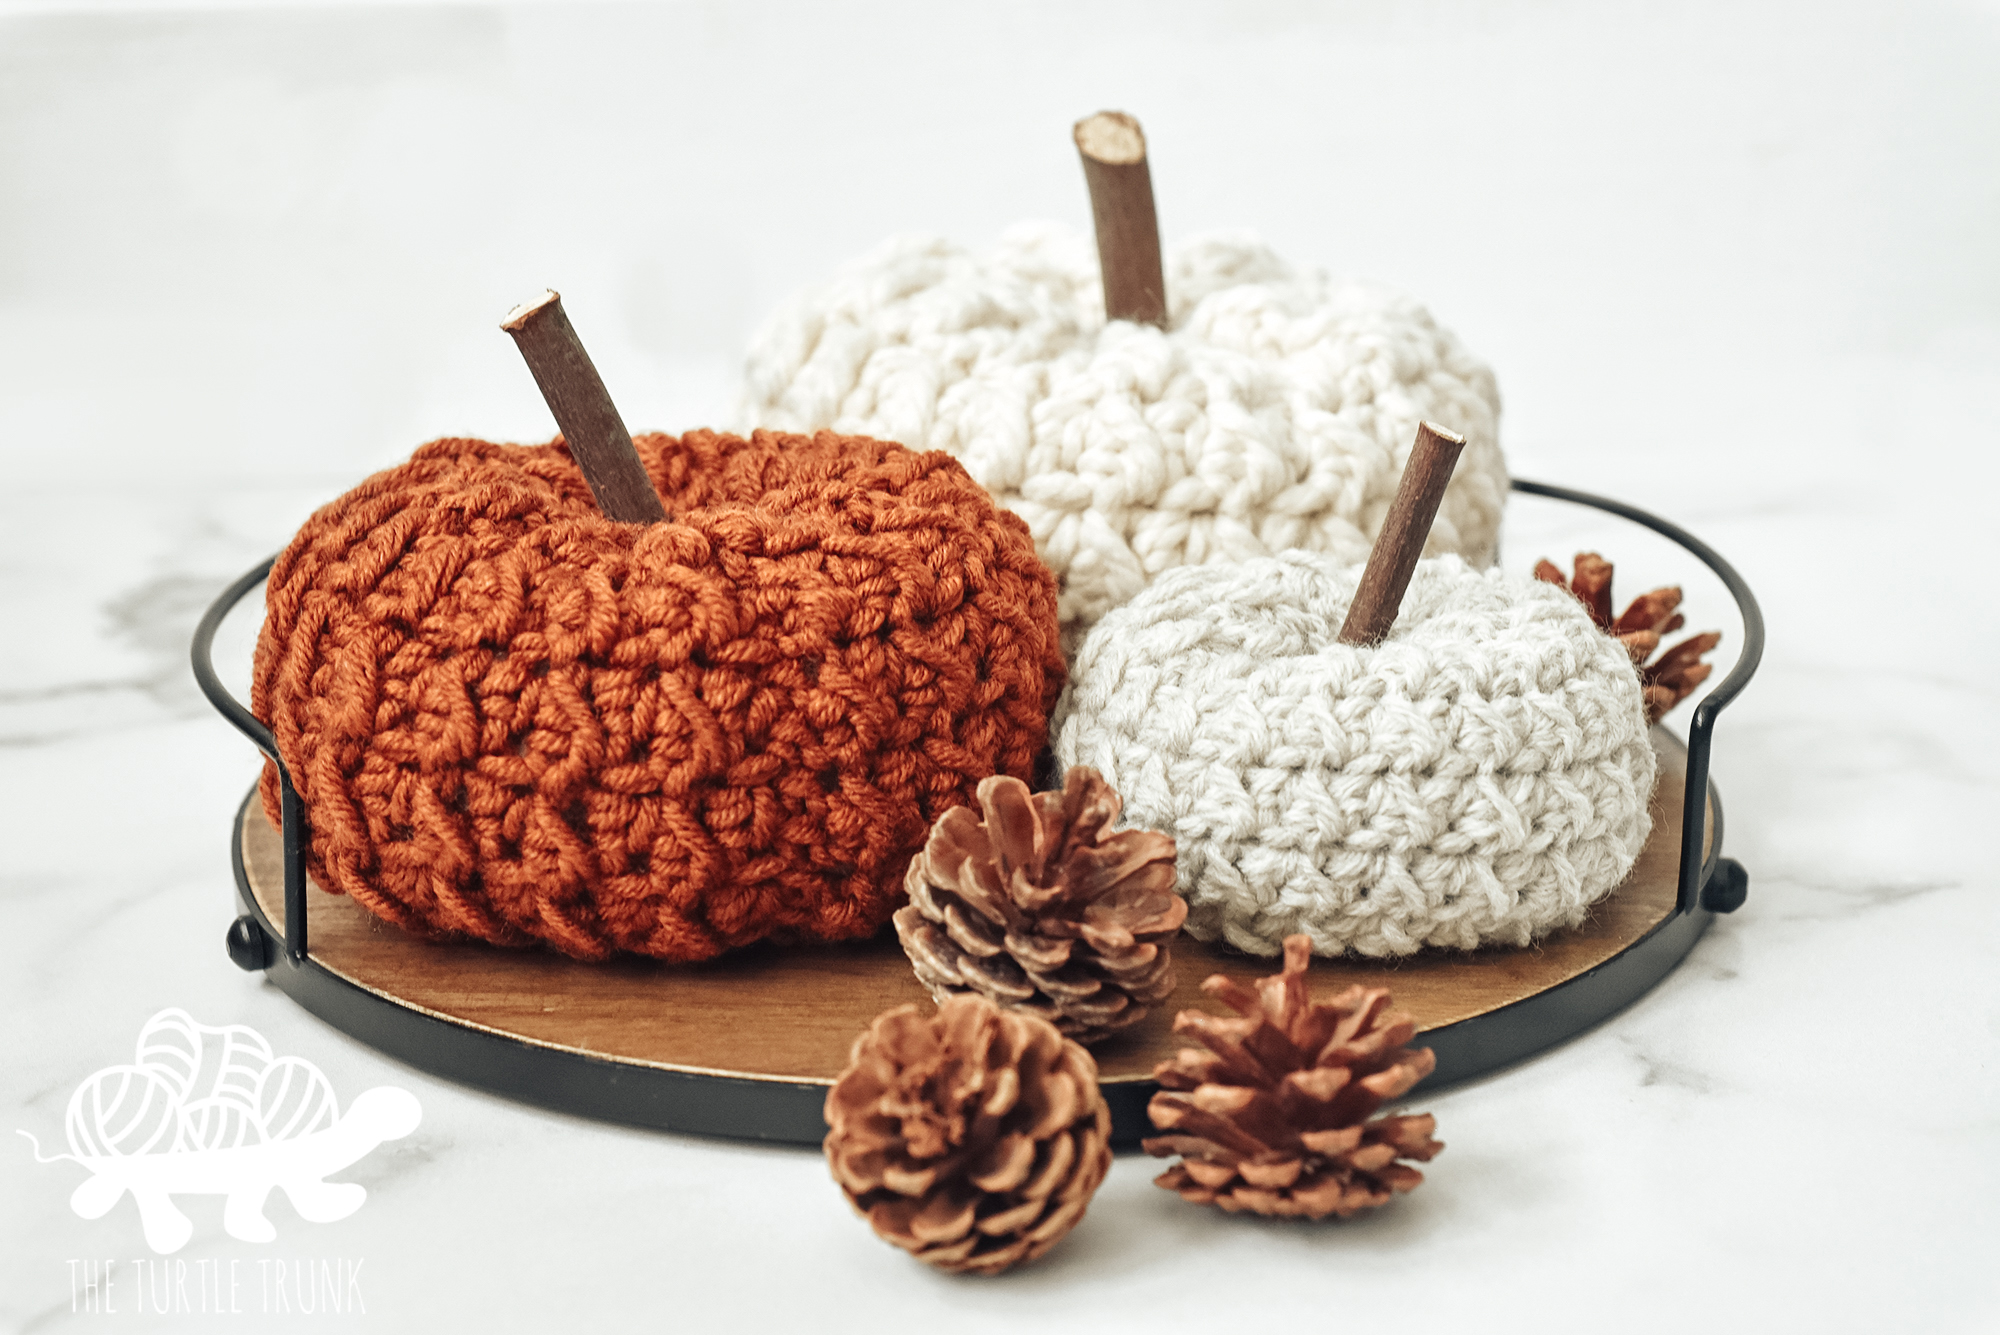

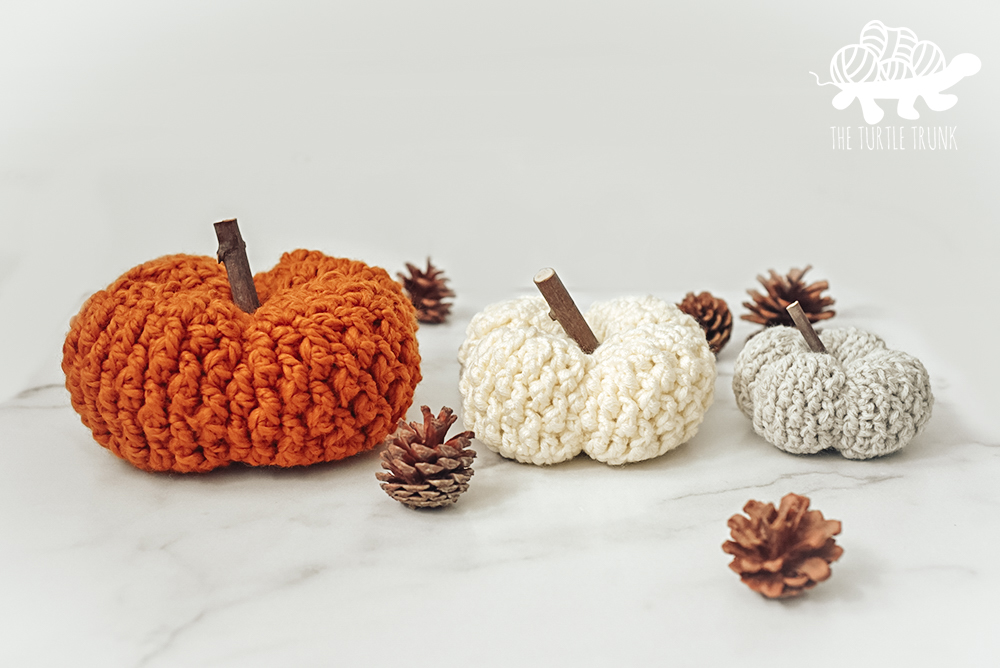

Not ready to make just yet? Pin this pattern for later!
Follow along with the video tutorial on YouTube!
inspiration
A few weeks ago I quickly whipped up this mini pumpkin because I some bits of yarn left over from some larger pumpkins I had designed! It was too much yarn to just throw away but not enough to make a large pumpkin, so I decided to make this mini pumpkin!
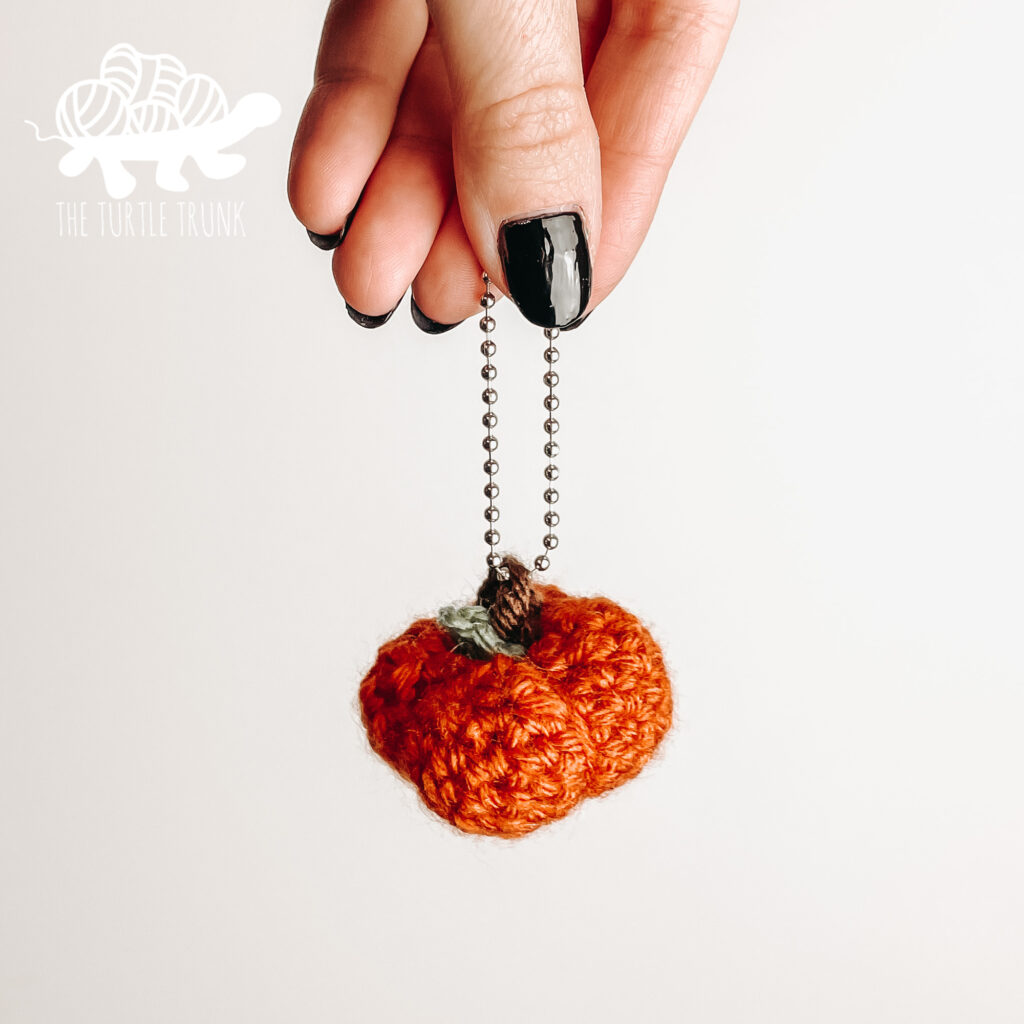
I shared a quick tutorial and pattern on my Instagram but decided I should add it here too and on my YouTube channel for those who wanted a more in-depth pattern and tutorial! Since making this mini pumpkin, I’ve used mine as a key chain everyday! It’s such a fun accessory for Fall!
yarn + Supplies
For my mini pumpkin I used Red Heart Yarn Super Saver but you can use any medium (4) yarn! For the orange I used the colorway Carrot, for the brown I used Coffee, and for the green I used Sage. Some other yarns I think would work great for this pattern are Lion Brand Yarn Basic Stitch, Lion Brand Yarn Wool Ease, or Hobby Lobby’s I Love This Yarn.
To stuff your pumpkin, you can use Poly-Fil which is commonly used to stuff crochet items. If you don’t have any and don’t have another use for it, you don’t need to go out a buy a big bag just for this project. A great substitute is yarn! If you’re like me, you may have some little pieces of scrap yarn laying around. These are pieces of yarn that are too big to just throw away but too small to use for a project. Well these pieces are perfect for using for stuffing! Since this mini pumpkin is so small you don’t need very much and then you’re not left over with a big bag of Poly-Fil you’ll never use!
An optional supply you may choose to use for this pattern is a key chain! This is a fun accessory you can easily make with this mini pumpkin, and you can either use of your own keys or attach to your kids backpack!
There are many different types of keychains you can buy. I used a ball chain for mine, you can find them HERE on Amazon. Some other options you can use are a Key Ring or a Lobster Claw Clasp.
DIFFICULTY
Easy
FINISHED SIZE
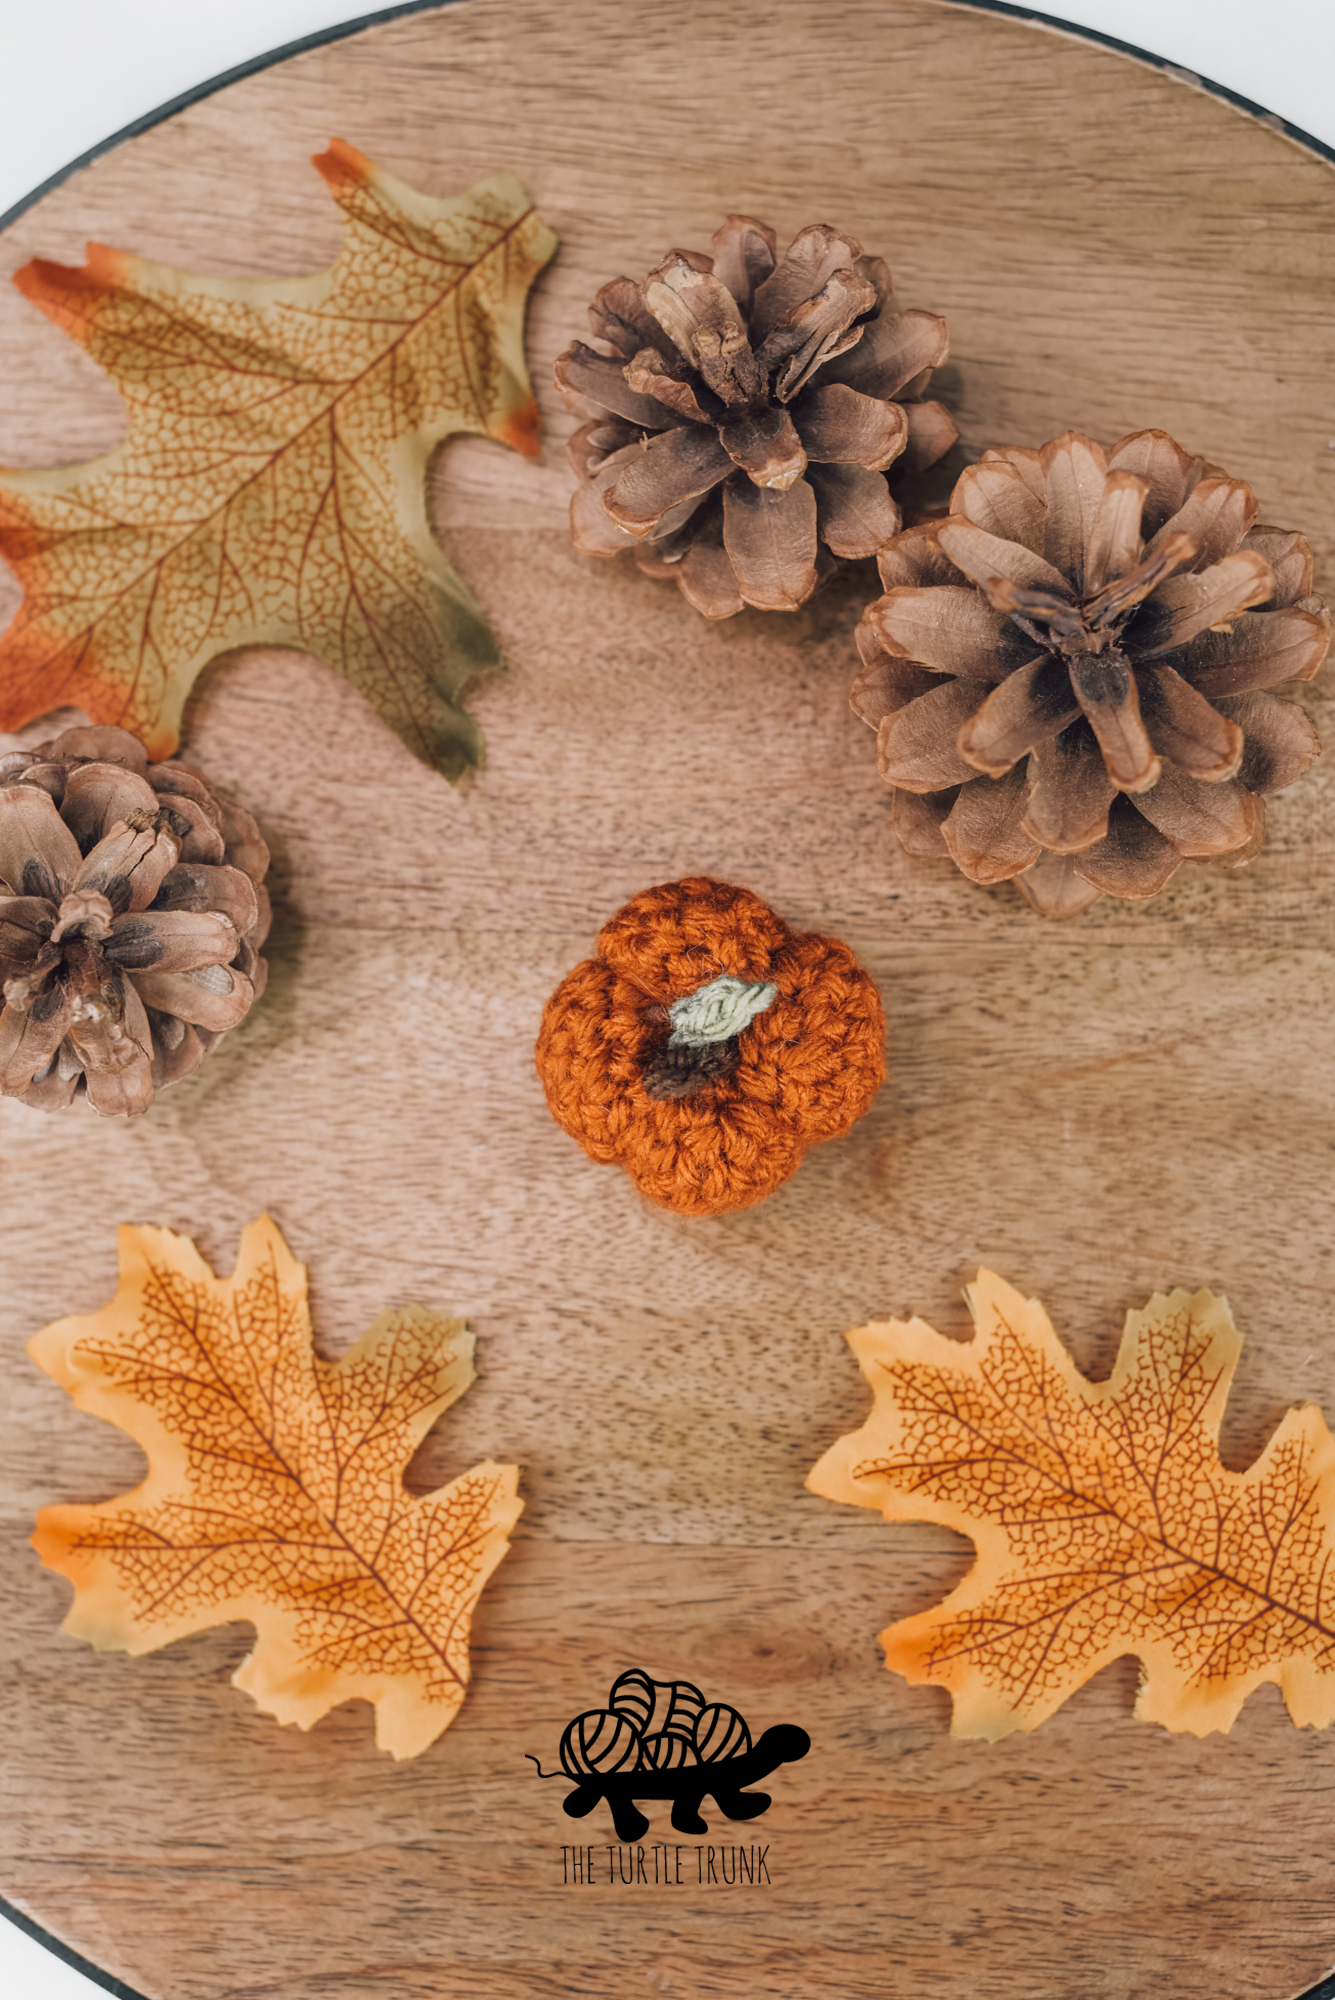
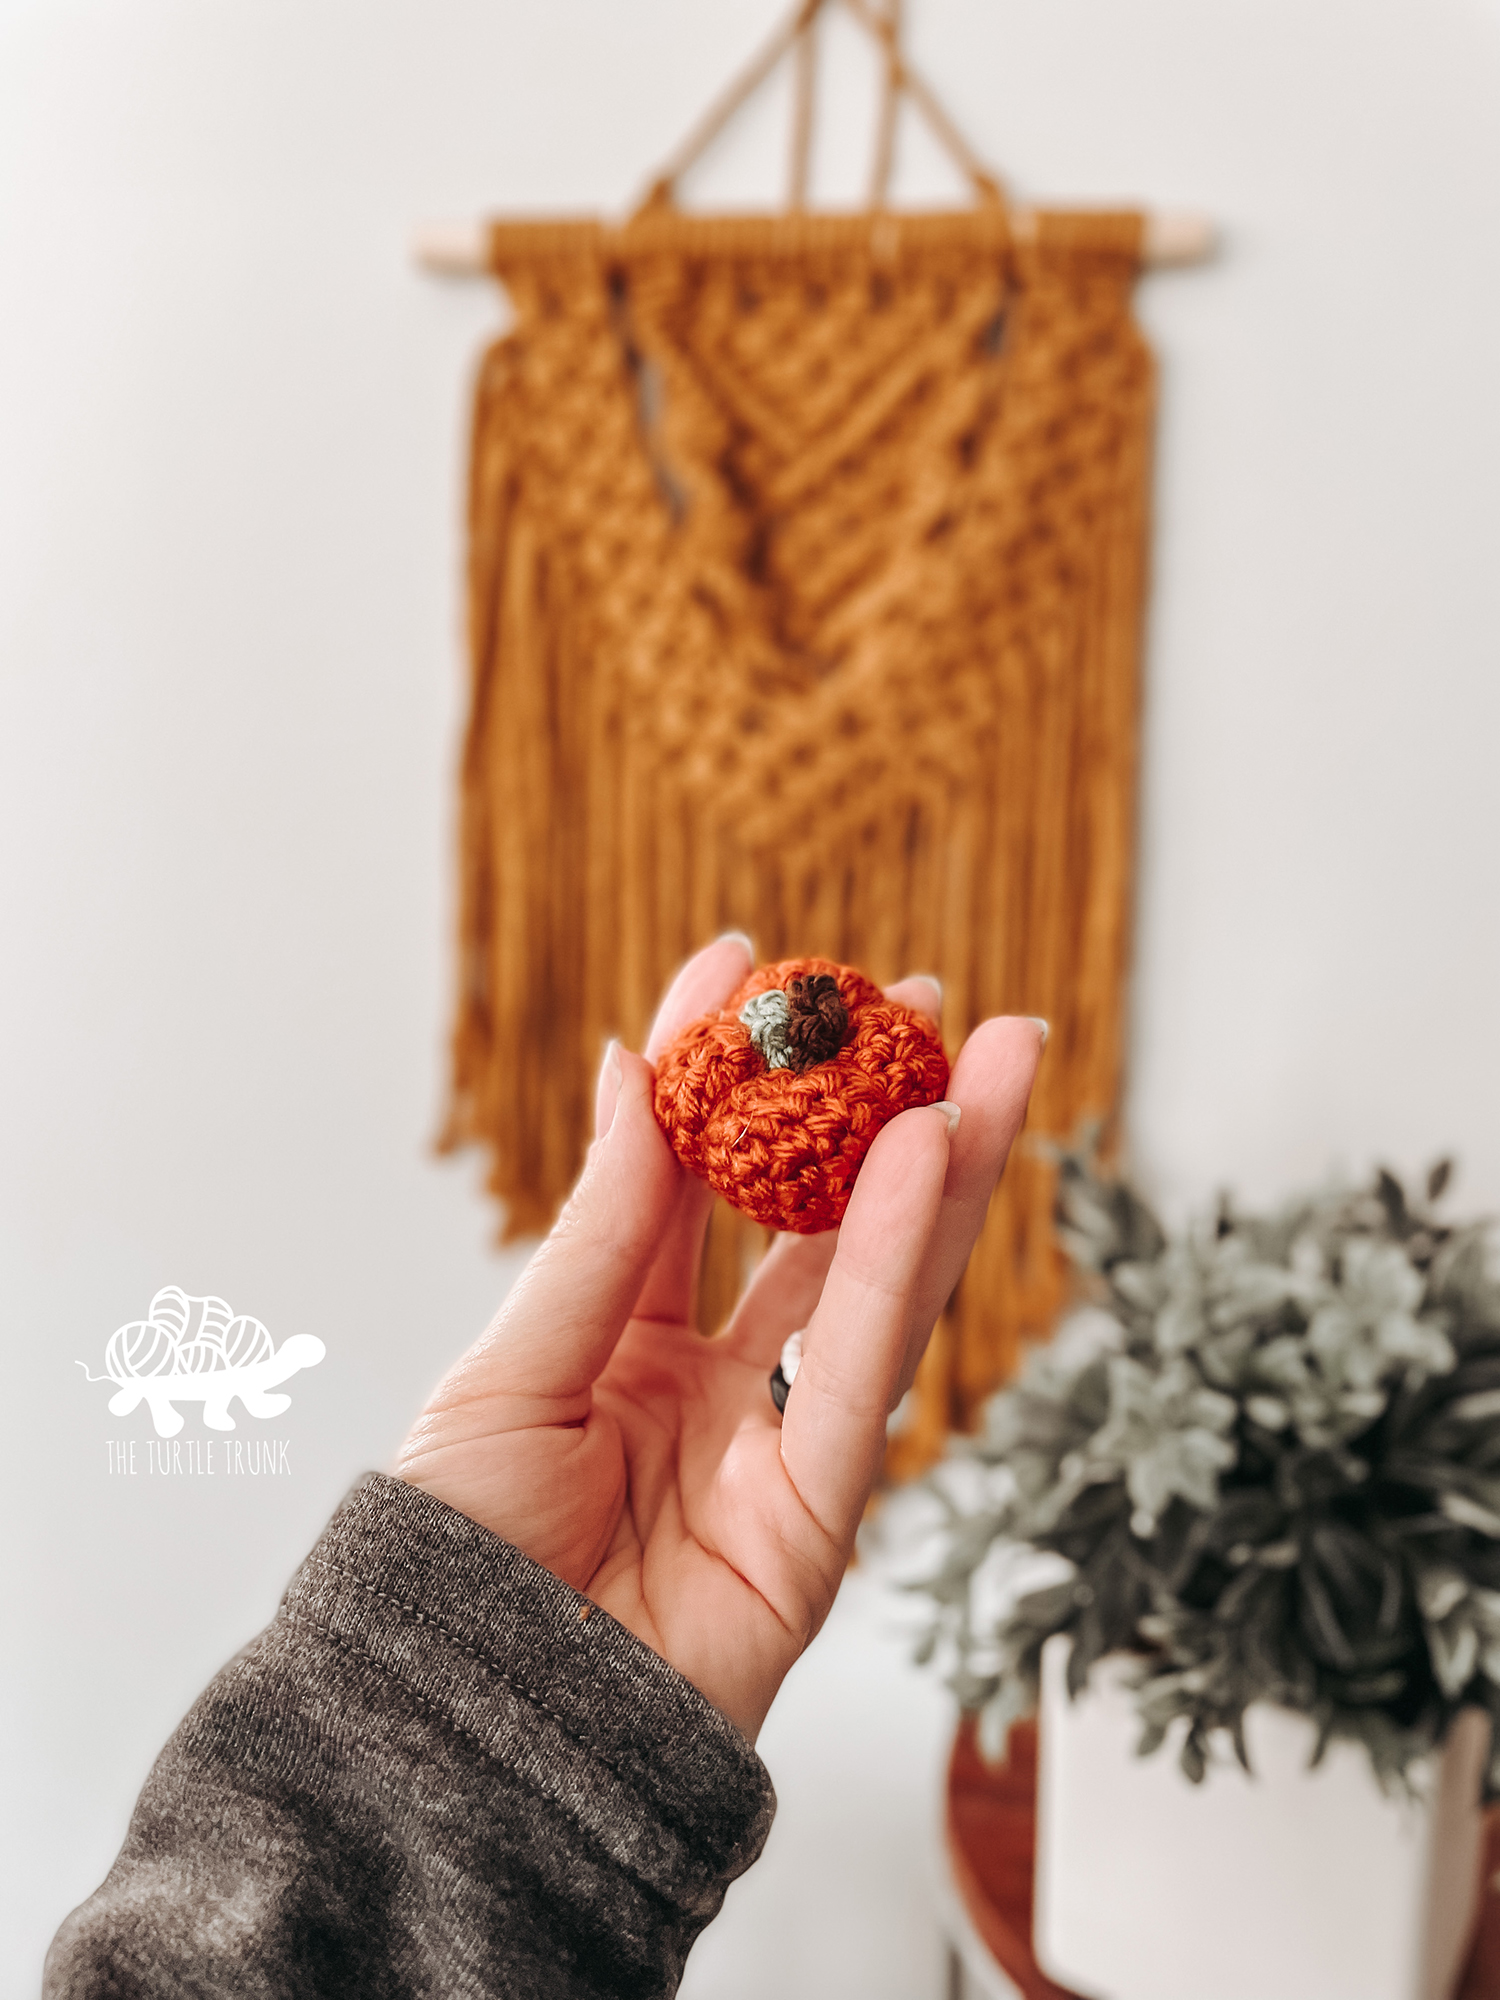
Approximately 2″ across
GAUGE
Not important
NOTES
- This pattern is worked in a continuous round, so you DO NOT join at the end of each round. Use a stitch marker to keep track of your stitches.
- Instructions between the *asterisks* are to be repeated until the end of the round.
SUPPLIES
- Medium (4) Weight Yarn in:
Orange – 20 yards
Brown – 1 yard
Green – 1 yard - 4.00mm (G) crochet hook
- Yarn Needle
- Scissors
- Poly-Fil
- Stitch Marker
- Key Chain (optional)
ABBREVIATIONS (US TERMS)
ST(s) – Stitch(es)
CH – Chain
SL ST – Slip Stitch
SC – Single Crochet
SC2TOG – Single Crochet 2 Together
Mini Pumpkin Pattern
Pumpkin (with orange)
Magic Circle, CH 1
Round 1: SC x6 inside the circle (6)
Round 2: 2 SC in each ST around (12)
Round 3: *SC, 2 SC* (18)
Rounds 4-7: SC in each ST around (18)
Round 8: *SC, SC2TOG* (12)
Stuff with Fiber-Fil
Round 9: SC2TOG in each ST around (6)
Tie off yarn leaving a 12″-18″ long tail. Weave tail end through the last 6 STs and pull tight to close the hole. Wrap tail end around the outside of the pumpkin and insert through the bottom to the top and pull tight. Repeat 3 more times to create 4 equal segments.
Stem + Leaf (make 1 with brown and 1 with green)
CH 3
Row 1: SL ST into the 2nd CH from the hook then SL ST into the next CH (2)
Tie off yarn leave a 3″-4″ long tail. Sew both the leaf and the stem to the top of the pumpkin.
And you’re all done!
I hope you enjoyed this Mini Pumpkin crochet pattern! I can’t wait to see your finished creation so be sure to tag @theturtletrunk on Instagram and Facebook! Thanks so much for following along!
You are free to sell the items you make with this crochet pattern, and I’d love if you could please credit The Turtle Trunk as the pattern designer. You do not have permission to republish or distribute this pattern in any way or claim it as your own. Do not use my photos in your sale listings or for any other purposes. Thank you.
This page includes affiliate links. If you make a purchase from these links, I may make a small commission at no cost to you! Thank you for your support!


