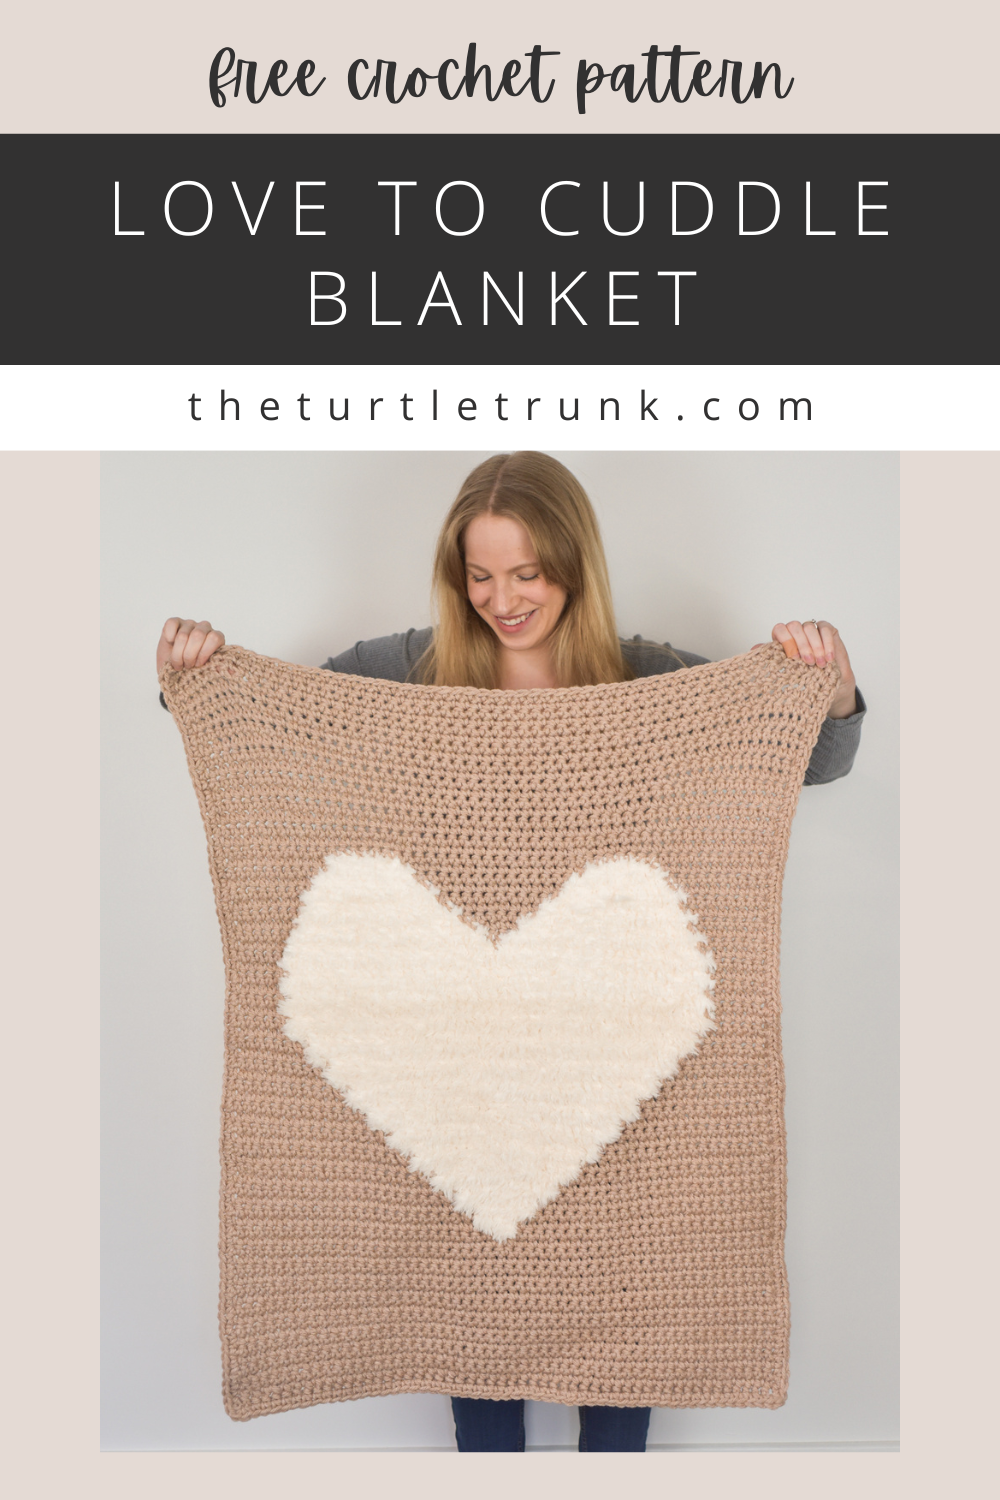
Love to Cuddle Blanket (Bulky) Crochet Pattern
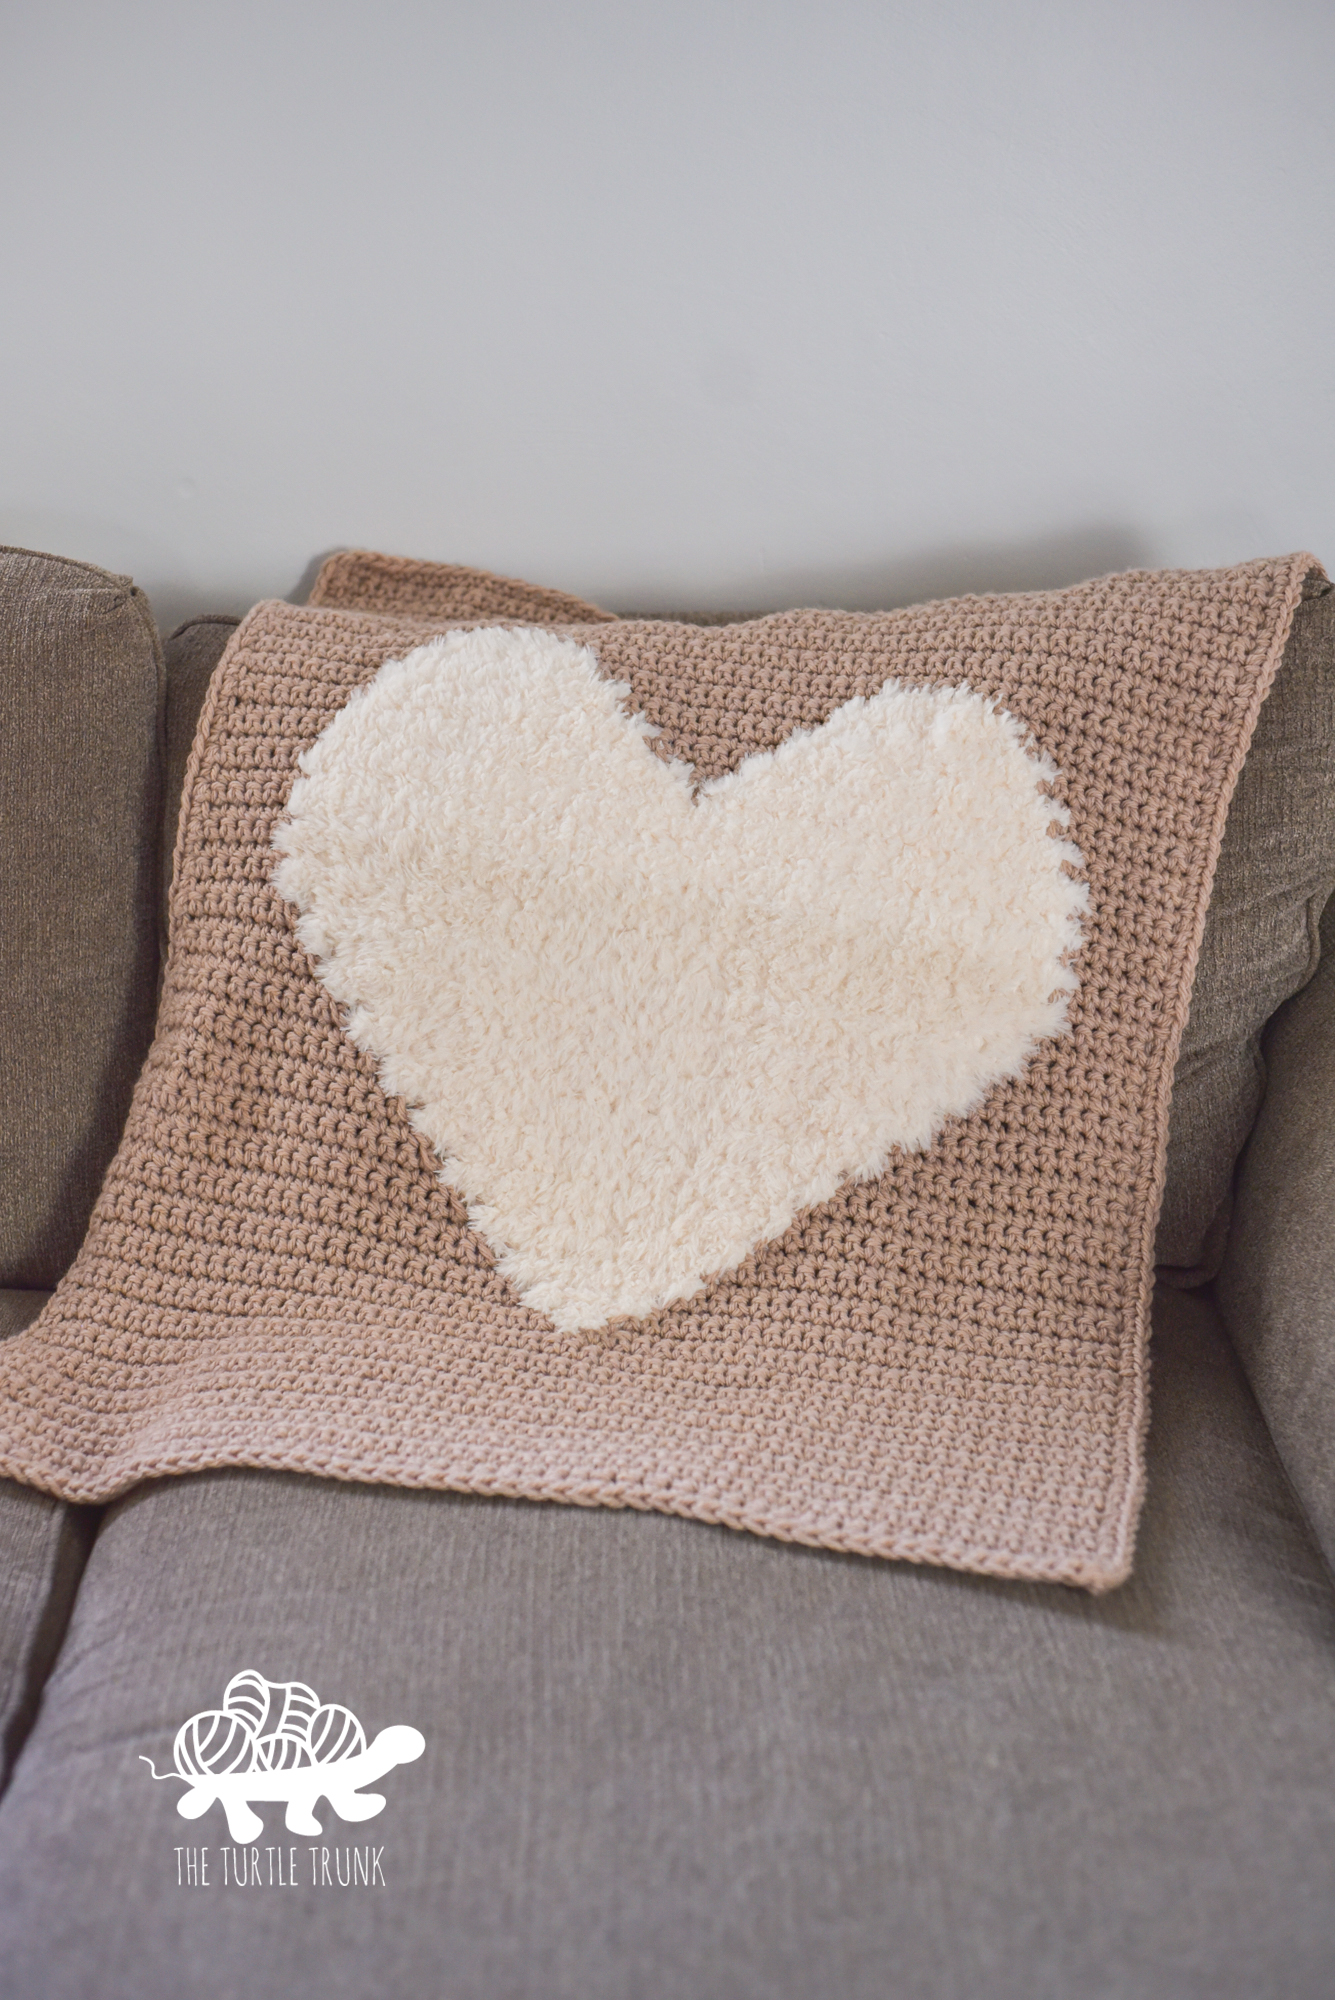
The Love to Cuddle Blanket uses bulky weight yarn to create a warm and cuddly blanket. It features a faux fur heart in the center of a contrasting background. This blanket includes 3 sizes and can be made with a variety of different colors or yarns.
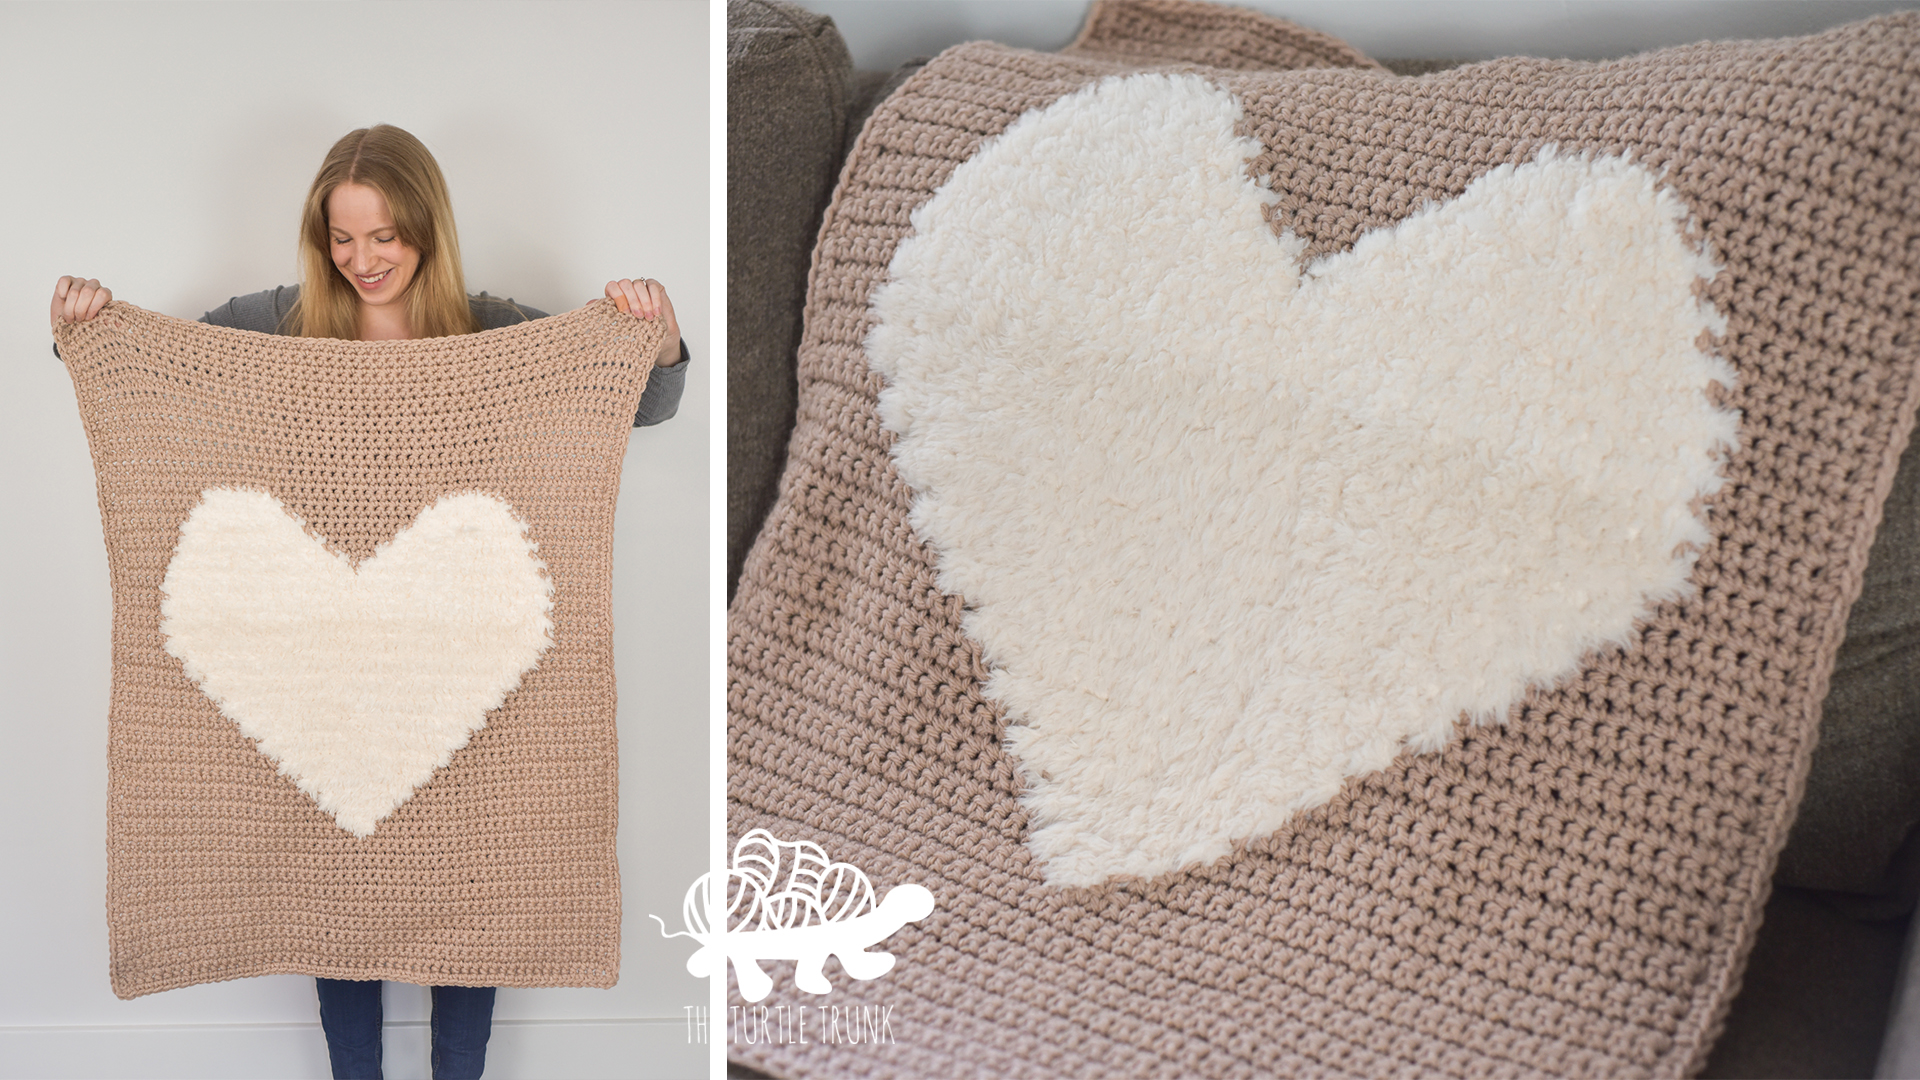
This crochet blanket is so soft and cuddly! The Love to Cuddle Blanket uses bulky (5) weight yarn and faux fur yarn so it’s thick and warm! The pattern includes 3 sizes: baby, toddler, and lap. Only one basic crochet stitch is used for this blanket so it’s easier than it may seem. It also works up quite fast since thicker yarn and a larger hook are used!
Continue reading to learn more about this design and yarn suggestions or scroll down for the free crochet pattern!
FOLLOW ALONG WITH THE AD FREE & PRINTABLE PDF PATTERN
FROM ETSY AND RAVELRY!
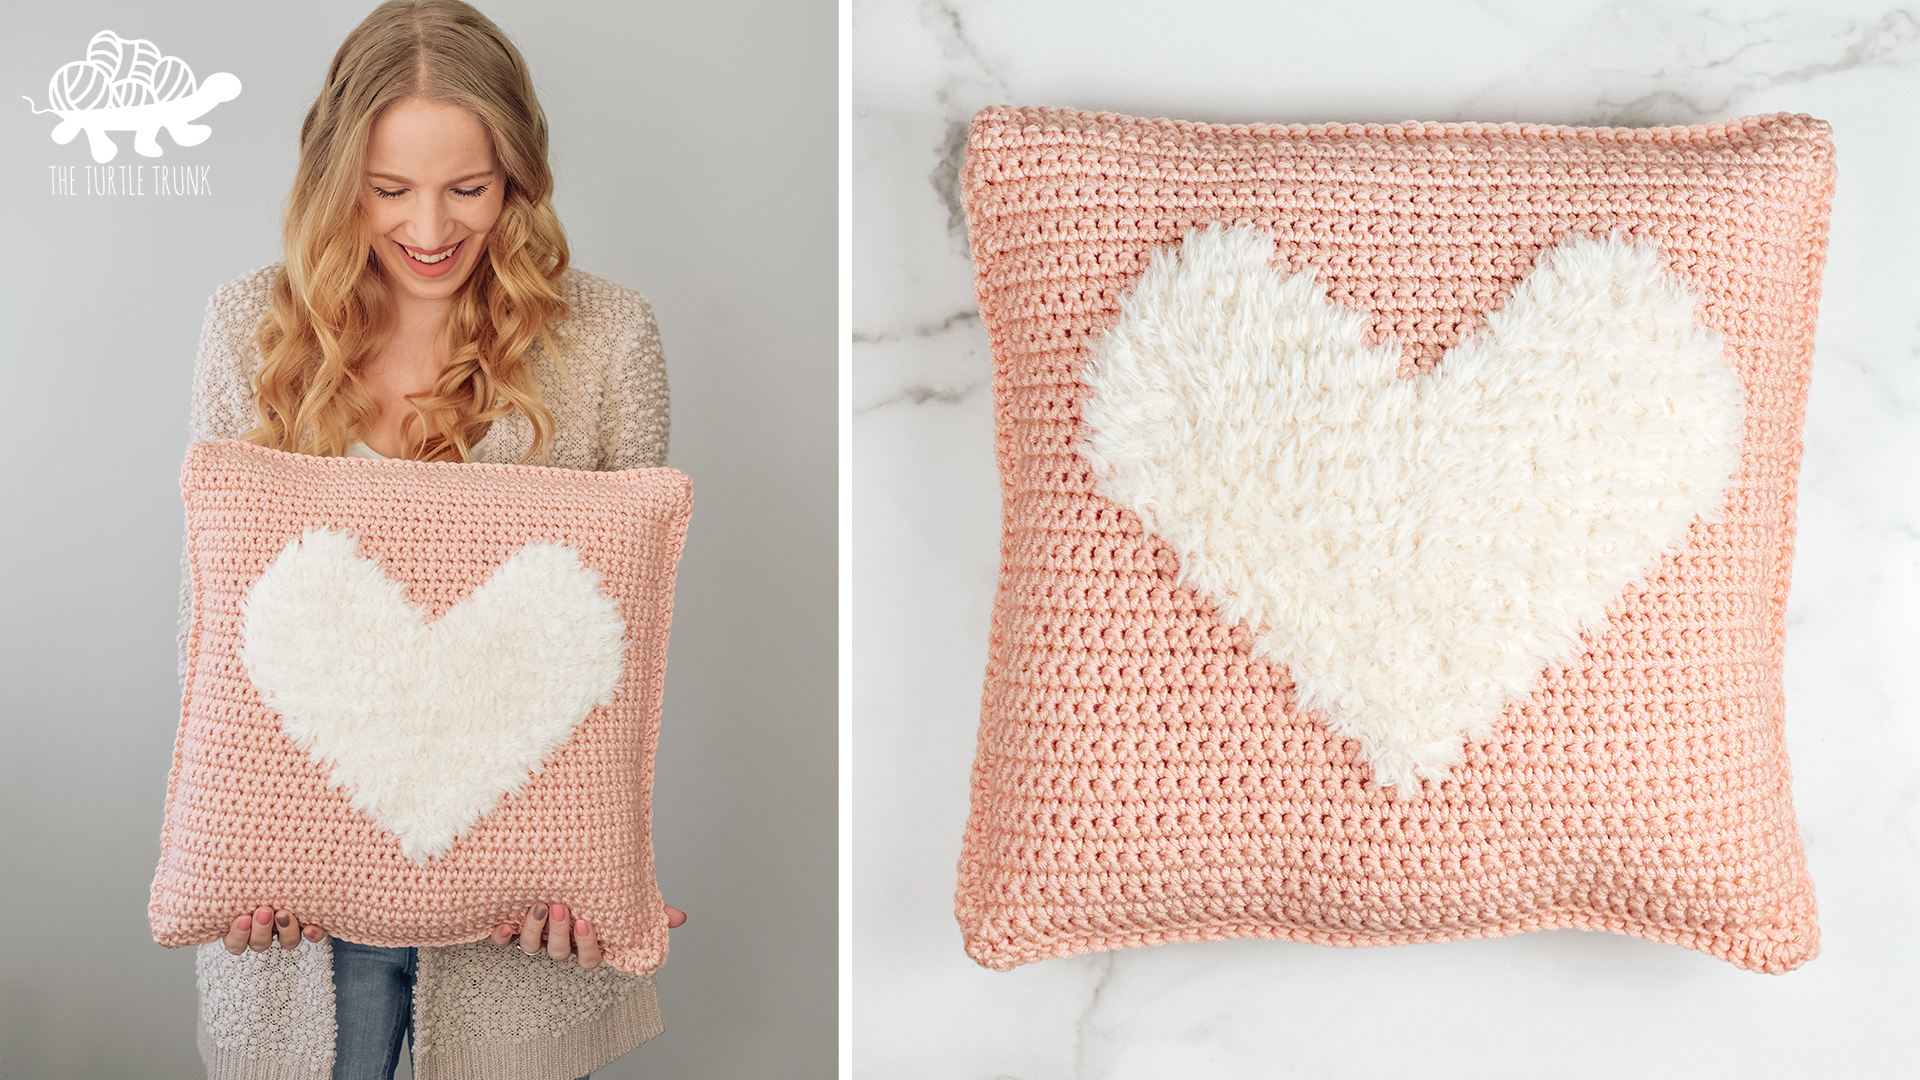
Looking for some more heart themed crochet patterns? Check out my Bulky Love to Cuddle Pillow, Mini Heart, Heart Coaster, and Heart Pot Holder patterns!
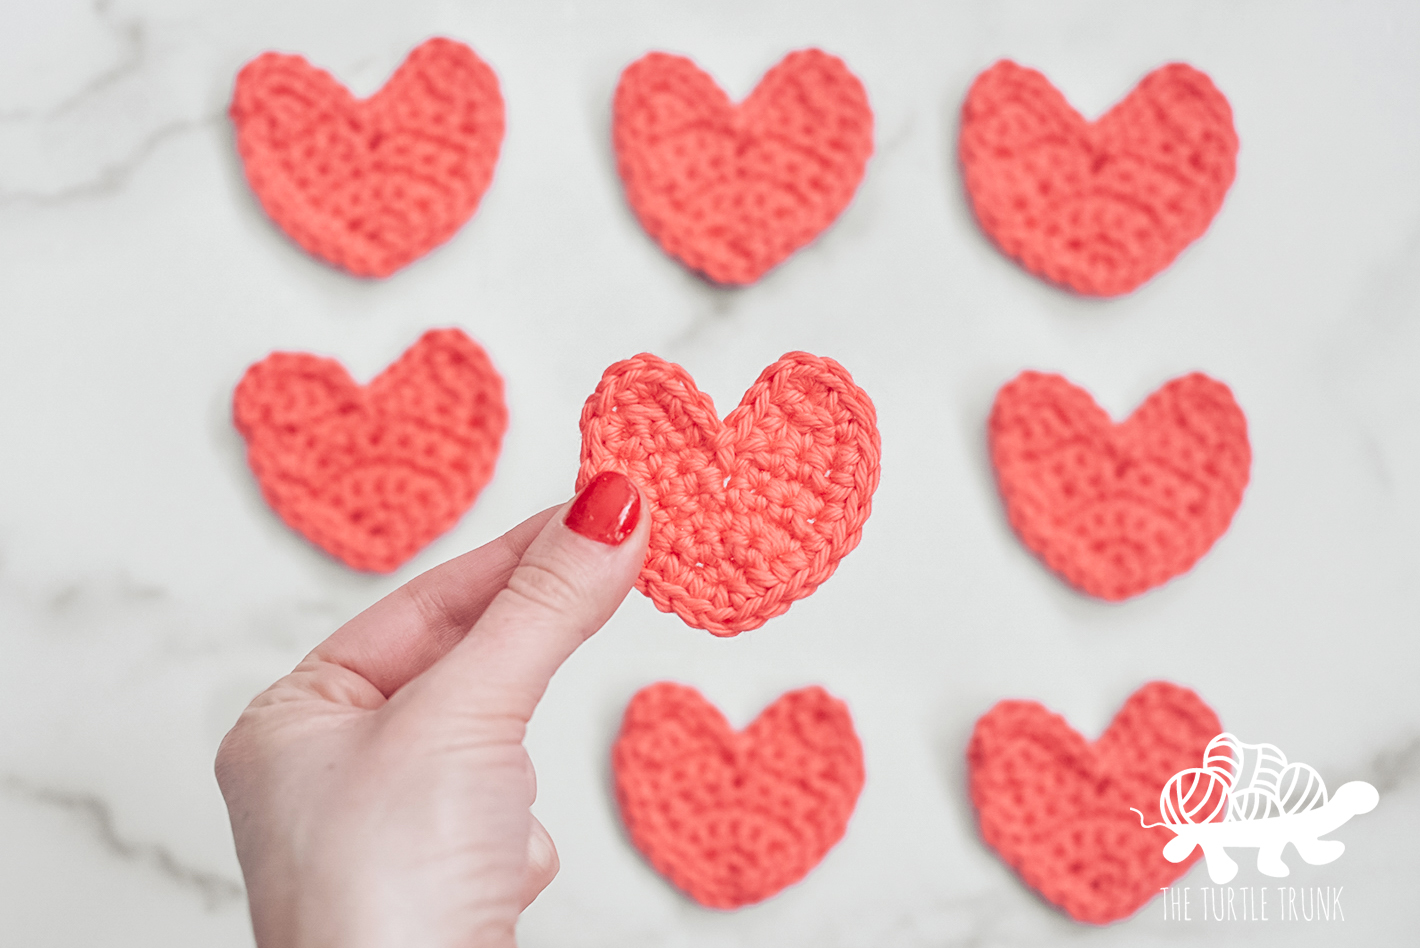
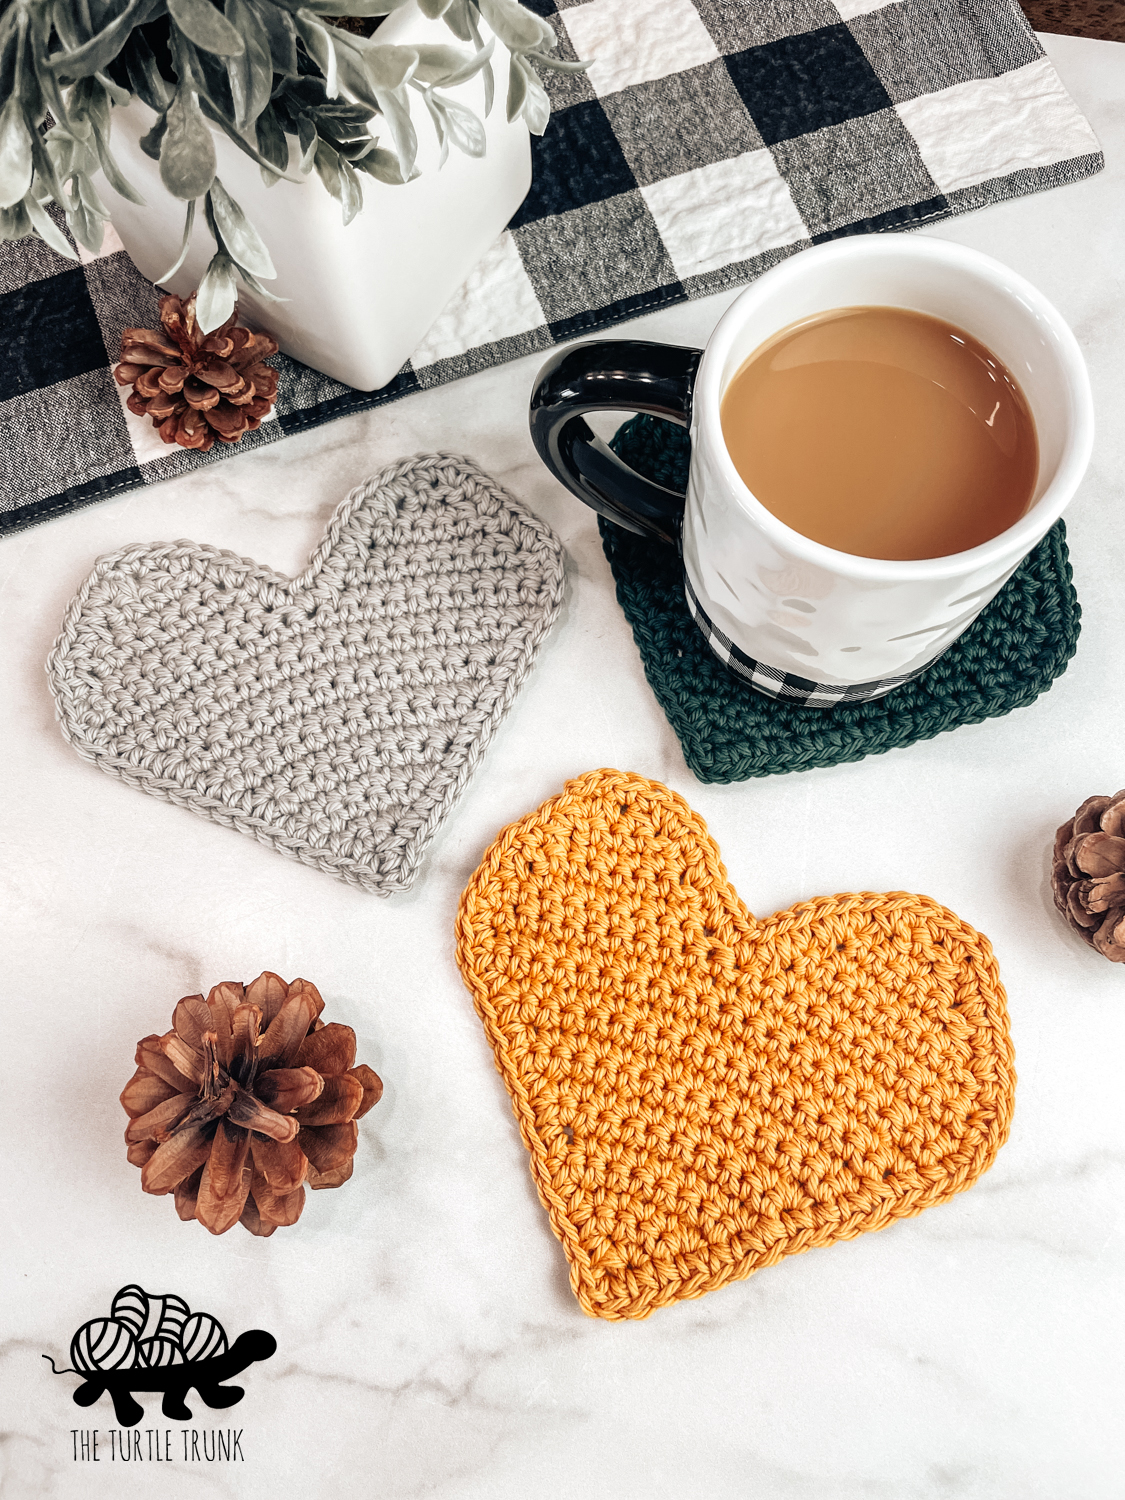
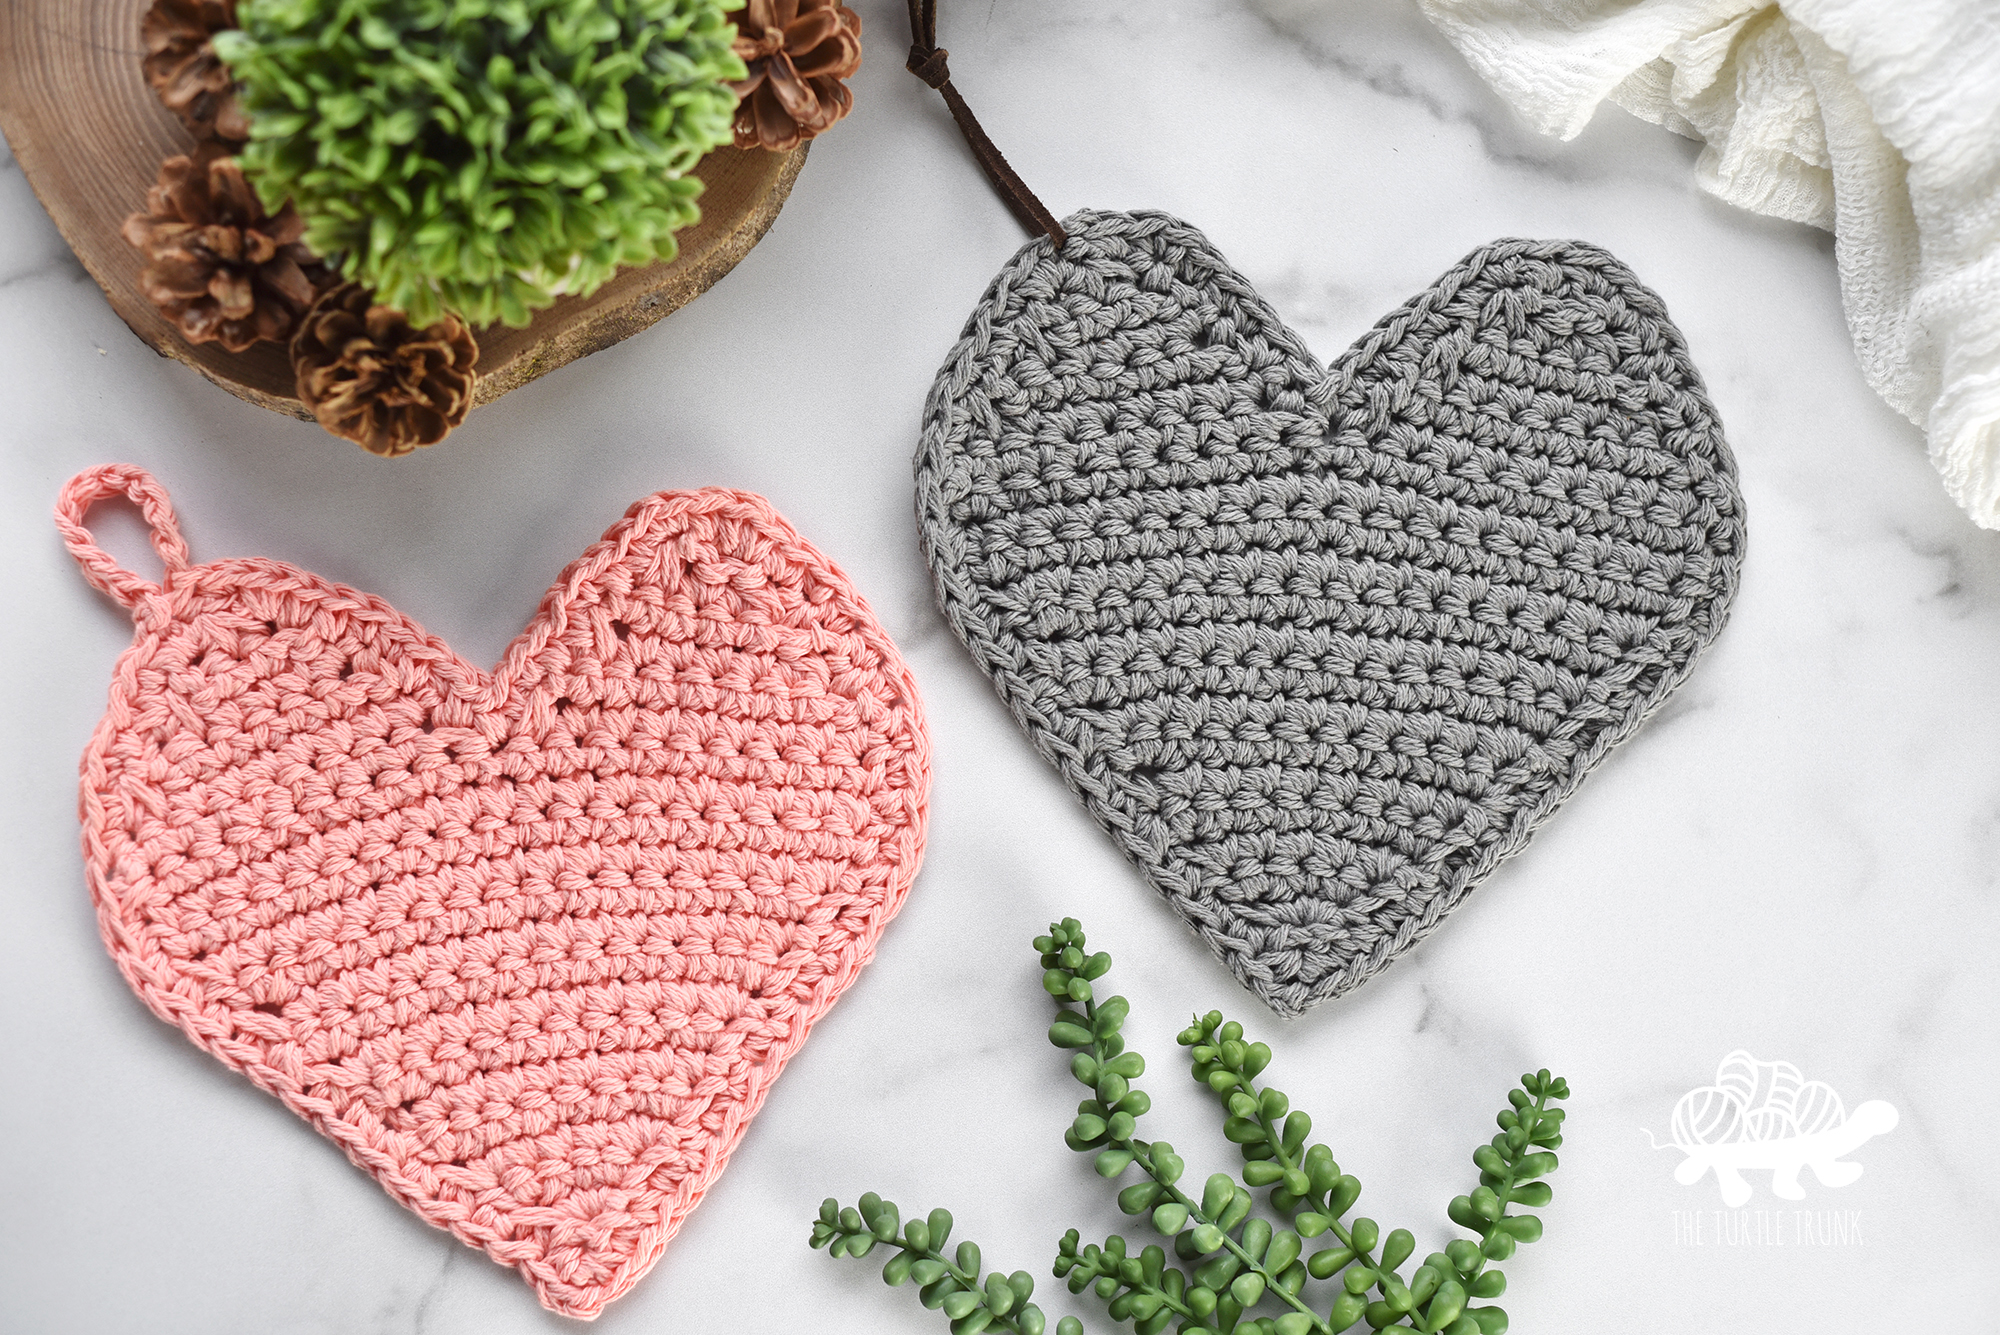
Not ready to make just yet? Save this pattern to pinterest!
Follow along with the video tutorial on YouTube!
Inspiration
Years and years ago I designed and made my original Love to Cuddle Pillow which used medium (4) weight yarn and faux fur yarn. This pattern is not on my blog (yet) but has been available in my Etsy shop. I made this pillow as a Valentine’s Day gift for my step daughter and she loved it!
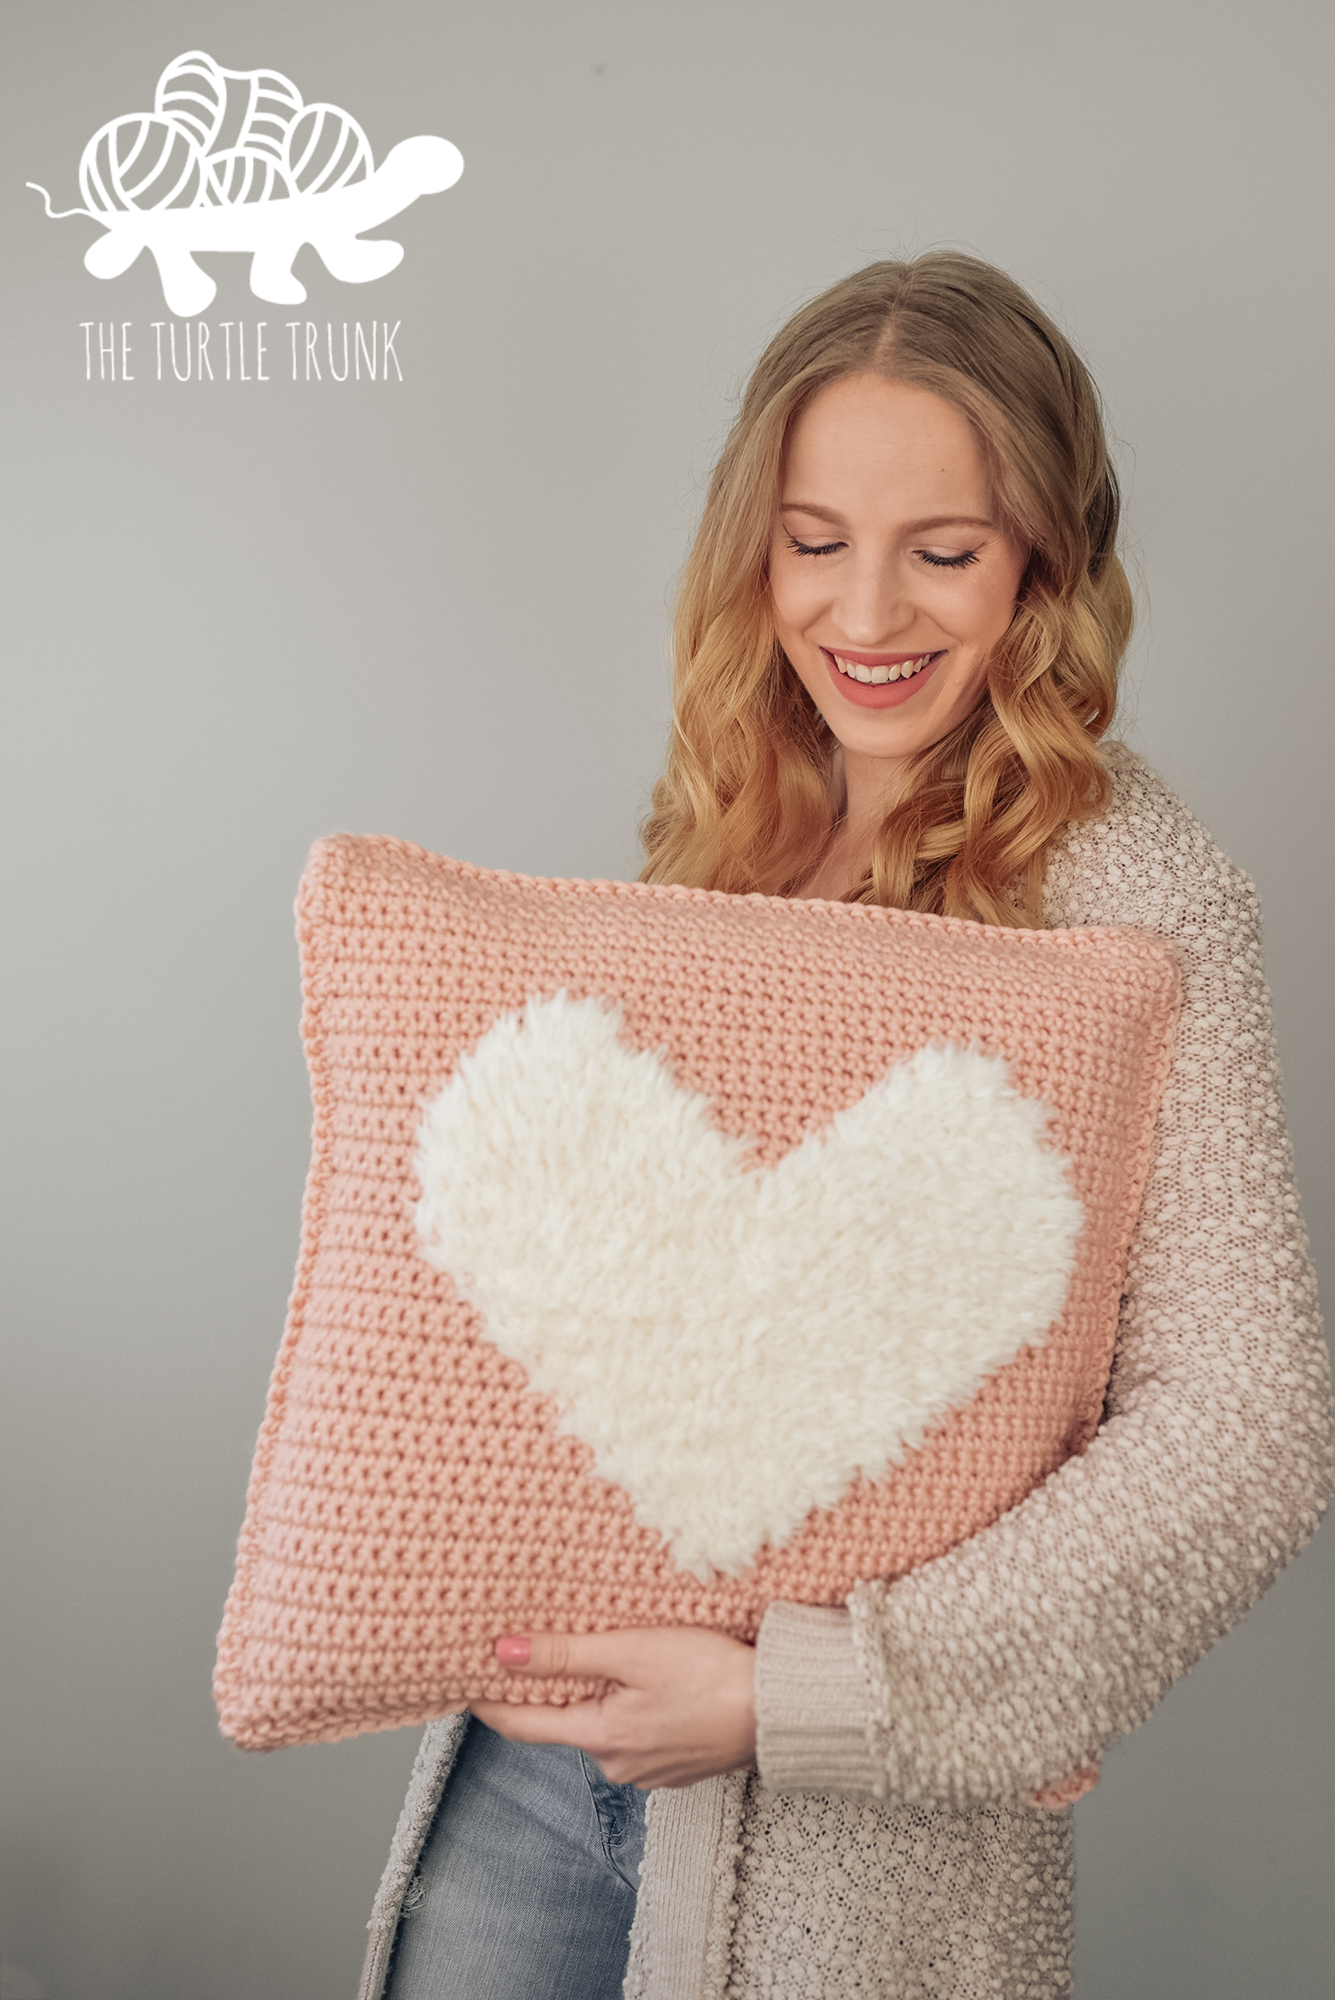
A few years later I decided to re-vamp that pattern using bulky (5) weight yarn for the background, as it better matched the faux fur yarn and there created was my Bulky Love to Cuddle Pillow!
I’ve had left over faux fur yarn (Lion Brand Go For Faux) since making those pillows and have been trying to think of new designs I could use it for. This past Valentine’s Day I thought “why not make a matching blanket!?” Unfortunately I didn’t have it done in time for Valentine’s Day but luckily the Love to Cuddle Blanket is perfect for anytime of year!
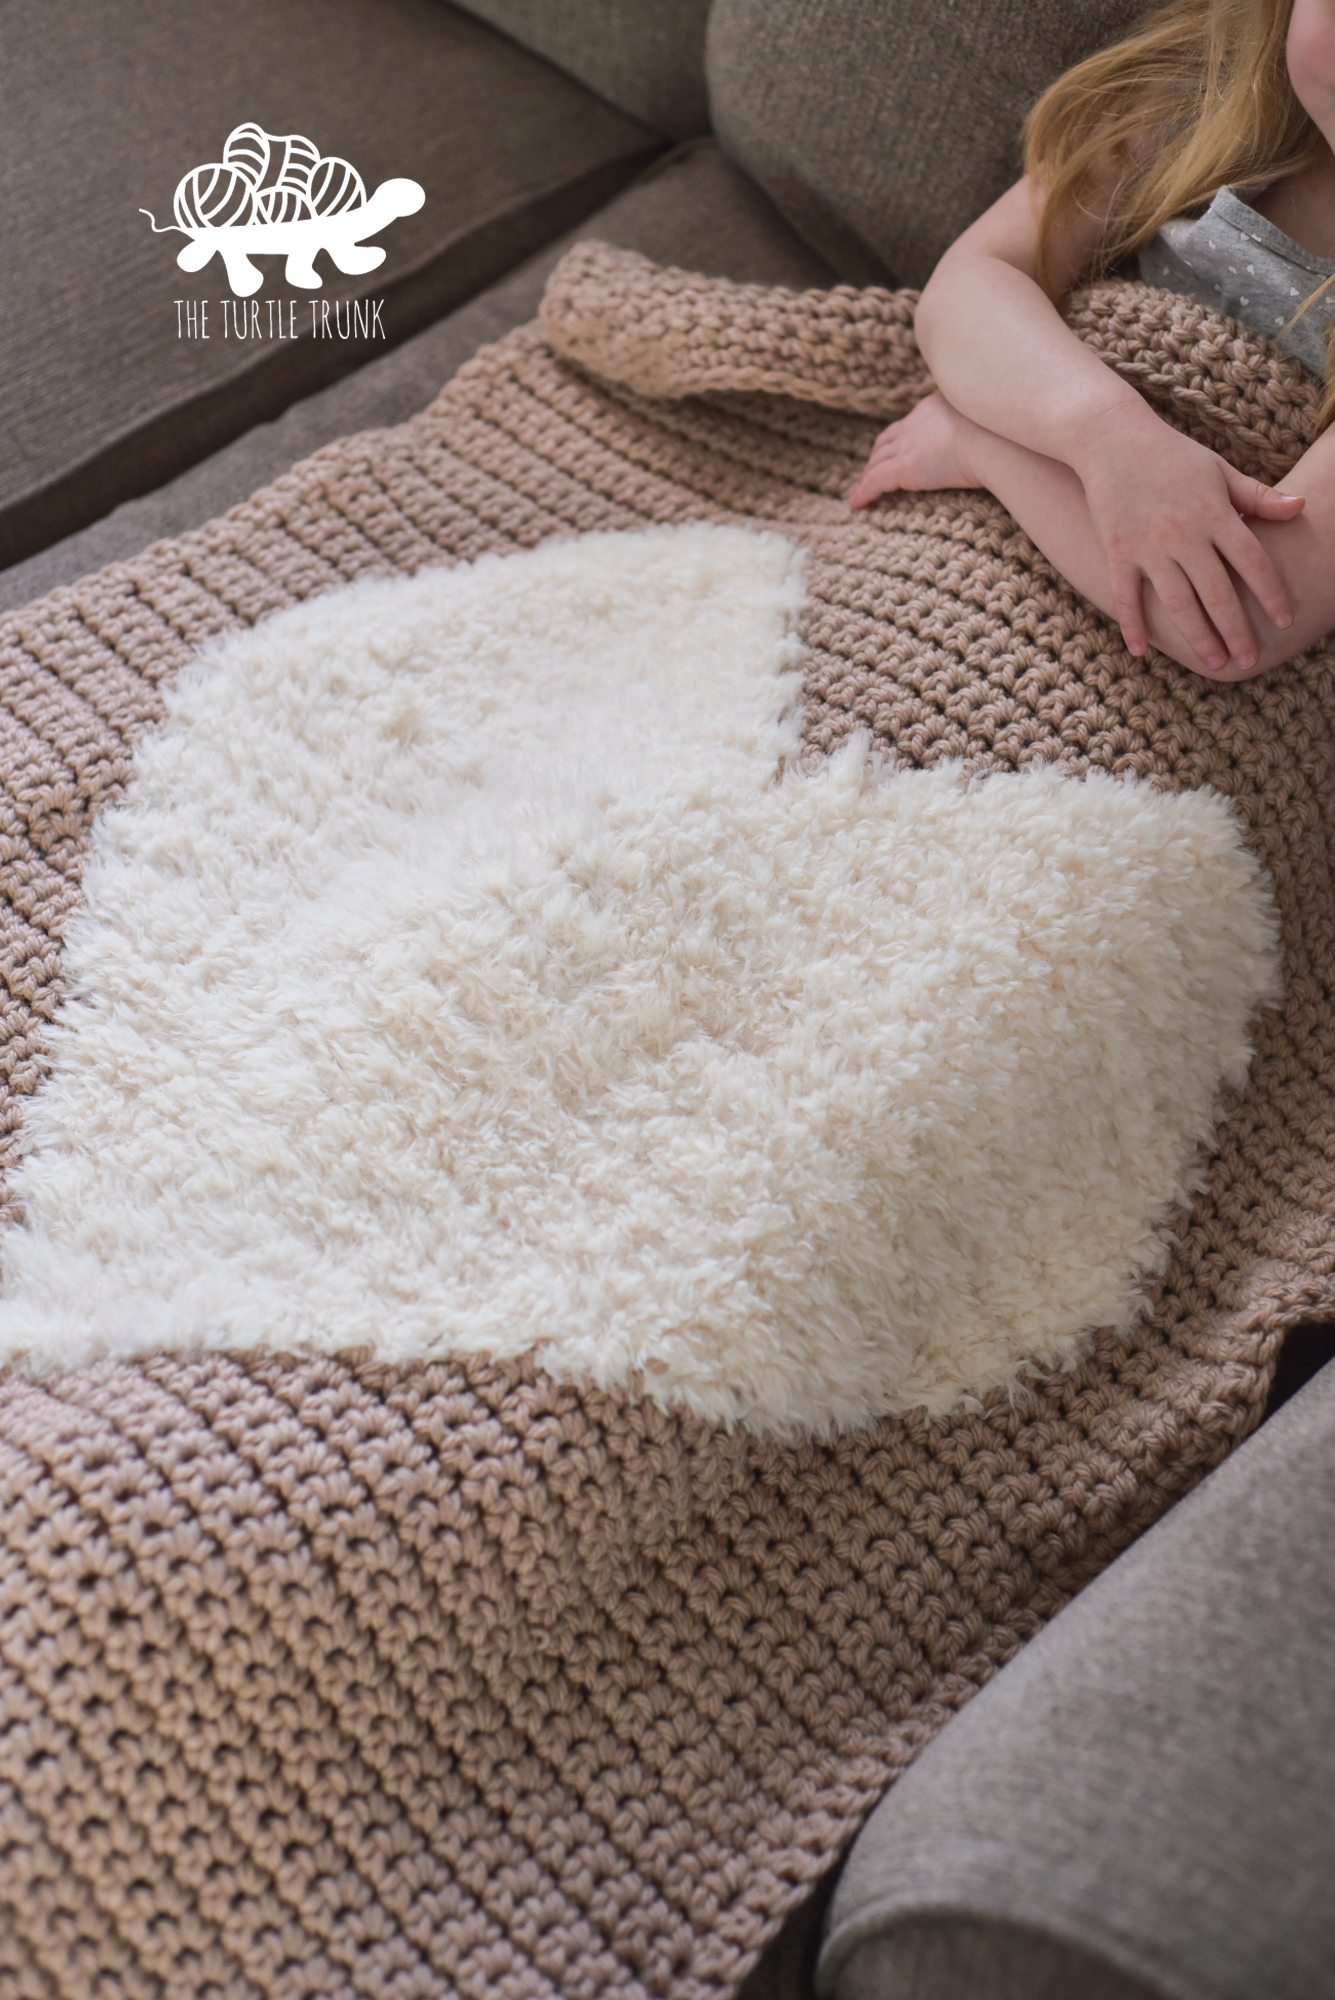
Since my step daughter has her heart pillow, I made this Love to Cuddle Blanket for my other daughter who is 4 and she absolutely love it! I made the toddler size for her and it’s the perfect length to drape over her body and legs. She loves stroking the soft fur heart and even the background color (Lion Brand Yarn Hue + Me) is comfortable and soft.
Yarn
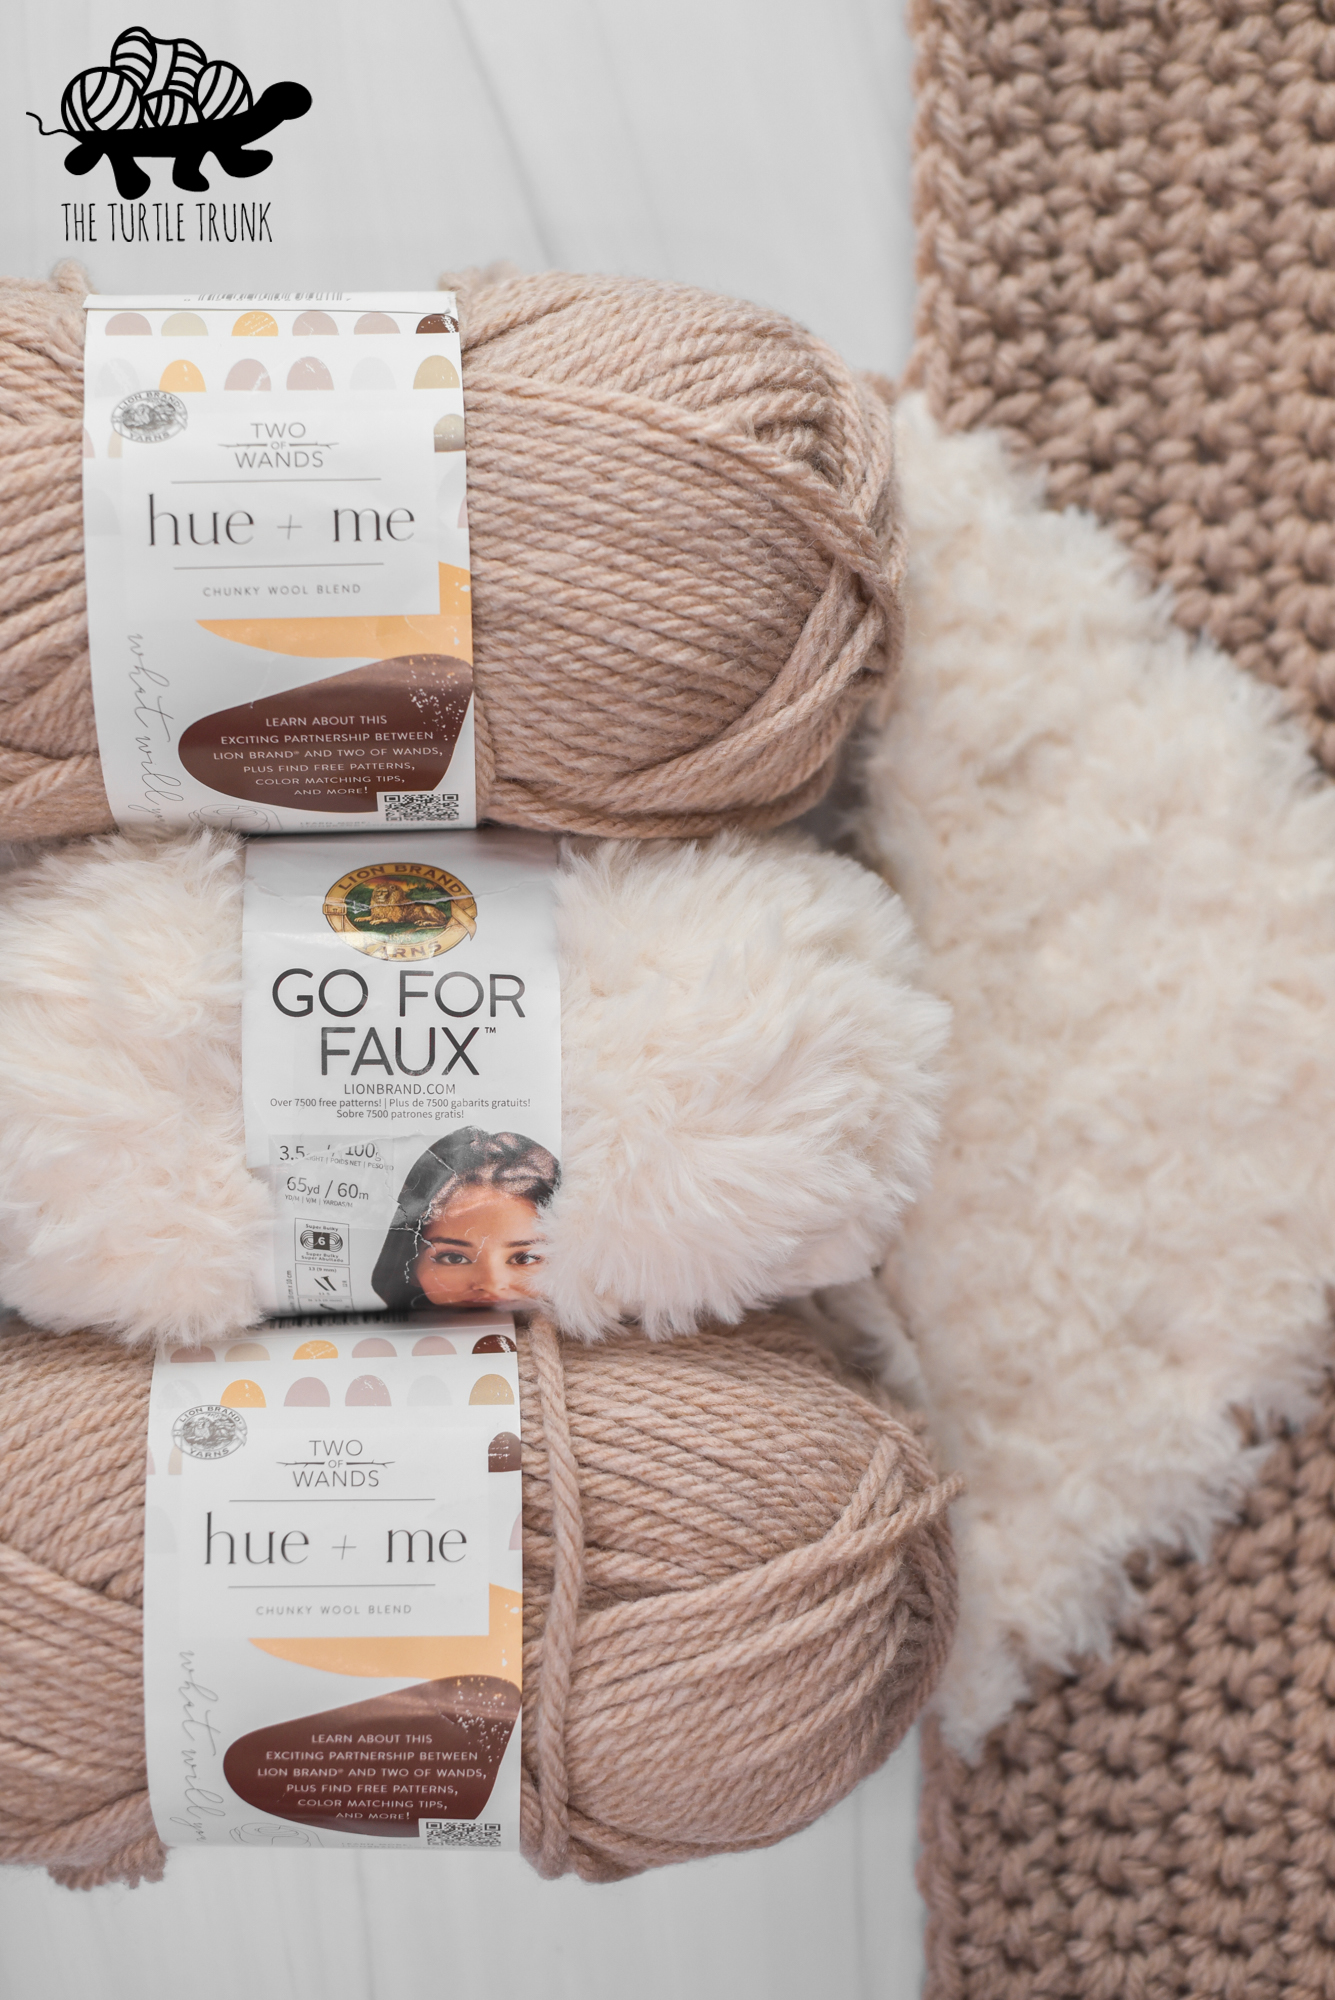
As mentioned above, I used Lion Brand Yarn Hue + Me in the color Desert and Go For Faux in the color Baked Alaska for this blanket. Desert is a really pretty yet interesting color. I tried to photograph it the best I could but in different lighting it shows up a bit different. It’s a light beige color with a slightly pinkish hue. On Lion Brand Yarn’s website, it shows more beige and not so much pink so when I got it in the mail I was surprised at how pink it was, so keep that in mind if you’re wanting to buy it. If you want more of a pink color, Rose Water would be a better option.
For the faux fur yarn I chose white to be a nice contrast to the pinkish background. Lion Brand Yarn Go For Faux has a handful of other color options too though. There is a pink shade called Pink Poodle that I think would be a great option if you wanted to make a pink heart with a white or neutral colored background.
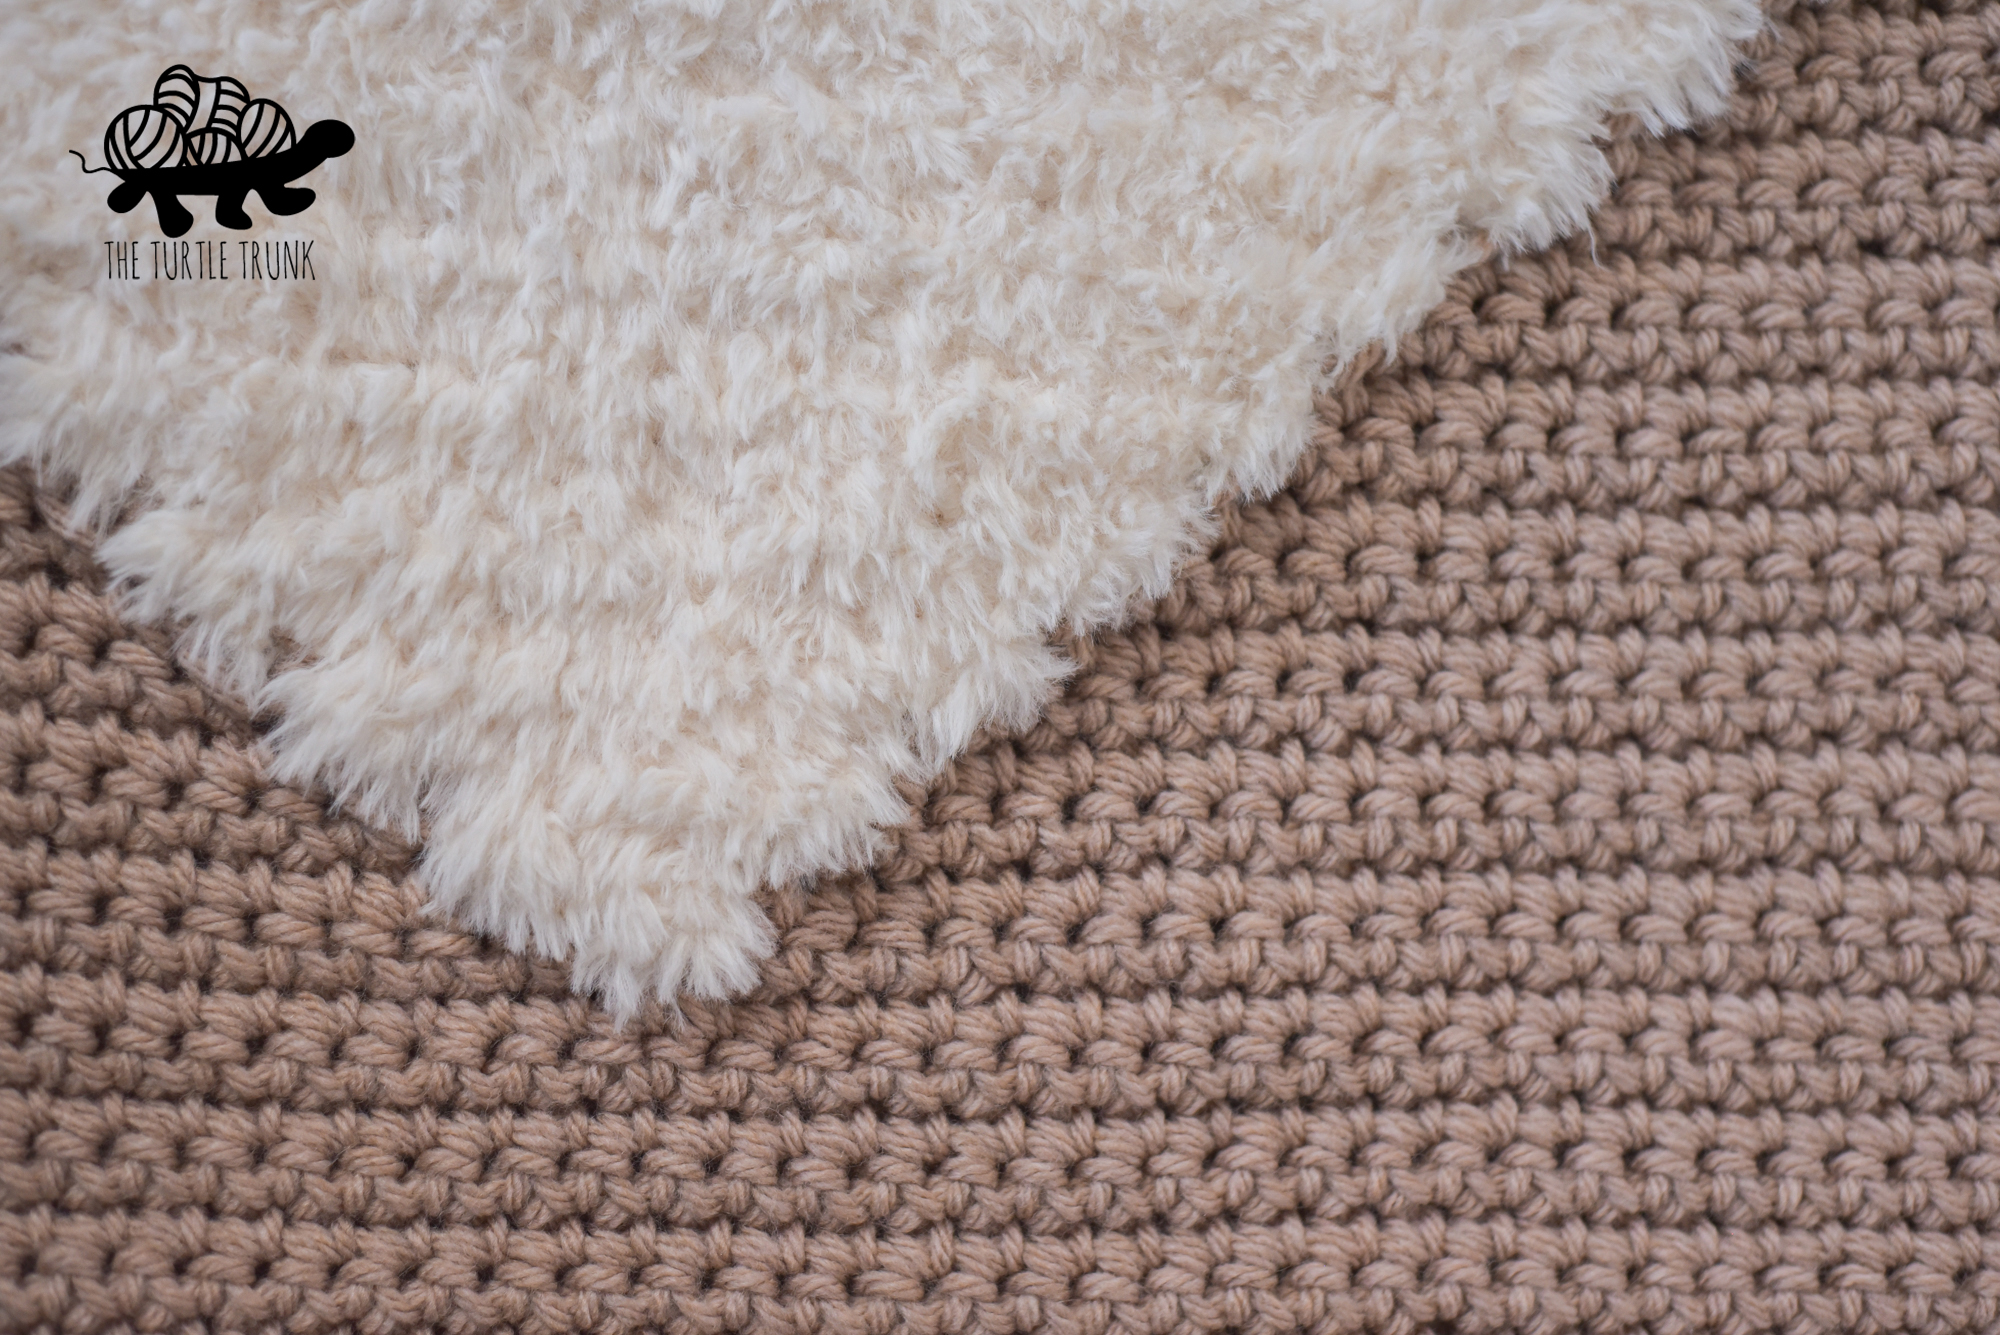
Although the faux fur yarn adds an amazing soft and cozy texture to the blanket you don’t need to use it! You can sub for any bulky (5) weight yarn or use the same yarn as the background. If using the same yarn as the background, I suggest using a contrasting color so you can see the heart shape clearly.
If you are using Go For Faux, note that it is classified as a super bulky (6) weight yarn. I had no issues matching gauge with it though. If you are going to substitute it with something else, I suggest using a bulk (5) weight yarn or making sure whatever yarn you choose to use can match gauge.
Intarsia Crochet
This pattern uses the Intarsia Crochet technique. You will start a new skein (or bobbin) of yarn for each color change then drop and pick-up bobbins as needed.
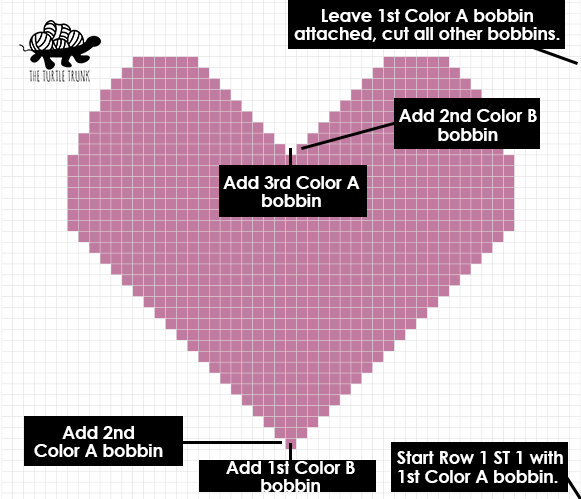
This method creates a picture (or design) that will be two sided. No yarn is carried behind the other color (fair isle crochet), instead with intarsia crochet, when you are done with one color you will drop it and start a new color. The use of bobbins (or small balls of yarn) come in handy so you can pick up yarn from it instead of constantly cutting and attaching again. This method will keep your work looking nice on both sides as well as keeping yarn ends to a minimum. See the photo above for suggestions on where to start new skeins/bobbins.
Sizes
See the size chart below for the 3 different sizes, their dimensions, and how much yarn is needed. The heart is the same size for each blanket but the background gets bigger for each size up. I used Color A (the background color) for the border as well, which that yardage is included below. If you’d like to make your border with the faux fur yarn (which I think would look amazing!) you will need to get an extra skein of the faux fur yarn.
This blanket is meant to be a lap covering not a whole bed spread, but if you would like to make it larger you can use the charts below and just add more square/stitches around the heart to make it larger. You will need to work an odd number of stitches across and an even number of rows to ensure the heart is in the center.
| Size | Width | Height | Yardage |
| Baby | 30” | 30” | Color A- 315 yards Color B- 115 yards |
| Toddler | 30” | 36” | Color A- 397 yards Color B- 115 yards |
| Lap | 36” | 48” | Color A- 684 yards Color B- 115 yards |
Difficulty
Advanced Beginner
Gauge
If using both regular yarn and faux fur yarn for your blanket, make your gauge swatch with only the regular yarn.
7 STs x 8 Rows = 4” x 4” in SC
Adjust hook size up or down to meet gauge.
Notes
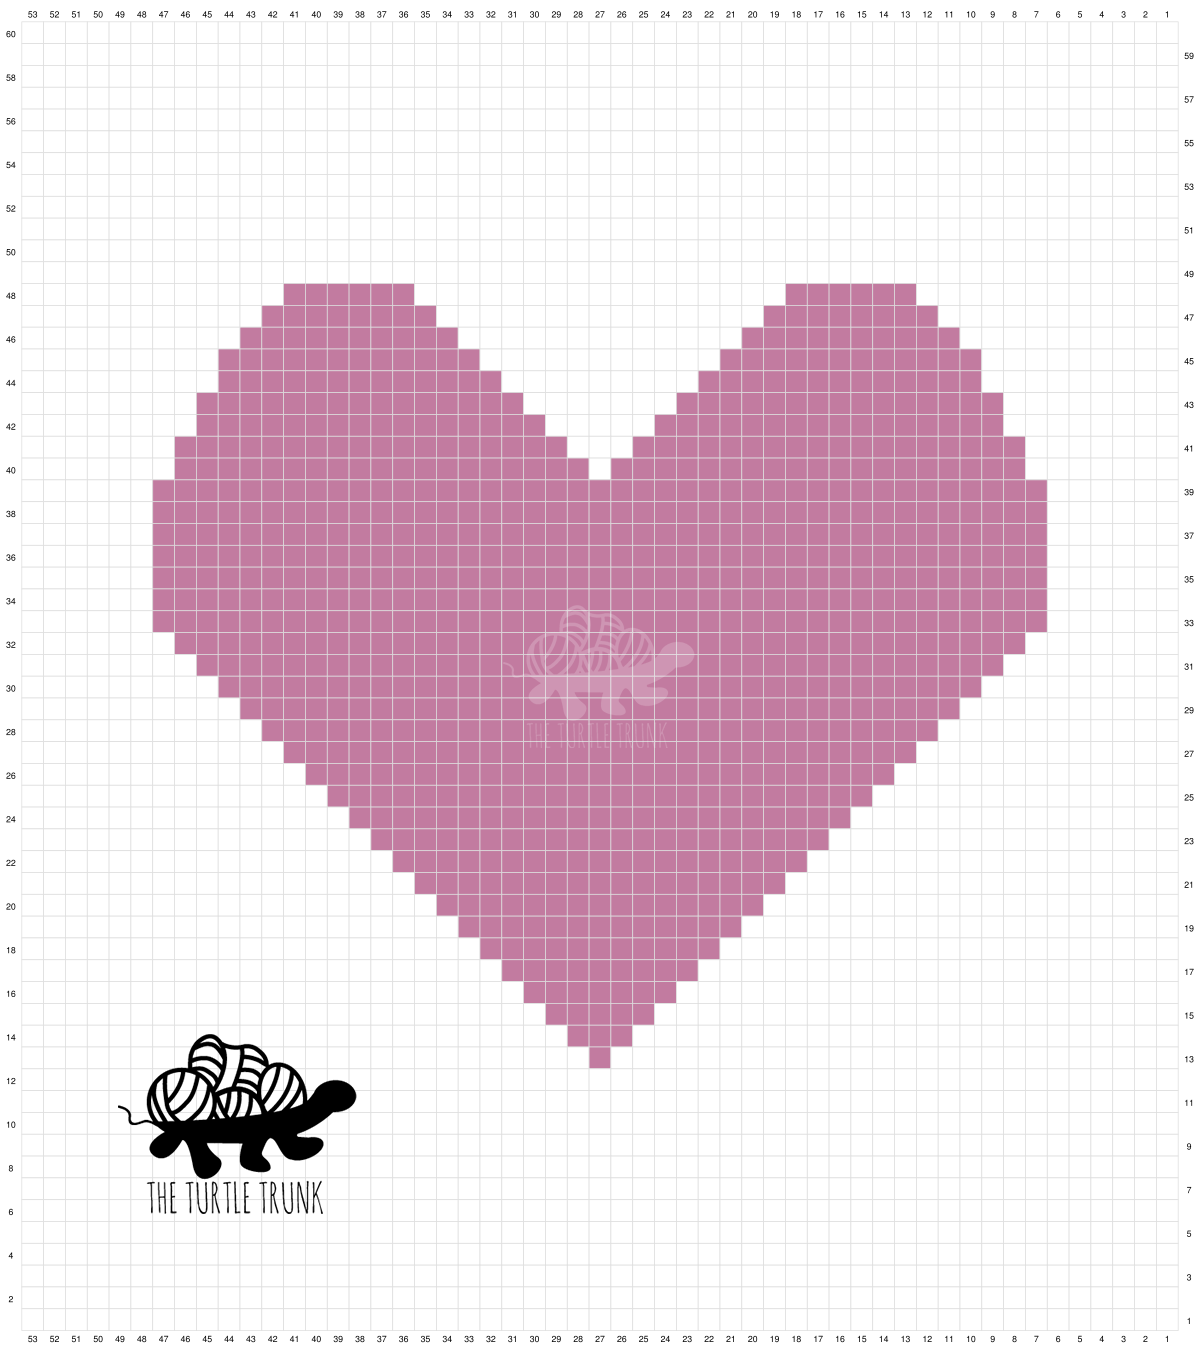
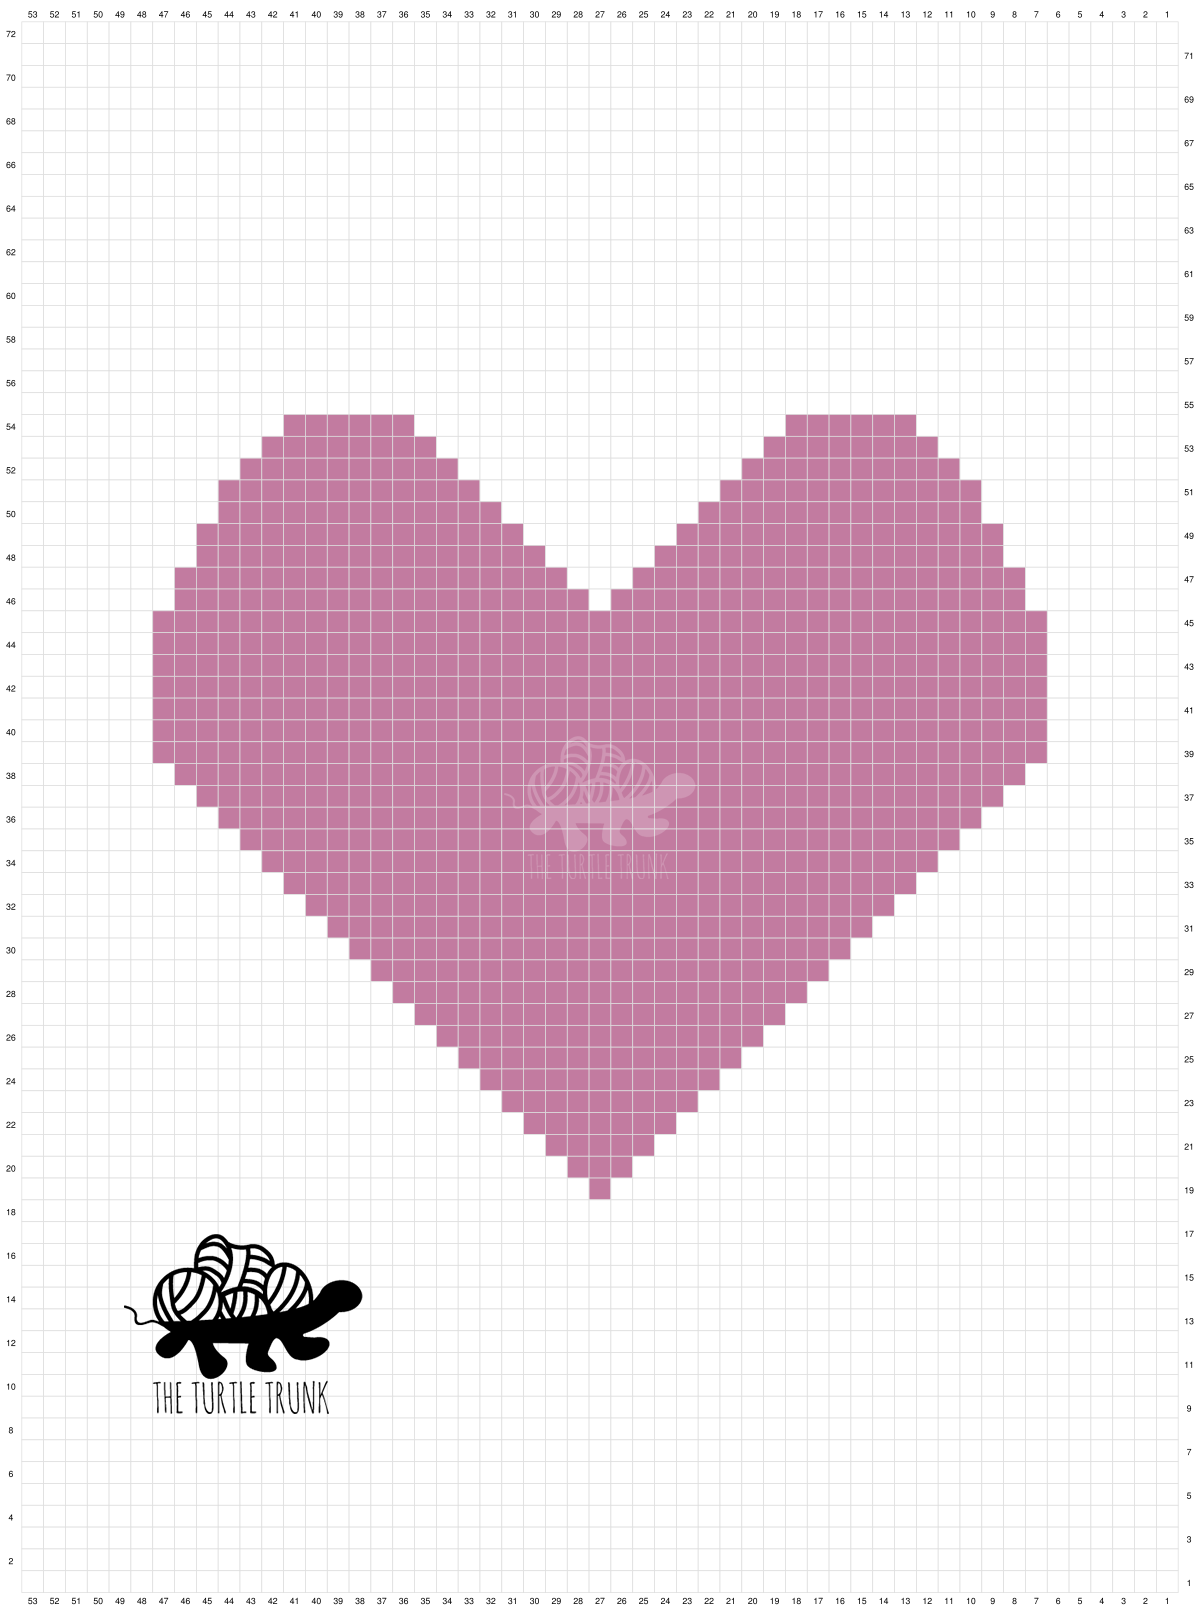
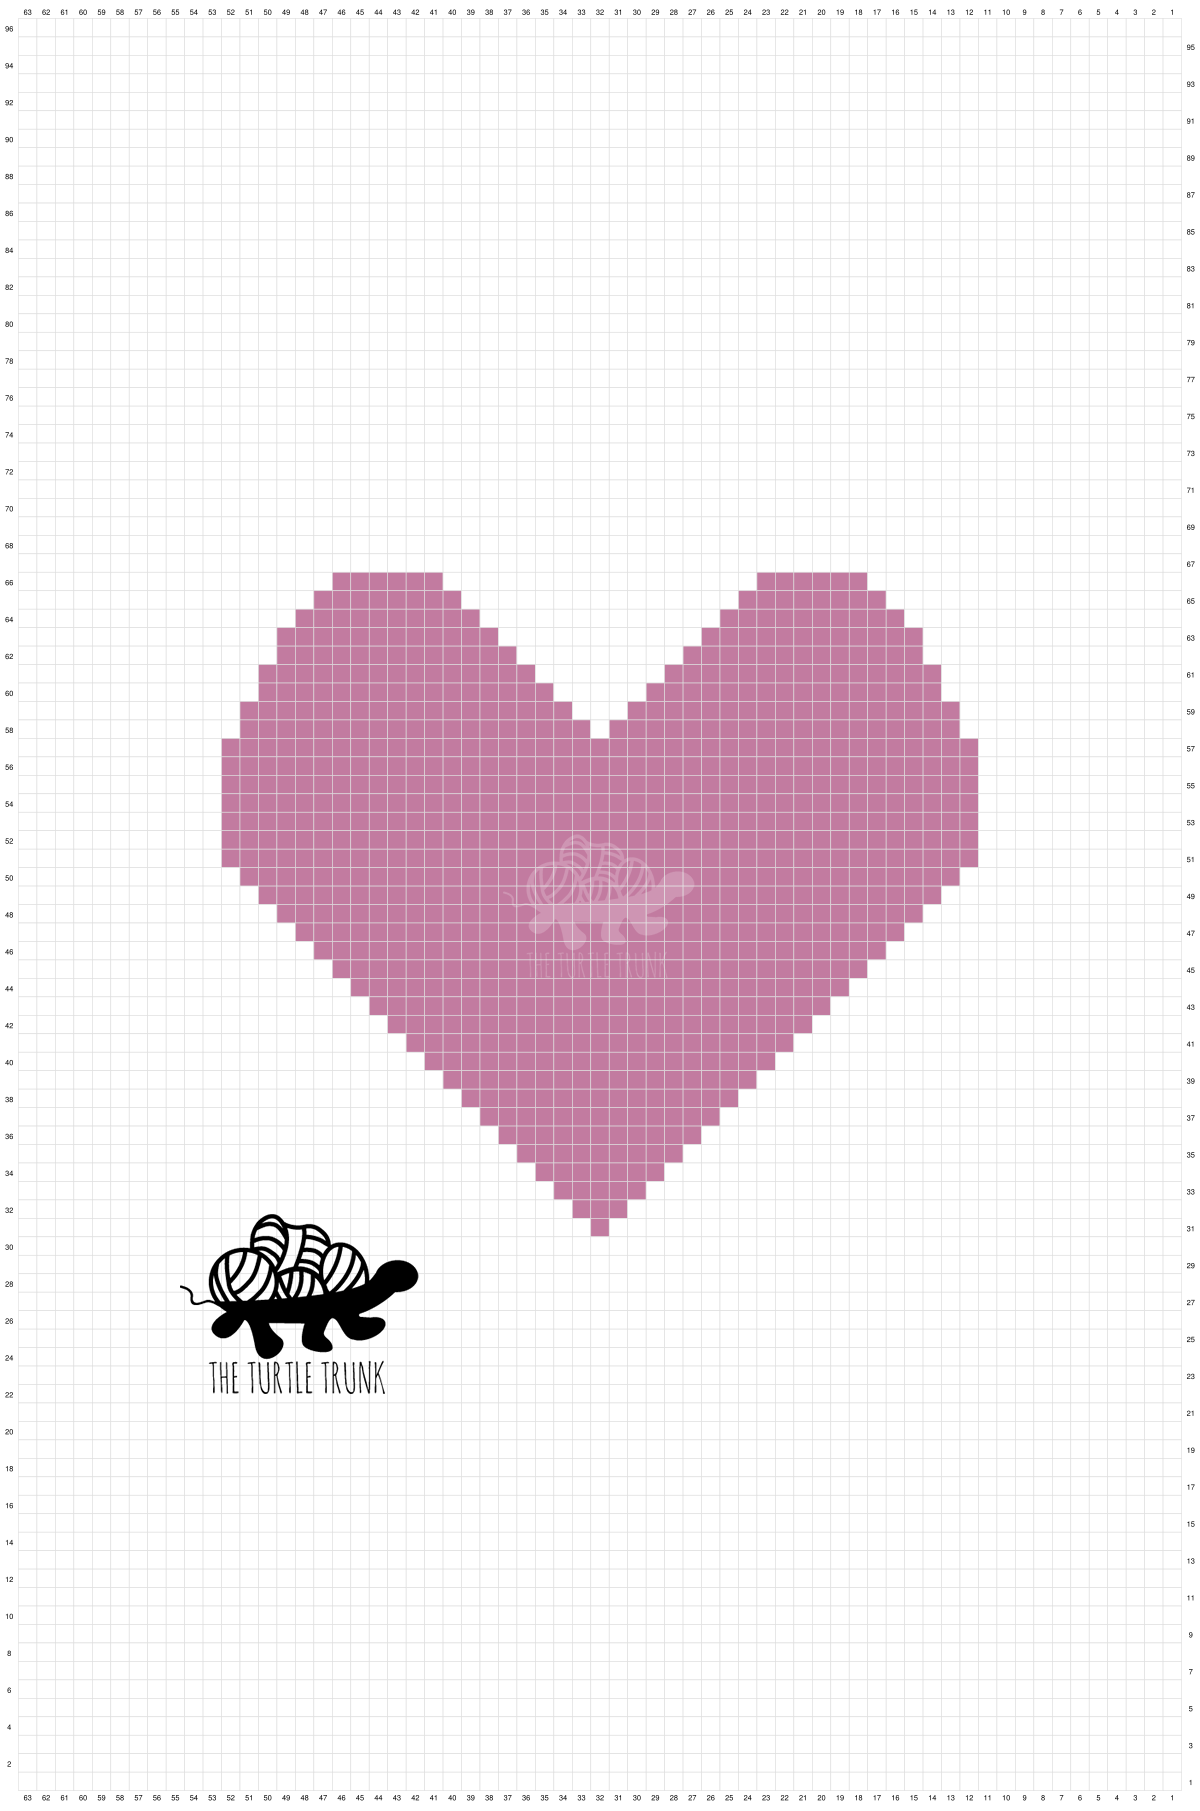
- This pattern includes both written instructions and a graph for each of the 3 sized blankets. You can follow along with one or both.
- At the end of each row CH 1 & turn.
- Each graph can be found below that sizes written instructions.
- Written Instructions: each row will have an arrow beside it telling you which direction that row will be worked. When working on the right side (RS) you will see ‘<’. When working on the wrong side (WS) you will see ‘>’. Make sure all loose ends are on the wrong side.
- From row 2 on, only SC stitches are used. This pattern is written in simplified terms, so each row will tell you the color to use and the number of stitches for that color. Ex. A26, B1, A26, means: SC 26 using color A, then 1 SC using color B, then SC 26 using color A again.
- Graph: each square on the graph represents one SC.
- The numbers on the side of the graph represent the row number. You will be working on the right side of the blanket when crocheting the odd numbered rows and wrong side of the blanket when crocheting the even numbered rows.
Supplies
- Bulky (5) weight yarn in 2 contrasting colors (see size chart above for yardage)
- I used Lion Brand Yarn Hue + Me for Color A and Lion Brand Yarn Go For Faux for Color B. Go For Faux is a super bulky (6) weight yarn but I was able to match gauge. Substitute either with any bulky (5) weight yarn or any yarn that can match the gauge.
- 10.00 mm (N/P) Hook
- Yarn Needle
- Scissors
Abbreviations (US Terms)
ST(s) – Stitch(es)
SL ST – Slip Stitch
CH – Chain
SC – Single Crochet
FSC- Foundation Single Crochet
RS – Right Side
WS – Wrong Side
How to Change Color
You will change color on the last SC before a new color starts. Start you last SC as usual, before the final pull through, drop the current color and pick up the new color. Finish the stitch by pulling through the 2 loops on your hook with the new color. The next SC you work will be the first of the new color. Be sure your tail ends are all on the WS of your project.
Love to Cuddle Blanket Pattern
Baby Size
Starting with Color A
< Row 1 [RS]: FSC 53 (or CH 54, SC in 2nd CH from hook and SC in each CH across). CH 1 & turn. (53)
Rows 2 – 12: A53
< Row 13 [RS]: A26, B1, A26
> Row 14 [WS]: A25, B3, A25
< Row 15 [RS]: A24, B5, A24
> Row 16 [WS]: A23, B7, A23
< Row 17 [RS]: A22, B9, A22
> Row 18 [WS]: A21, B11, A21
< Row 19 [RS]: A20, B13, A20
> Row 20 [WS]: A19, B15, A19
< Row 21 [RS]: A18, B17, A18
> Row 22 [WS]: A17, B19, A17
< Row 23 [RS]: A16, B21, A16
> Row 24 [WS]: A15, B23, A15
< Row 25 [RS]: A14, B25, A14
> Row 26 [WS]: A13, B27, A13
< Row 27 [RS]: A12, B29, A12
> Row 28 [WS]: A11, B31, A11
< Row 29 [RS]: A10, B33, A10
> Row 30 [WS]: A9, B35, A9
< Row 31 [RS]: A8, B37, A8
> Row 32 [WS]: A7, B39, A7
Rows 33-39: A6, B41, A6
> Row 40 [WS]: A7, B19, A1, B19, A7
< Row 41 [RS]: A7, B18, A3, B18, A7
> Row 42 [WS]: A8, B16, A5, B16, A8
< Row 43 [RS]: A8, B15, A7, B15, A8
> Row 44 [WS]: A9, B13, A9, B13, A9
< Row 45 [RS]: A9, B12, A11, B12, A9
> Row 46 [WS]: A10, B10, A13, B10, A10
< Row 47 [RS]: A11, B8, A15, B8, A11
> Row 48 [WS]: A12, B6, A17, B6, A12
At the end of Row 48, leave the last used Color A bobbin attached and cut off all other bobbins.
Rows 49-60: A53
Border
In the same ST you worked the last SC of Row 60, SC 2 more times. SC in each row and in each ST across the top and bottom, Work 3 SC in each corner of the blanket. When you reach the 1st corner again, SL ST into the 1st ST of the border. Tie off yarn and weave in ends.
Toddler Size
Starting with Color A
< Row 1 [RS]: FSC 53 (or CH 54, SC in 2nd CH from hook and SC in each CH across). CH 1 & turn. (53)
Rows 2 – 18: A53
< Row 19 [RS]: A26, B1, A26
> Row 20 [WS]: A25, B3, A25
< Row 21 [RS]: A24, B5, A24
> Row 22 [WS]: A23, B7, A23
< Row 23 [RS]: A22, B9, A22
> Row 24 [WS]: A21, B11, A21
< Row 25 [RS]: A20, B13, A20
> Row 26 [WS]: A19, B15, A19
< Row 27 [RS]: A18, B17, A18
> Row 28 [WS]: A17, B19, A17
< Row 29 [RS]: A16, B21, A16
> Row 30 [WS]: A15, B23, A15
< Row 31 [RS]: A14, B25, A14
> Row 32 [WS]: A13, B27, A13
< Row 33 [RS]: A12, B29, A12
> Row 34 [WS]: A11, B31, A11
< Row 35 [RS]: A10, B33, A10
> Row 36 [WS]: A9, B35, A9
< Row 37 [RS]: A8, B37, A8
> Row 38 [WS]: A7, B39, A7
Rows 39-45: A6, B41, A6
> Row 46 [WS]: A7, B19, A1, B19, A7
< Row 47 [RS]: A7, B18, A3, B18, A7
> Row 48 [WS]: A8, B16, A5, B16, A8
< Row 49 [RS]: A8, B15, A7, B15, A8
> Row 50 [WS]: A9, B13, A9, B13, A9
< Row 51 [RS]: A9, B12, A11, B12, A9
> Row 52 [WS]: A10, B10, A13, B10, A10
< Row 53 [RS]: A11, B8, A15, B8, A11
> Row 54 [WS]: A12, B6, A17, B6, A12
At the end of Row 54, leave the last used Color A bobbin attached and cut off all other bobbins.
Rows 55-72: A53
Border
In the same ST you worked the last SC of Row 74, SC 2 more times. SC in each row and in each ST across the top and bottom, Work 3 SC in each corner of the blanket. When you reach the 1st corner again, SL ST into the 1st ST of the border. Tie off yarn and weave in ends.
Lap Size
Starting with Color A
< Row 1 [RS]: FSC 63 (or CH 64, SC in 2nd CH from hook and SC in each CH across). CH 1 & turn. (63)
Rows 2 – 30: A63
< Row 31 [RS]: A31, B1, A31
> Row 32 [WS]: A30, B3, A30
< Row 33 [RS]: A29, B5, A29
> Row 34 [WS]: A28, B7, A28
< Row 35 [RS]: A27, B9, A27
> Row 36 [WS]: A26, B11, A26
< Row 37 [RS]: A25, B13, A25
> Row 38 [WS]: A24, B15, A24
< Row 39 [RS]: A23, B17, A23
> Row 40 [WS]: A22, B19, A22
< Row 41 [RS]: A21, B21, A21
> Row 42 [WS]: A20, B23, A20
< Row 43 [RS]: A19, B25, A19
> Row 44 [WS]: A18, B27, A18
< Row 45 [RS]: A17, B29, A17
> Row 46 [WS]: A16, B31, A16
< Row 47 [RS]: A15, B33, A15
> Row 48 [WS]: A14, B35, A14
< Row 49 [RS]: A13, B37, A13
> Row 50 [WS]: A12, B39, A12
Rows 51-57: A11, B41, A11
> Row 58 [WS]: A12, B19, A1, B19, A12
< Row 59 [RS]: A12, B18, A3, B18, A12
> Row 60 [WS]: A13, B16, A5, B16, A13
< Row 61 [RS]: A13, B15, A7, B15, A13
> Row 62 [WS]: A14, B13, A9, B13, A14
< Row 63 [RS]: A14, B12, A11, B12, A14
> Row 64 [WS]: A15, B10, A13, B10, A15
< Row 65 [RS]: A16, B8, A15, B8, A16
> Row 66 [WS]: A17, B6, A17, B6, A17
At the end of Row 66, leave the last used Color A bobbin attached and cut off all other bobbins.
Rows 67-96: A63
Border
In the same ST you worked the last SC of Row 96, SC 2 more times. SC in each row and in each ST across the top and bottom, Work 3 SC in each corner of the blanket. When you reach the 1st corner again, SL ST into the 1st ST of the border. Tie off yarn and weave in ends.
And you’re all done!
Thank you for trying out my Love to Cuddle Blanket crochet pattern! Show off your finished creation by tagging @theturtletrunk on Facebook and Instagram!
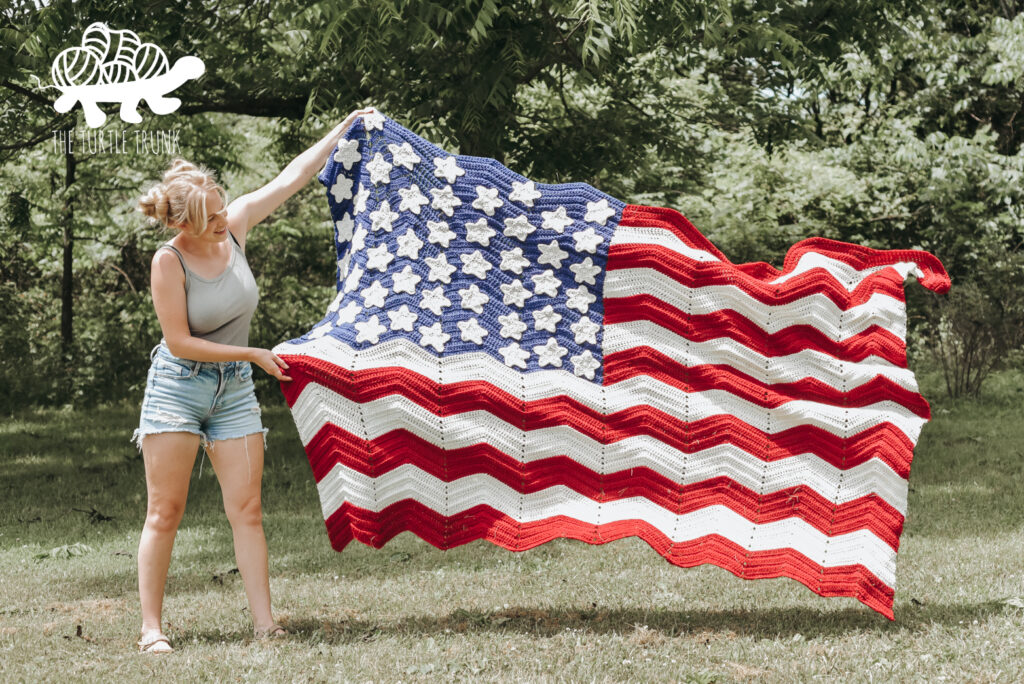
If you enjoyed this pattern check out some of my other blanket patterns: Bonfire Blanket, Picot Blanket, Bebe Baby Blanket, American Flag Blanket.
You are free to sell the items you make with this pattern, and I’d love if you could please link back to this page. You do not have permission to republish or distribute this pattern in any way or claim it as your own. Do not use my photos in your sale listings or for any other purposes. Thank you.
This page includes affiliate links. If you make a purchase from these links, I may make a small commission at no cost to you! Thank you for your support!


