Country Cottage Headband Crochet Pattern
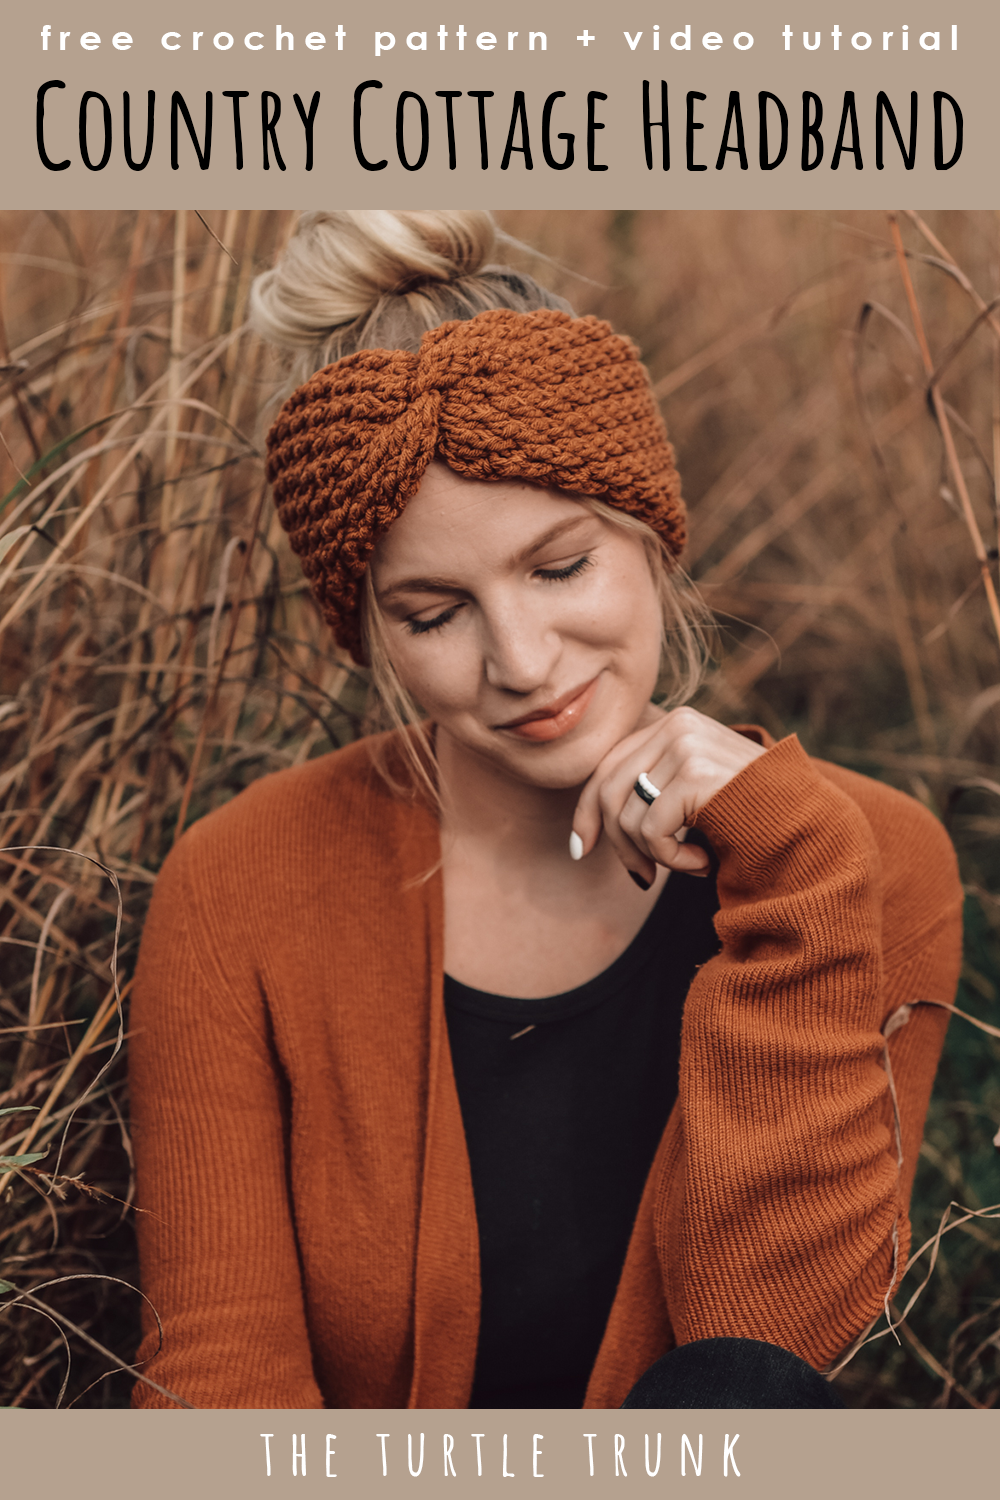
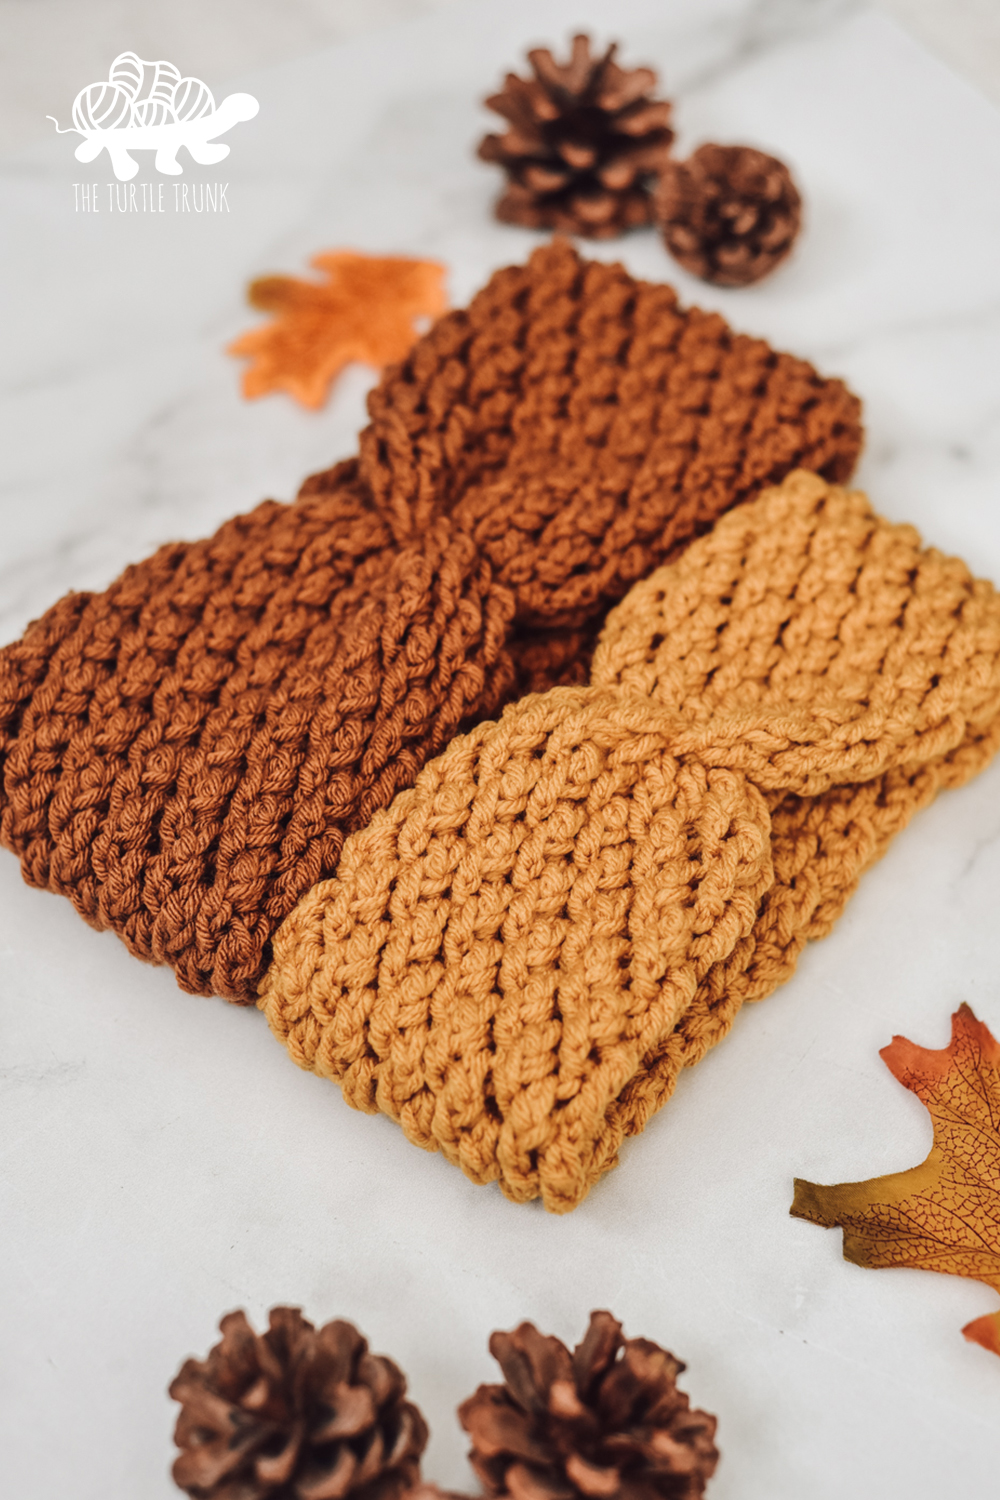
The Country Cottage Headband crochet pattern features gorgeous texture that’s quick & easy to create! It’s double thick making it extra warm and cozy! Instructions include 8 sizes but you can adjust the sizing to be perfect for you!
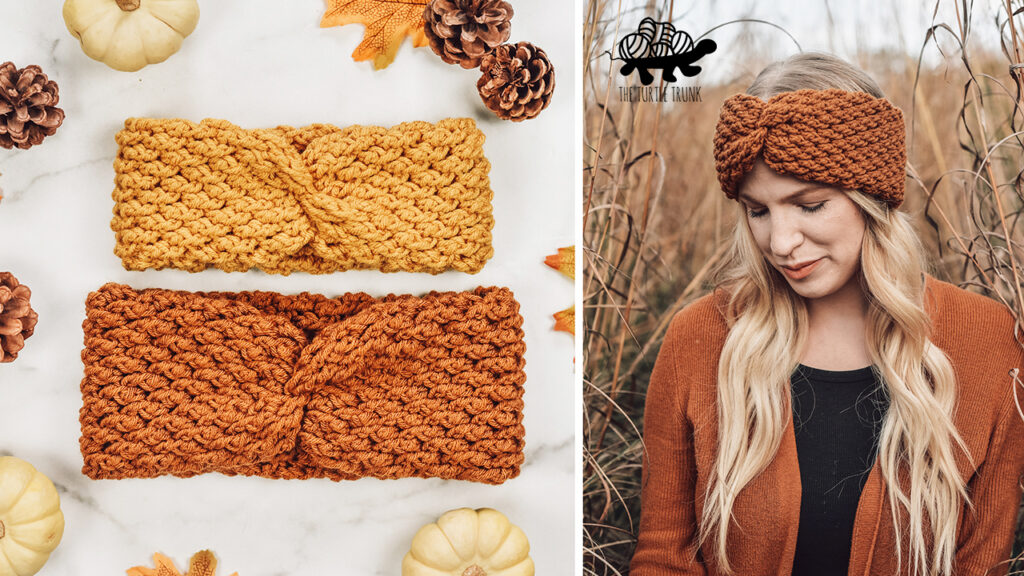
The Country Cottage Headband is the perfect accessory for cold winter days! It’s double thick making it extra warm and cozy. This is a must make for the holiday gifts and the pattern includes 8 sizes so you can make it for anyone on your list! The Country Cottage Headband features beautiful texture that’s made up of only 2 stitches, making it work up quick and easy!
Continue reading below to hear my inspiration for this pattern and to learn more about the yarn I used, then scroll down for the free written crochet pattern!
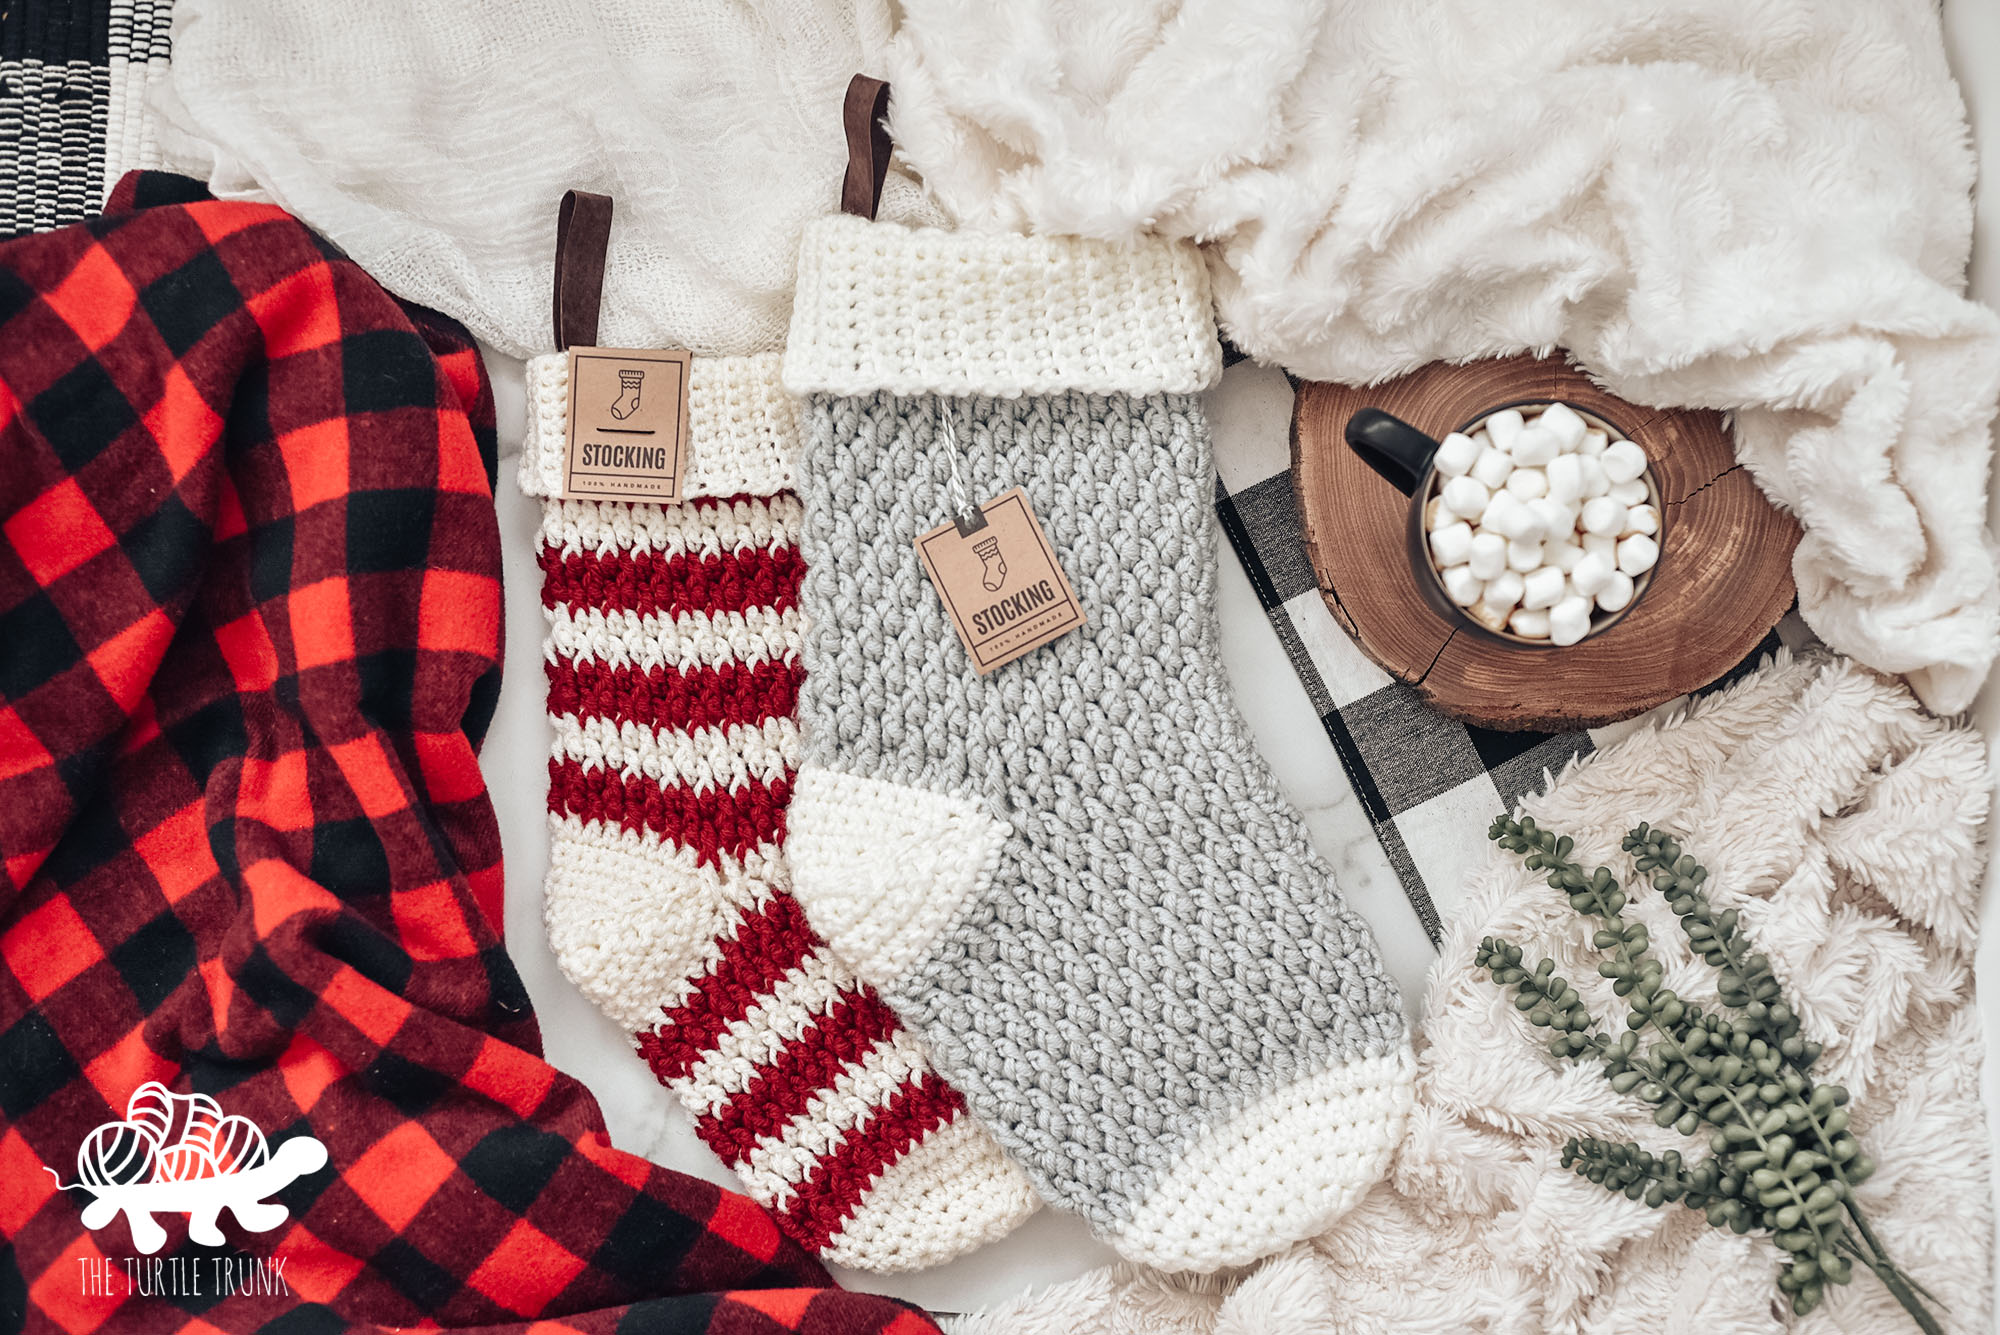
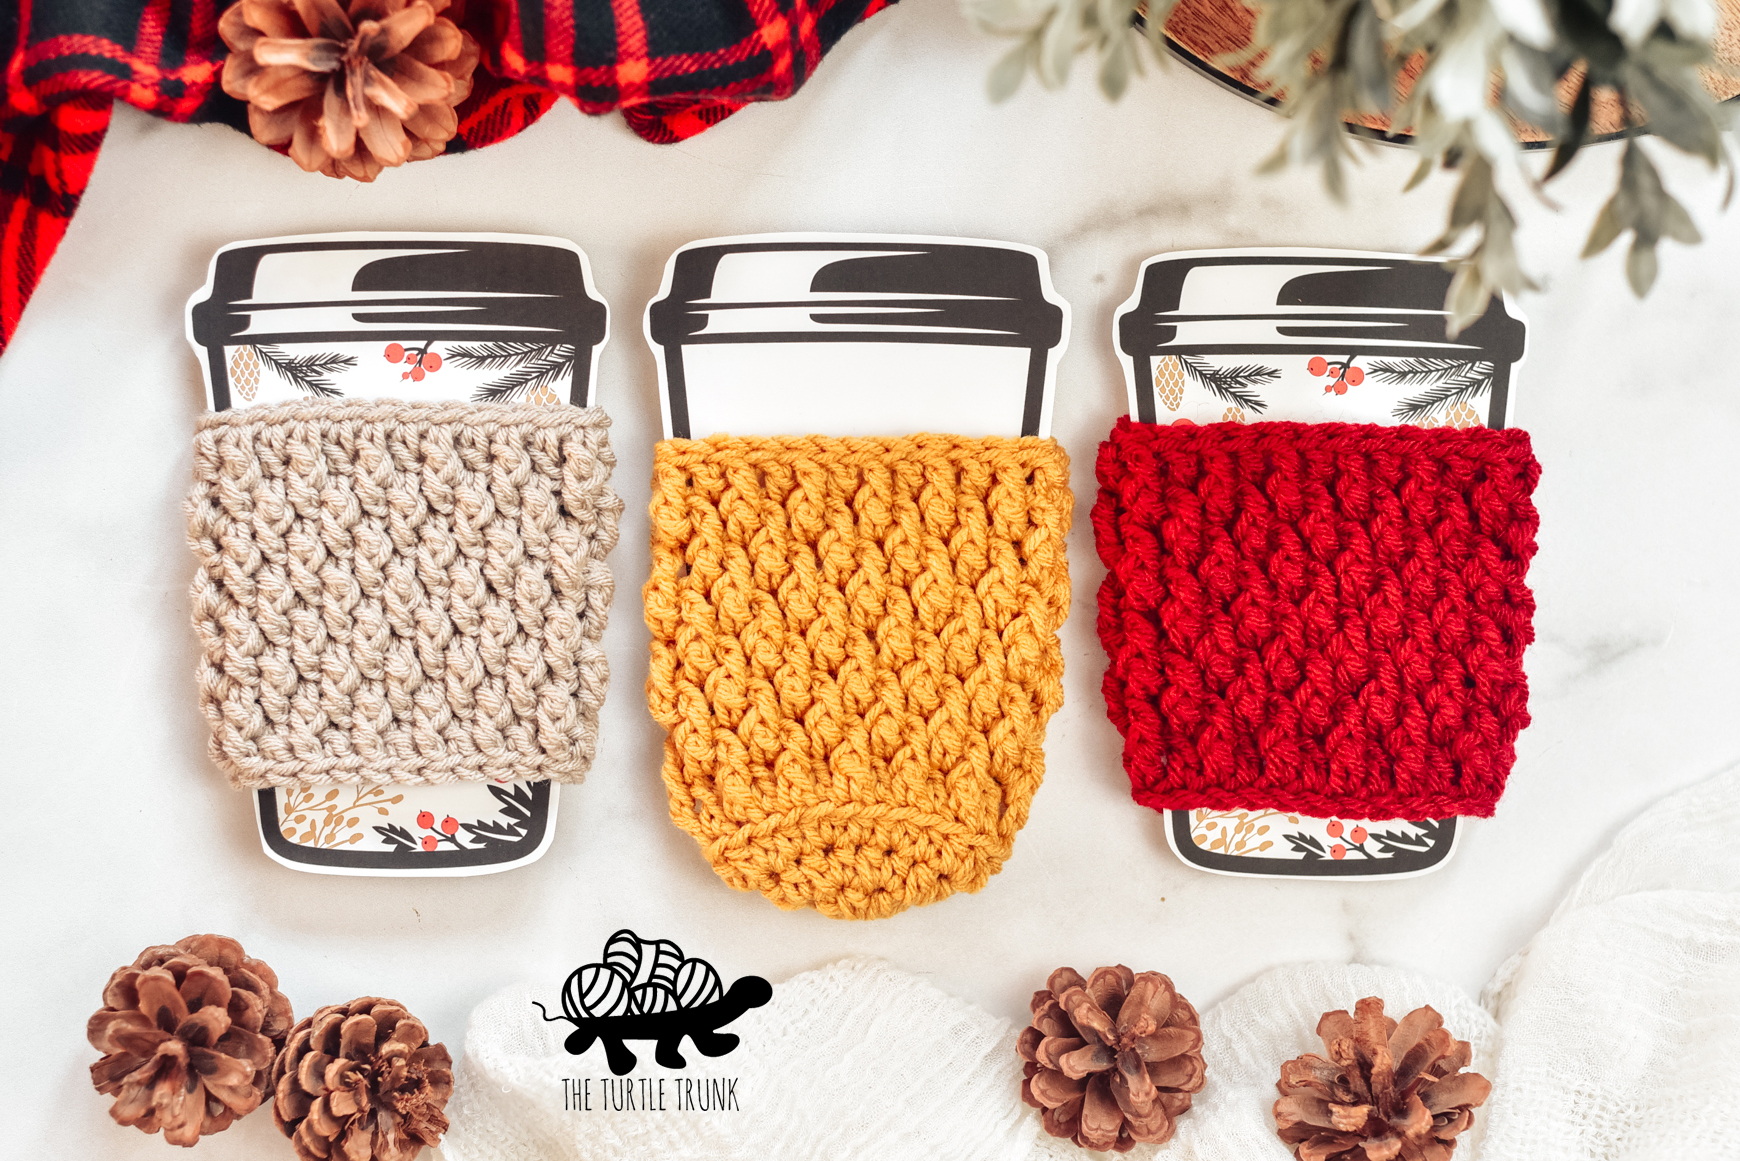
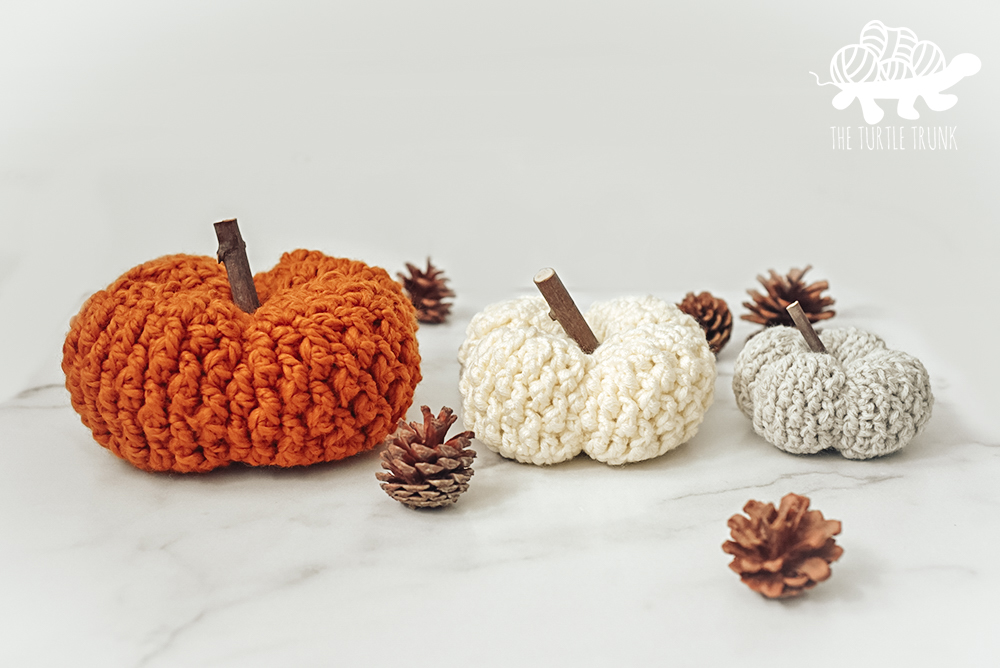
If you enjoy this pattern, then check out these other crochet pattern in the Country Cottage Collection: Country Cottage Beanie, Country Cottage Mittens, Country Cottage Socks, Country Cottage Stocking, Country Cottage Cozy, and Country Cottage Pumpkins!
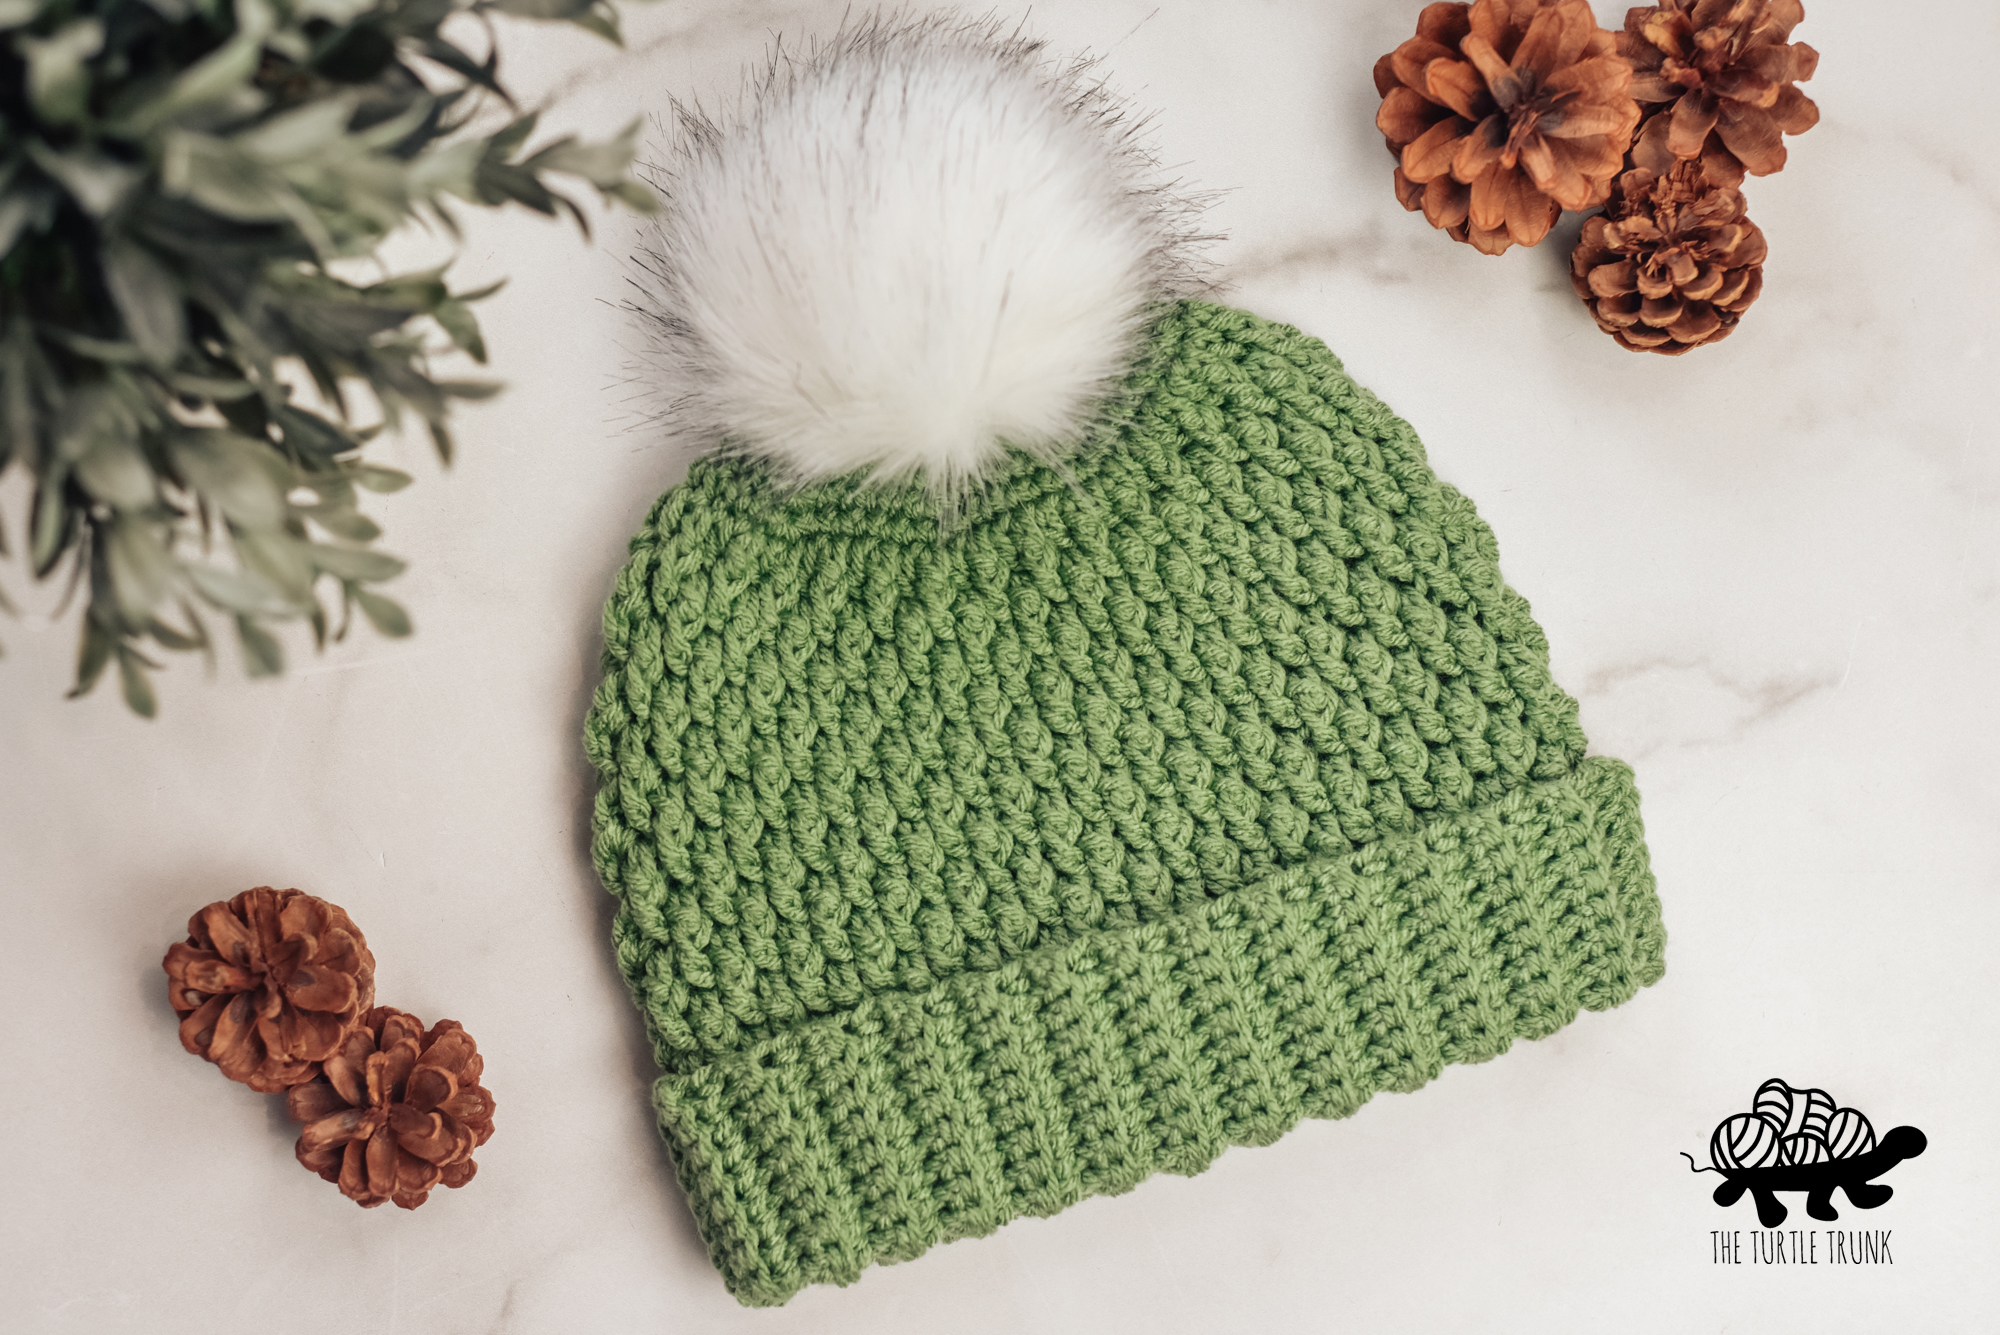
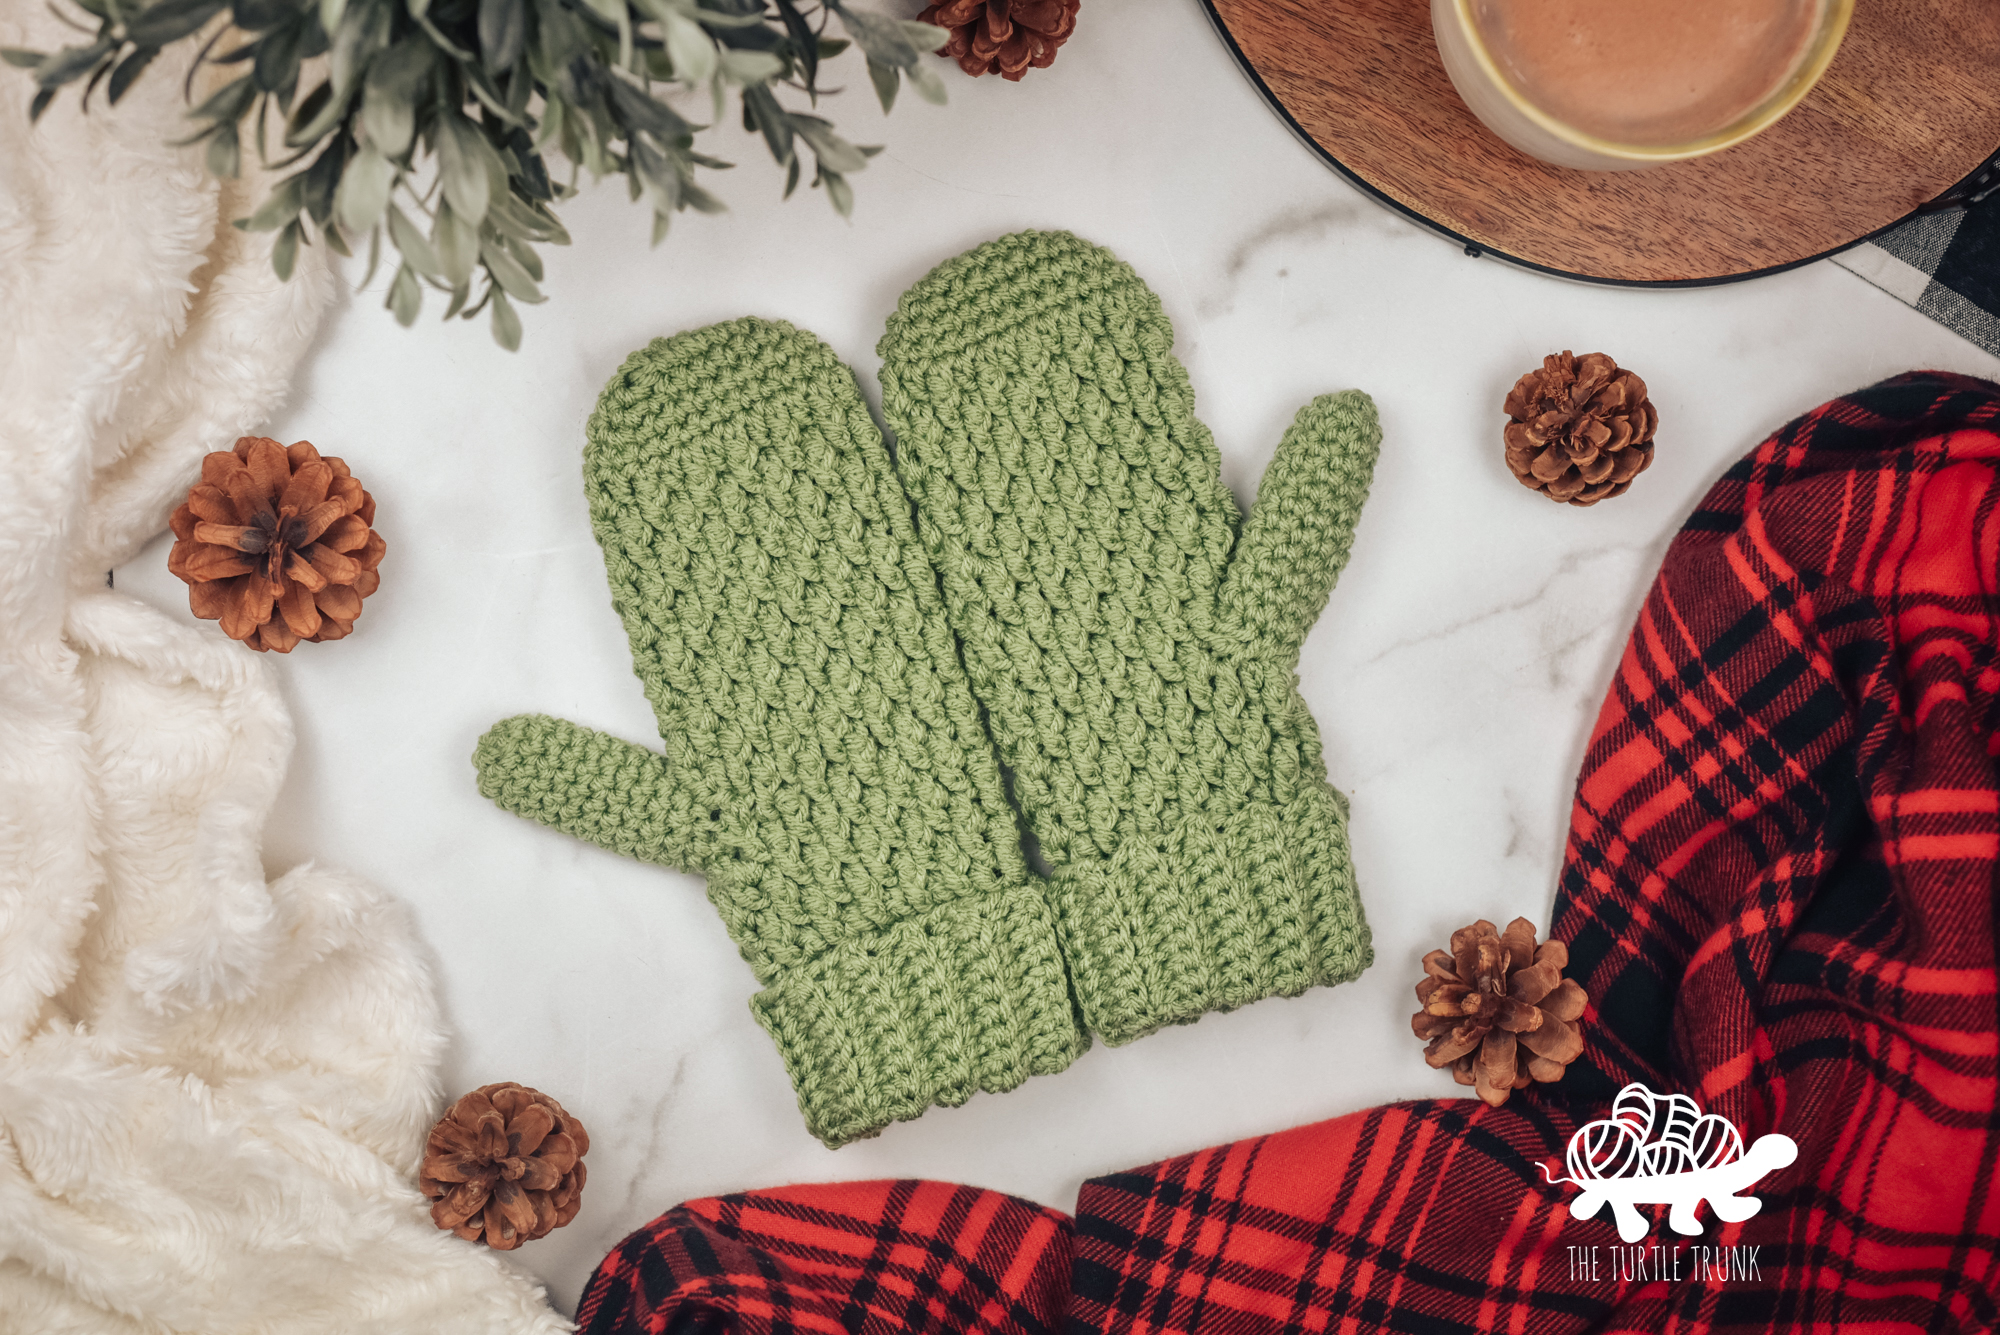
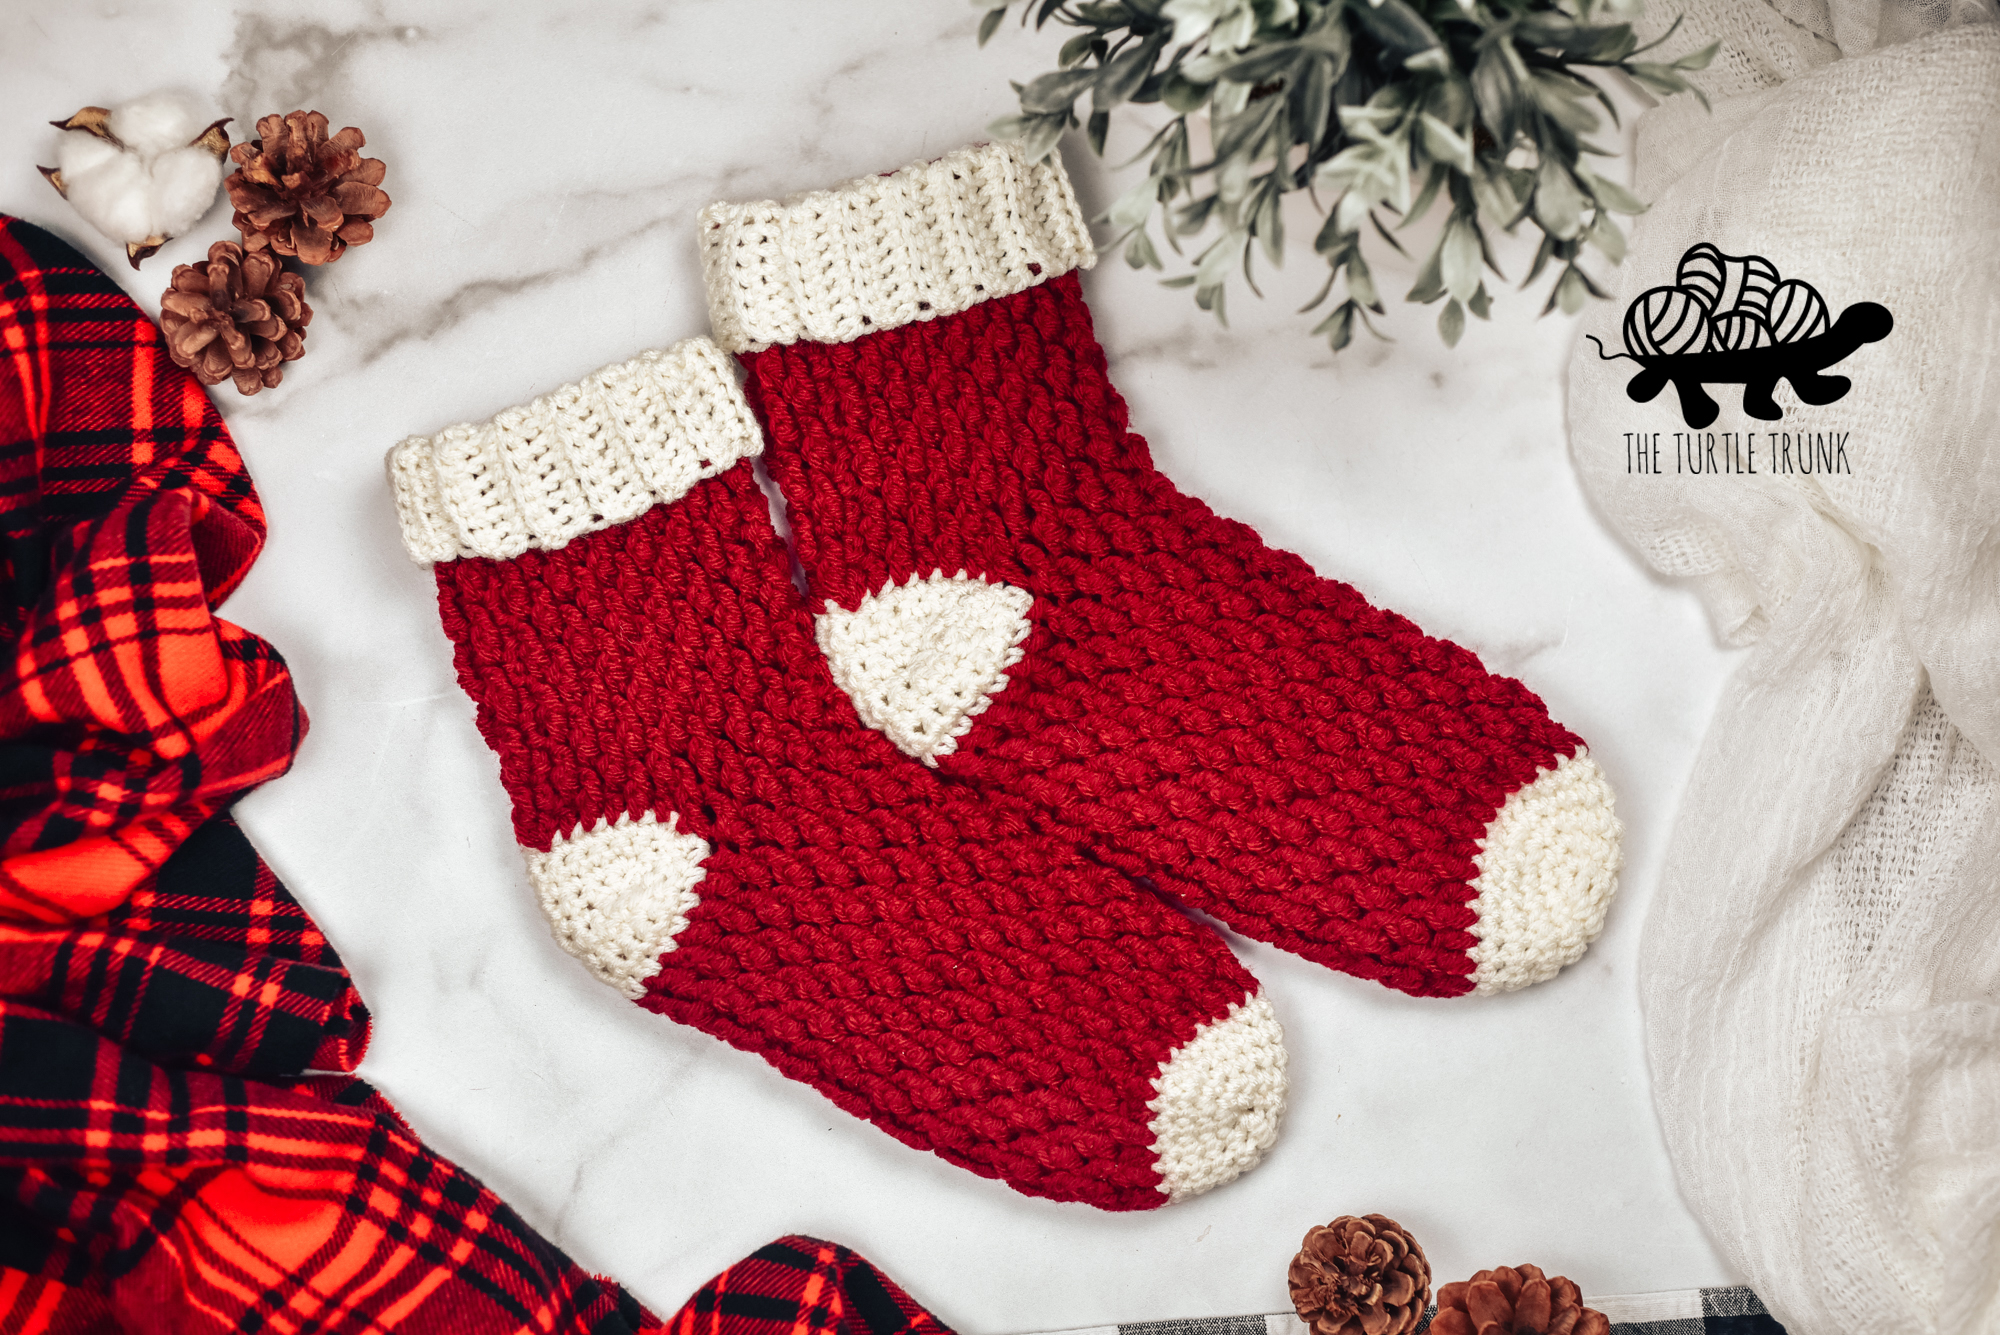
Follow along with the ad-free and printable pdf from Etsy and Ravelry!
Not ready to make just yet? PIN this pattern for later!
Follow along with the video tutorial on YouTube!
Inspiration
My Country Cottage Stocking was the first pattern I designed using this beautiful texture from alternating double crochet stitches and front post double crochet stitches. I loved it so much I’ve continued to design more and more patterns using it! I enjoy making and wearing crochet headbands all winter long so naturally I decided to design a Country Cottage Headband! Not only does it have the most beautiful texture, but it’s made double thick so it’s incredibly warm!
The Country Cottage Collection now includes the Country Cottage Beanie, Country Cottage Mittens, Country Cottage Socks, Country Cottage Stocking, Country Cottage Cozy, and Country Cottage Pumpkins. If you enjoy making this Country Cottage Headband, then be sure to check out all the other patterns in collection!
Yarn
This pattern calls for a medium (4) weight yarn. I used Yarn Bee Soft and Sleek in the color Mustard and Tobacco, but you can can use any medium (4) weight yarn! Since the sizing can be easily adjusted, you can try other yarn weights if you’d prefer!
Other yarns I think would work great for this pattern are Lion Brand Yarn Color Theory, Lion Brand Yarn Basic Stitch, Vanna’s Choice, and Red Heart With Love.
Sizes
The Country Cottage Headband pattern includes instructions for 8 sizes! Sizes ranges from newborn to adult large, but you can easily adjust the pattern to be any size you’d like! To adjust the length/circumference, work as many rounds until your desired length is reached. To adjust the width/ height, work any even number of chains/stitches around to reach your desired width. I’ve included a size chart down below so you can check your measurements and choose the size that best fits you!
| Size (head circumference) | Headband circumference | Height | # of Stitches | # of Rounds | Yardage |
| Baby 0-3 M (13-14”) | 12” | 3” | 20 | 24 | 68 Yards |
| Baby 3-6 M (14-16”) | 13” | 3” | 20 | 26 | 73 yards |
| Baby 6-12M (16-18”) | 15” | 3” | 20 | 30 | 84 yards |
| Toddler 1-3Y (18-19”) | 16” | 3” | 20 | 32 | 92 yards |
| Child/Teen (19-20”) | 17” | 4” | 26 | 34 | 133 Yards |
| Adult Small (21-22”) | 19” | 4” | 26 | 38 | 149 Yards |
| Adult Medium (22-23”) | 20” | 4” | 26 | 40 | 156 Yards |
| Adult Large (23-24”) | 21” | 4” | 26 | 42 | 164 Yards |
Difficulty
Advanced Beginner / Easy
Gauge Swatch
13 STs x 8 Rows = 4” x 4”
CH 14, without twisting your chain, SL ST into the 1st CH to create a loop. CH 2.
Round 1: DC in each CH around. Join & CH 2. (14)
Round 2: DC in the 1st ST, FPDC in the next. *DC, FPDC* around. Join & CH 2. (14)
Round 3: FPDC in the 1st ST, DC in the next. *FPDC, DC* around. Join & CH 2. (14)
Repeat Rounds 2 & 3 until the end of Round 8
Adjust hook size up or down to reach gauge.
Notes
- This headband is made double thick. We will work in the round to create a long, narrow tube. The rounds worked will make up the length/circumference of the headband, whereas the stitches around will make up the width/height of the headband. The short sides of the tube will then we attached together to close the headband.
- To adjust the length/circumference, work as many rounds until your desired length is reached. To adjust the width/ height, work any even number of chains/stitches around to reach your desired width.
- Beginning chains do not count as stitches. At the end of the round, join with a slip stitch to the top of the 1st ST from the previous round. Chain 2 and work the first ST into the same ST as the chain.
- The number in parenthesis at the end of the round represents the total stitch count at the end of that round.
- Stitches between *asterisks* are to be repeated until the end of the round.
Supplies
- Medium (4) Weight Yarn (I used Yarn Bee Soft and Sleek)
- 5.50 mm (I) Hook
- Yarn Needle
- Scissors
Abbreviations (US Terms)
ST(s) – Stitch(es)
CH – Chain
DC – Double Crochet
FPDC – Front Post Double Crochet
Special Stitches
Front Post Double Crochet (FPDC)
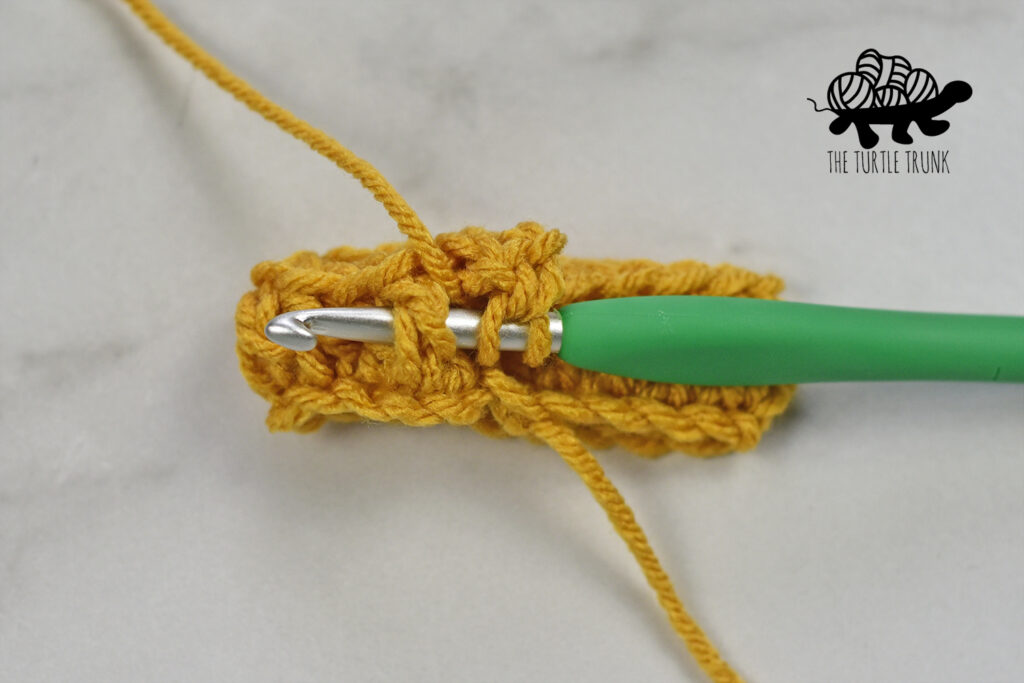
Yarn over, insert your hook from the front, around the back, and to the front again, around the post of the next ST, yarn over and pull up a loop, yarn over and pull through 2 loops, yarn over and pull through last 2 loops.
How to not twist your chain when creating a loop: after creating your chain, remove your hook and insert it through the first chain you created. Put the last loop back on your hook and pull it through the last chain with a slip stitch. Now you can created a loop without twisting your chain.
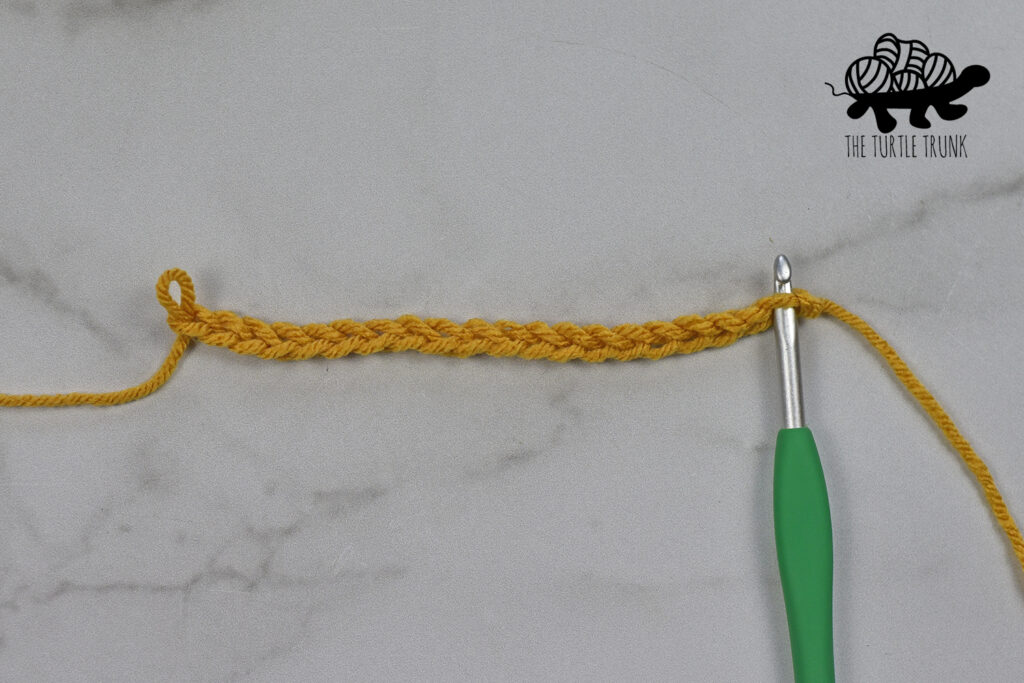
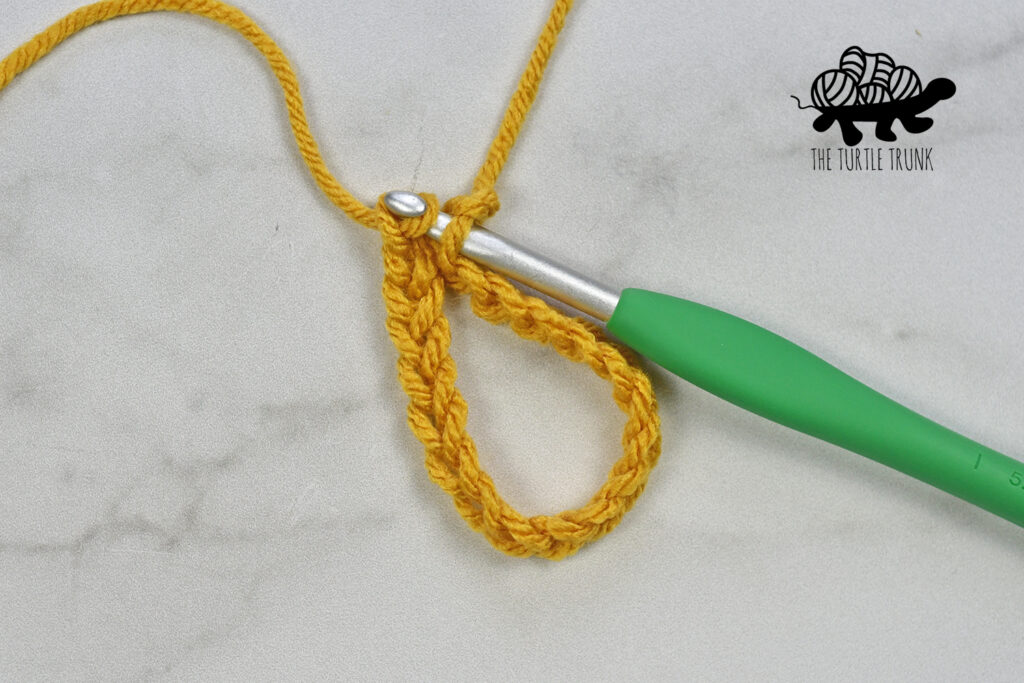
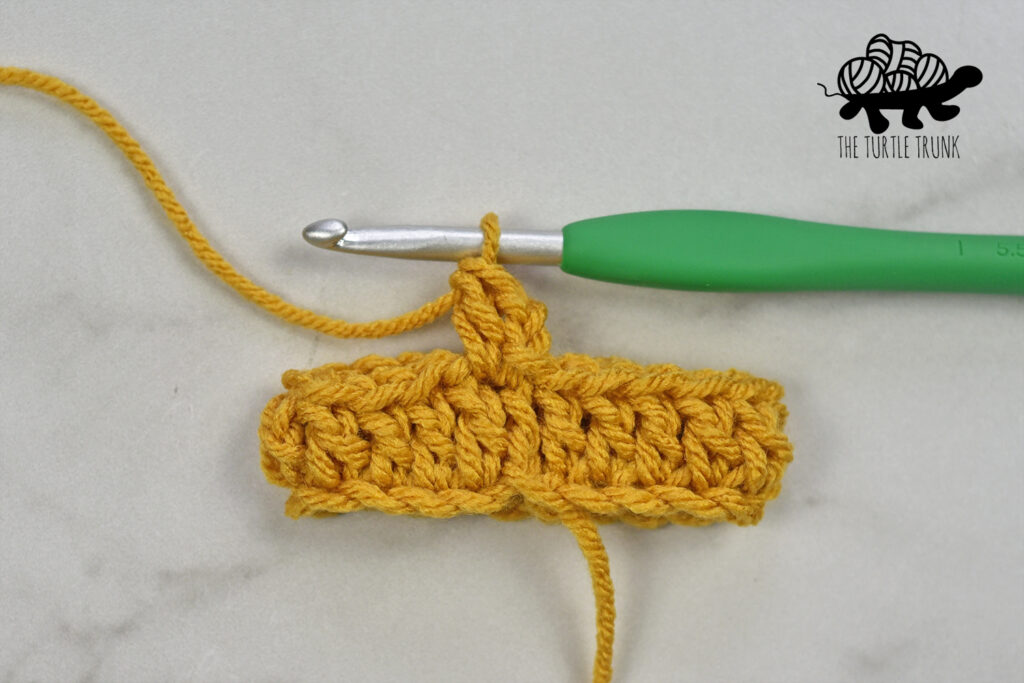
For Round 1, work 1 DC in each chain around. Work the 1st DC in the same chain you joined to. For Round 2, work the 1st double crochet into the same stitch as the chain 2. FPDC around the post of the next stitch. Repeat *DC, FPDC* around.
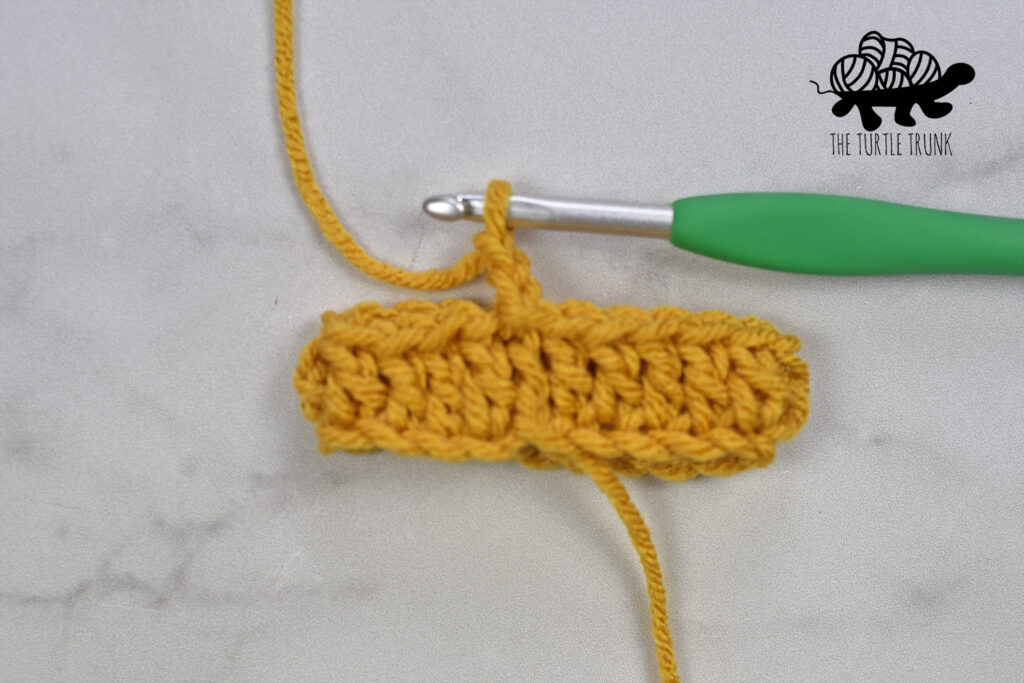
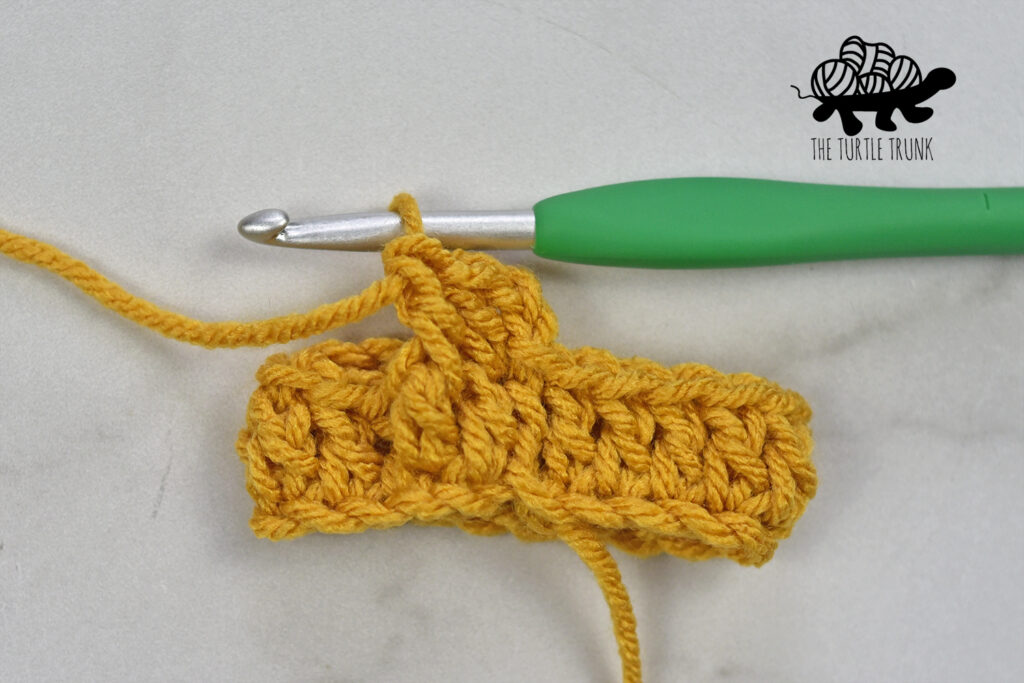
For Round 3, working a FPDC in the first stitch and a DC in the next. Repeat around then repeat Rounds 2 & 3 until your desired length is reached.
Country Cottage Headband Pattern
Baby & Toddler
CH 20, without twisting your chain, slip stitch into the 1st CH to create a loop. CH 2.
Round 1: DC in each CH around. Join & CH 2. (20)
Round 2: DC in the 1st ST, FPDC in the next. *DC, FPDC* around. Join & CH 2. (20)
Round 3: FPDC in the 1st ST, DC in the next. *FPDC, DC* around. Join & CH 2. (20)
Repeat Rounds 2 & 3 until the end of:
Round 24 (0-3 M)
Round 26 (3-6 M)
Round 30 (6-12 M)
Round 32 (Toddler)
Move onto Closing & Finishing.
Child/Teen & Adult
CH 26, without twisting your chain, slip stitch into the 1st CH to create a loop. CH 2.
Round 1: DC in each CH around. Join & CH 2. (26)
Round 2: DC in the 1st ST, FPDC in the next. *DC, FPDC* around. Join & CH 2. (26)
Round 3: FPDC in the 1st ST, DC in the next. *FPDC, DC* around. Join & CH 2. (26)
Repeat Rounds 2 & 3 until the end of:
Round 34 (Child/Teen)
Round 38 (Adult Small)
Round 40 (Adult Medium)
Round 42 (Adult Large)
Move onto Closing & Finishing.
Closing & Finishing
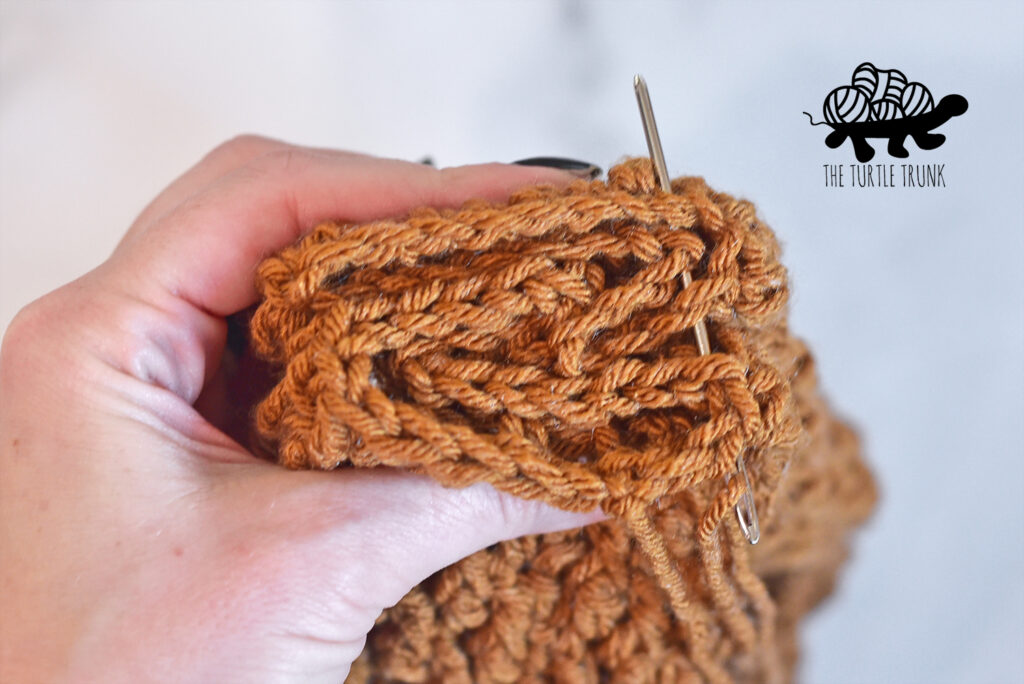
Fold the headband in half, bringing the two short sides together and keeping the seam on the outside. Interlock the ends so that they fit into one another. Use your yarn needle and whip stitch the ends together, making sure to sew into each layer. When you reach the end, secure your yarn with a few knots and weave in your end. Flip headband right side out and you’re all done!
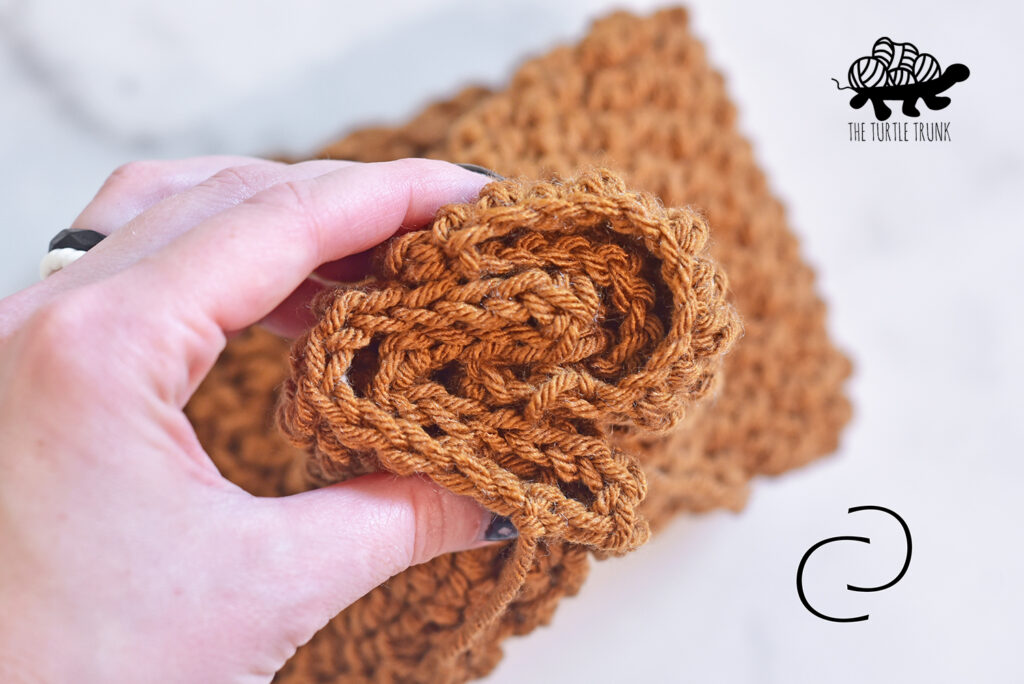
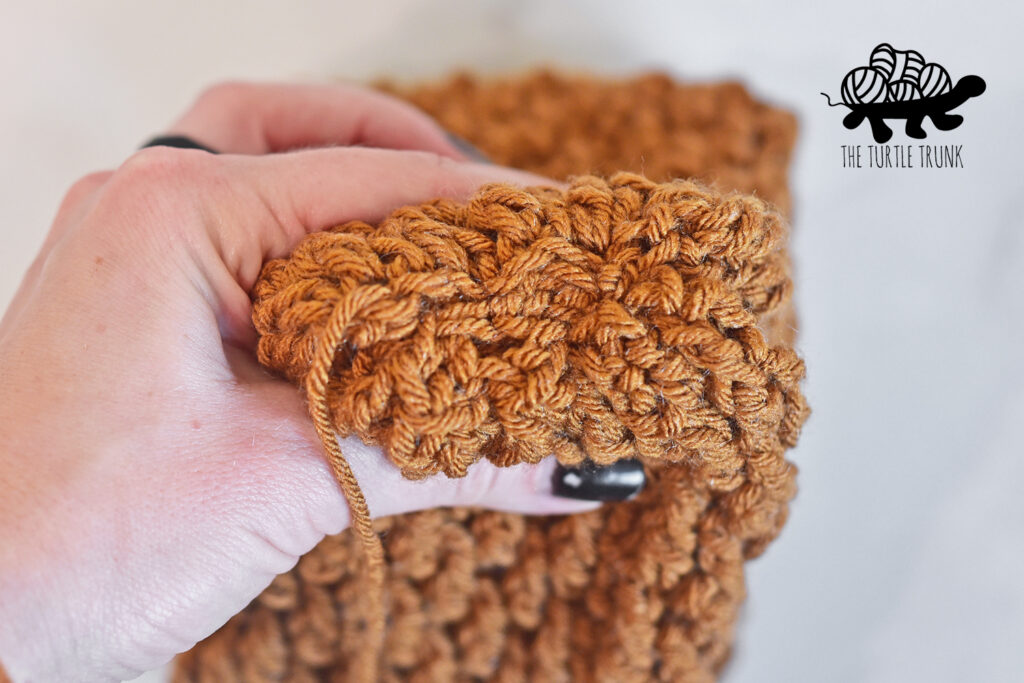
And you’re all done! I hope you enjoyed this pattern for the Country Cottage Headband! I’d love to see your finished Turtle Trunk creation so be sure to tag me, @theturtletrunk on Instagram so I can see your photos!
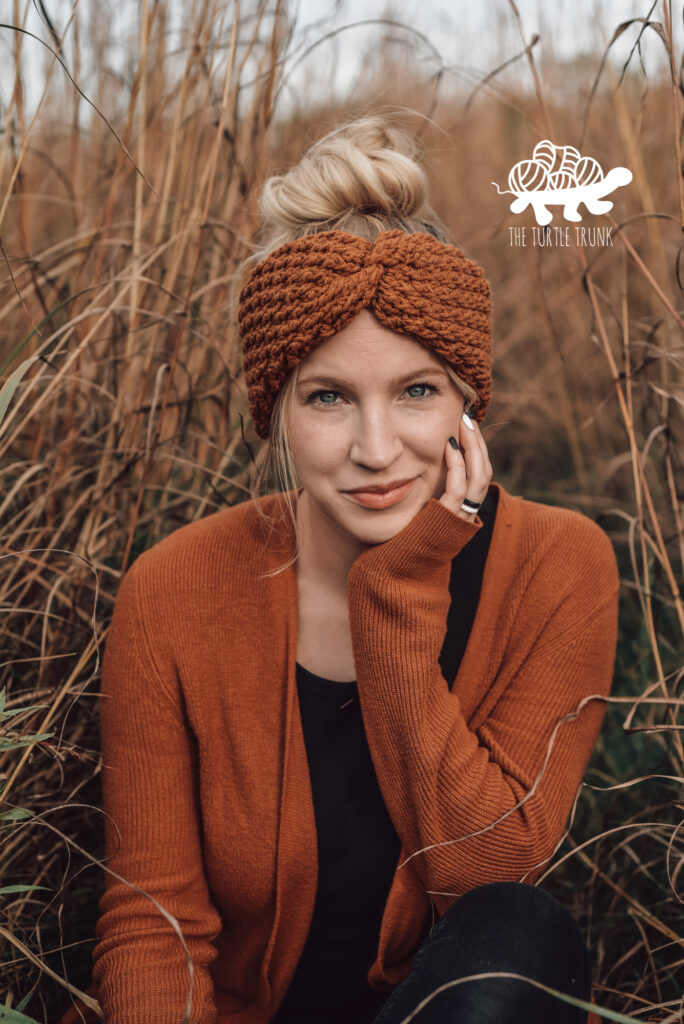
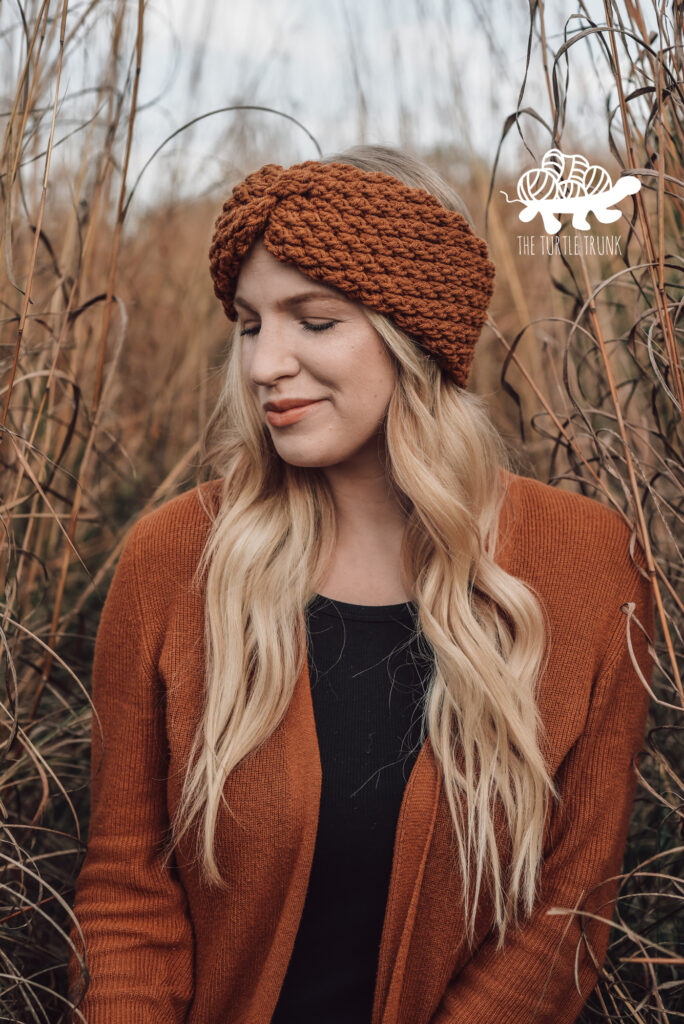
Want more crochet headband patterns? Check out my Picot Headband, Skinny Picot Headband, Cloud Nine Headband, and Toasty & Twisted Ear Warmer!
You are free to sell the items you make with this pattern, and I’d love if you could please link back to this page. You do not have permission to republish or distribute this pattern in any way or claim it as your own. Do not use my photos in your sale listings or for any other purposes. Thank you
This page includes affiliate links. If you make a purchase from these links, I may make a small commission at no cost to you! Thank you for your support!

