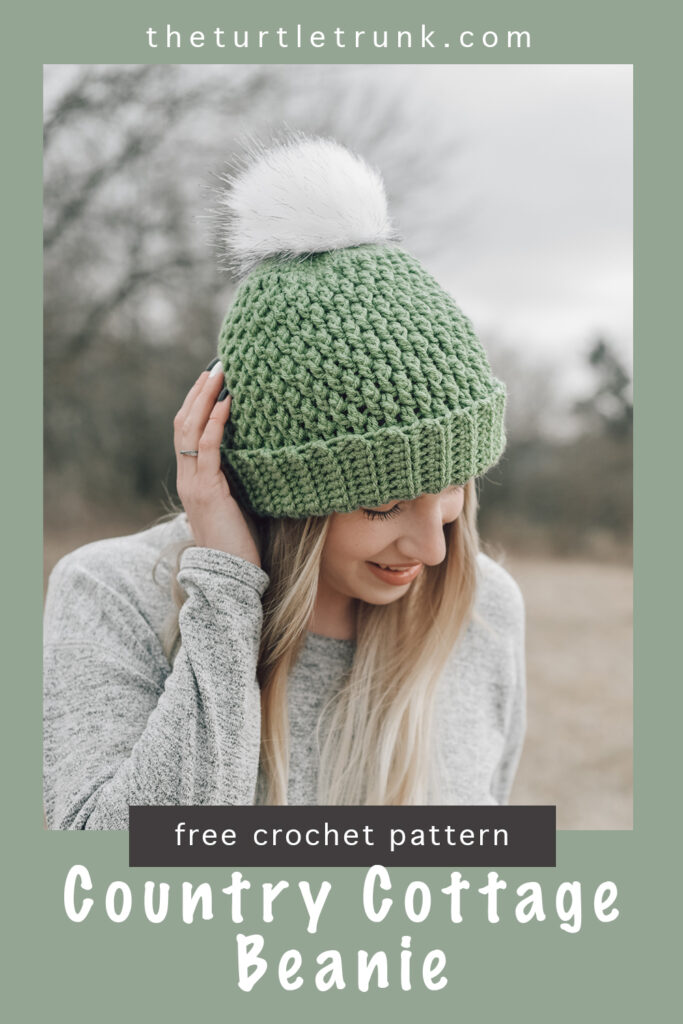
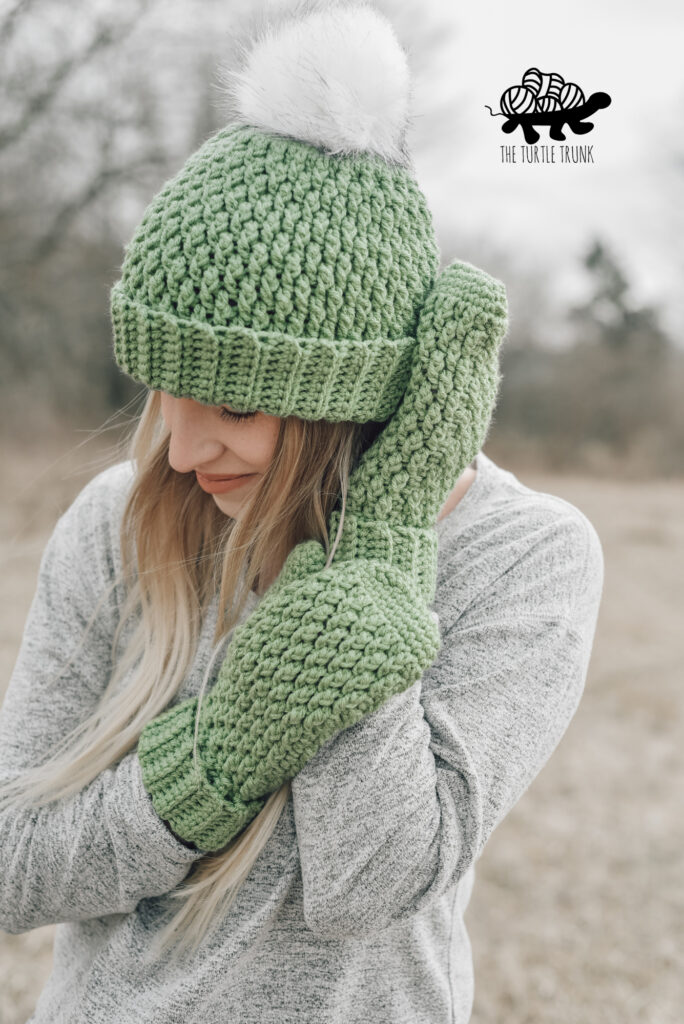
Country Cottage Beanie Crochet Pattern
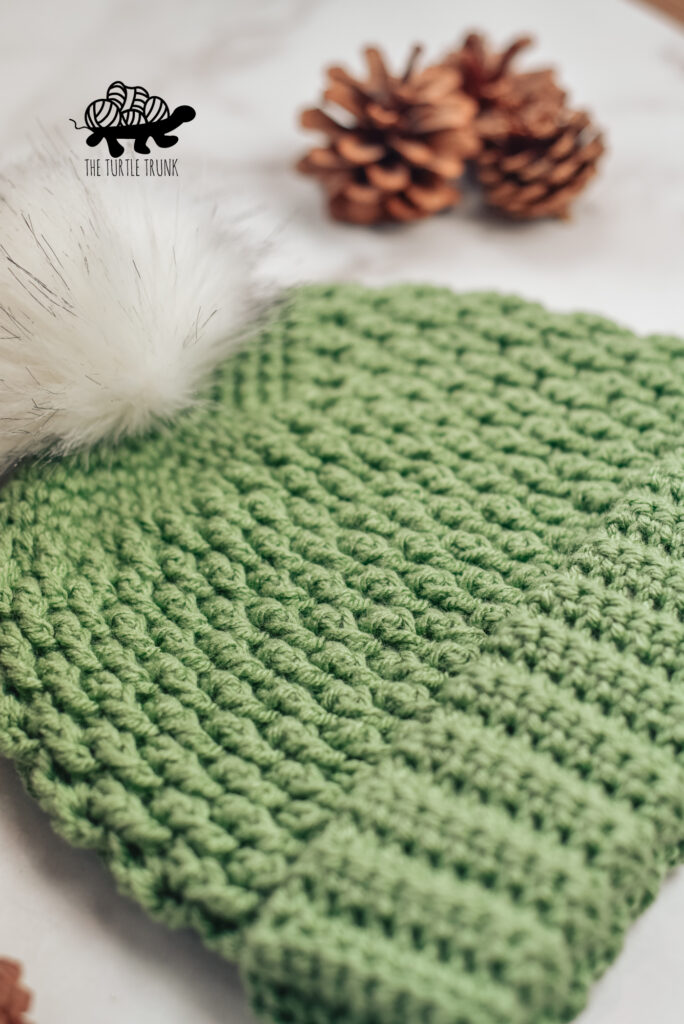
The Country Country Cottage Beanie features gorgeous texture and a ribbed, fold over brim. This pattern includes 4 sizes ranging from Baby-Adult Large so you can make one for everyone in the family! This beanie works up quick and easy!

The Country Cottage Beanie is joining the Country Cottage Collection! This crochet beanie features a beautifully textured fabric, which is easy to create, and a ribbed, fold over brim. The instructions include 4 sizes, including Baby, Child, Teen/Adult Small, and Adult Large, so you can make one for everyone in the family!
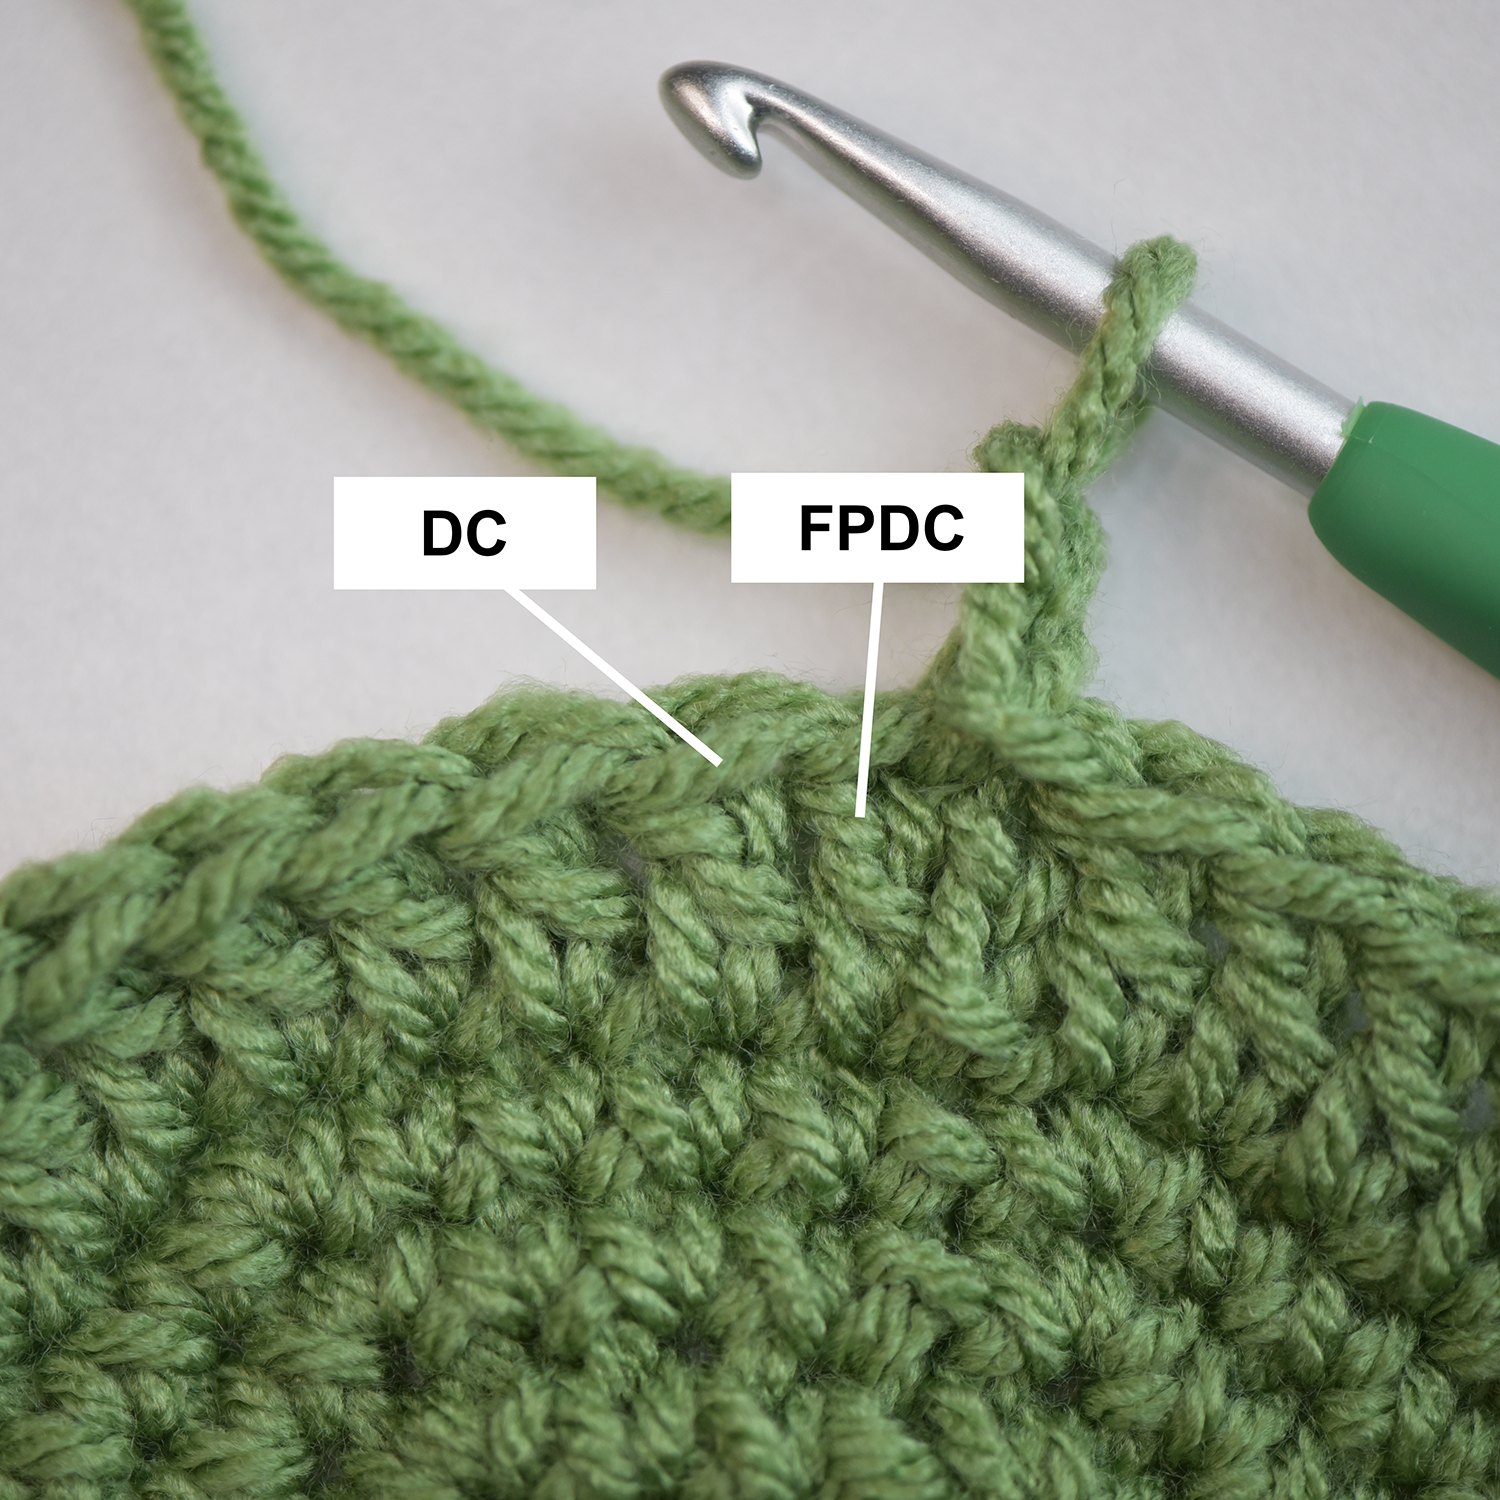
We’ll use a combination of regular double crochet stitches and front post double crochet stitches to create this beautiful texture! The Country Cottage Beanie is quick and easy, and best suited for an advanced beginner or higher.
Continue reading below to hear my inspiration for this pattern and to learn more about the yarn I used, then scroll down for the free written crochet pattern!
FOLLOW ALONG WITH THE AD FREE & PRINTABLE PDF PATTERN
FROM ETSY AND RAVELRY!
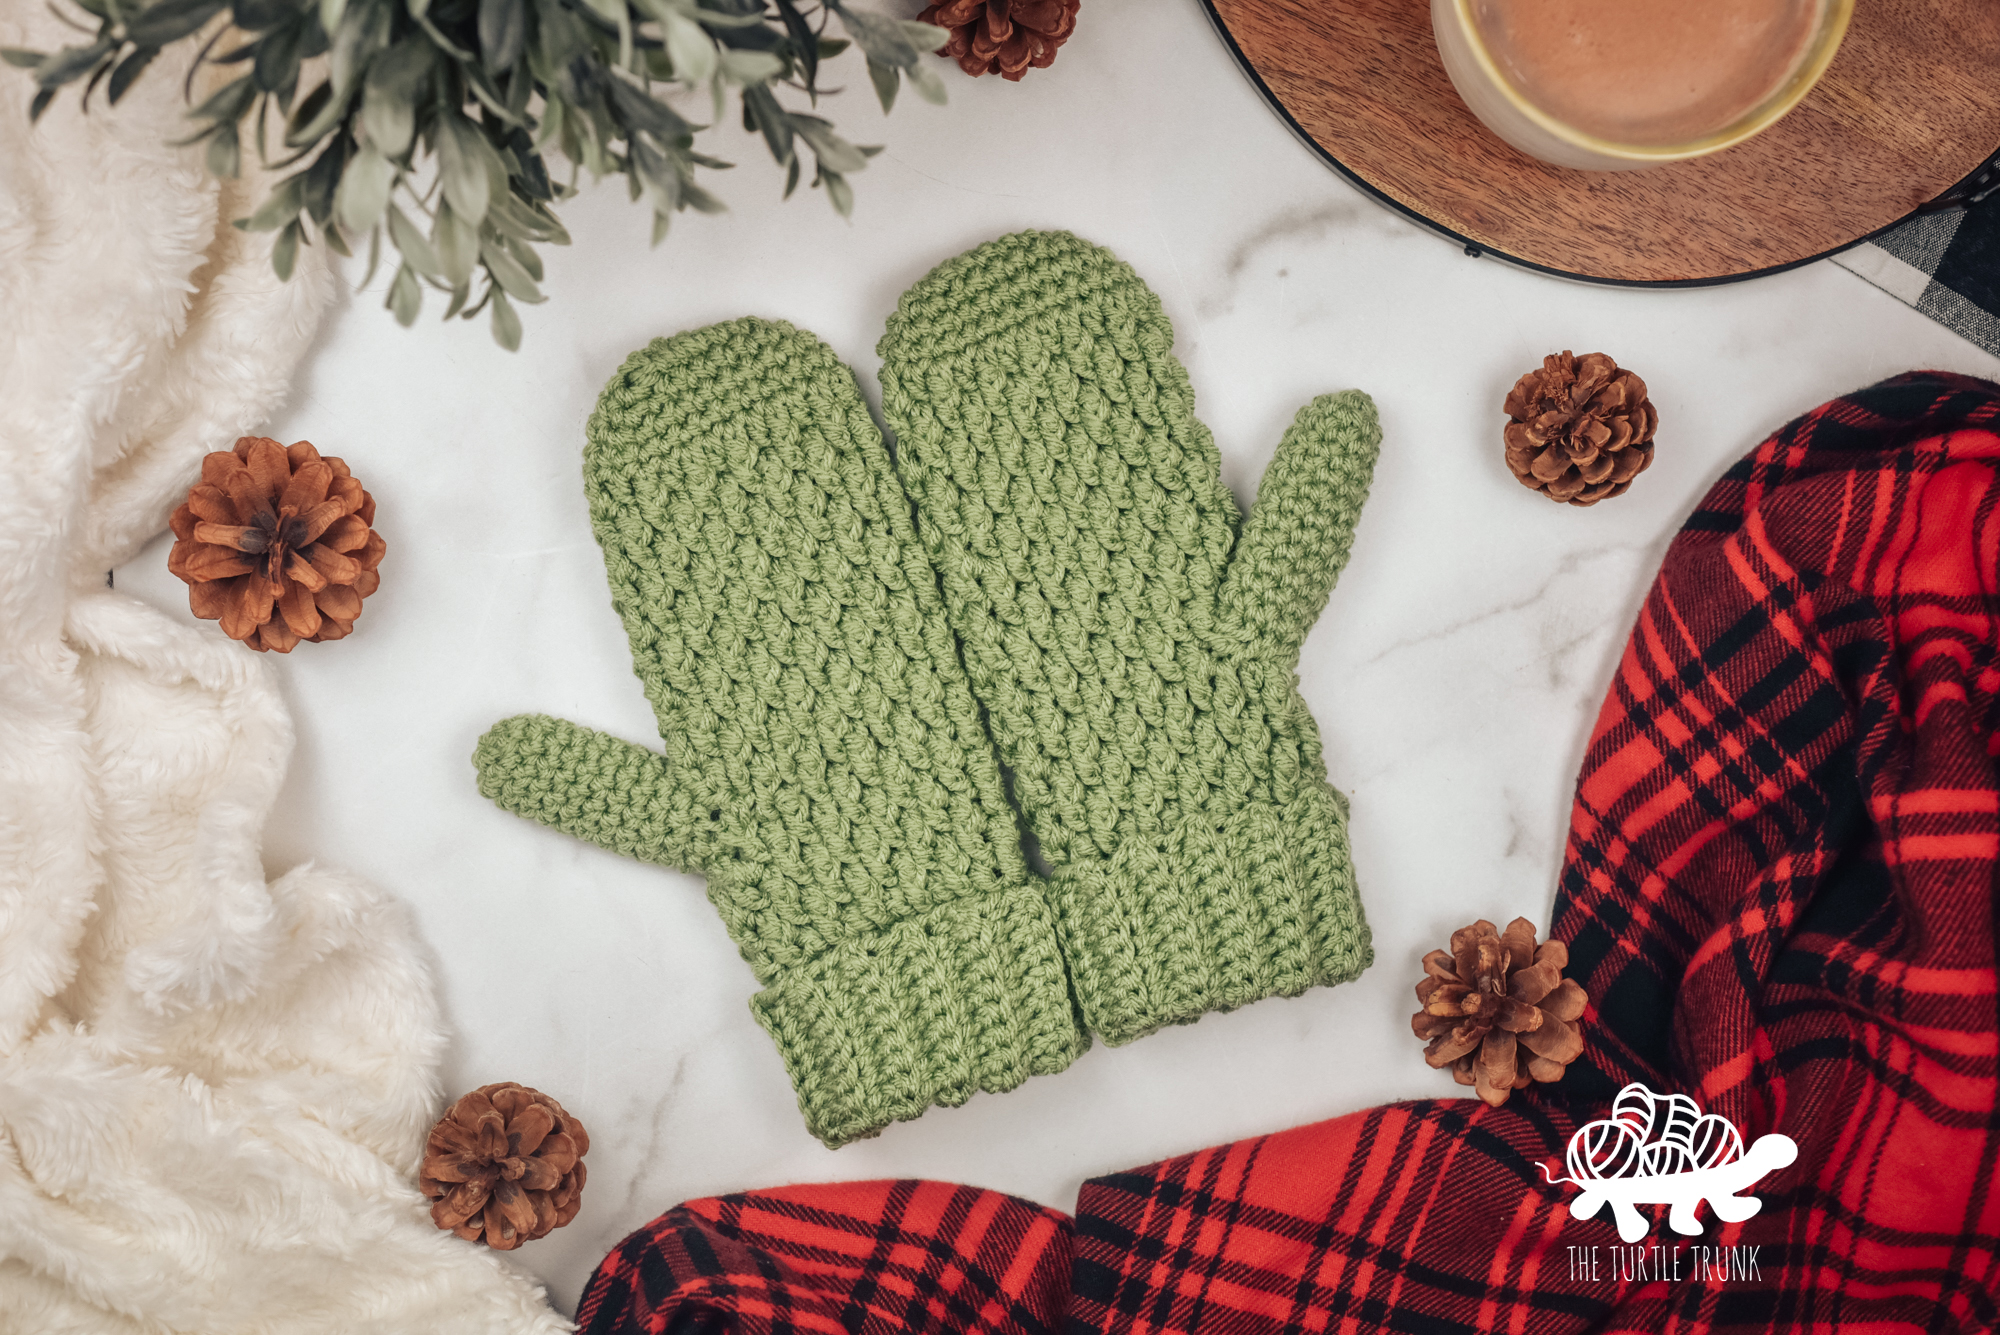
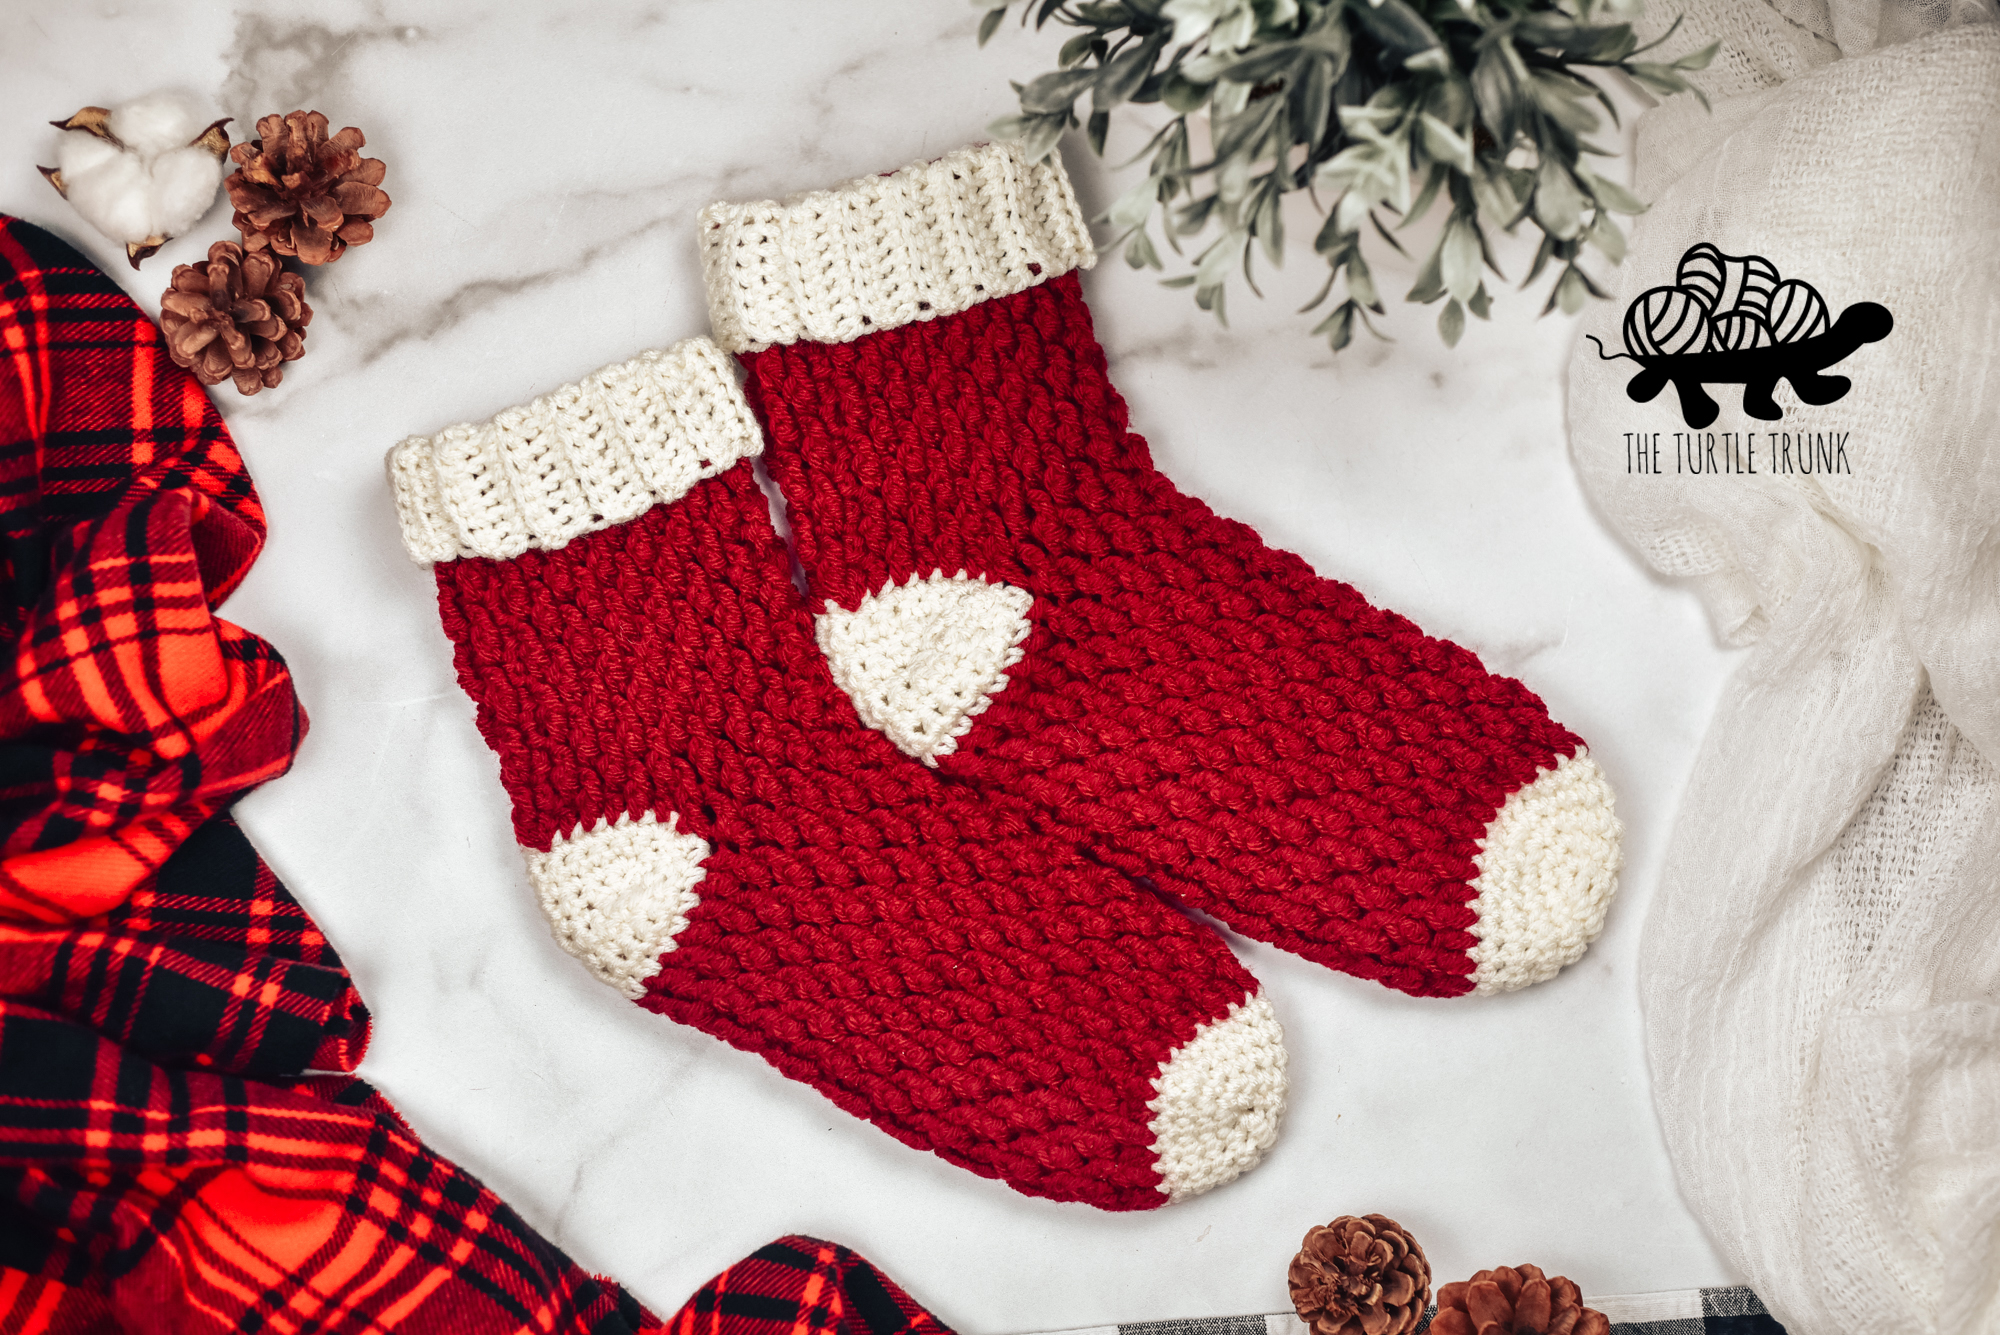
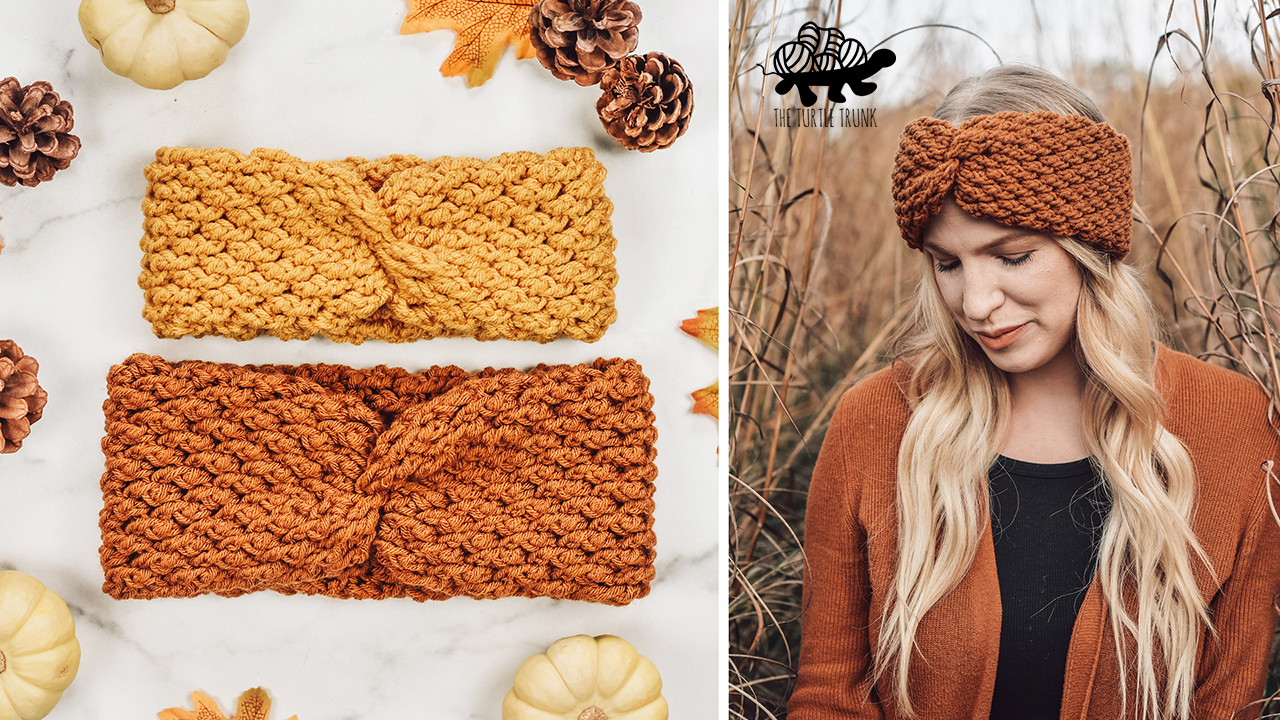
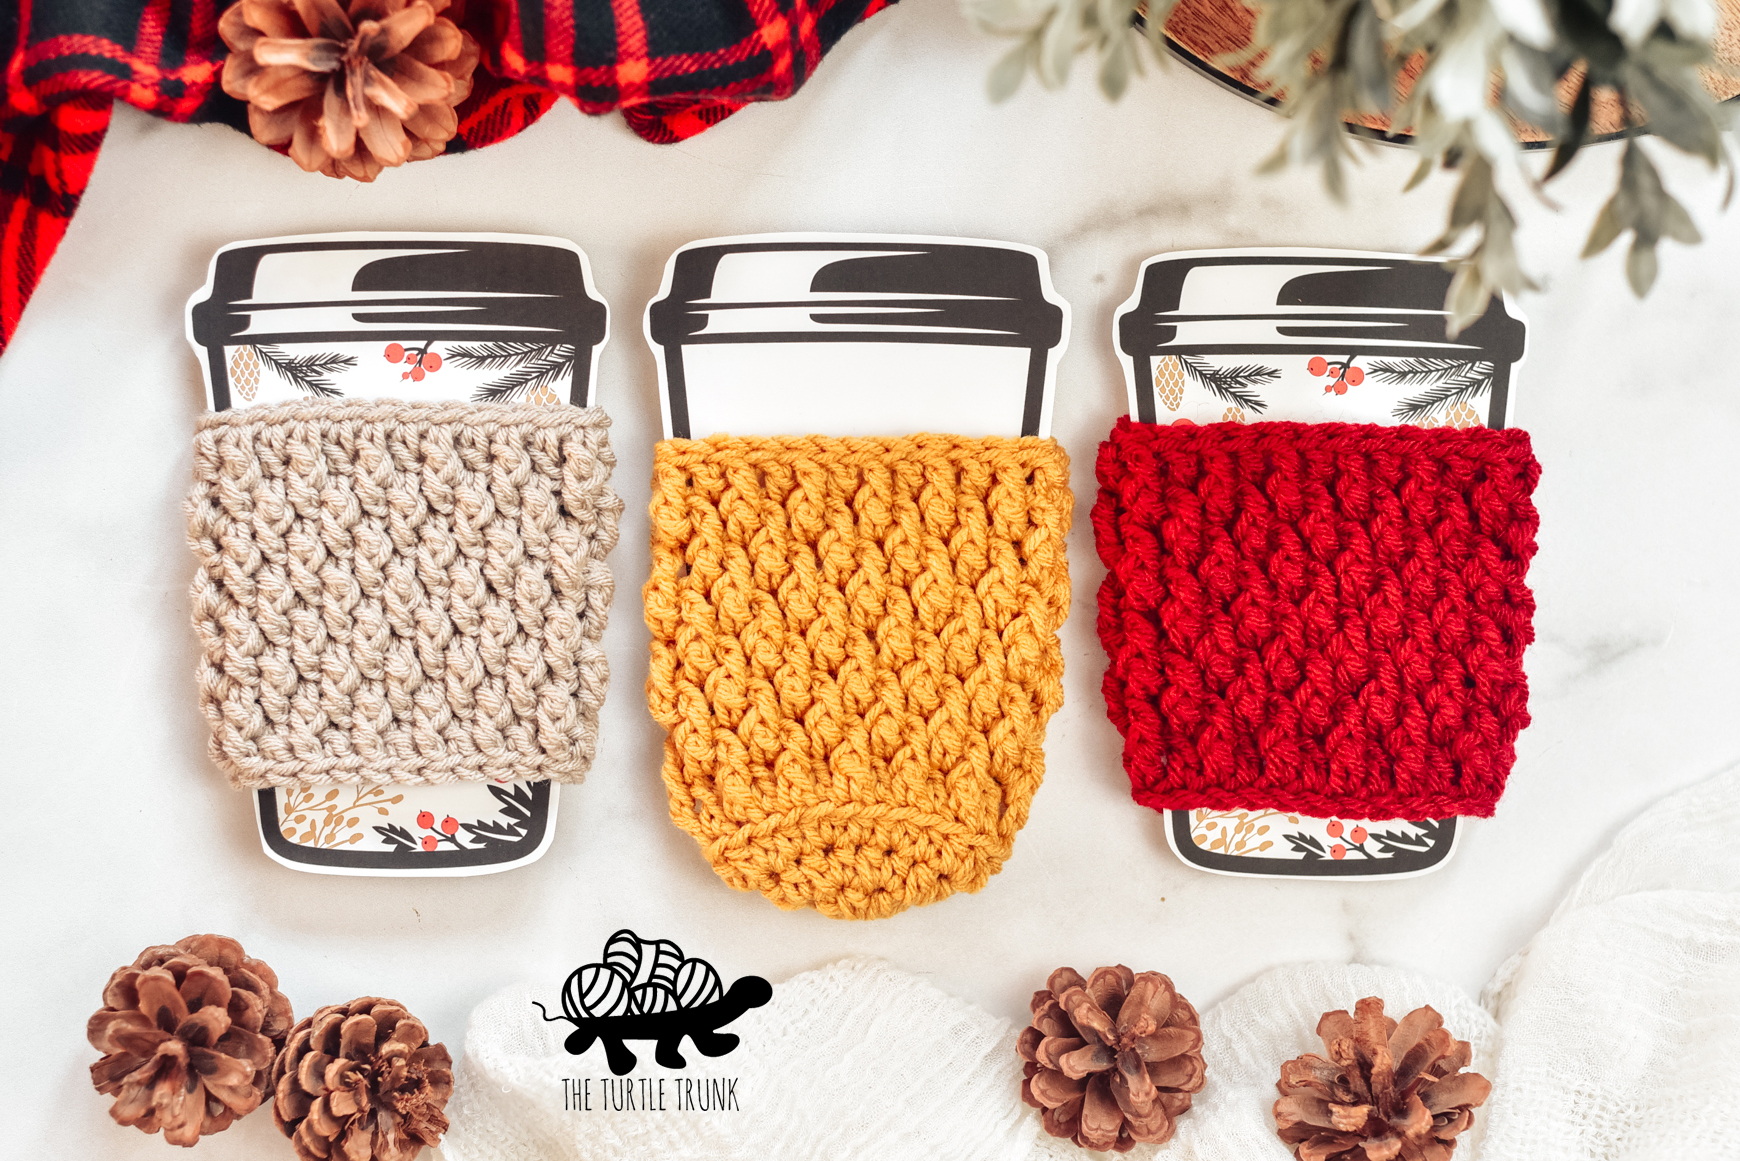
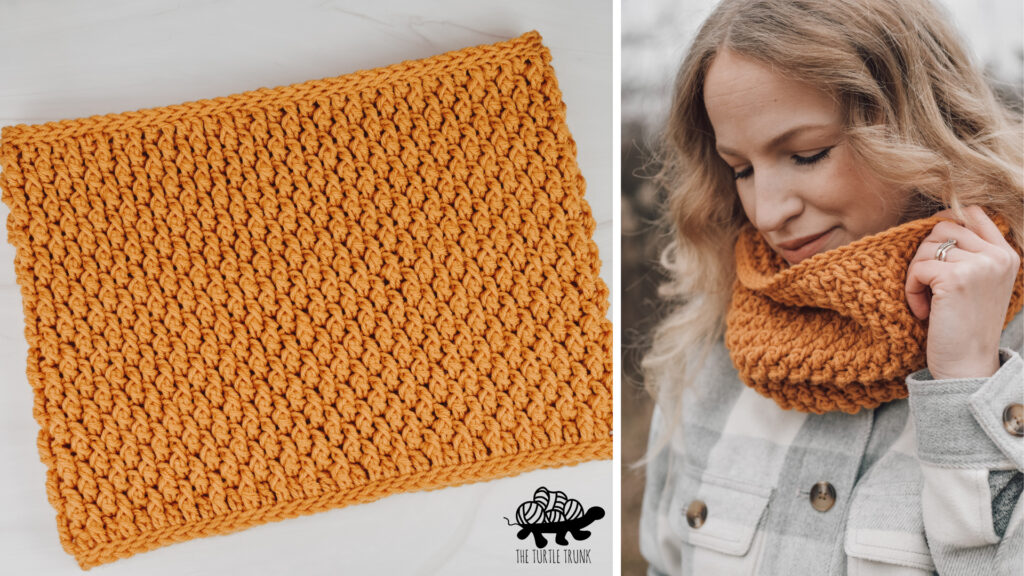
Check out the other patterns in the Country Cottage Collection: Country Cottage Mittens, Country Cottage Socks, Country Cottage Headband, Country Cottage Cozy, Country Cottage Stocking, and Country Cottage Cowl.
Not raedy to make just yet? Save this pin for later!
Follow along with the video tutorial on YouTube!
Inspiration
After designing so many patterns for the Country Cottage Collection, I obviously needed to add a beanie! I love crochet beanies, they’re so warm and comforting in the cold months. My favorite thing about the Country Cottage Beanie, other than the incredible look and texture, is that this is truly a unisex beanie. The style is neutral and looks great on any age and any gender. Unisex patterns or patterns for men can be difficult to find so I’m really happy to have this one available for anyone to enjoy!
Yarn
The Country Cottage Beanie uses a medium (4) weight yarn. I used Hobby Lobby’s I Love This Yarn in the color Light Sage, though you can use any medium weight yarn! Be sure to check your gauge before starting to ensure proper sizing! Some other yarns I think that would work great for this pattern are: Lion Brand Yarn Color Theory, Lion Brand Yarn Basic Stitch, and Red Heart Super Saver.
I made my beanie in one solid color but you can make yours in as many colors as you’d like! Some fun suggestions are to create stripes or color blocking!
When your beanie is done, use matching or contrasting yarn to create a yarn POM POM for on top of your beanie. Not sure how to make and attach a pom pom? Check out this video tutorial I created to show you how!
Sizes
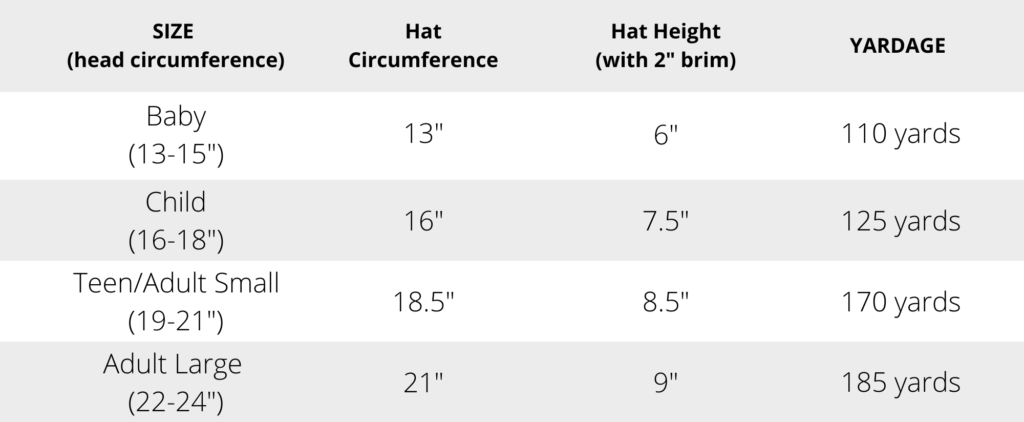
The Country Cottage Beanie pattern includes 4 sizes: Baby, Child, Teen/Adult Small, and Adult Large. To ensure proper sizing it’s always best to measure your head or the head of the person you’re making the beanie for. To measure the circumference of the head: wrap the measuring tape around the back of the head, over the ears, and around the forehead.
You should also check your gauge by making a gauge swatch. Checking your gauge ensures that if our tensions or yarn are different, then you can make any adjustments needed. Follow the gauge pattern below and adjust your hook size if needed.
The beanie is designed to be slightly smaller than the head circumference since it will stretch quite a bit. The brim length is the same for all sizes. We will make a 4″ long brim, that when folded over will be 2″. You can easily adjust the length of the brim to be how ever long you’d like! When starting the brim just chain as many as you’d like to get your desired length.
See the side chart below to find your size and see how much yarn is needed per size.
Difficulty
Easy / Advanced Beginner
Gauge
12 STs x 10 Rows = 4” x 4”
CH 12, without twisting your chain, SL ST into the 1st CH to create a loop. CH 2.
Round 1: DC in each CH around. Join & CH 2. (12)
Round 2: DC in the 1st ST, FPDC in the next. *DC, FPDC* around. Join & CH 2. (12)
Round 3: FPDC in the 1st ST, DC in the next. *FPDC, DC* around. Join & CH 2. (12)
Repeat Rounds 2 & 3 until the end of Round 10
Your swatch should be 2” across and 4” tall.
Adjust hook size up or down to reach gauge.
notes
- This pattern is worked in the round. At the end of each round, join with a slip stitch to the top of the first stitch from the previous round then chain 1 or 2. Work your first stitch into the same stitch as the chain.
- Beginning chains do not count as stitches throughout the whole pattern.
- The number in parenthesis at the end of each round represents the total number of stitches to be worked in each round. The first number is for the smallest size.
- Stitches between ** are to be repeated until the end of the round or until otherwise stated.
Supplies
- Medium (4) Weight Yarn (I used I Love This Yarn!)
- 5.50 mm (I) Hook
- Yarn Needle
- Scissors
Abbreviations (us terms)
ST(s) – Stitch(es)
SL ST – Slip Stitch
CH – Chain
SC – Single Crochet
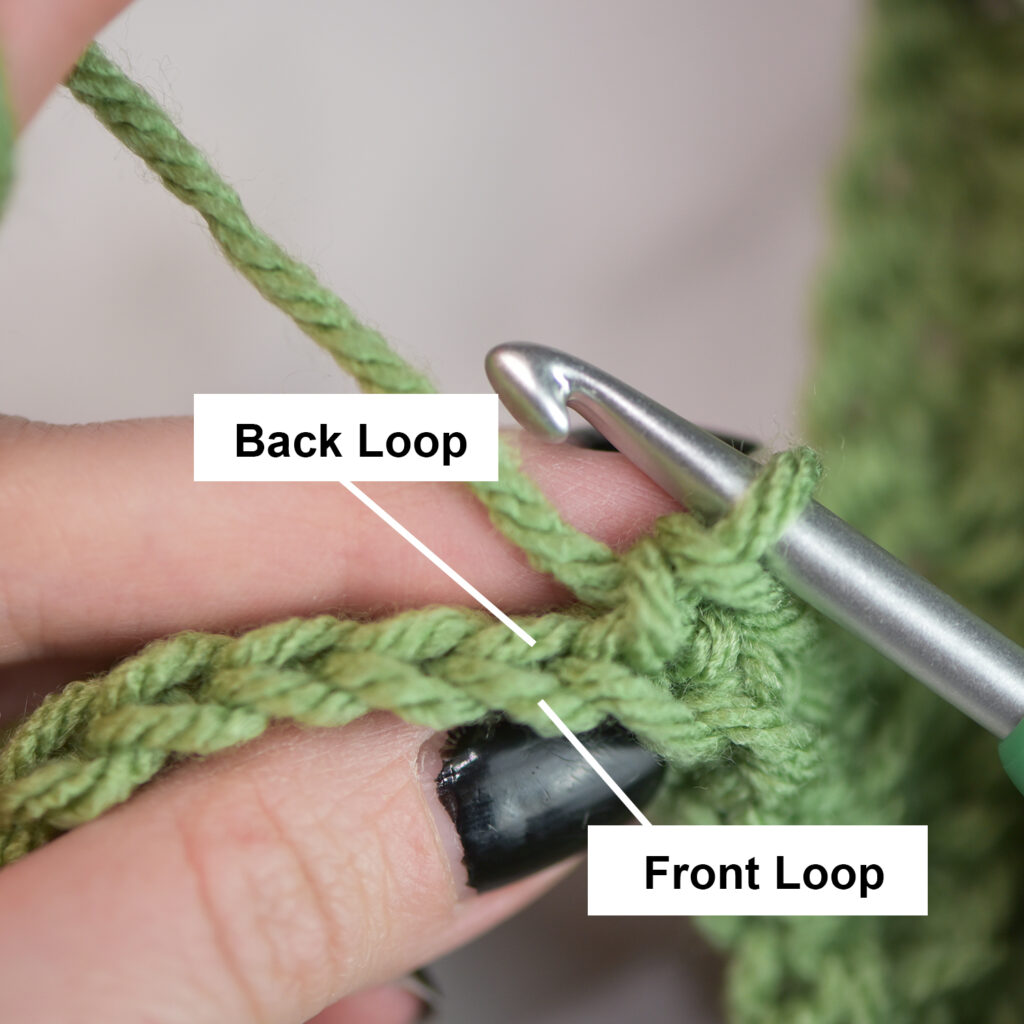
SC BLO – Single Crochet in the Back Loop Only
DC – Double Crochet
FPDC – Front Post Double Crochet
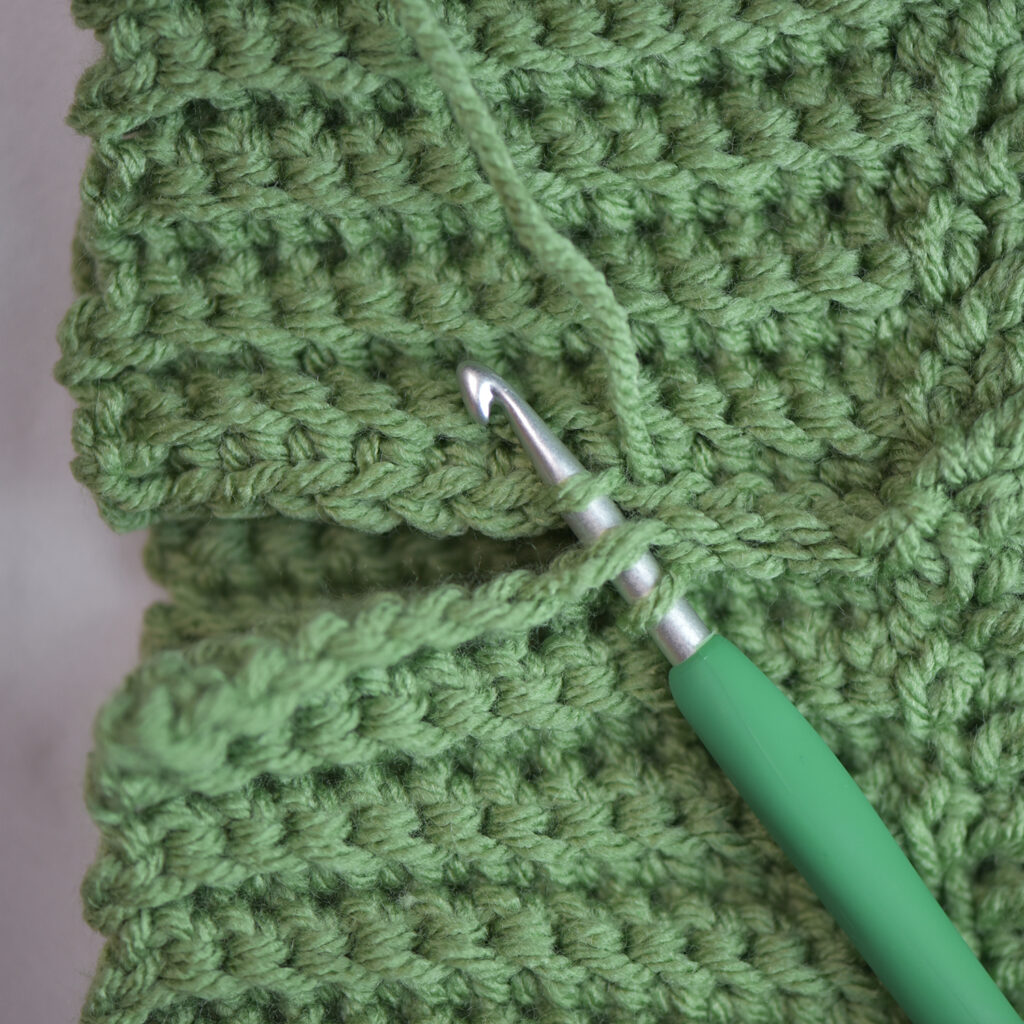
Reference Photos
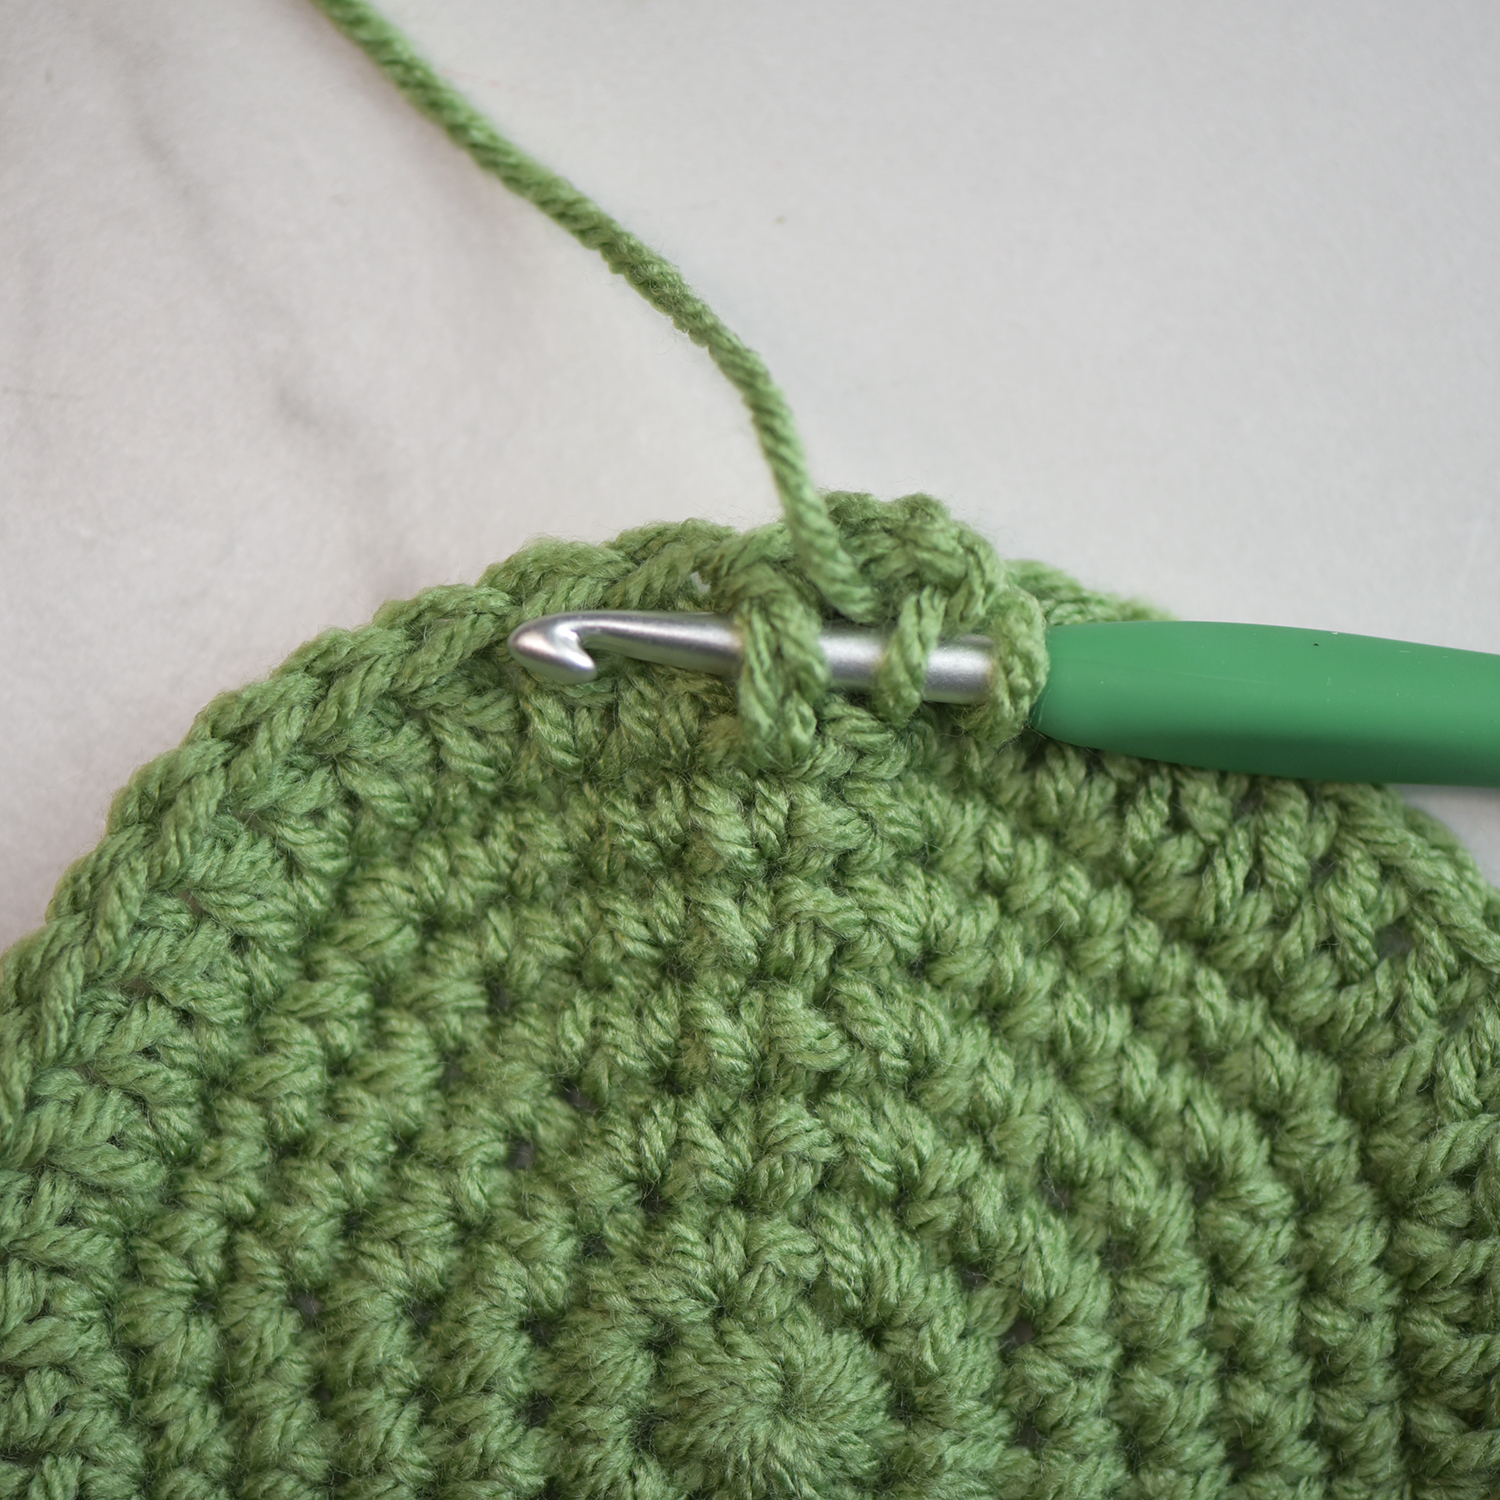
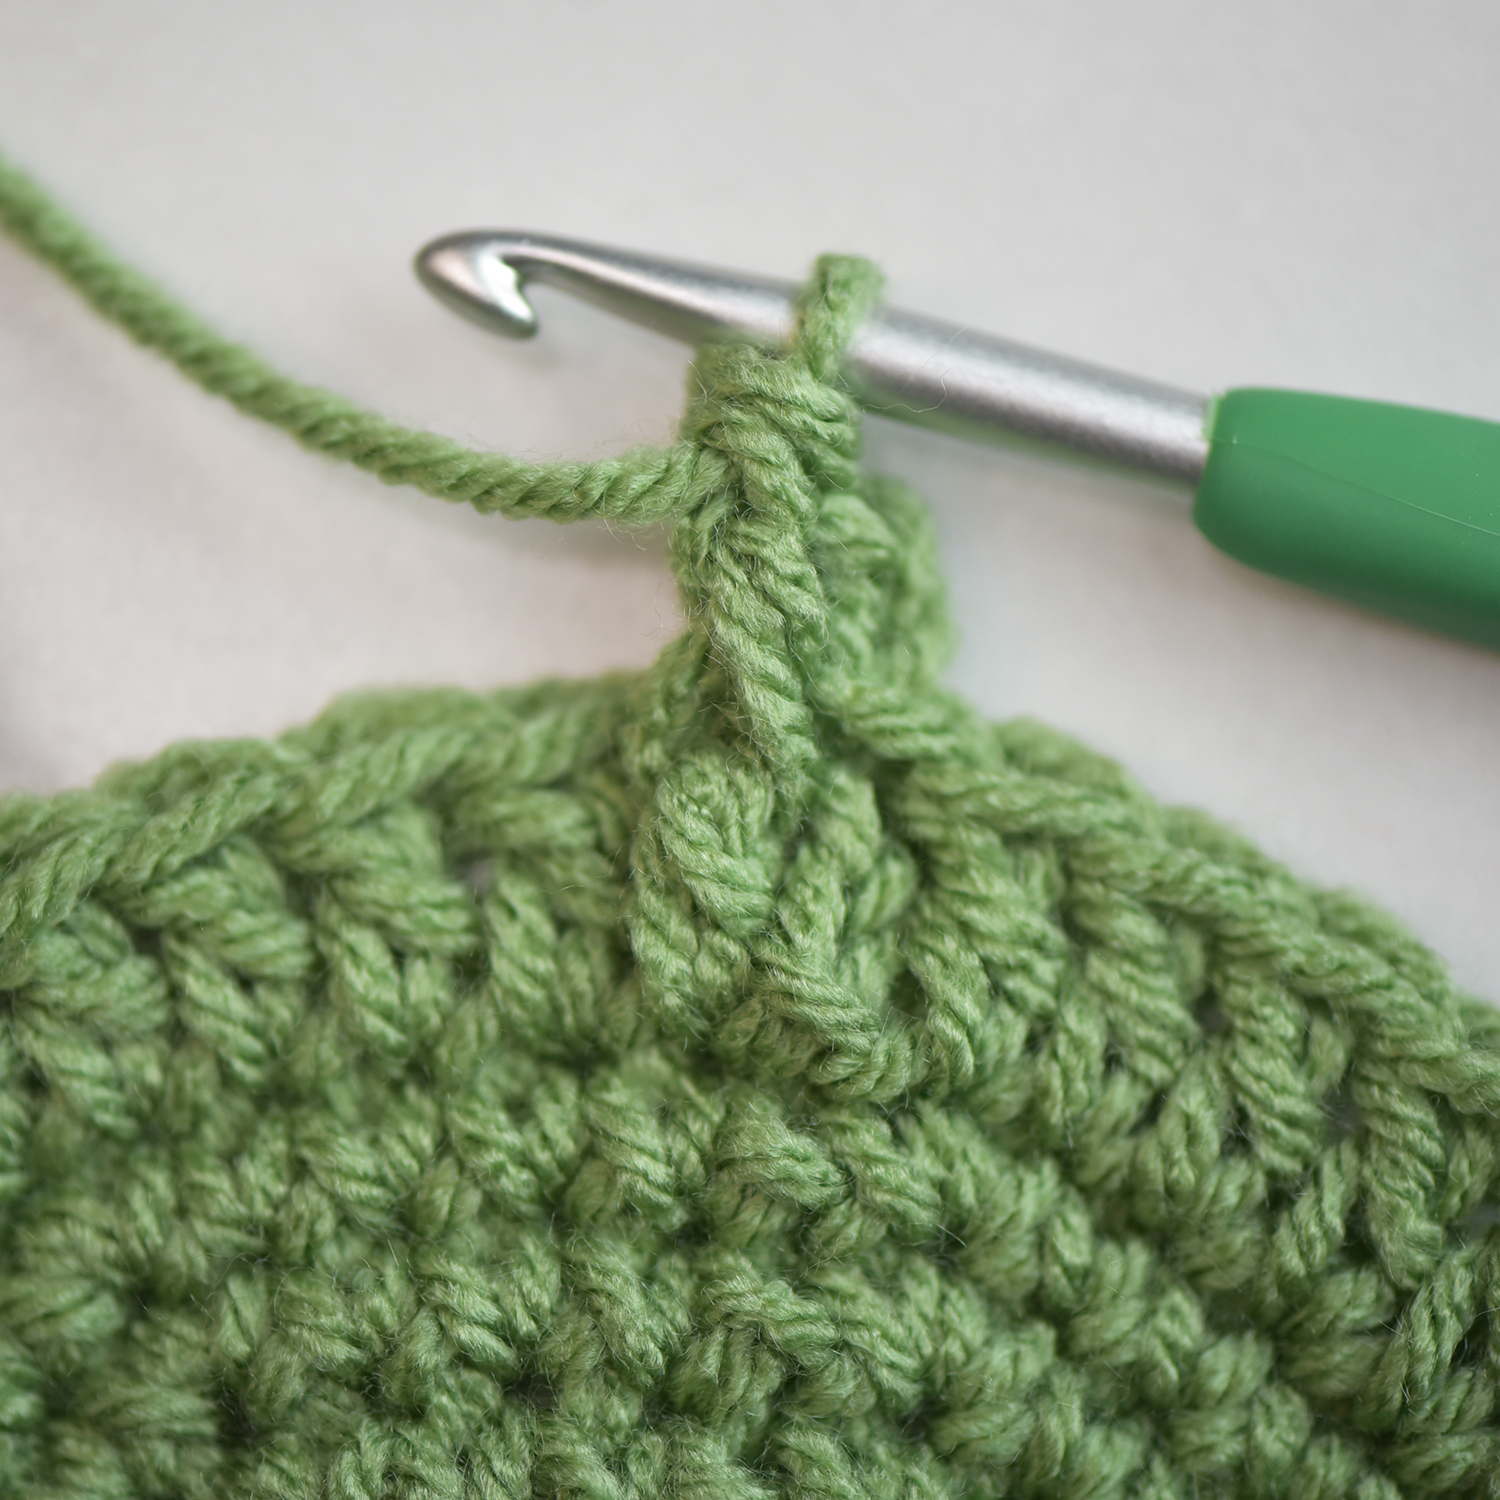
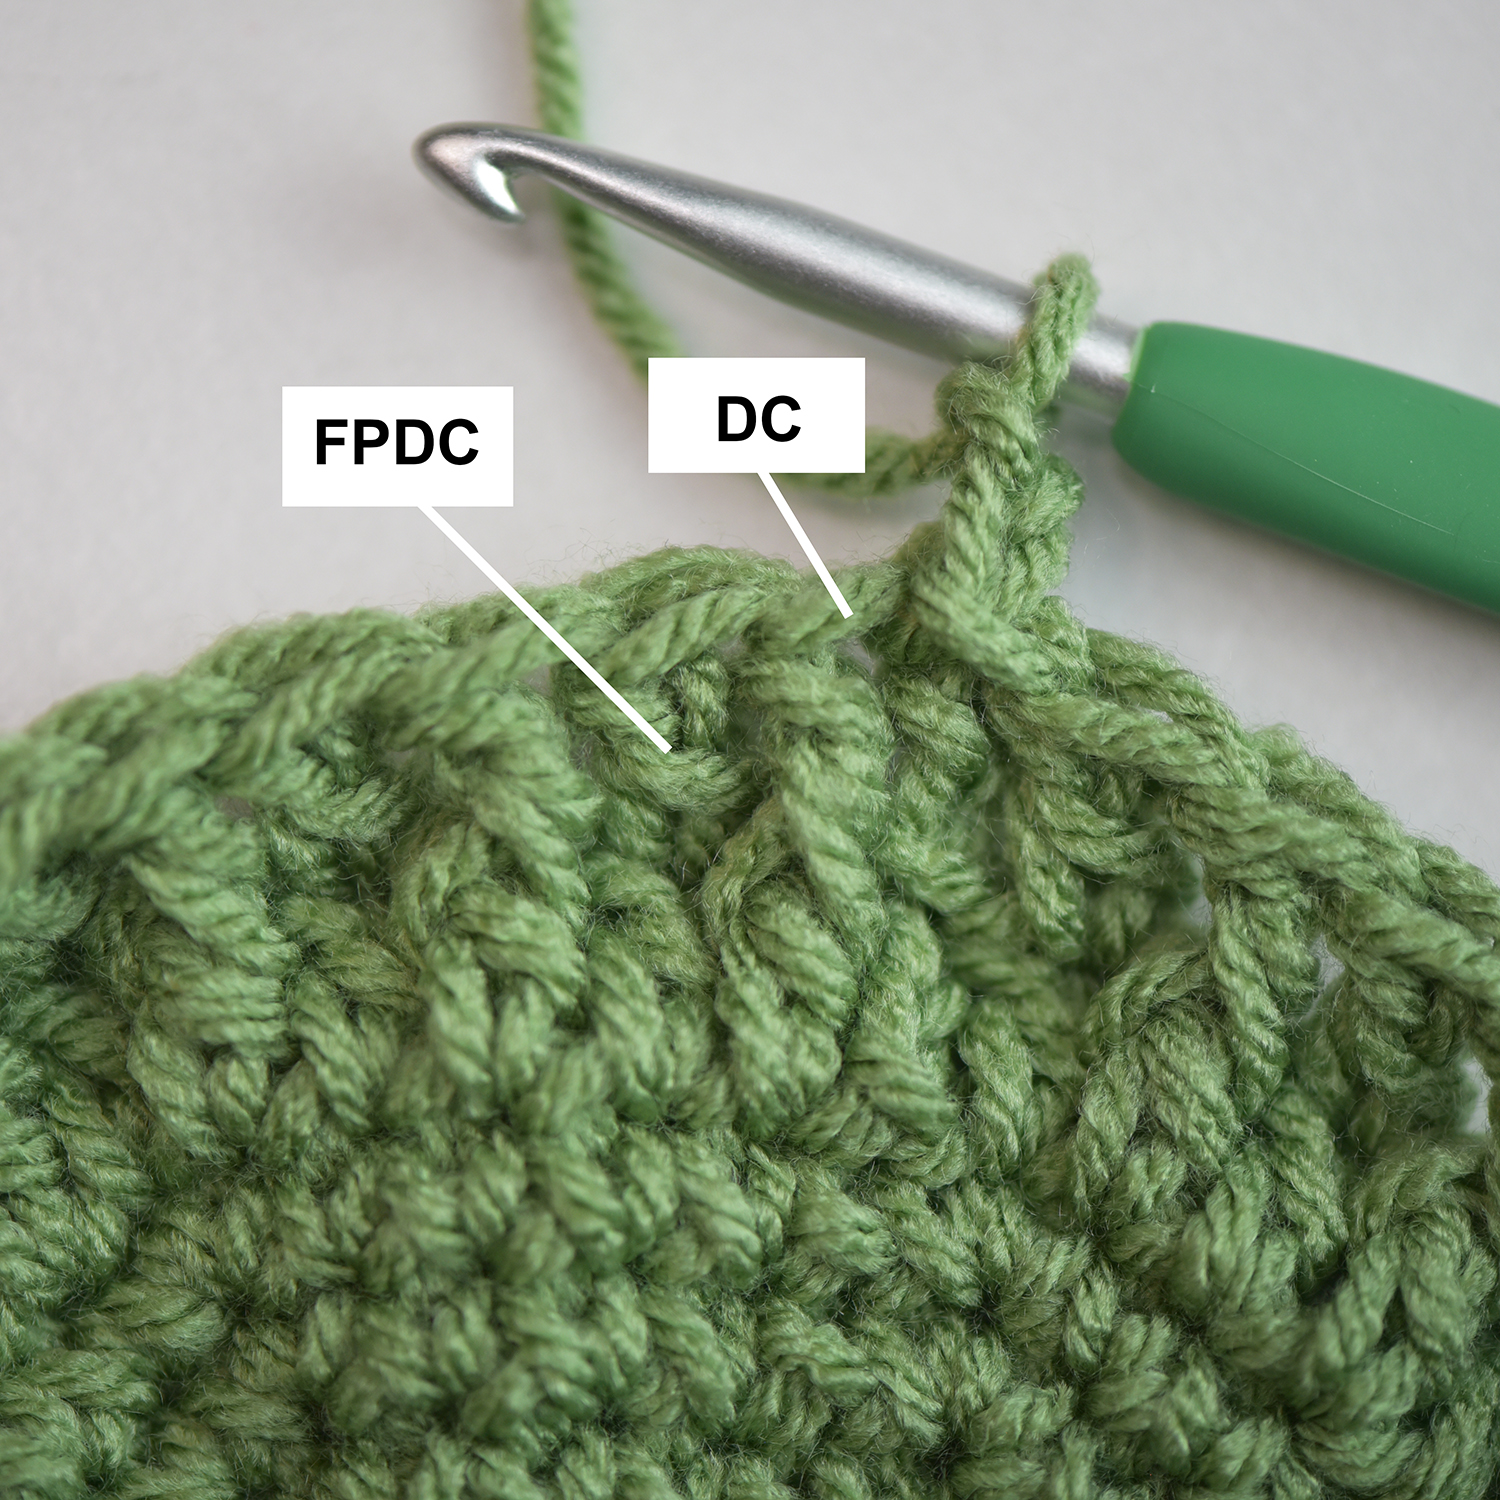
Front Post Double Crochet (FPDC)
Yarn over, insert your hook from the front, around the back, and to the front again, around the post of the next ST, yarn over and pull up a loop, yarn over and pull through 2 loops, yarn over and pull through last 2 loops.
Country Cottage beanie pattern
The pattern is split up by size then the brim is the same for all sizes. Scroll down for your size.
Baby
Magic Circle, CH 1
Round 1: SC x8 inside the circle. Join & CH 1. (8)
Round 2: 2 SC in each ST around. Join & CH 1. (16)
Round 3: *SC in next ST, 2 SC in the next*. Join & CH 1. (24)
Round 4: *SC in next 2 STs, 2 SC in the next*. Join & CH 1. (32)
Round 5: *SC in next 3 STs, 2 SC in the next*. Join & CH 2. (40)
Round 6: DC in each ST around. Join & CH 2. (40)
Round 7: *FPDC, DC*. Join & CH 2. (40)
Round 8: *DC, FPDC*. Join & CH 2. (40)
Round 9: *FPDC, DC*. Join & CH 2. (40)
Rounds 10-13: Repeat Rounds 8 & 9
Move onto the Brim.
CHILD
Magic Circle, CH 1
Round 1: SC x8 inside the circle. Join & CH 1. (8)
Round 2: 2 SC in each ST around. Join & CH 1. (16)
Round 3: *SC in next ST, 2 SC in the next*. Join & CH 1. (24)
Round 4: *SC in next 2 STs, 2 SC in the next*. Join & CH 1. (32)
Round 5: *SC in next 3 STs, 2 SC in the next*. Join & CH 1. (40)
Round 6: *SC in the next 4 STs, 2 SC in the next*. Join & CH 2. (48)
Round 7: DC in each ST around. Join & CH 2. (48)
Round 8: *FPDC, DC*. Join & CH 2. (48)
Round 9: *DC, FPDC*. Join & CH 2. (48)
Round 10: *FPDC, DC*. Join & CH 2. (48)
Rounds 11-16: Repeat Rounds 9 & 10
Move onto the Brim.
TEEN / ADULT SMALL
Magic Circle, CH 1
Round 1: SC x8 inside the circle. Join & CH 1. (8)
Round 2: 2 SC in each ST around. Join & CH 1. (16)
Round 3: *SC in next ST, 2 SC in the next*. Join & CH 1. (24)
Round 4: *SC in next 2 STs, 2 SC in the next*. Join & CH 1. (32)
Round 5: *SC in next 3 STs, 2 SC in the next*. Join & CH 1. (40)
Round 6: *SC in the next 4 STs, 2 SC in the next*. Join & CH 1. (48)
Round 7: *SC in the next 5 STs, 2 SC in the next*. Join & CH 2. (56)
Round 8: DC in each ST around. Join & CH 2. (56)
Round 9: *FPDC, DC*. Join & CH 2. (56)
Round 10: *DC, FPDC*. Join & CH 2. (56)
Round 11: *FPDC, DC*. Join & CH 2. (56)
Rounds 12-19: Repeat Rounds 10 & 11
Move onto the Brim.
ADULT LARGE
Magic Circle, CH 1
Round 1: SC x8 inside the circle. Join & CH 1. (8)
Round 2: 2 SC in each ST around. Join & CH 1. (16)
Round 3: *SC in next ST, 2 SC in the next*. Join & CH 1. (24)
Round 4: *SC in next 2 STs, 2 SC in the next*. Join & CH 1. (32)
Round 5: *SC in next 3 STs, 2 SC in the next*. Join & CH 1. (40)
Round 6: *SC in the next 4 STs, 2 SC in the next*. Join & CH 1. (48)
Round 7: *SC in the next 5 STs, 2 SC in the next*. Join & CH 1. (56)
Round 8: *SC in the next 6 STs, 2 SC in the next*. Join & CH 2. (64)
Round 9: DC in each ST around. Join & CH 2. (64)
Round 10: *FPDC, DC*. Join & CH 2. (64)
Round 11: *DC, FPDC*. Join & CH 2. (64)
Round 12: *FPDC, DC*. Join & CH 2. (64)
Rounds 13-20: Repeat Rounds 11 & 12
Move onto the Brim.
BRIM
The following instructions will create a 4” long brim that when folded over will bet 2” long. Feel free to adjust the length of the brim by chaining as many as you’d like to get your desired length.
CH 14
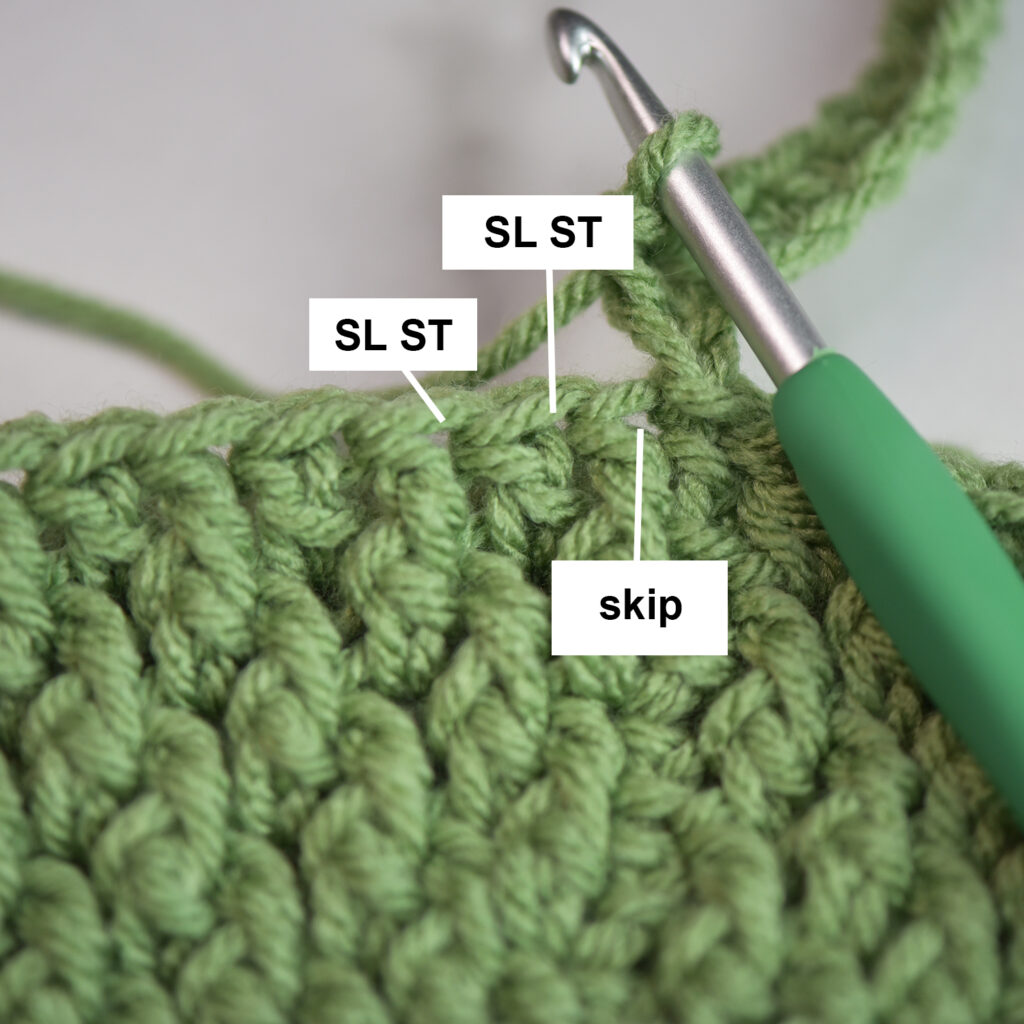
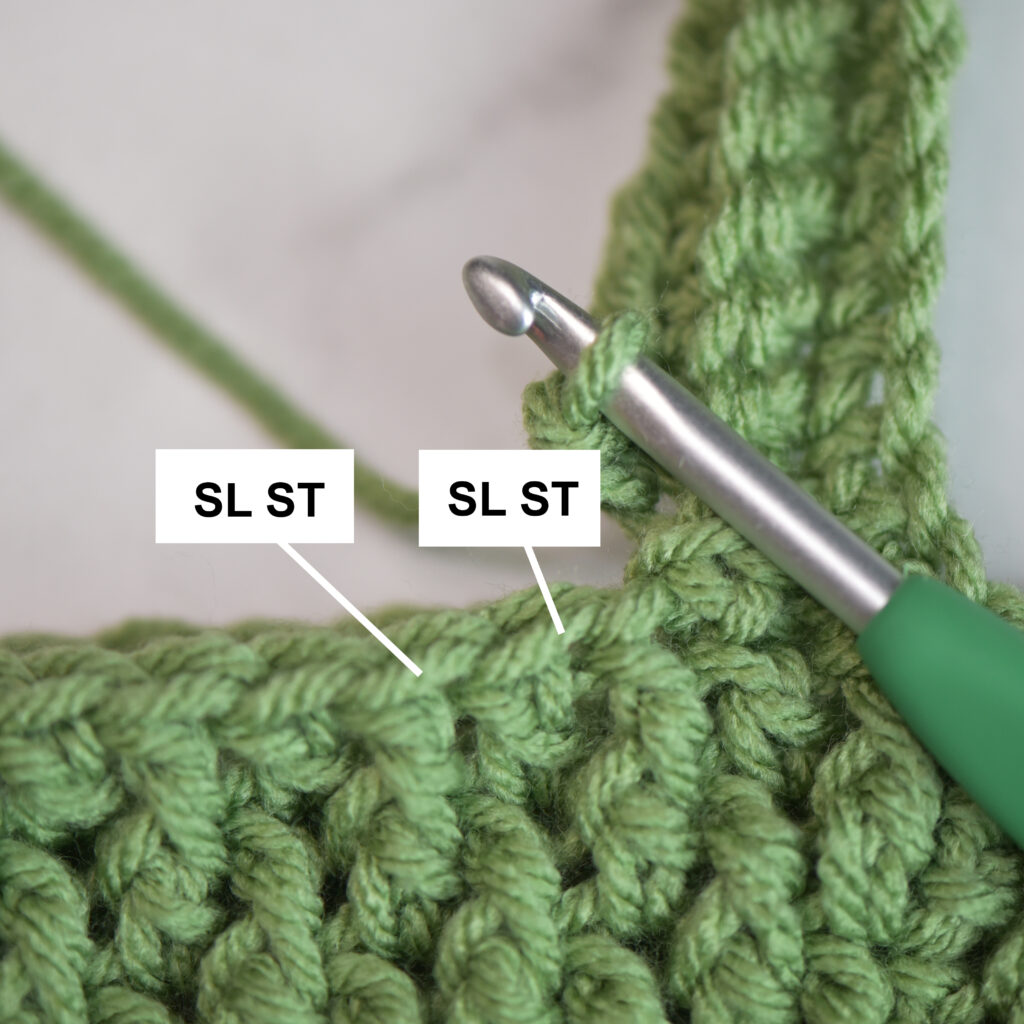
Row 1: SC in the 2nd CH from the hook. SC in each ST across. (13) SL ST in the next 2 STs from the last round of the beanie. Turn.
Row 2: Now working back down the brim, SC BLO in each ST across. CH 1 & turn. (13)
Row 3: SC BLO in each ST across. (13) SL ST in the next 2 STs from the beanie. Turn.
Repeat Rows 2 & 3 until the end of Row (39, 47, 55, 63) and only one ST remains from the last round of the beanie.
SL ST into the last ST from the beanie. Turn.
Working into the starting chain and the last row of the cuff, SL ST in each CH & the back loop only of each ST across. Tie off yarn and weave in ends.
And you’re all done! Feel free to add a yarn or faux fur pom pom to top it off!
And you’re all done! Thank you for trying out my Country Cottage Beanie pattern! Show off your finished beanie by tagging @theturtletrunk on Facebook and Instagram!
You are free to sell the items you make with this pattern, and I’d love if you could please link back to this page. You do not have permission to republish or distribute this pattern in any way or claim it as your own. Do not use my photos in your sale listings or for any other purposes. Thank you
This page includes affiliate links. If you make a purchase from these links, I may make a small commission at no cost to you! Thank you for your support!