
Hello Sunshine Coaster Crochet Pattern
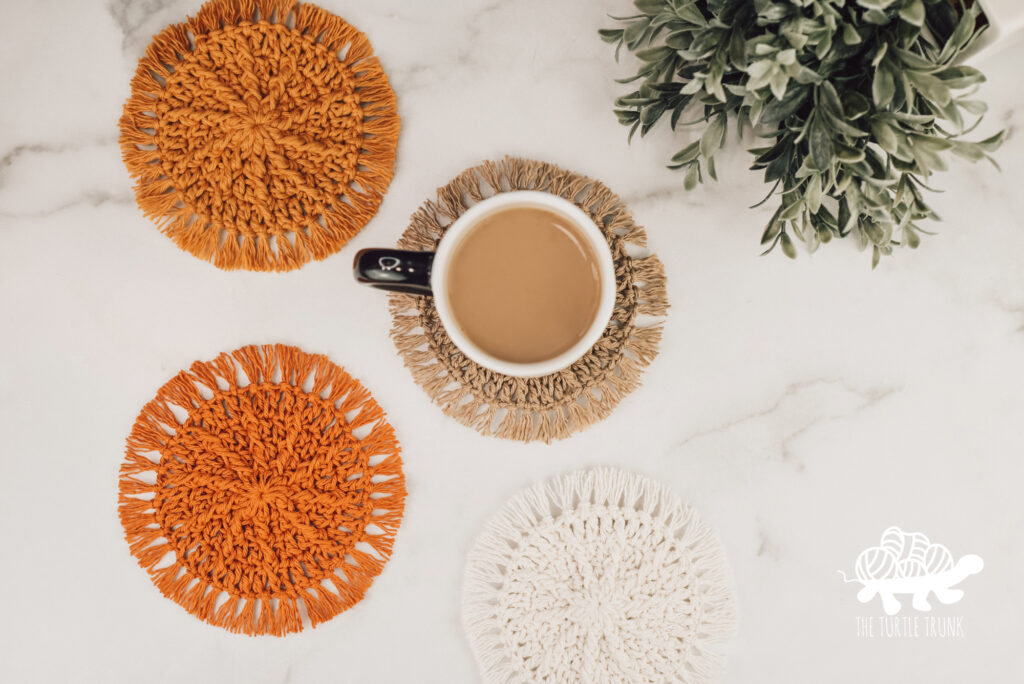
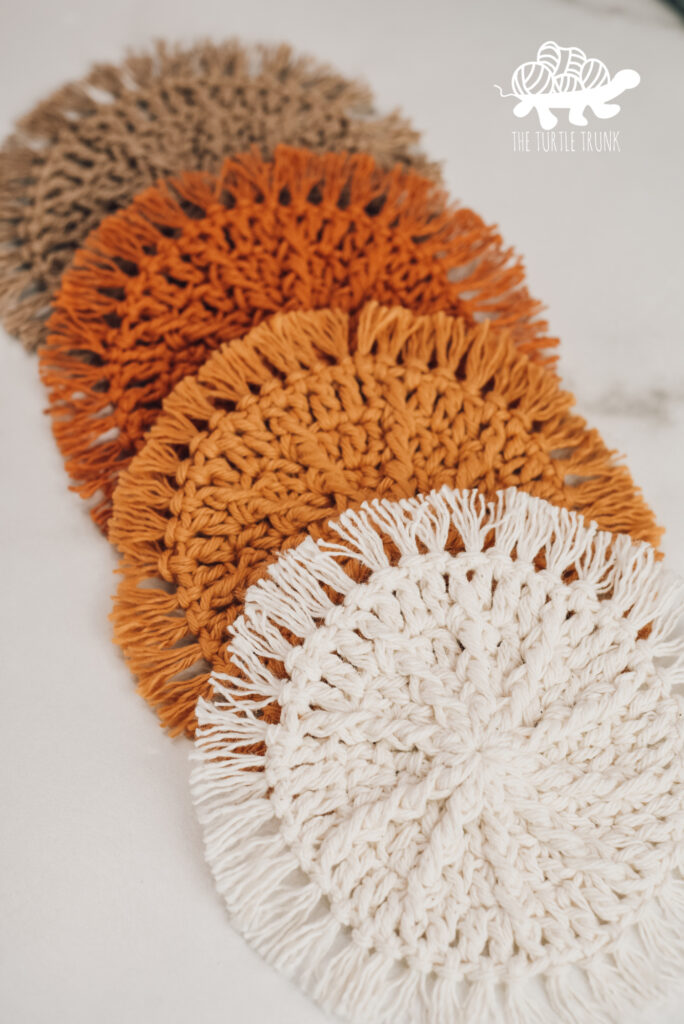
The Hello Sunshine Coaster crochet pattern works up super quick and it’s also beginner friendly! This crochet coaster mimics the sun with a fun, fringe border and textured stitches that look like the suns rays! Each coaster uses minimal yarn and also works up in minutes! The Hello Sunshine Coaster is perfect for Spring & Summer, as well as giving as gifts or making for your own home or patio!
Hello Sunshine! I’m so excited to share a new, Spring pattern with you today! The Hello Sunshine Coaster is going to brighten up any home and is also perfect for a handmade gift! These easy crochet coasters work up fast, are beginner friendly, and use minimal yarn! You can make a set of 4 or 5 with just one skein of yarn, making them a great, last minute make or gift!
Continue reading below to hear my inspiration for this pattern and to learn more about the yarn I used, then scroll down for the written pattern!
FOLLOW ALONG WITH THE AD FREE & PRINTABLE PDF PATTERN FROM ETSY AND RAVELRY!
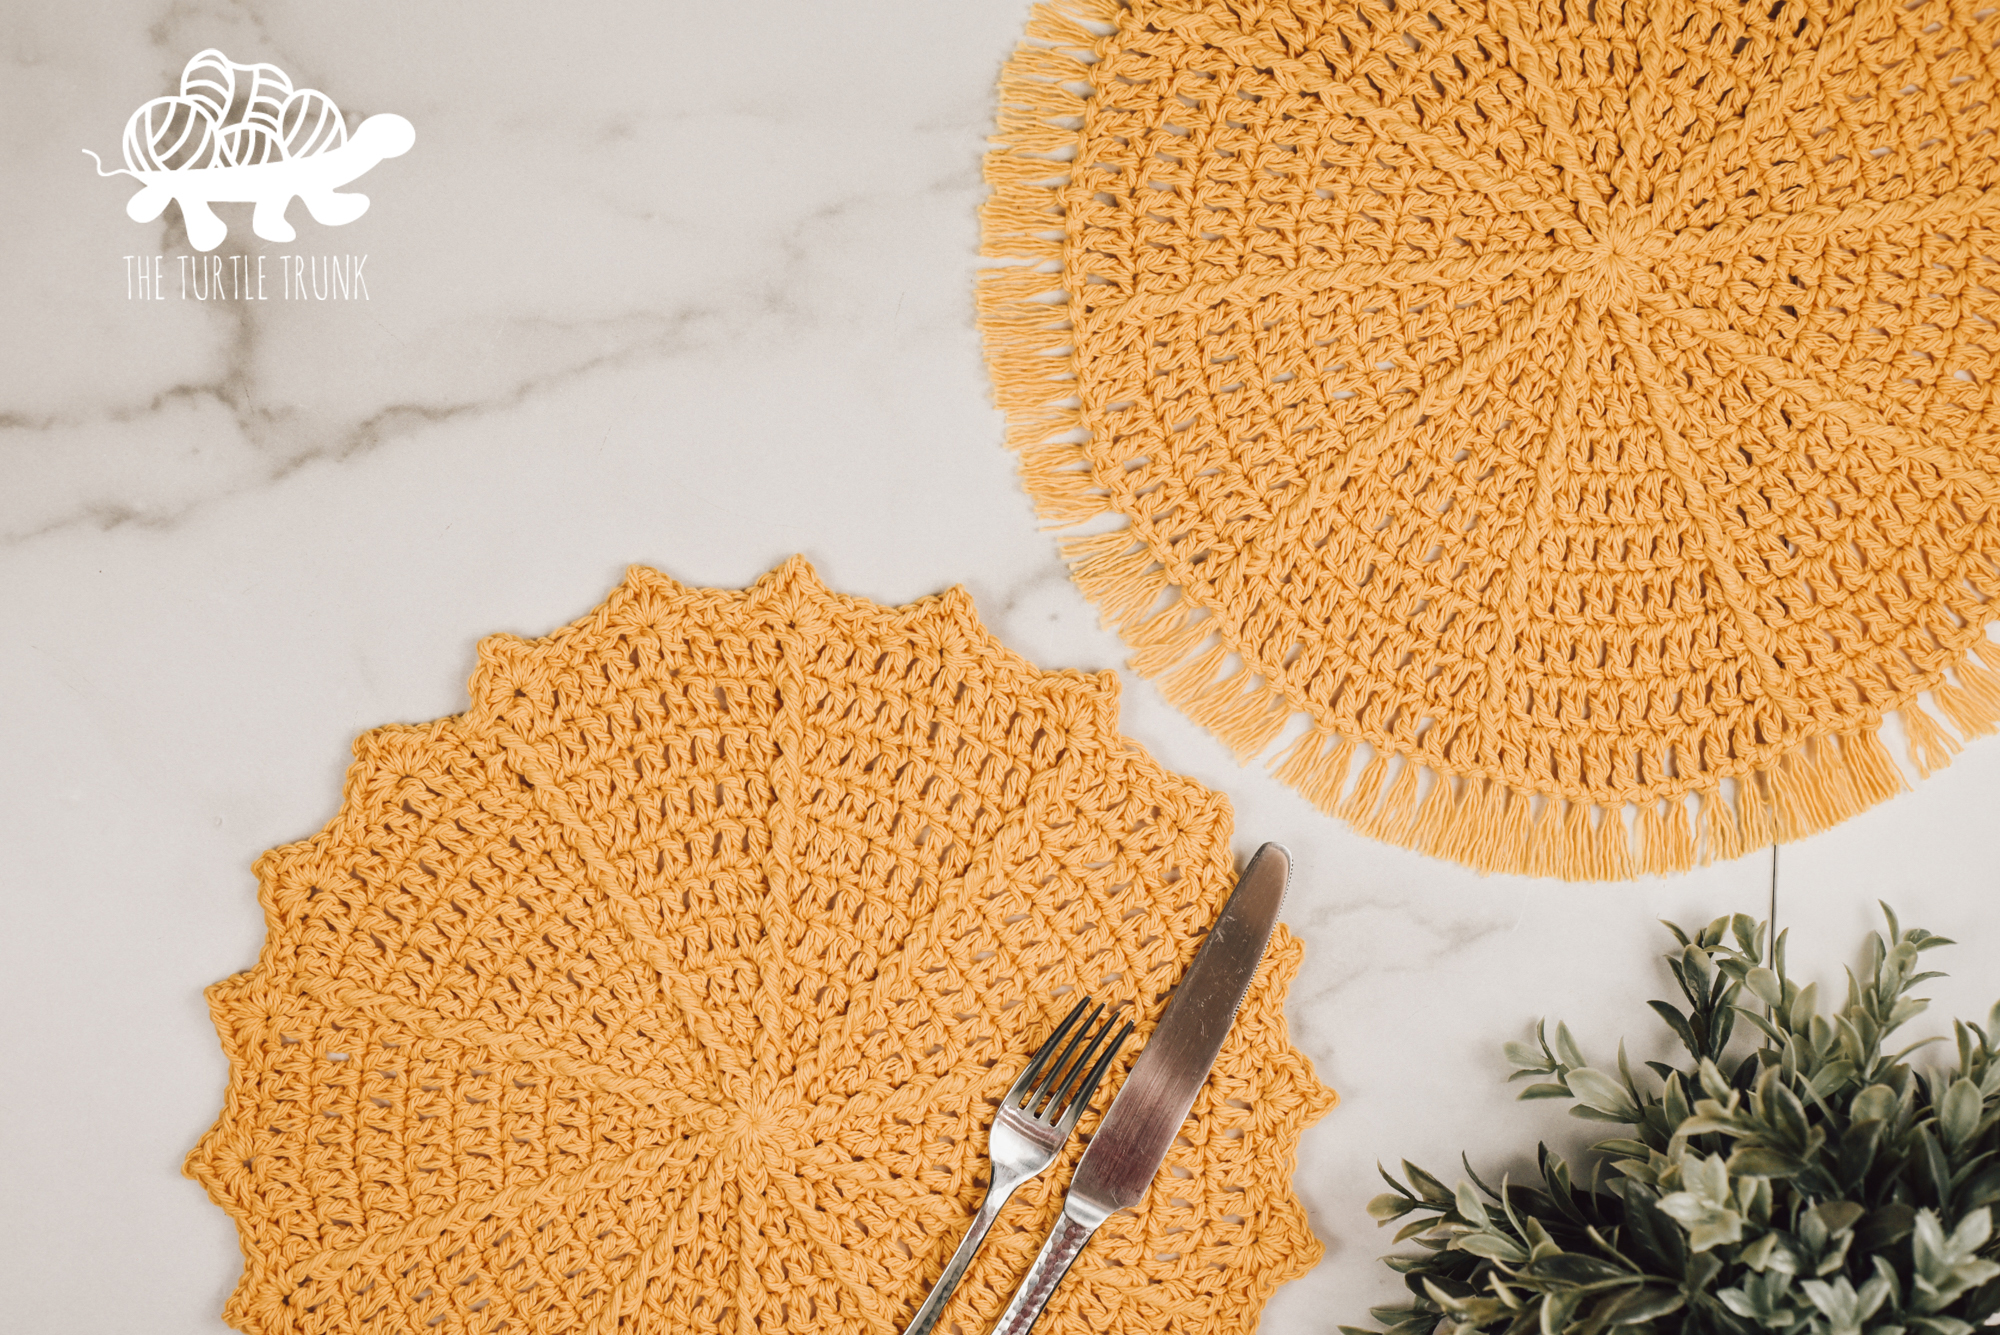
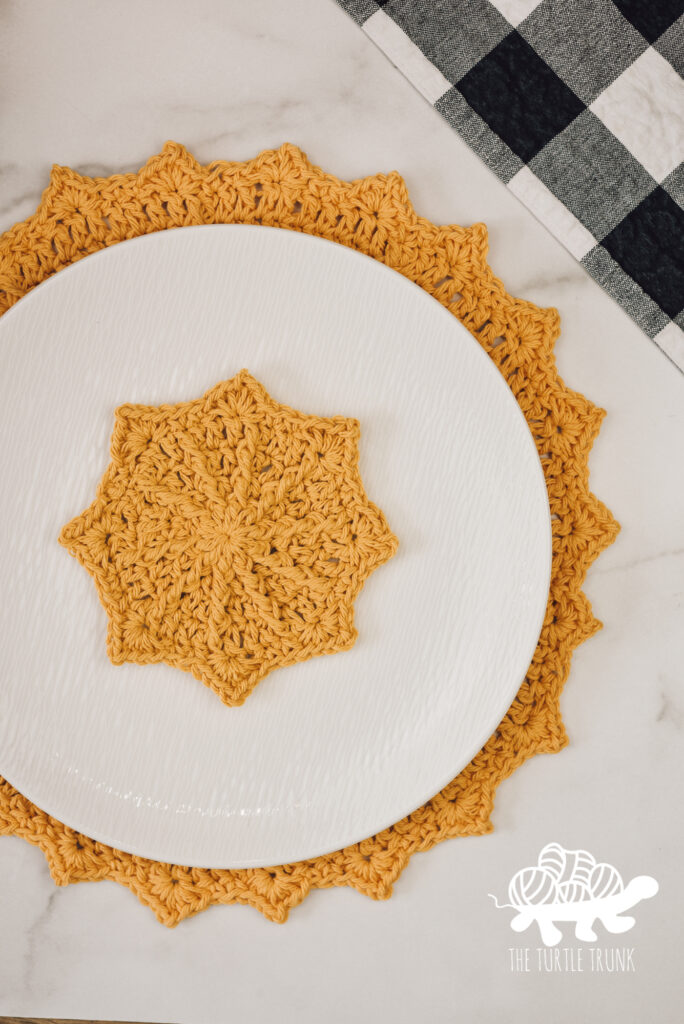
When you’re done making the Hello Sunshine Coaster, be sure to check out the matching placemat crochet pattern HERE!
If you’d like more coaster crochet patterns, then check these out:
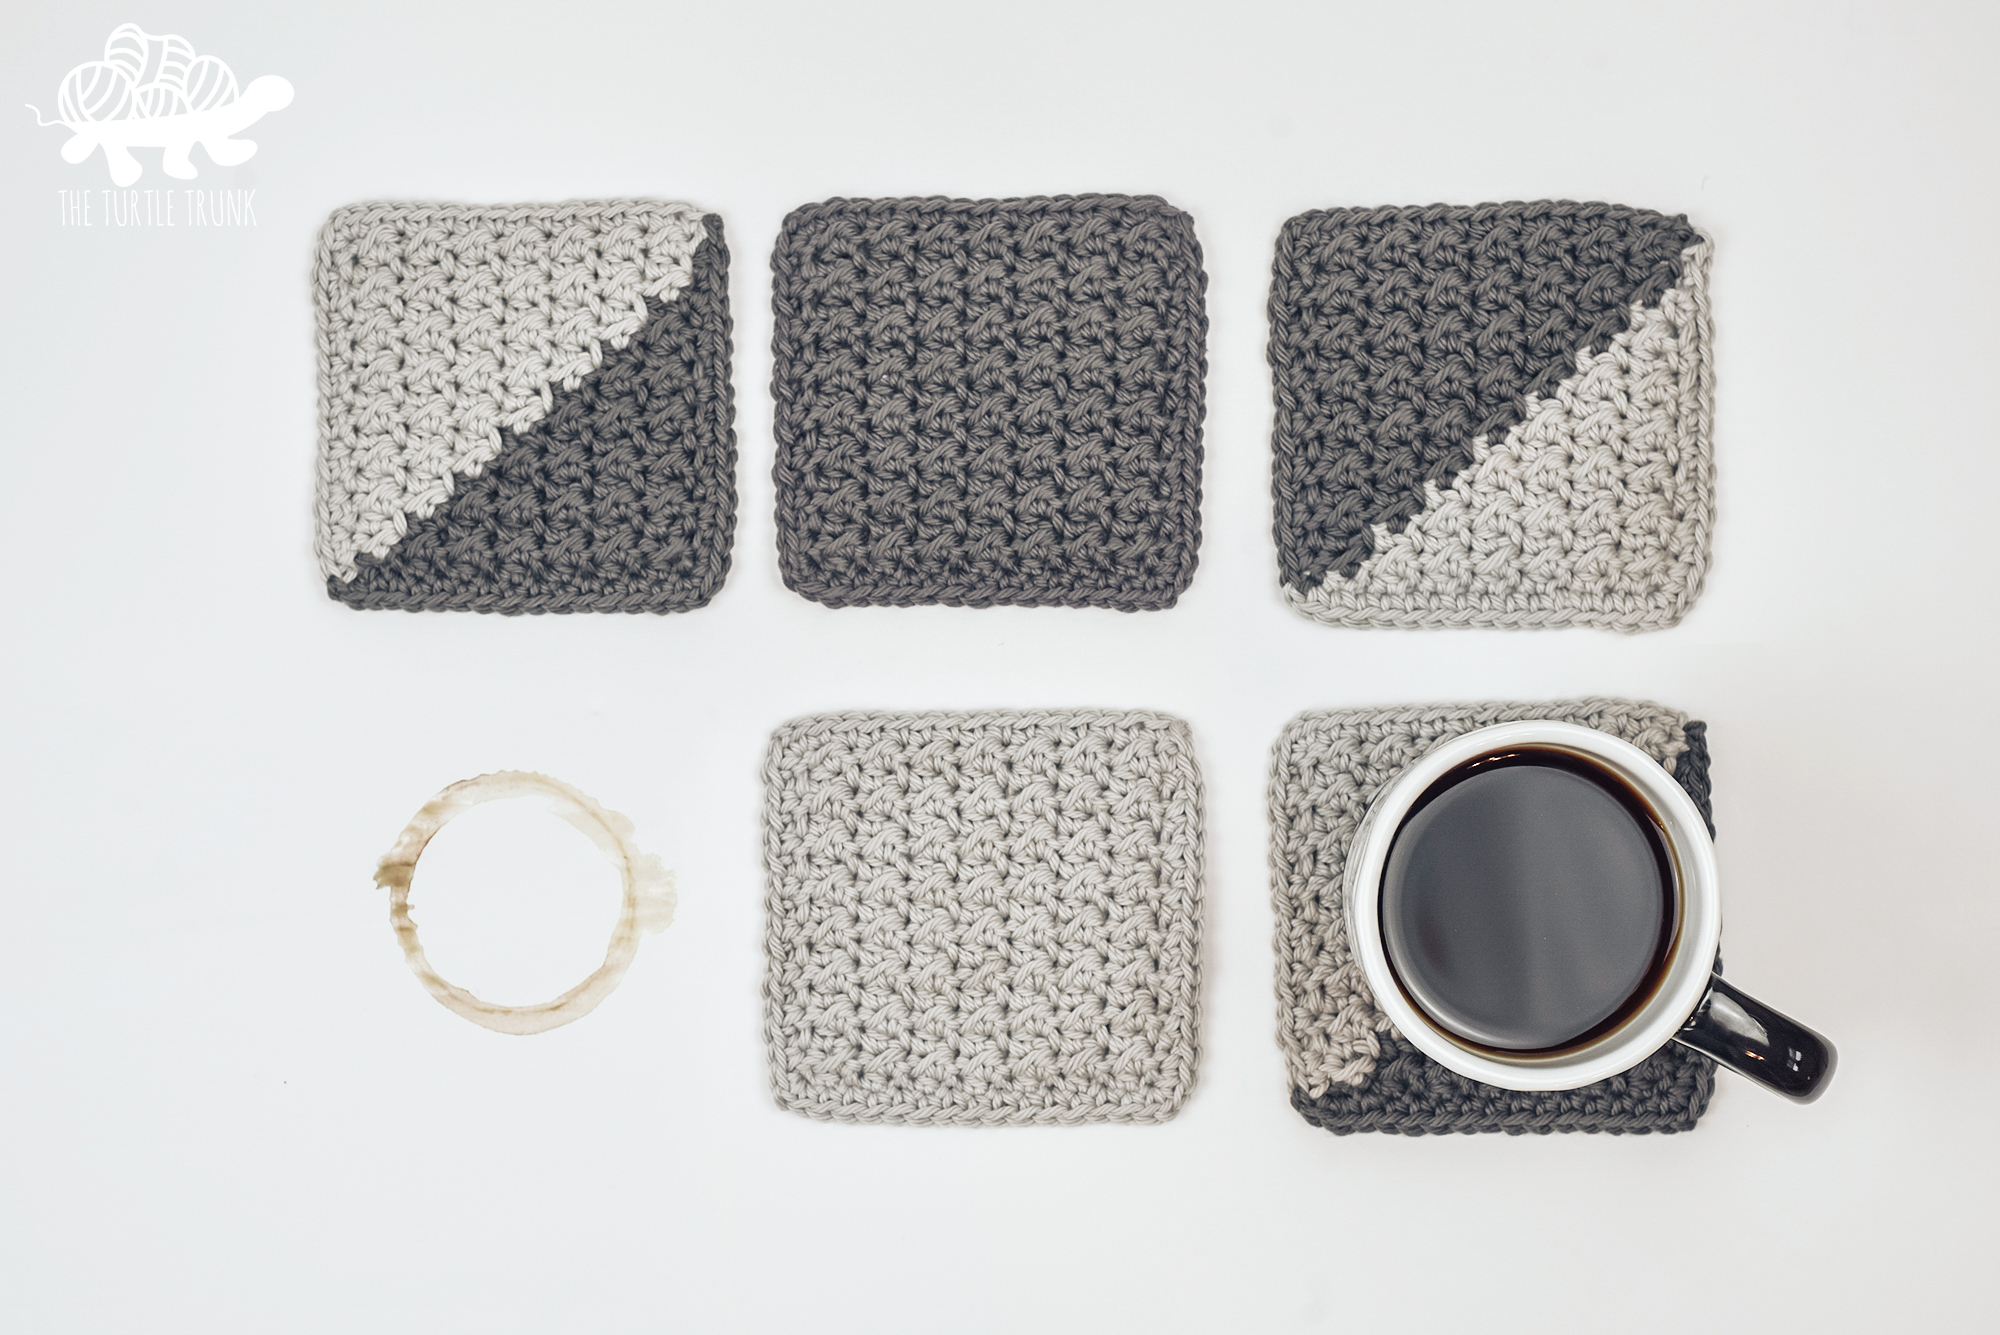
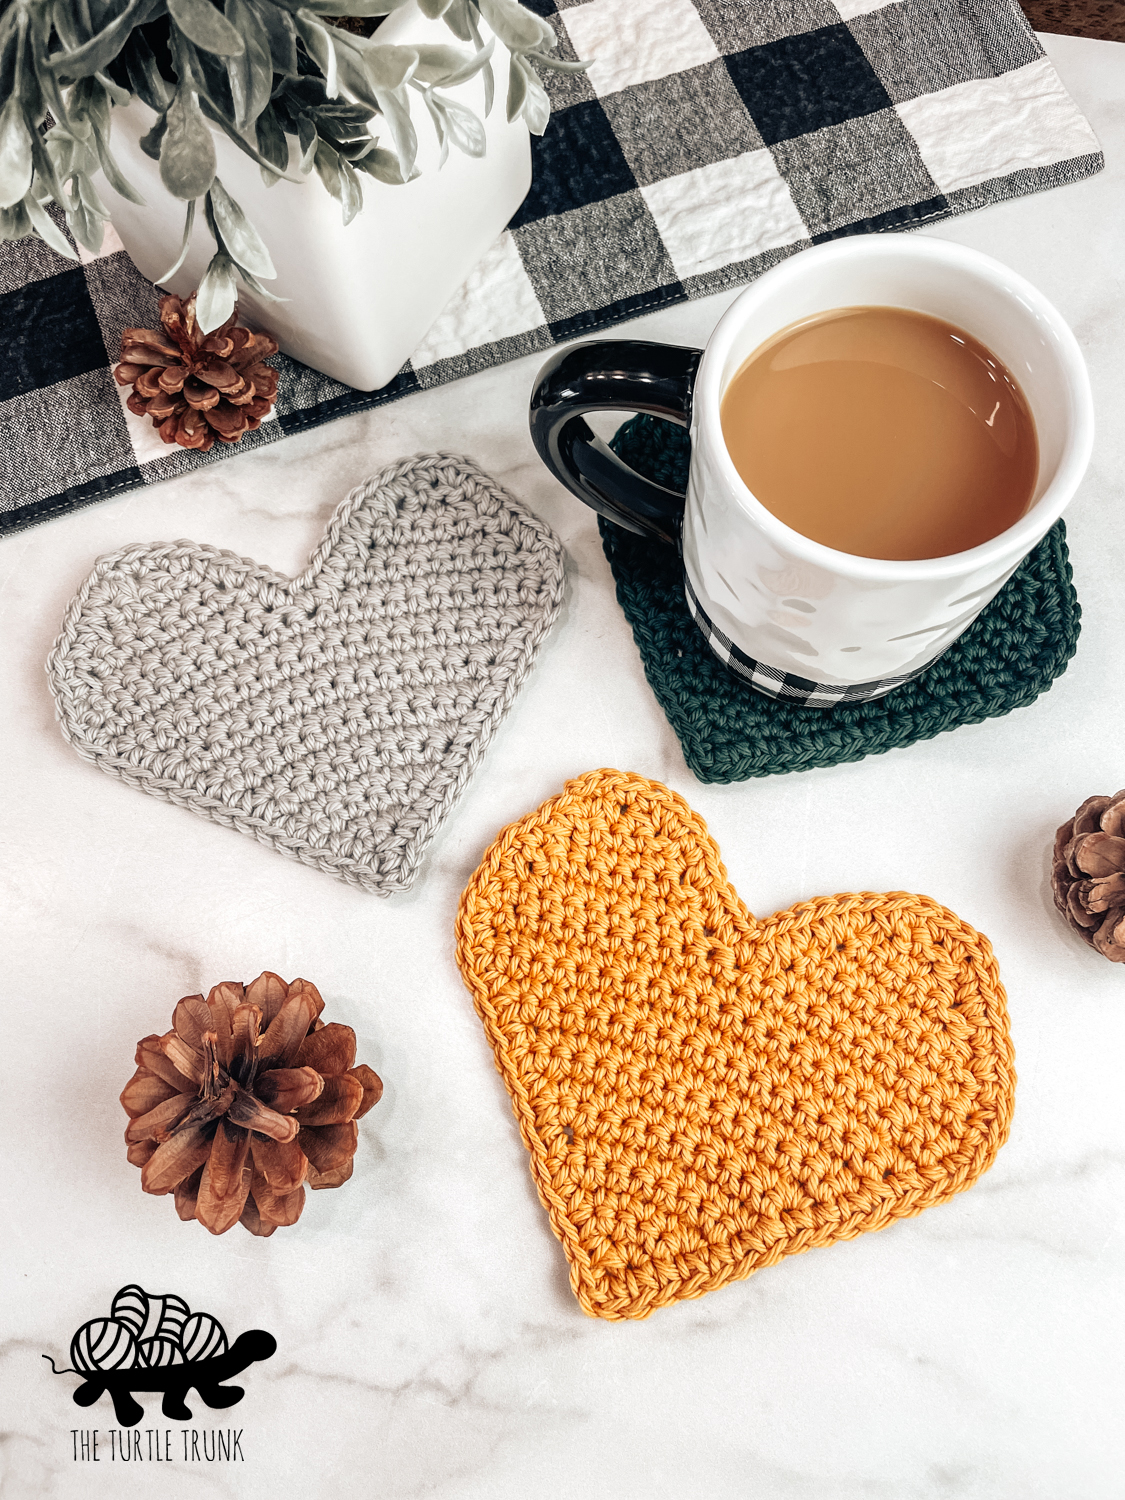
Farmhouse Coaster and Heart Coaster.
Inspiration
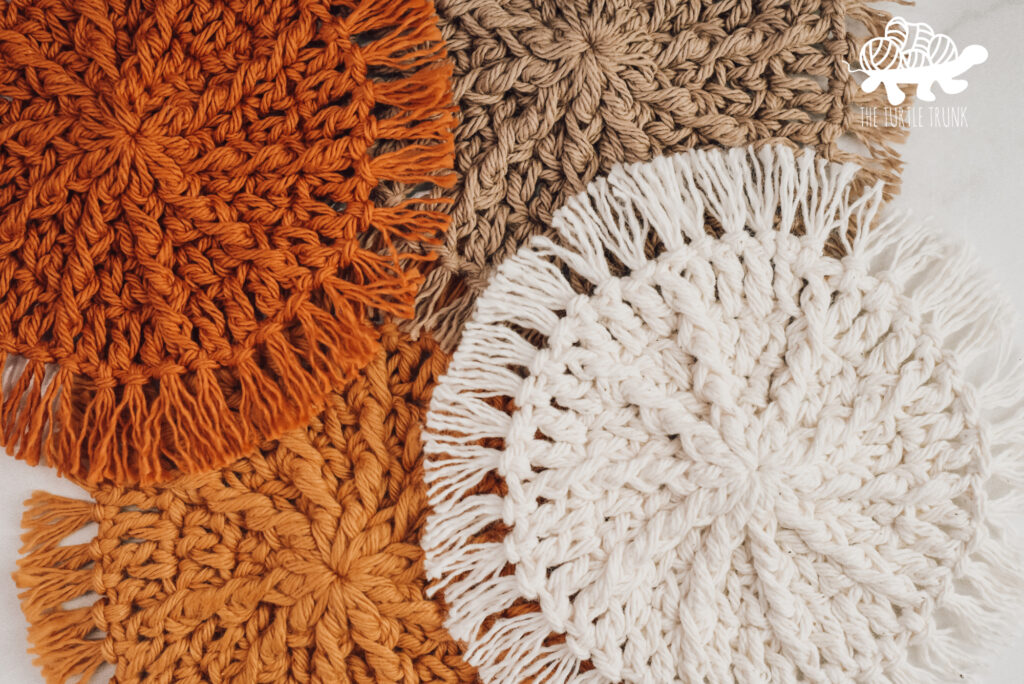
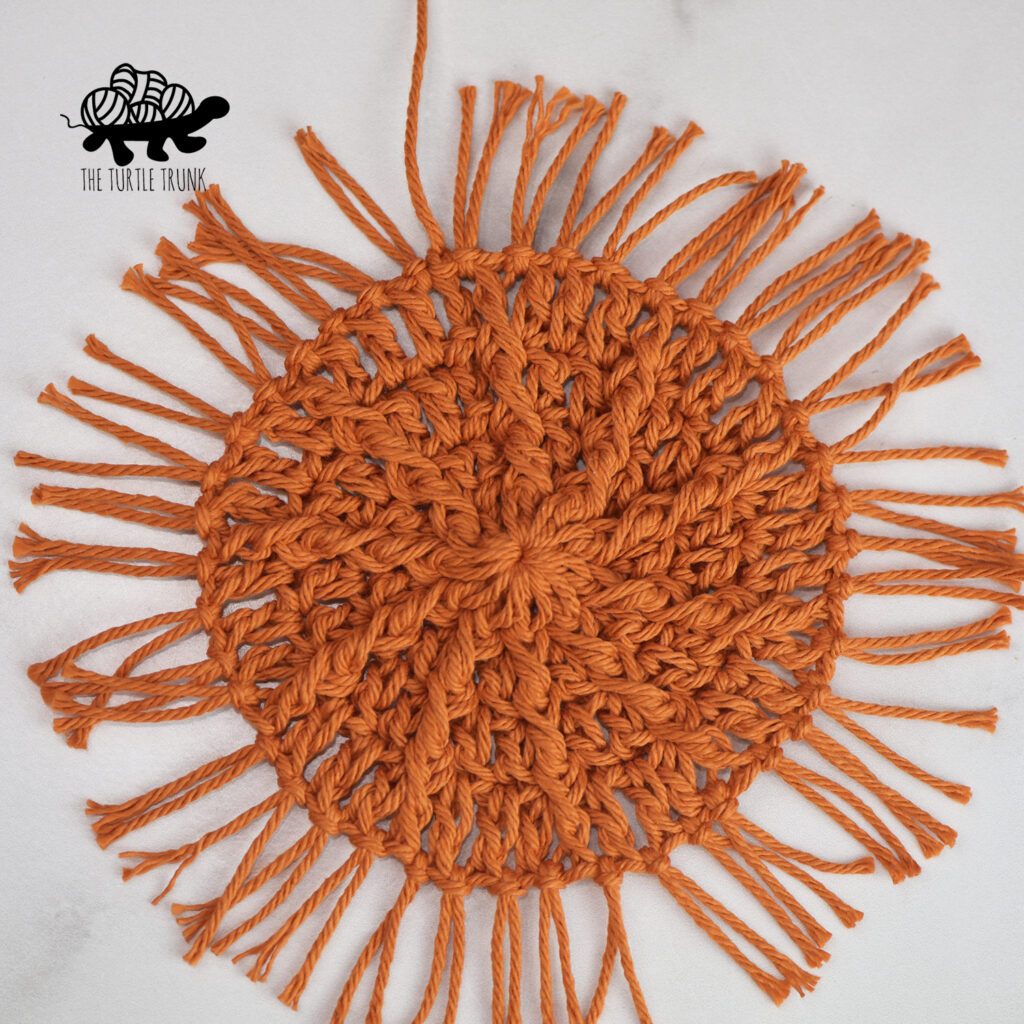
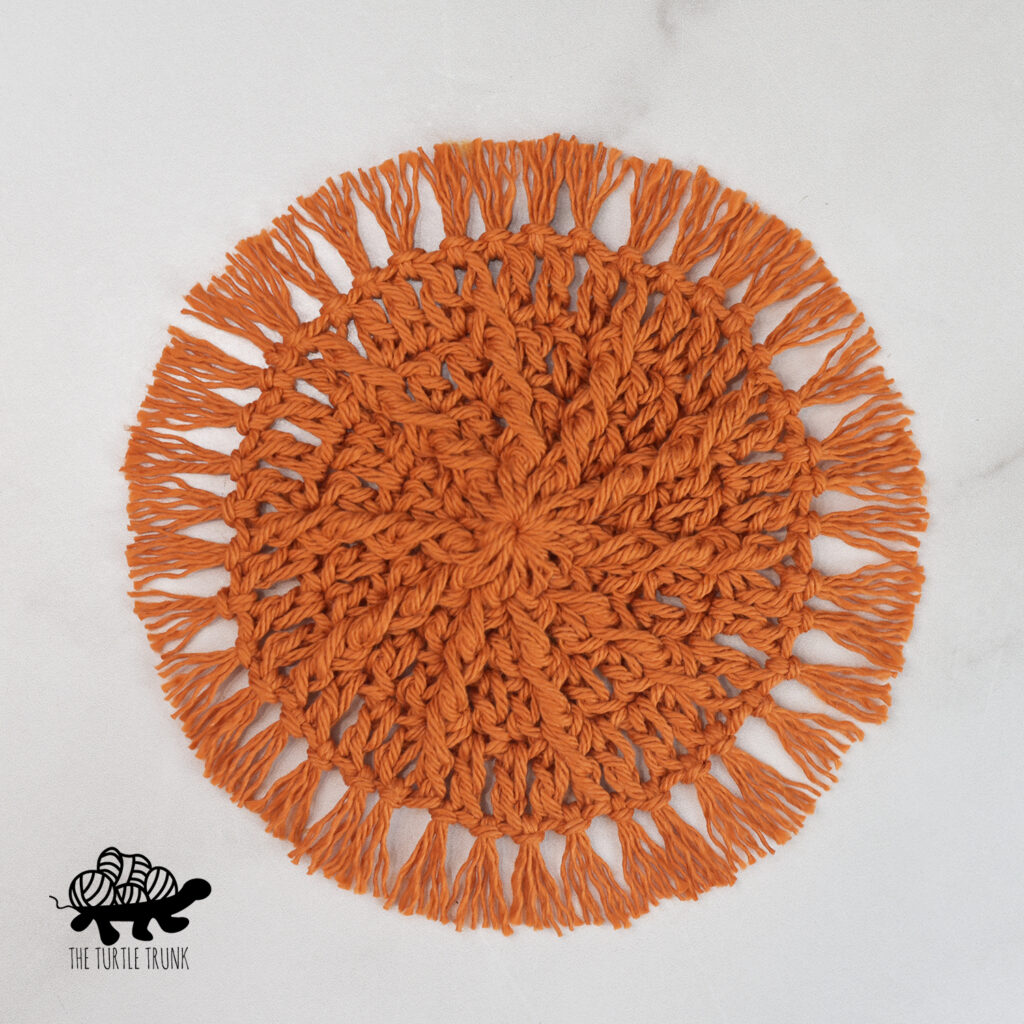
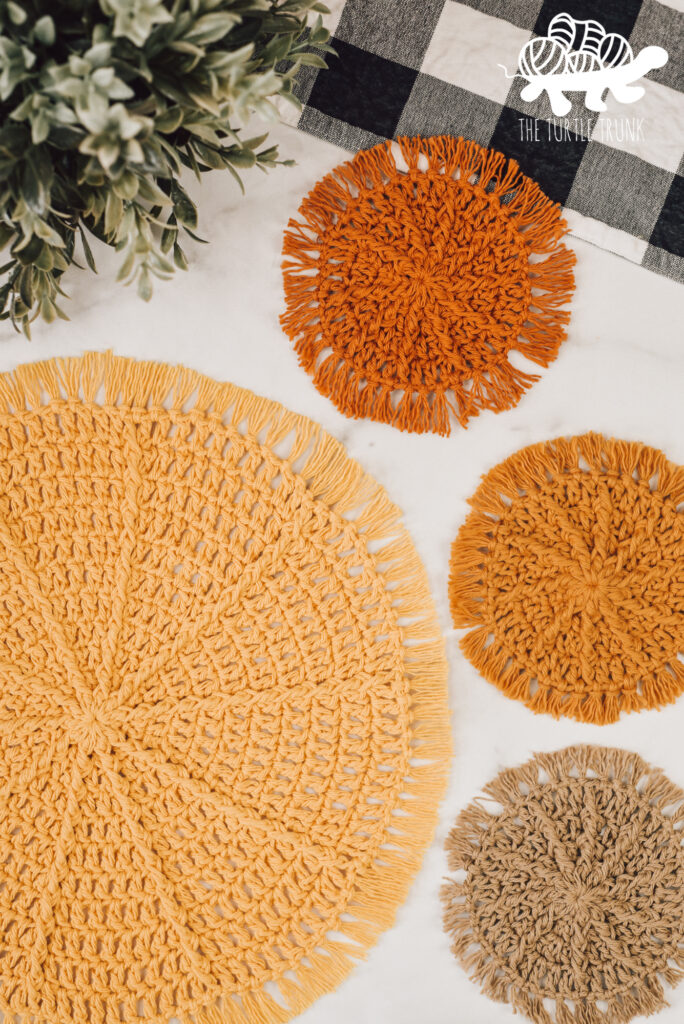
Even though it is now Spring here in Ohio, we haven’t had too much sunshine so I wanted to design something to brighten up my home and make it feel more like Spring! I’ve seen similar macrame coasters online and in stores that feature this fun, fringe border, but I wanted to create my own crochet version with a bit of a twist! Along with the stringy fringe, I also added some texture with front post stitches to mimic the suns rays, and voila, bright, sunny coasters! These look amazing in both bright, vibrant colors as well as modern neutrals! You can really make them fit any home decor style by using different colors and you can even use multiple colors for one coaster! I went for a mix of neutrals and muted colors for a modern mix.
Does yarn type matter? yes!
I tried FOUR different cotton yarns for these coasters and some worked great and some, not so much.
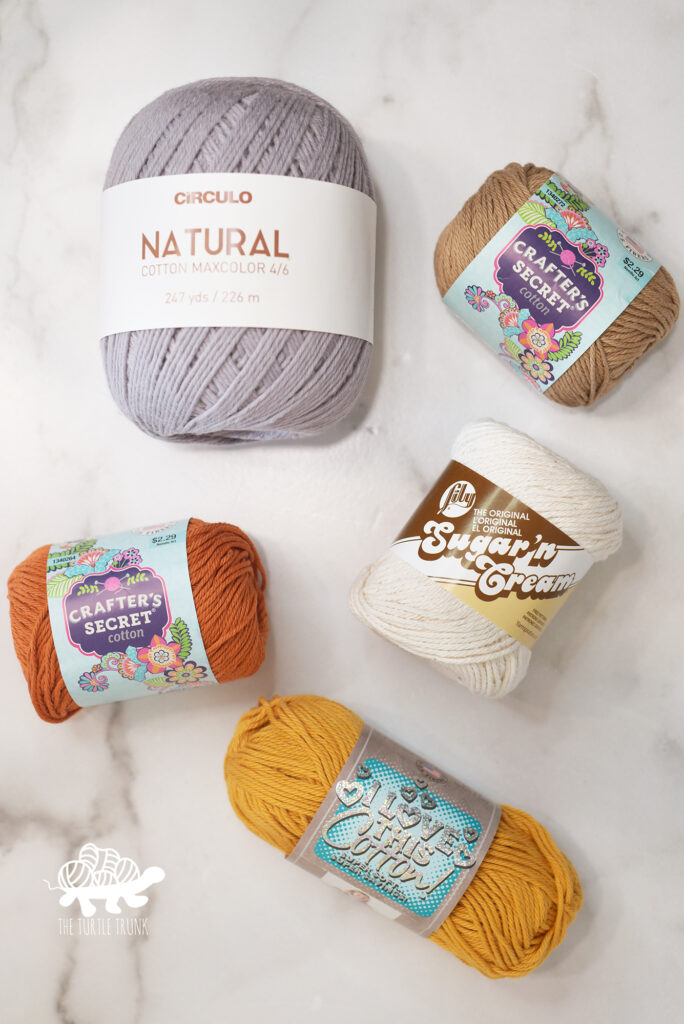
First, I suggest using Cotton yarn because it’s durable and will absorb any water from condensation. It’s also machine washable and can be dried in the dryer, although I would reccomend laying these flat to dry then you can comb out the fringe and it’ll dry in place.
Secondly, yarn brand yay’s and nay’s. My favorites for the Hello Sunshine Coaster is Lily Sugar n’ Cream (white) and Crafter’s Secret Cotton (beige and orange). These cotton yarns are a bit on the stiffer side, which creates a sturdy coaster and they’re also stringier which creates really nice fringe! Circulo Maxcolor Cotton worked great too. It’s a little bit softer than the other two which made the fringe a tad fluffier but it still created a beautiful coaster.
The last yarn I tried is actually one of my favorite cotton yarns, Hobby Lobby’s I Love This Cotton. Unfortunately, because it’s so soft, it didn’t work out great for these coasters. Who knew yarn could be TOO soft! When combing out the fringe, it got really fluffy and started to shed and did not look very good! So I wouldn’t recommend it for this pattern, at least not for the fringe part!
Size
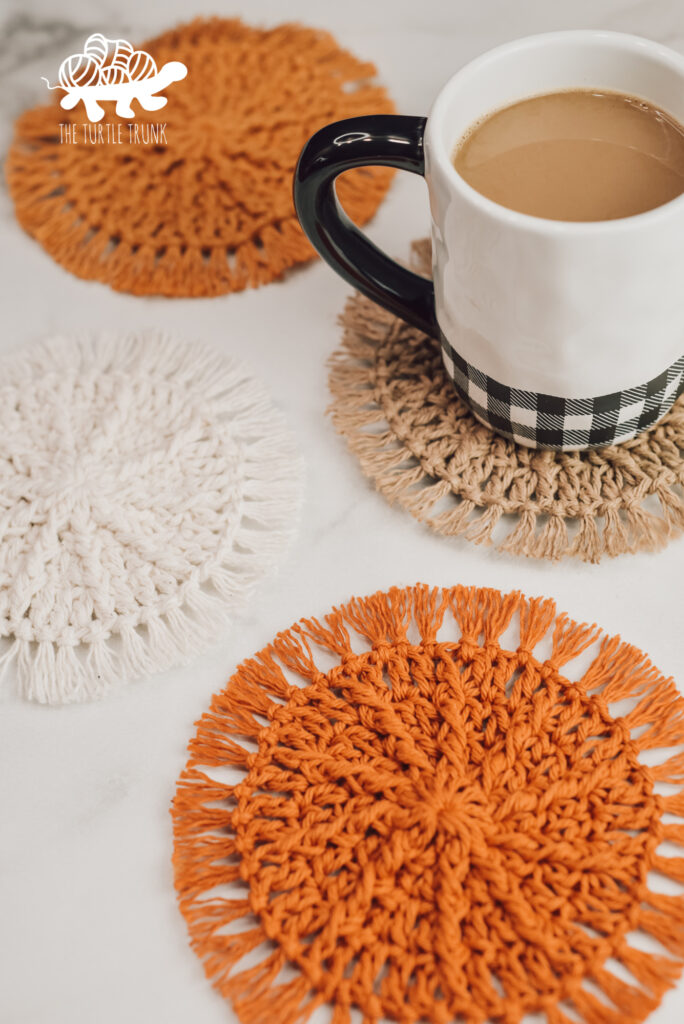
The main circle of the coaster is about 4.5″ in diameter plus 1.5″-2″ for the fringe, thus making these coasters about 6″ in diameter. You can easily make these coasters larger though by continuing the increase rounds or by cutting your fringe longer!
These coaster also look amazing without the fringe! After Round 4, feel free to cut off your yarn, weave in you ends and leave it as a simple, circle coaster!
Border Options
After releasing the Hello Sunshine Coaster crochet pattern, I made a matching placemat, the Hello Sunshine Placemat! With the placemat pattern I included another border option, a pointed border, for those who aren’t interested in cutting and attaching fringe. This pointed border can also be done on the coaster so if you prefer this border, head over to the Hello Sunshine Placemat pattern when you reach the end of your coaster to see how to make it! The pointed border is worked over 5 stitches so as long as you have a multiple of 5 stitches worked around your coaster/placemat, this border will work!
Not ready to make just yet? Save this pattern to Pinterest!
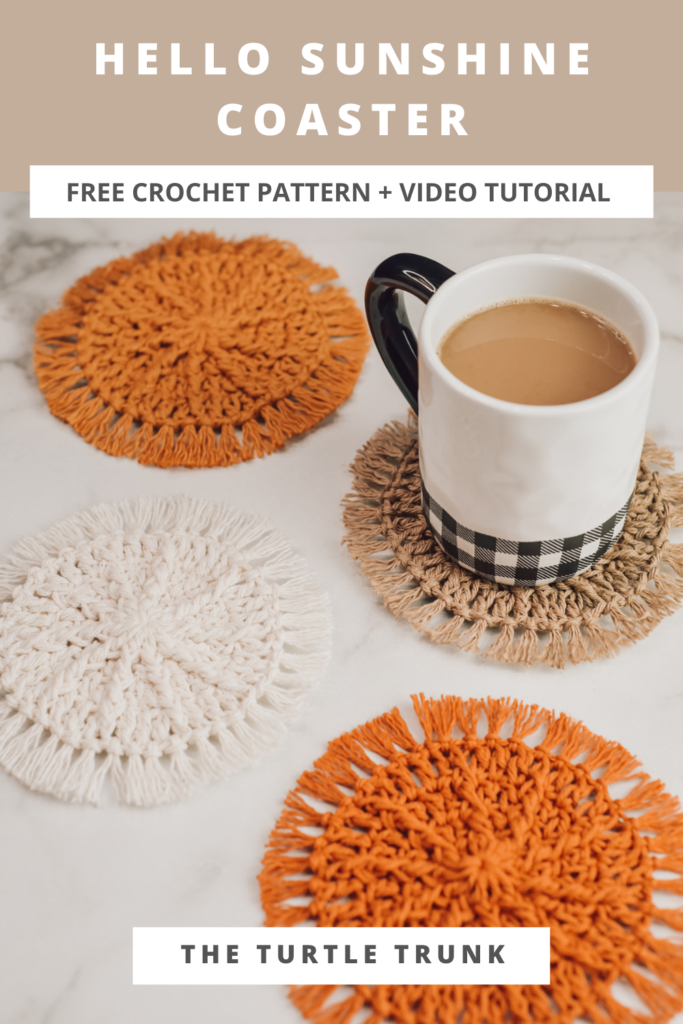
Follow along with the video tutorial on YouTube!
Difficulty
Easy
Finished Size
Approximately 6″ in diameter (with fringe)
Gauge
Gauge is not important for this pattern.
4 STs x 2 Rows in DC = 1” x 1”
Adjust hook size up or down to meet gauge.
Notes
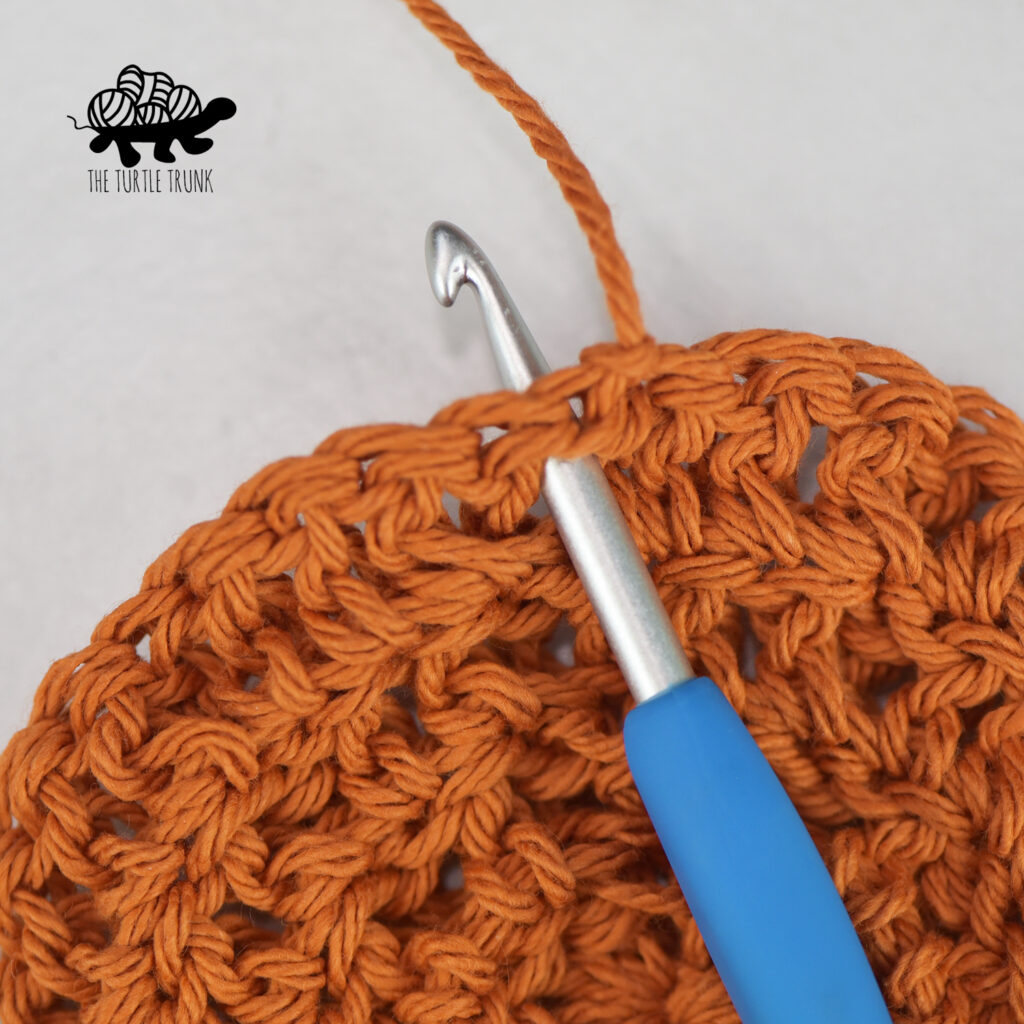
- This pattern is worked in the round. At the end of each round, join with a slip stitch to the top of the first stitch from the previous round then chain 2. Work your first stitch into the same stitch as the chain.
- Beginning chains do not count as stitches throughout the whole pattern.
- The number in parenthesis at the end of each round represents the total number of stitches to be worked in each round.
- Stitches between *asterisk’s* are to be repeated until the end of the round or until otherwise stated.
- Stitches between [brackets] are to be worked into the same stitch. Each FPDC will be worked around the FPDC from the previous round.
- Coaster can be made larger by continuing working the increase rounds. The fringe can also be made any length you desire. Note each piece of fringe will be folded in half so make it double the length you want and you will need to trim it at the end so cut your pieces longer than you want to final length to be.
Supplies
- Medium (4) Weight Cotton Yarn (24 yards per coaster)
- 5.00mm (H) crochet hook
- Yarn Needle
- Scissors
- Tape Measure
- Comb (optional for combing out fringe)
Abbreviations (US Terms)
ST(s) – Stitch(es)
SL ST – Slip Stitch
CH – Chain
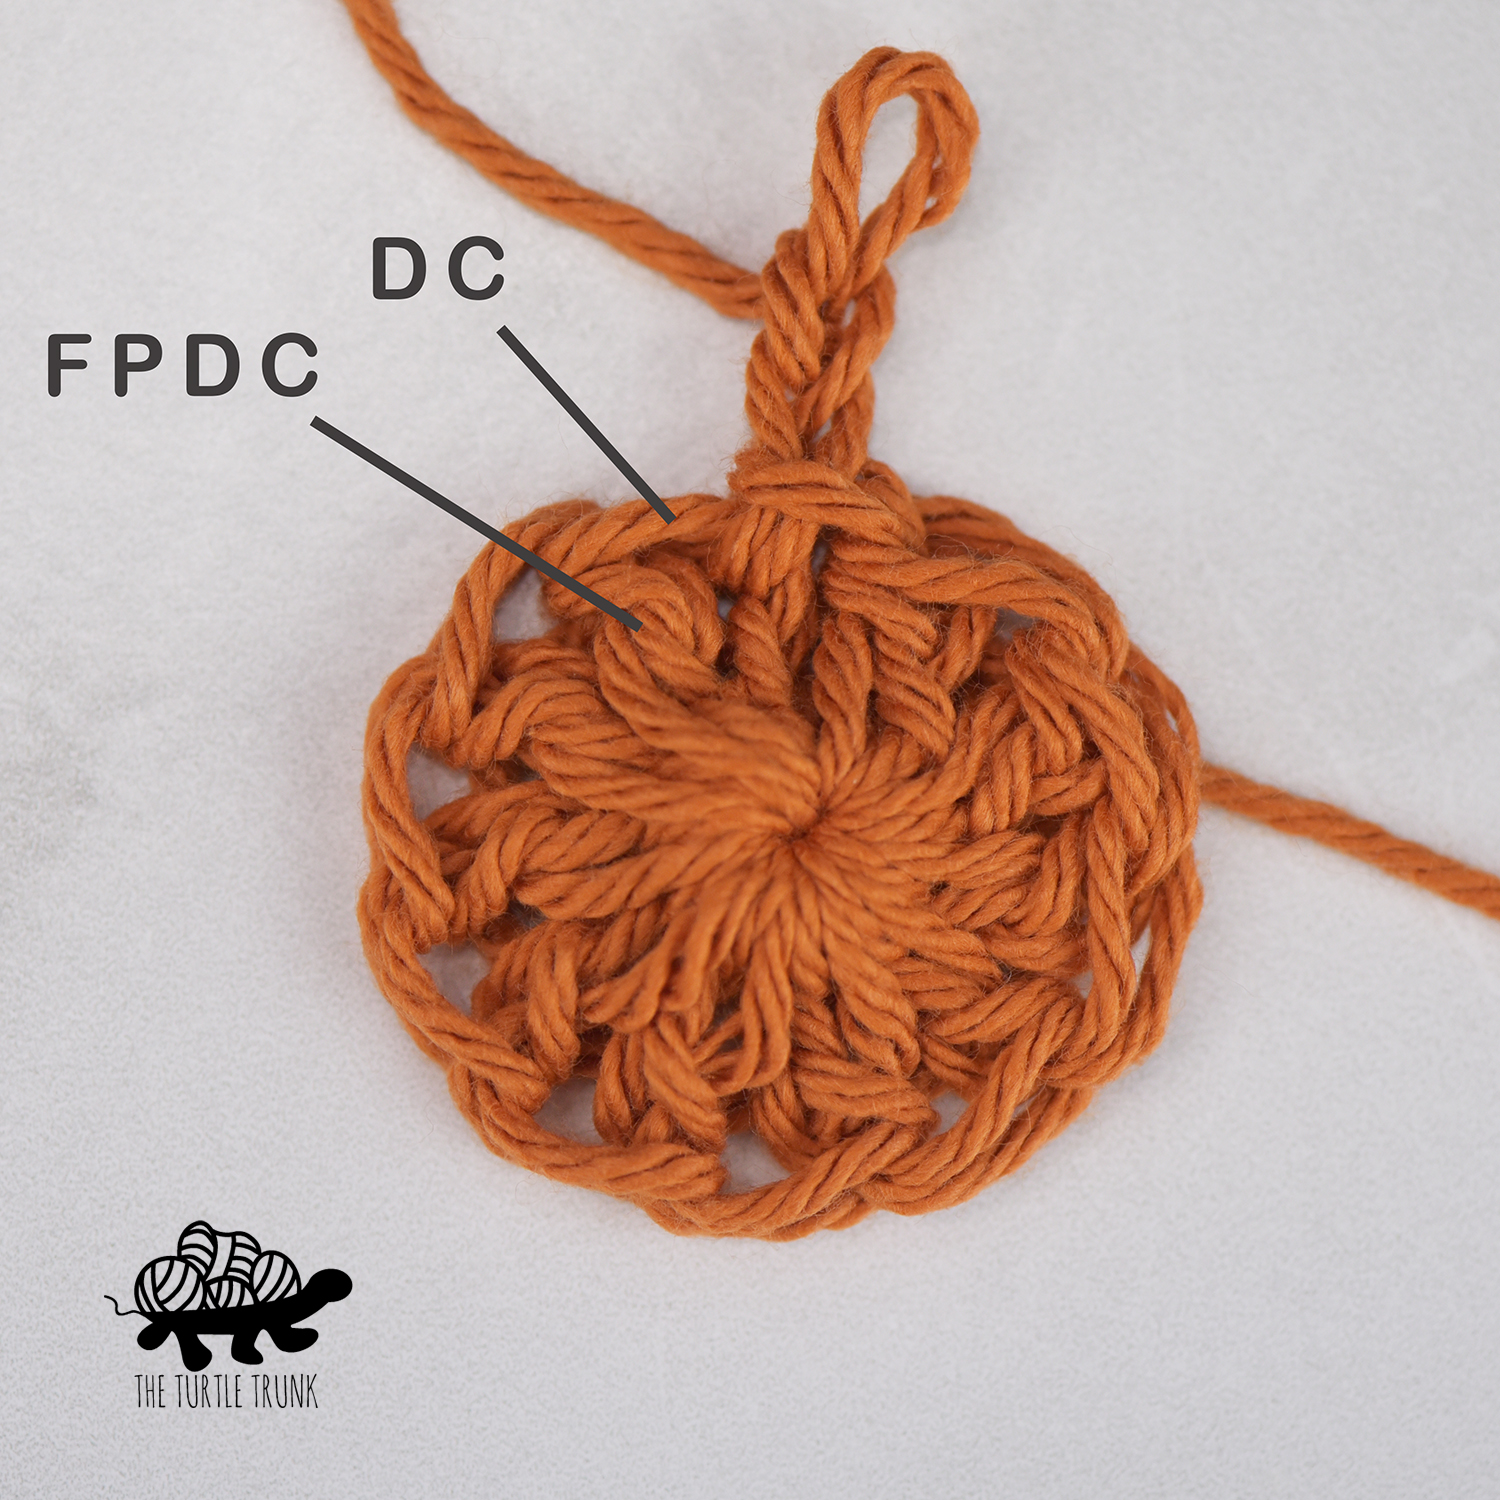
DC – Double Crochet
FPDC – Front Post Double Crochet
special stitches
Front Post Double Crochet (FPDC): Yarn over, then insert your hook from the front, around the back, and to the front again, around the post of the stitch. Yarn over, pull up a loop, yarn over, and then pull through 2 loops. Yarn over and pull through last 2 loops.

Hello Sunshine Coaster Pattern
Magic Circle & CH 2
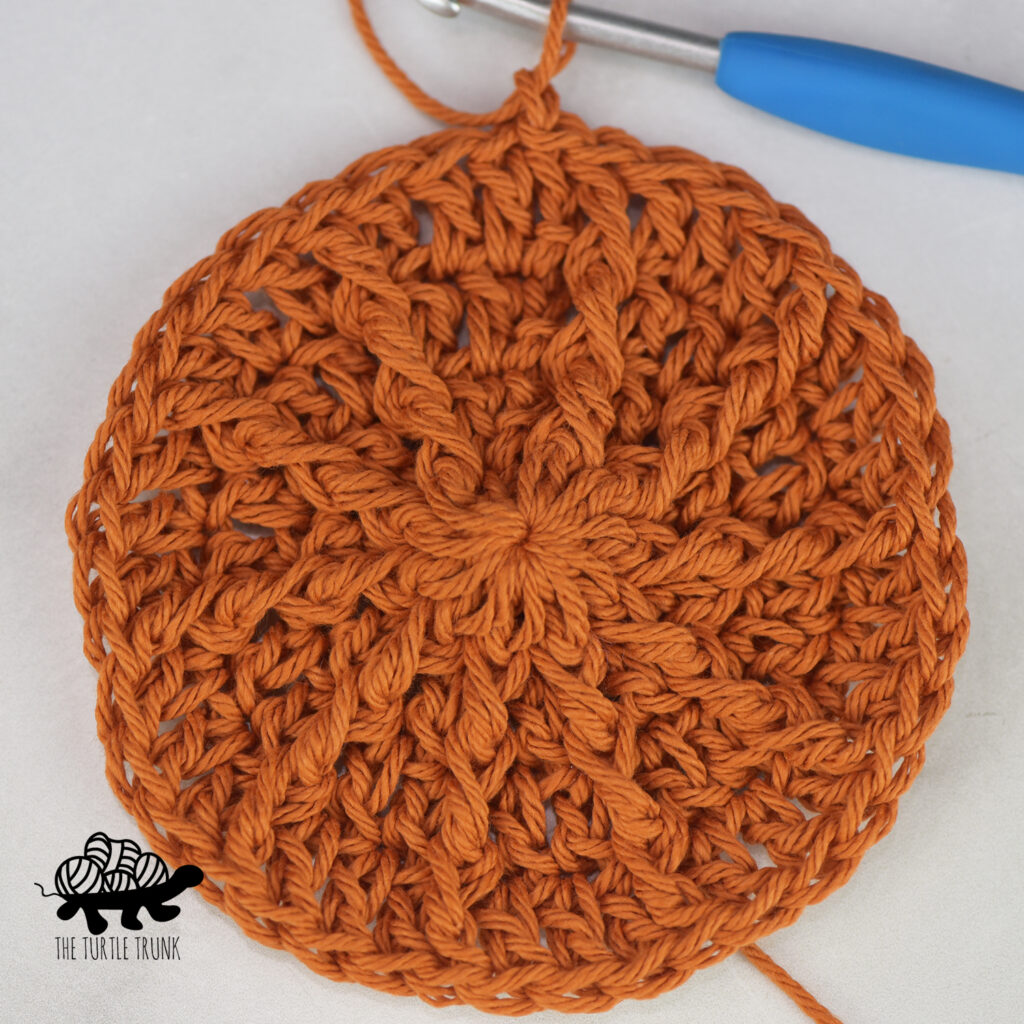
Round 1: DC x10 inside the circle. Join & CH 2. (10)
Round 2: [DC, FPDC] in each ST around. Join & CH 2. (20)
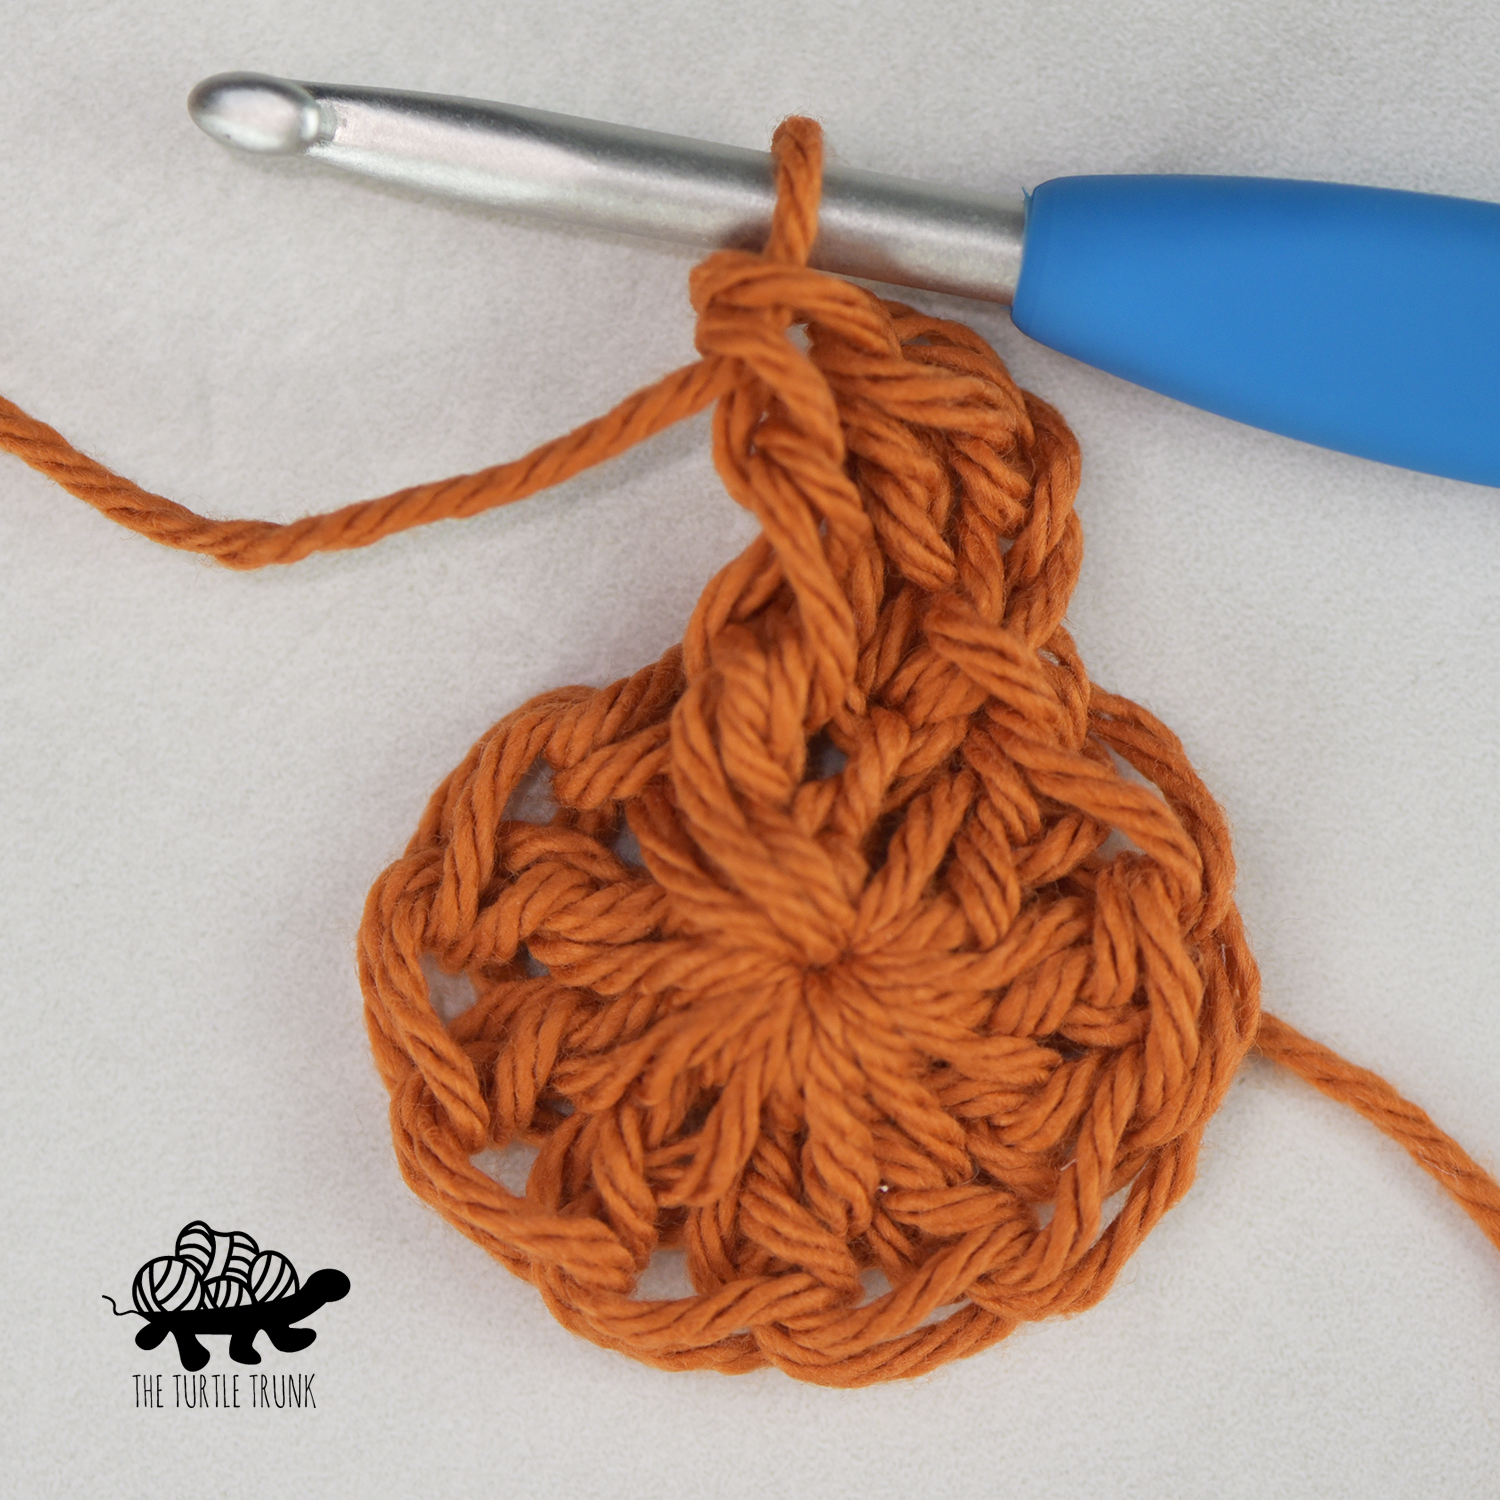

Round 3: *DC, [DC, FPDC]*. Join & CH 2. (30)
Round 4: *DC in next 2 STs, [DC, FPDC]*. Join & CH 2. (40)
Cut off yarn leaving a 1.5” long tail. Tail end can be left as a piece of fringe, but weave in the end left from the beginning.
Move on to Fringe.
Fringe Border
Note: After attaching and trimming, the fringe will about about 1” long so feel free to cut your pieces longer if you’d like.
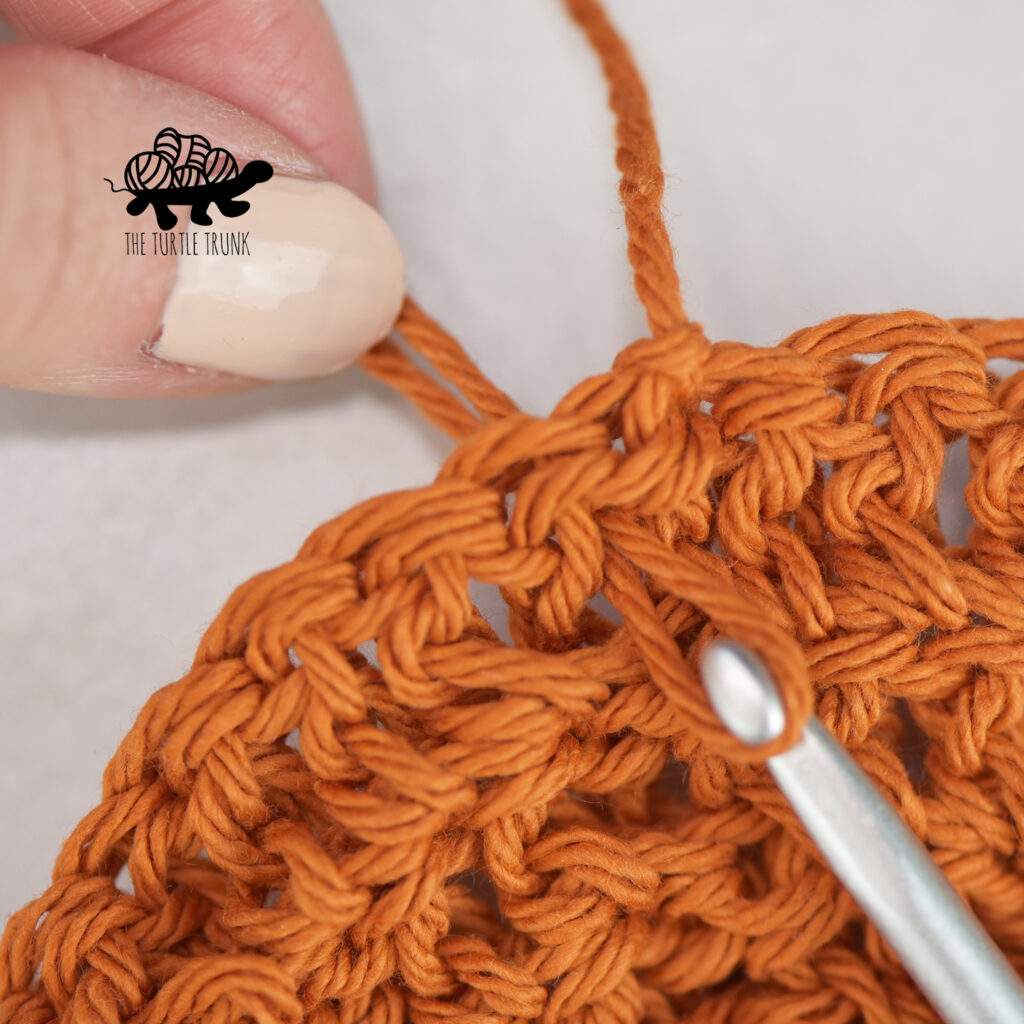
Cut 41 – 3.5” long pieces of fringe.
Flip your coaster over so the wrong side is facing you. Insert your crochet hook between the stitches. Loop 1 piece of fringe around your crochet hook, pull halfway through, then remove your crochet hook. Take your fingers and pull the 2 ends of the fringe through the loop and pull tight to secure.
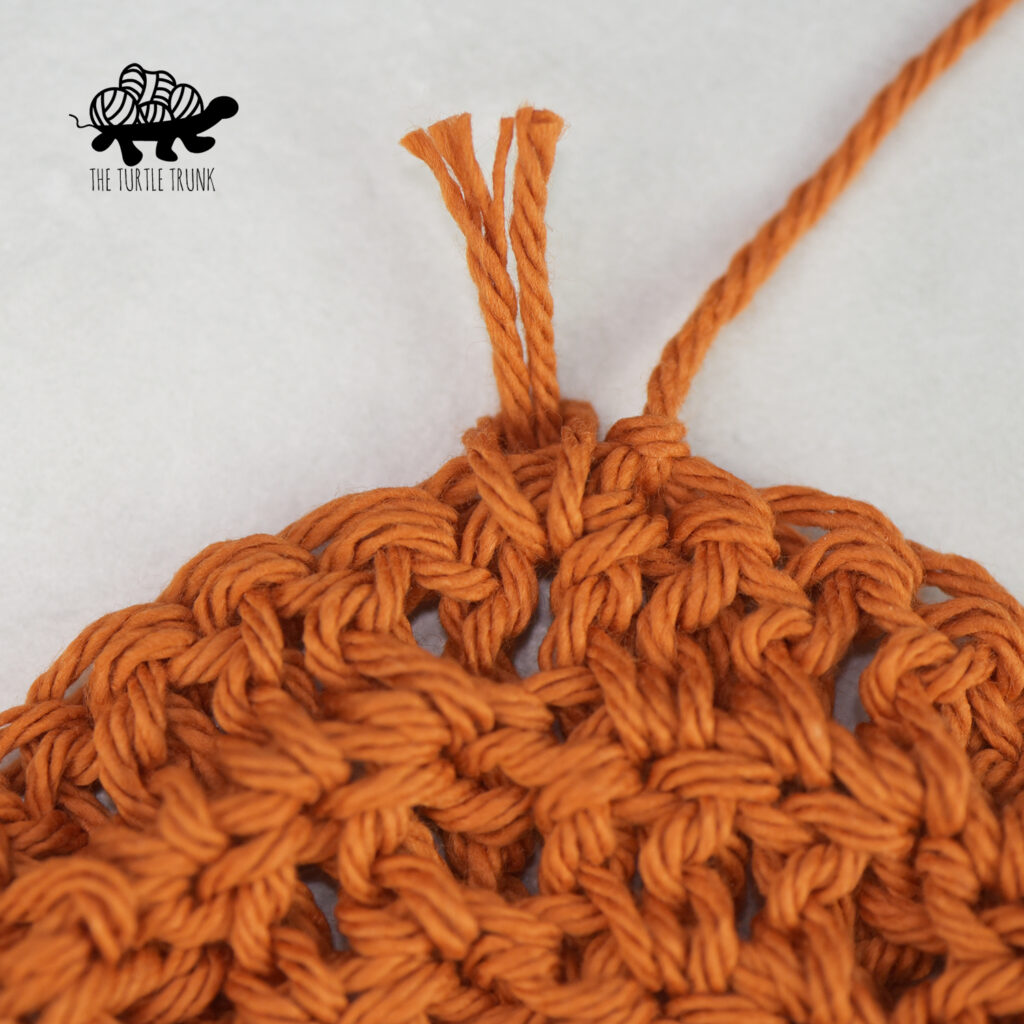
Repeat around the coaster, working 1 piece of fringe between each stitch.
Using a comb or fingers, gently brush through the fringe to separate. Trim ends to even out the fringe and make a perfect circle.
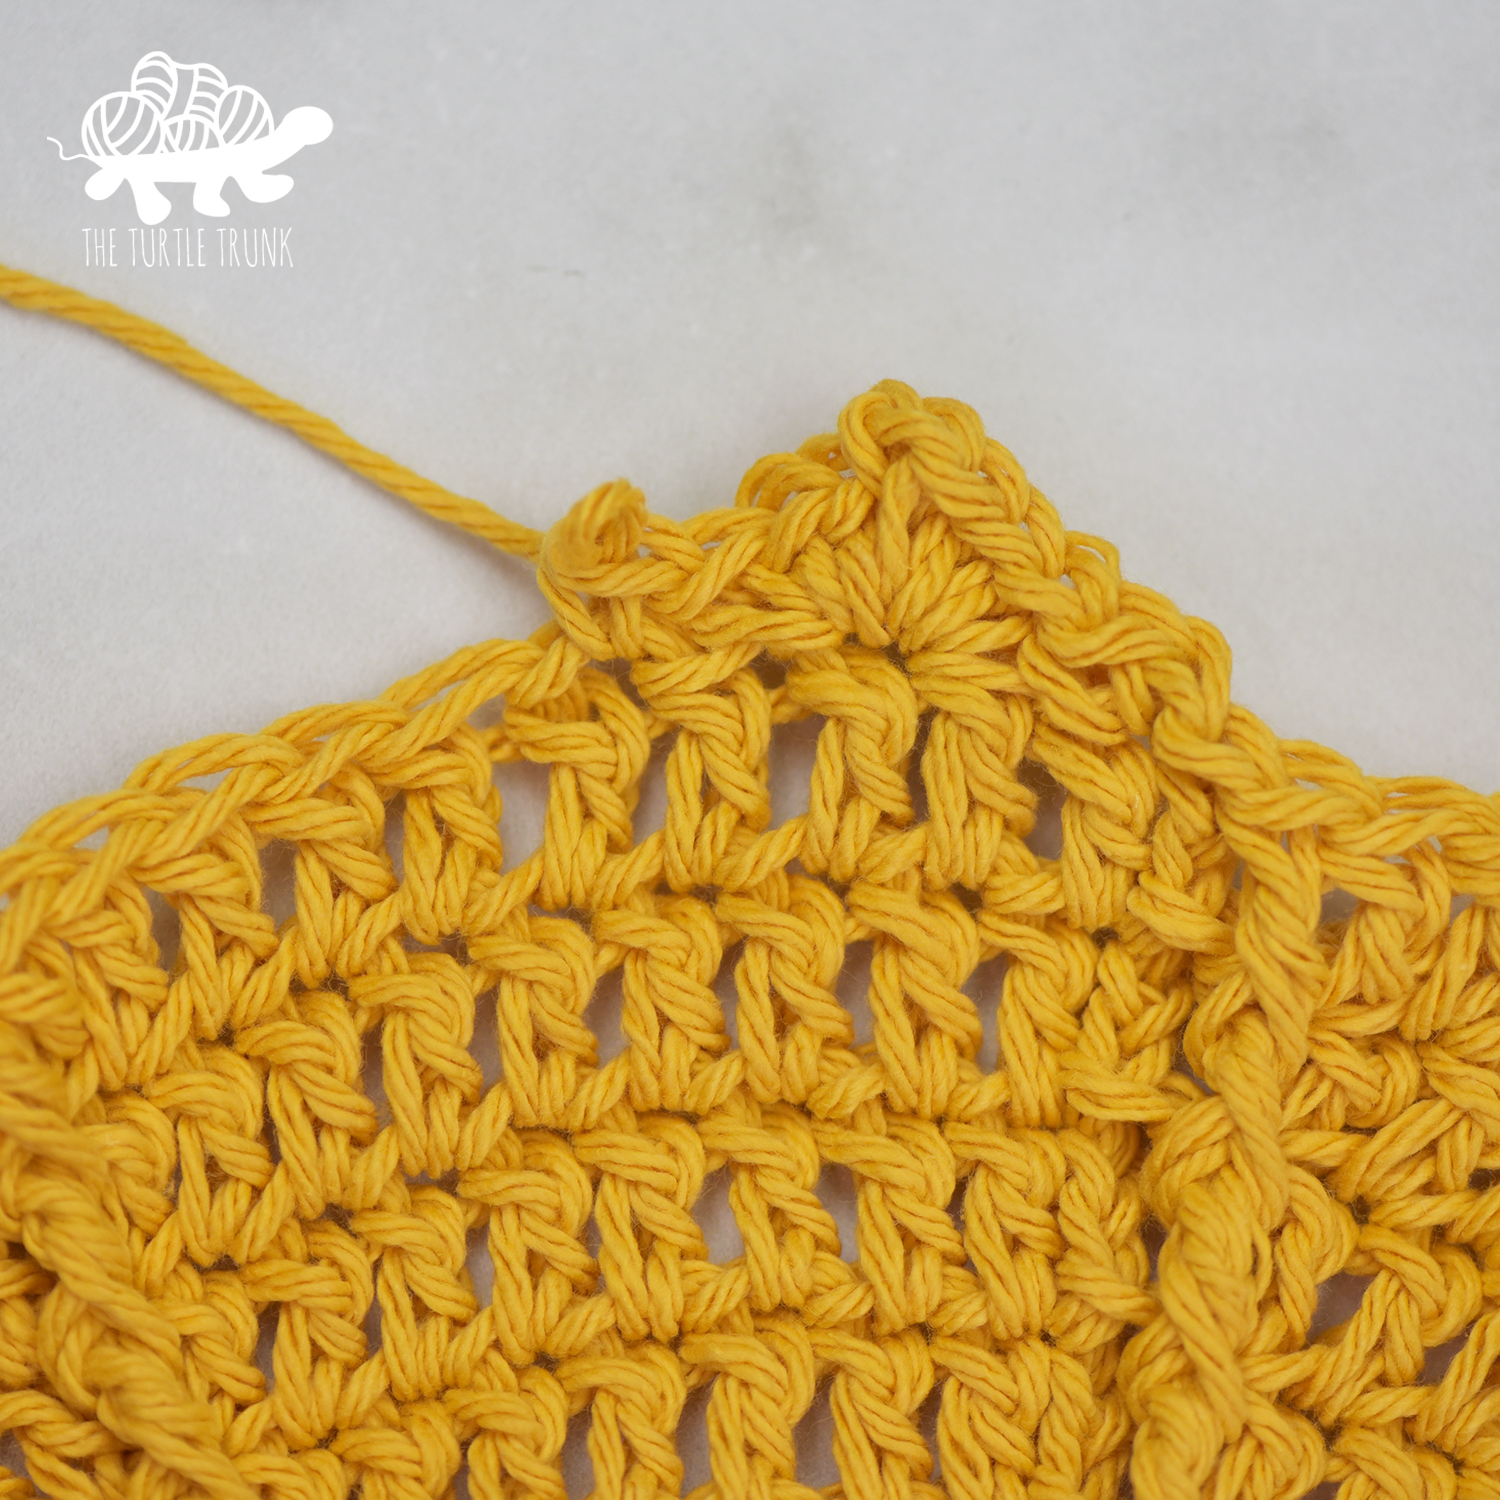
POINTED BORDER
*SC in the 1st ST, SK the next ST, [3 SC, CH 2, 3 SC] all into the next ST, SK the next ST, SC in the next ST*. Repeat ** all the way around. Join to the top of the first SC and tie off yarn. Weave in ends.
And you’re all done! I hope you enjoyed the Hello Sunshine Coaster crochet pattern! I can’t wait to see your finished creations, so be sure to tag @theturtletrunk on Instagram!
Make a matching dining set with the Hello Sunshine Placemat crochet pattern!
Check out these other Home and Kitchen crochet patterns: Farmhouse Dish Set, Dotty Dishcloth, and Dotty Dishtowel & Hanging Towel.
You are free to sell the items you make with this crochet pattern, and I’d love if you could please link back to this page. You do not have permission to republish or distribute this pattern in any way or claim it as your own. Do not use my photos in your sale listings or for any other purposes. Thank you.
This page includes affiliate links. If you make a purchase from these links, I may make a small commission at no cost to you! Thank you for your support!
