
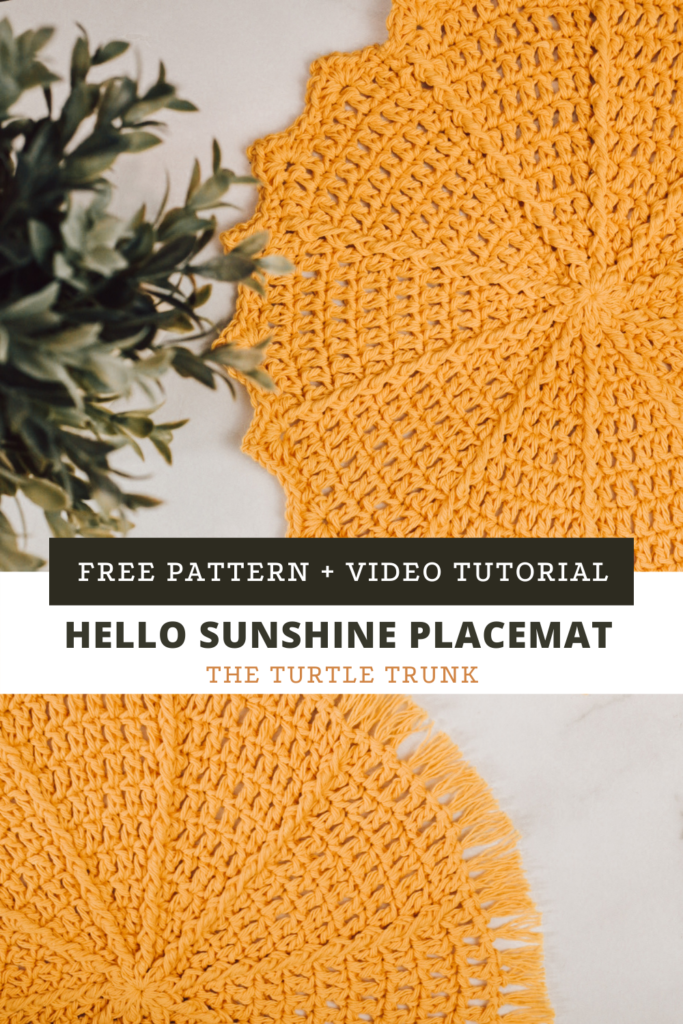
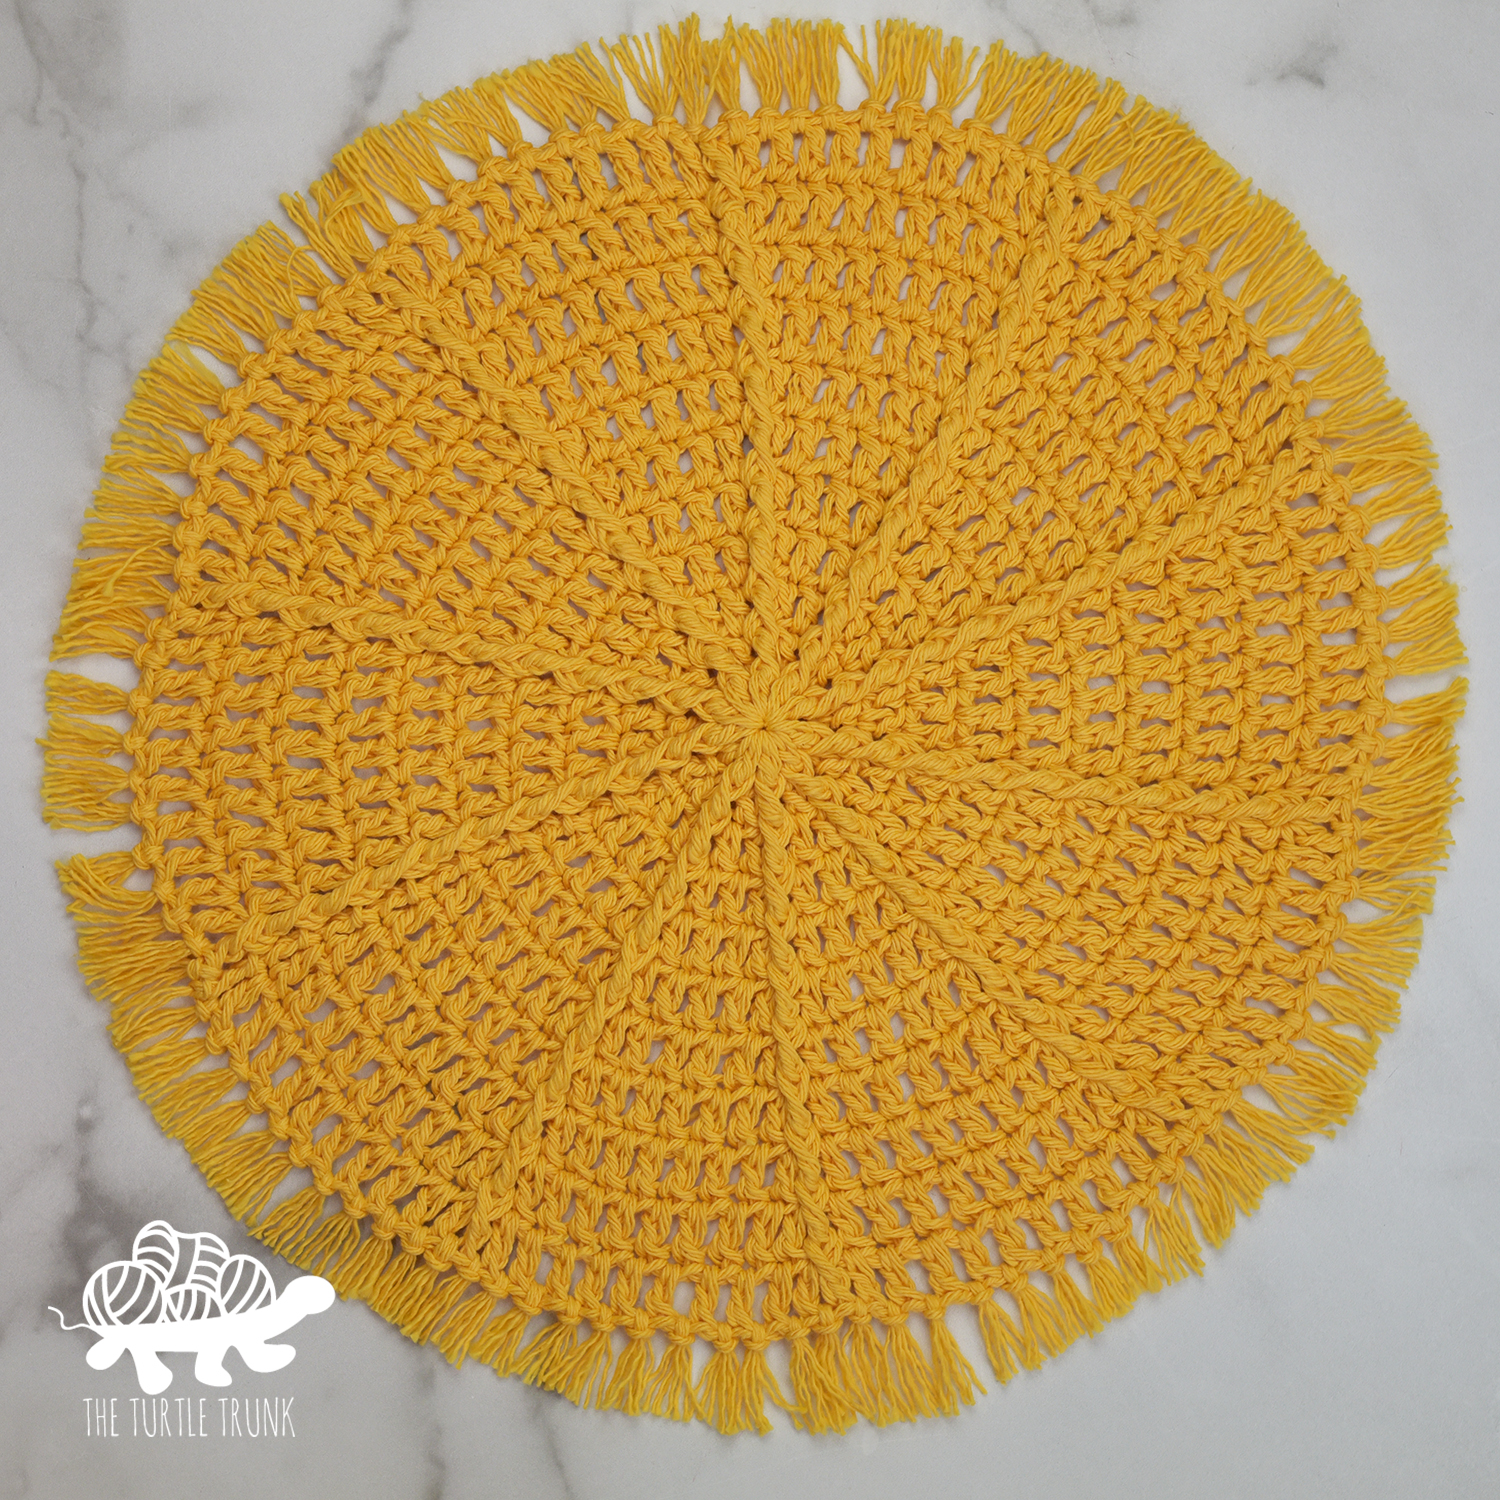
Hello Sunshine Placemat Crochet Pattern
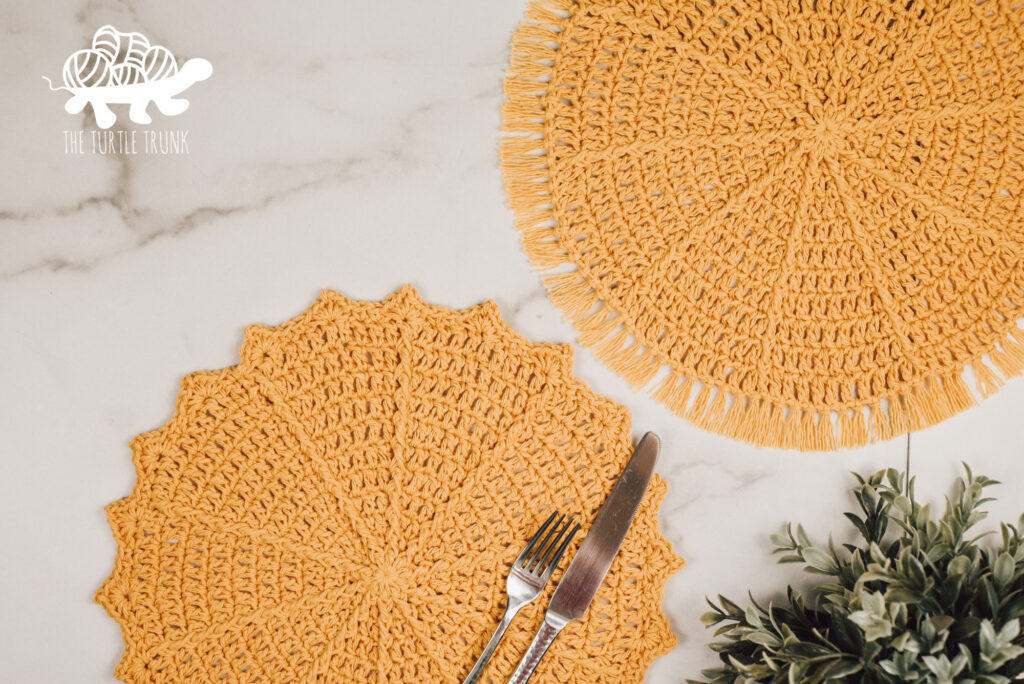
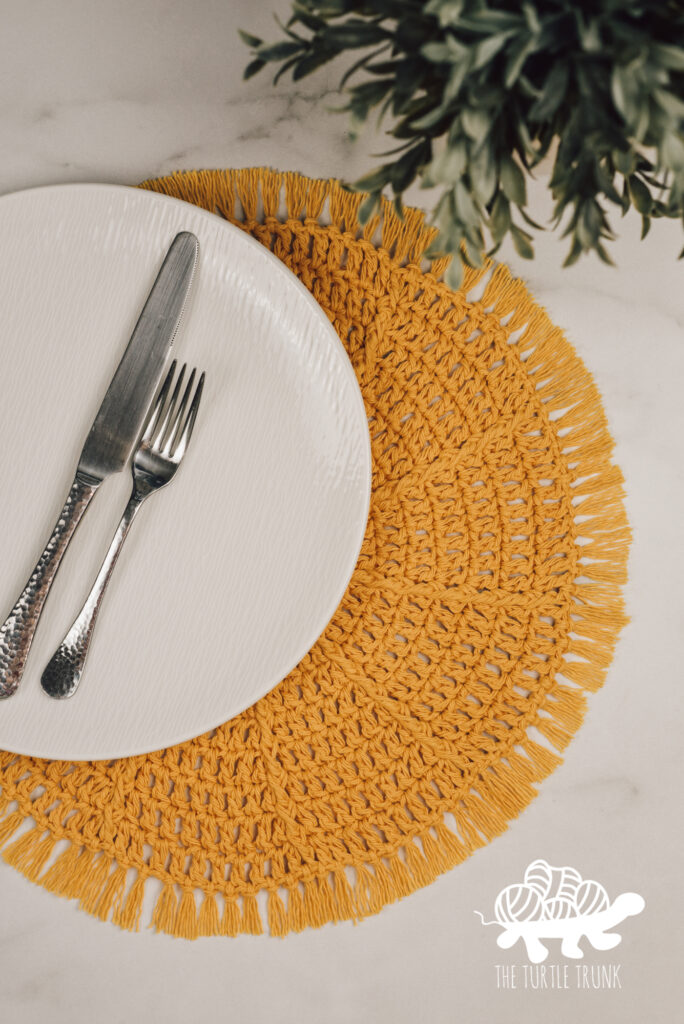
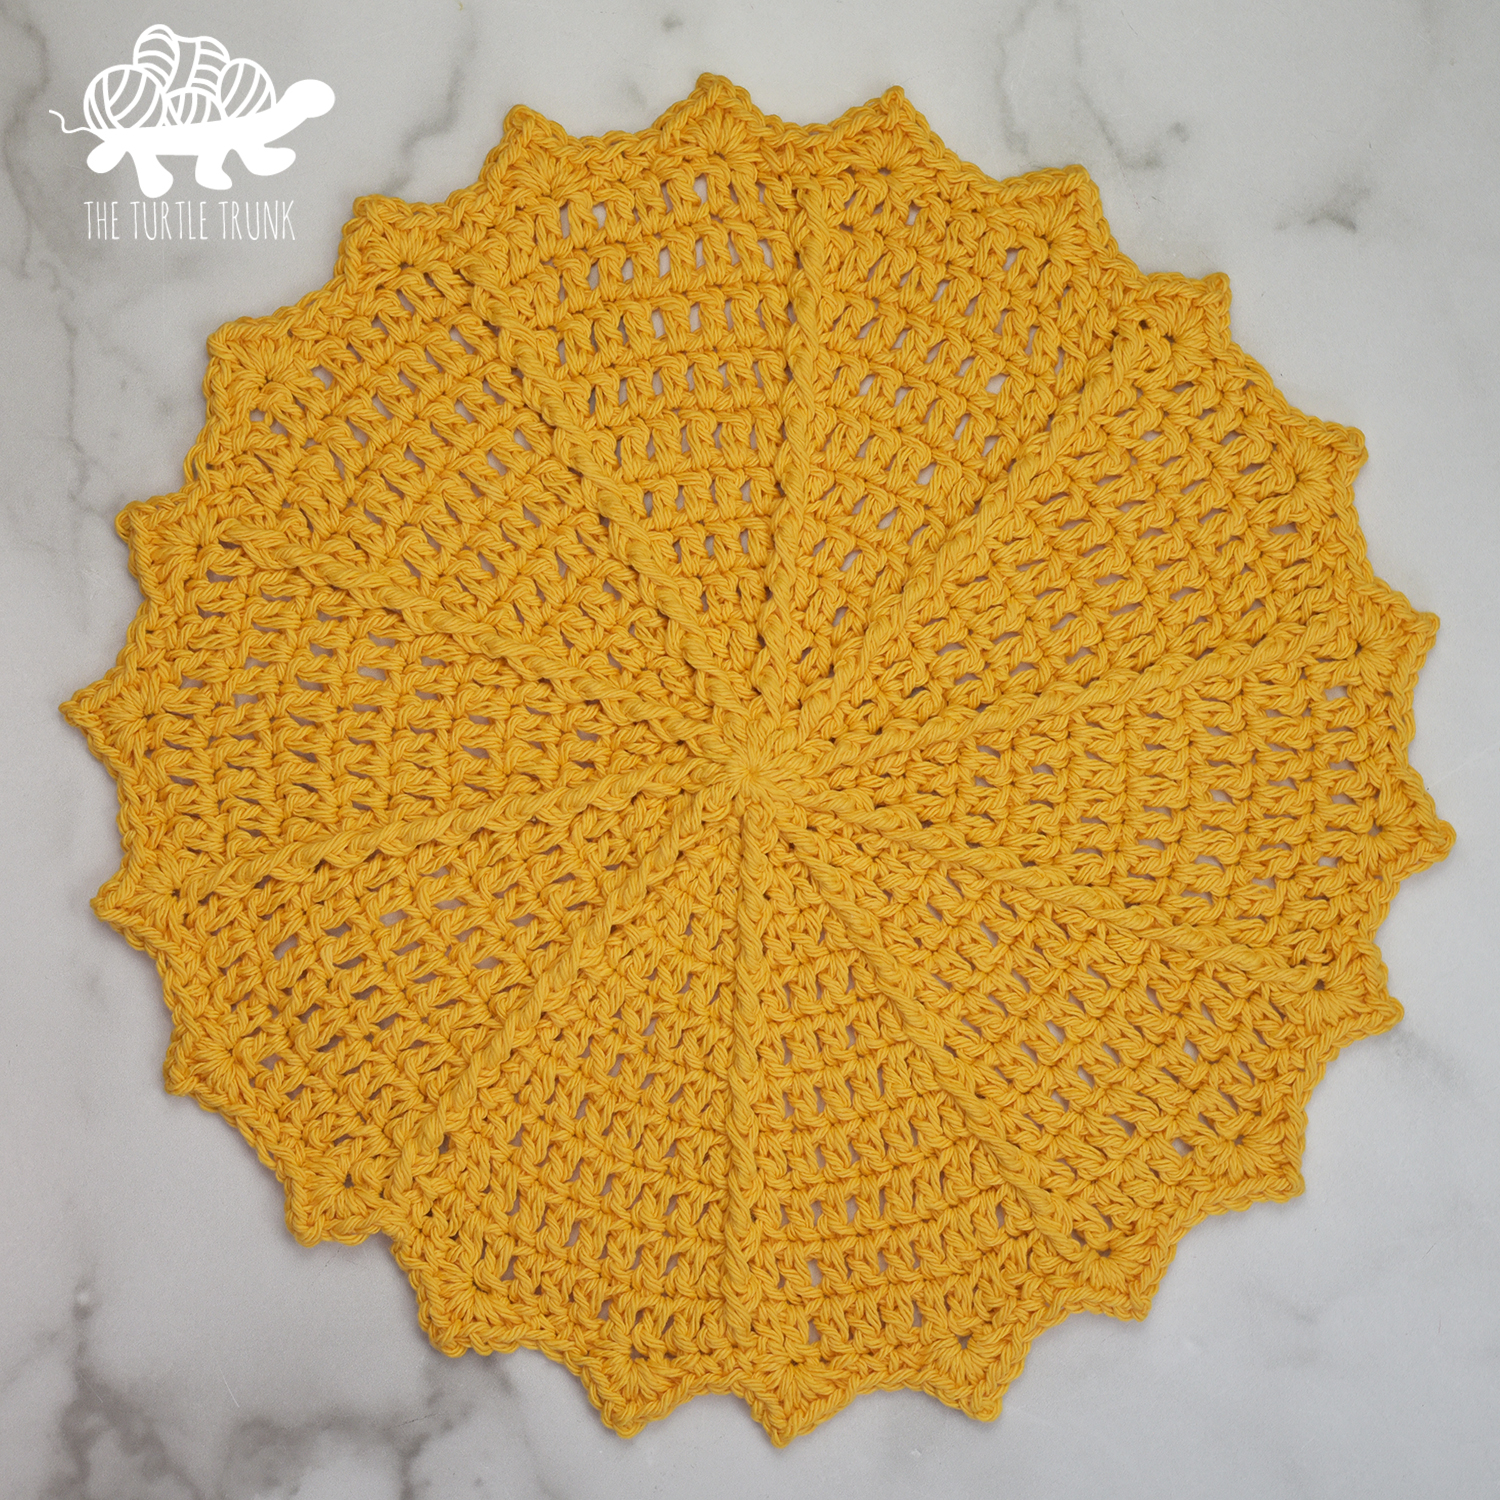
The Hello Sunshine Placemat crochet pattern works up super quick and it’s also easy to create! This crochet placemat mimics the sun with 2 border options and textured stitches that look like the suns rays! The Hello Sunshine Placemat is perfect for Spring & Summer, as well as giving as gifts or making for your own home or patio!
Hello Sunshine, again! Last week I shared the Hello Sunshine Coaster and I am so happy so many of you enjoyed it! I loved making it so much that I wanted to make a matching placemat, so here it is, the Hello Sunshine Placemat!
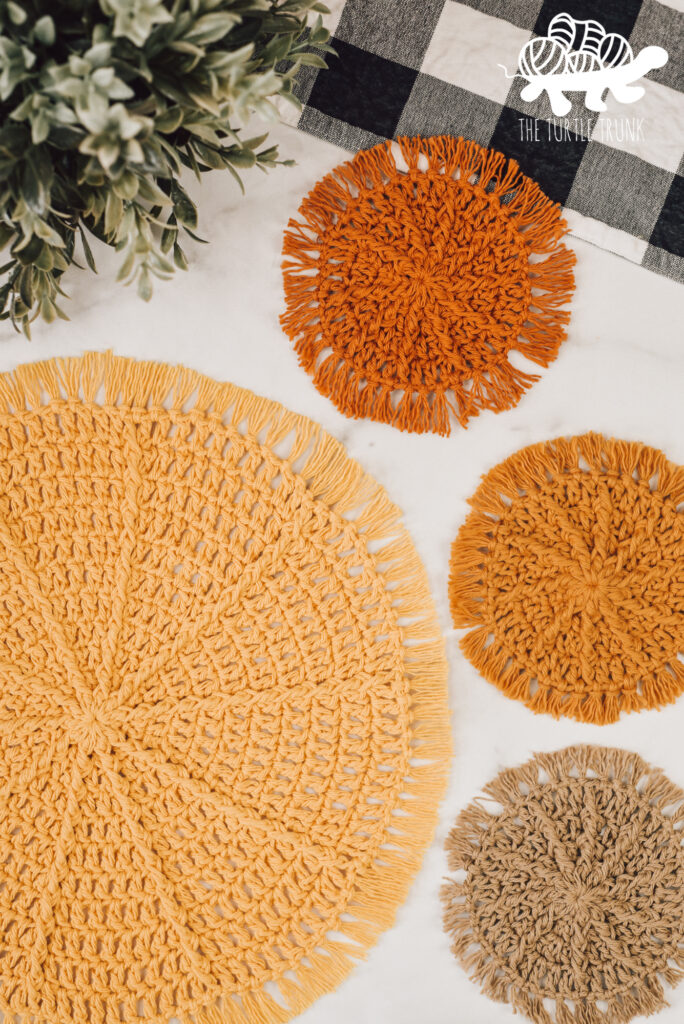
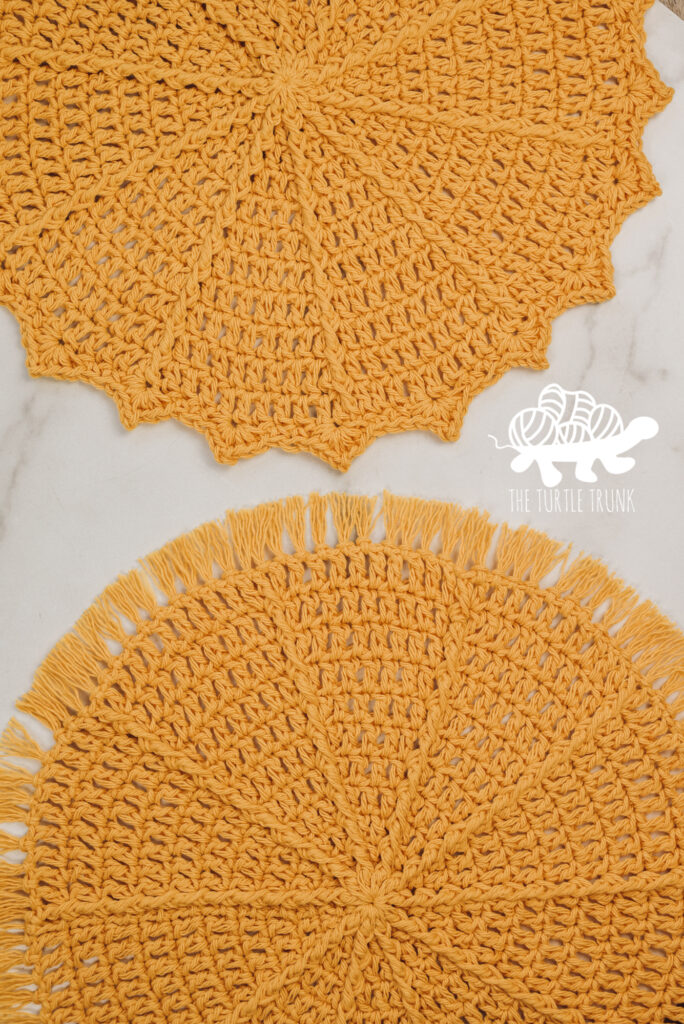
The Hello Sunshine Placemat is essentially a larger version of the Hello Sunshine Coaster, but I added in a fun modification to this pattern! You can either make your Hello Sunshine Placemat with a fringe border or a pointed border! The pointed border can also be used on the Hello Sunshine Coaster too so you can make a matching set no matter which border option you choose.
Continue reading below to hear my inspiration for this pattern and to learn more about the yarn I used, then scroll down for the written pattern!
FOLLOW ALONG WITH THE AD FREE & PRINTABLE PDF PATTERN FROM ETSY AND RAVELRY!
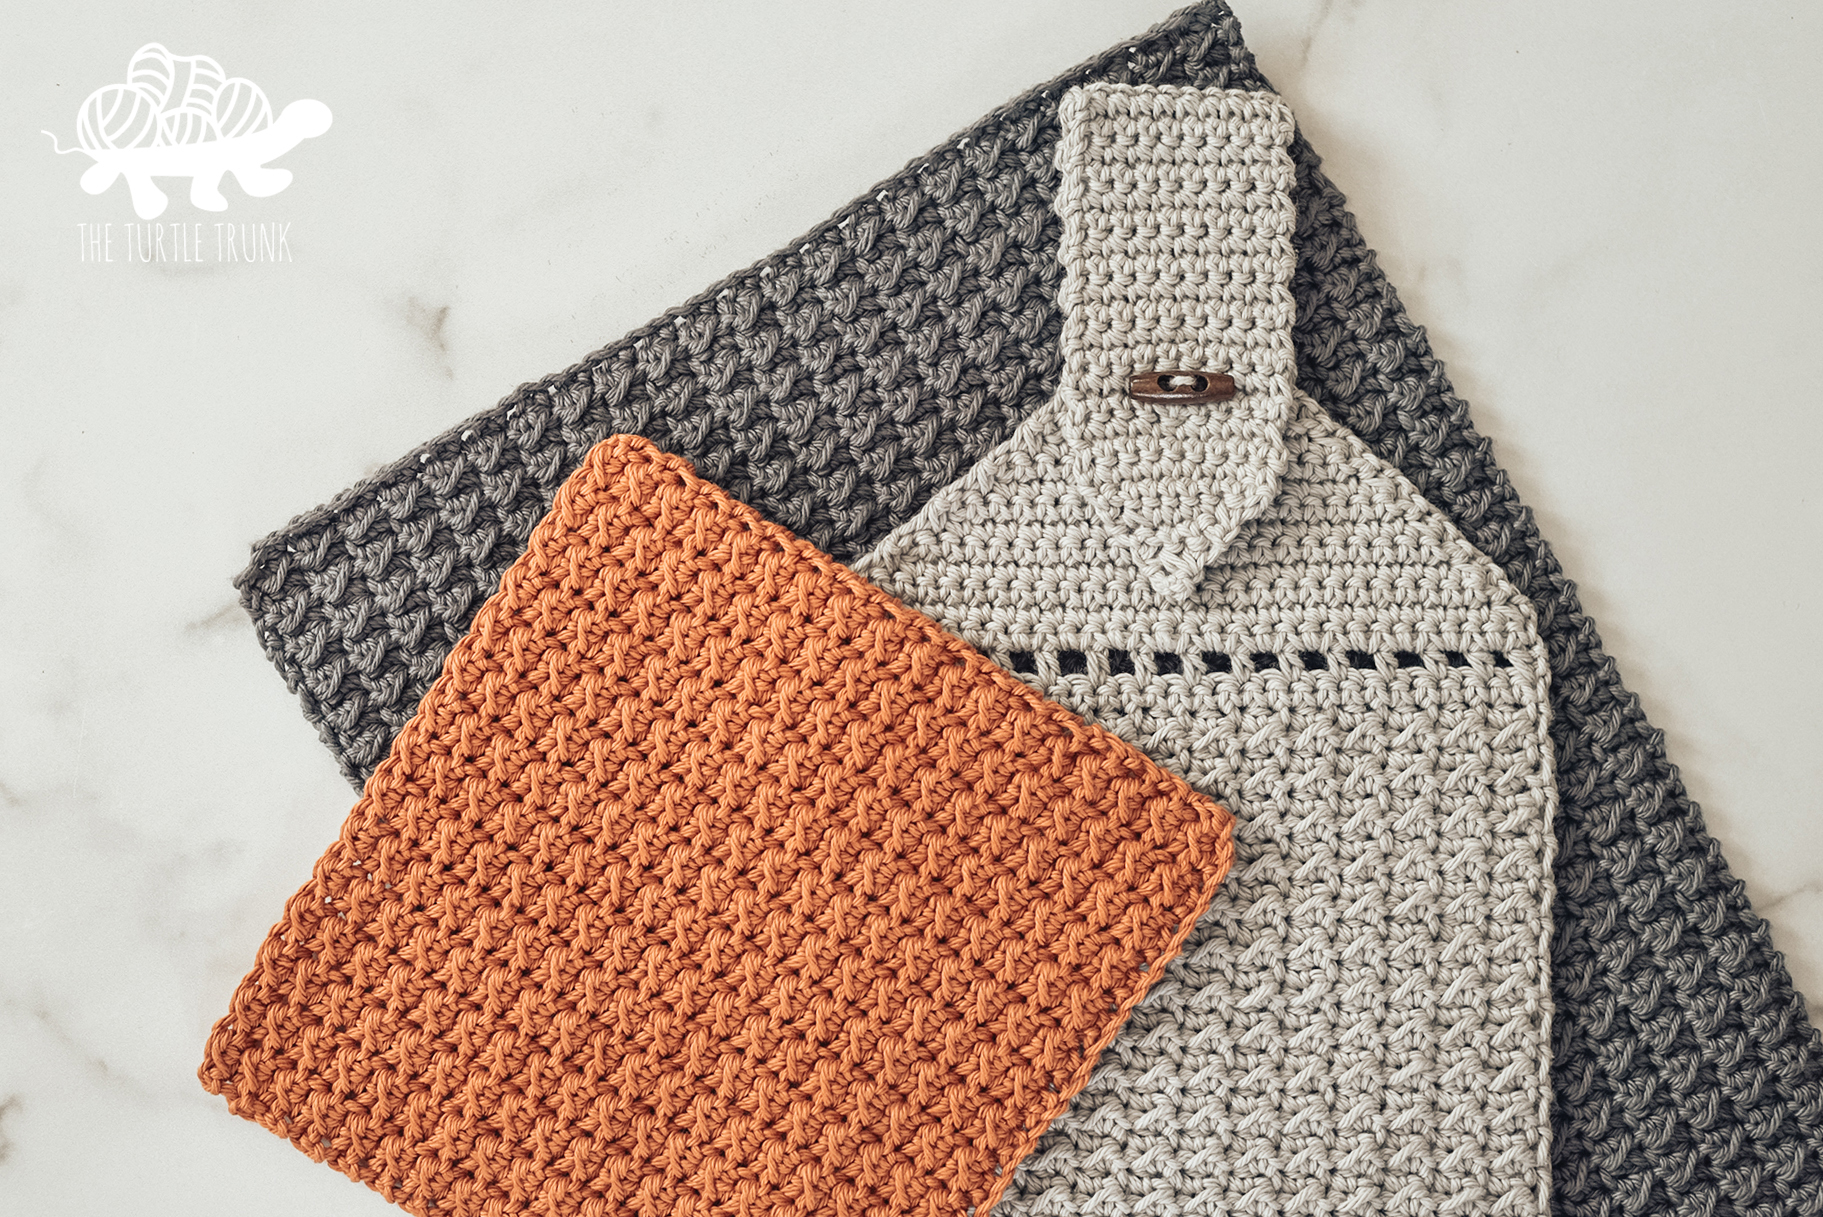
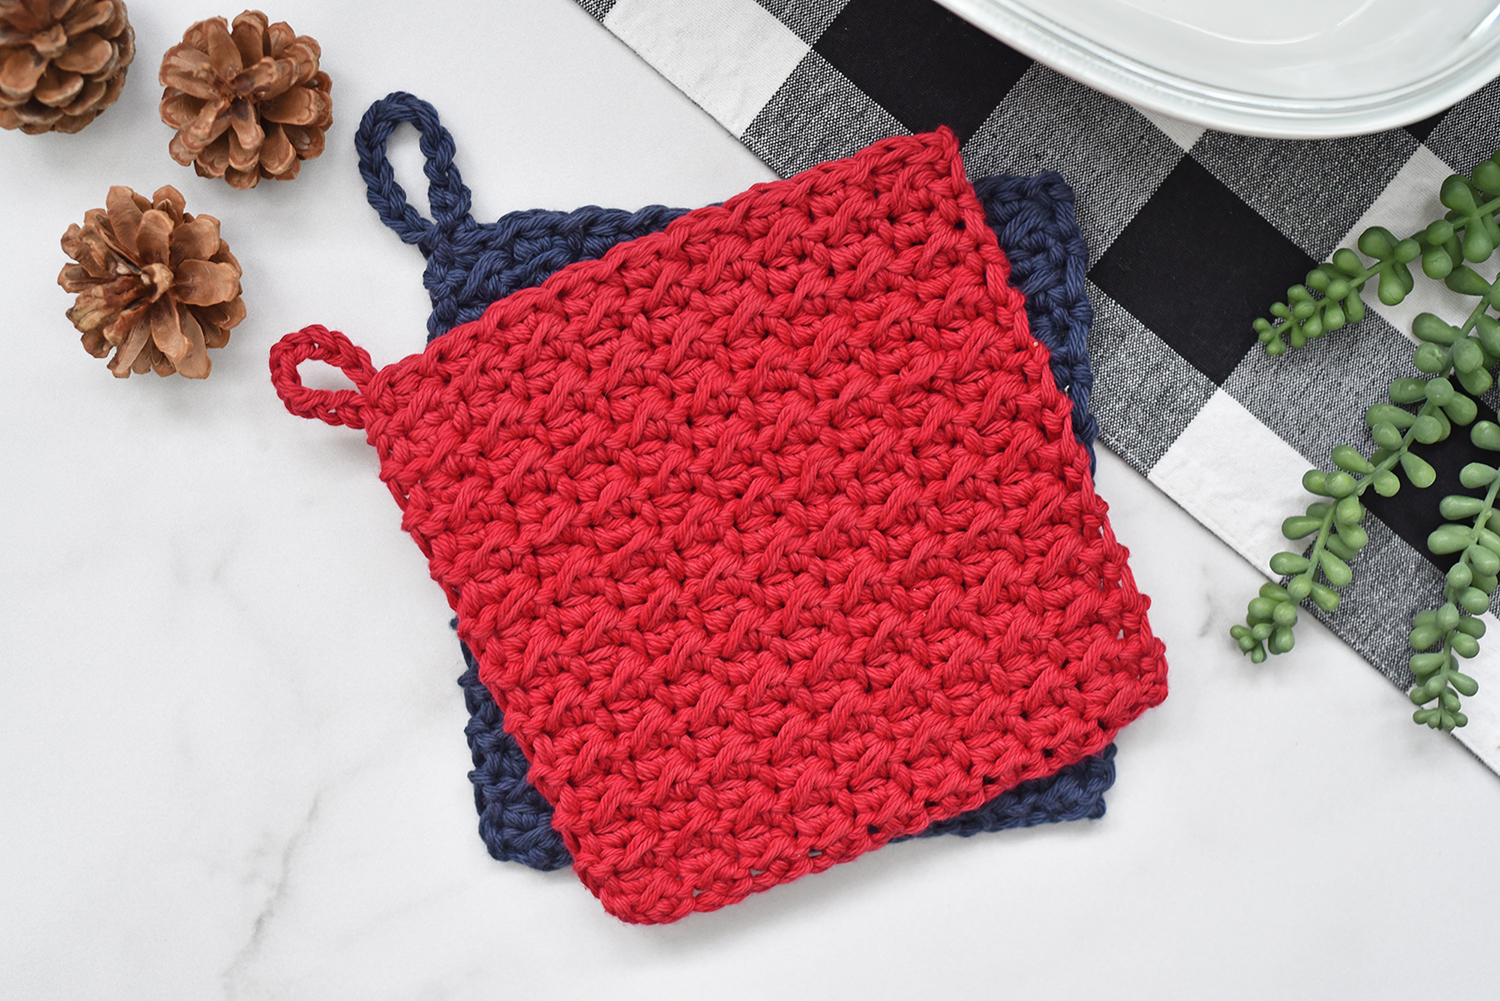
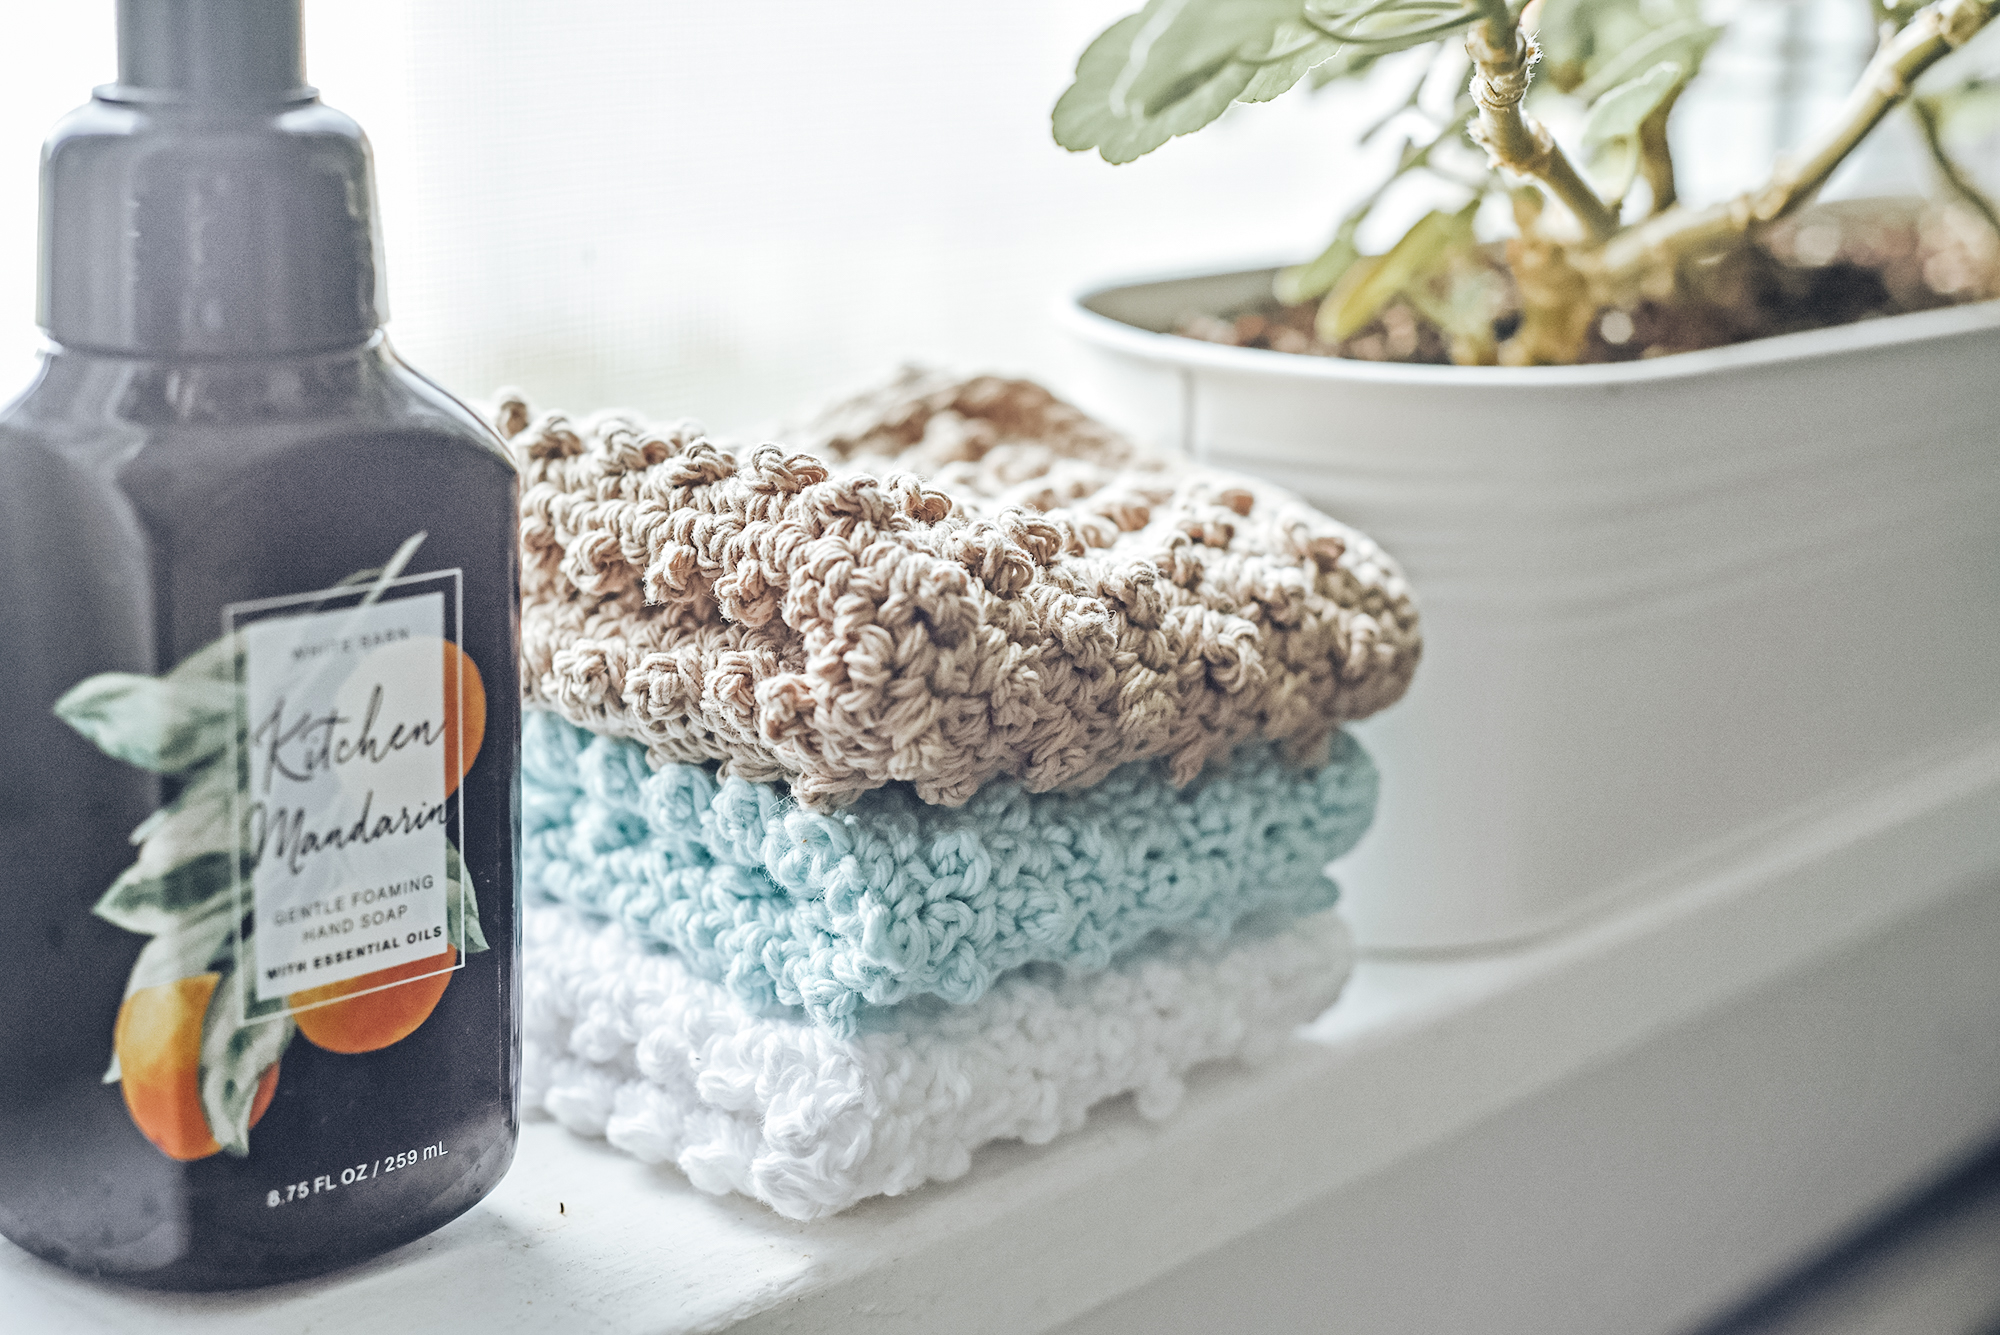
Check out these other crochet patterns for the home: Farmhouse Dish Set, Farmhouse Pot Holder, Dotty Dishcloth, and Dotty Dishtowel & Hanging Towel.
Inspiration
Last week I released the Hello Sunshine Coaster pattern and I loved it so much I wanted to design a matching placemat! Now you can make a whole dining set which is bound to brighten up any home! These crochet placemats are perfect for Spring and Summer, either sell at markets, make for your own home or patio, or give as gifts!
Yarn Suggestions
In last weeks Hello Sunshine Coaster blog post, I shared some yarn yay’s and nay’s. With a fringe border, I found some yarns worked much better than others. If you are going to be working the fringe border around your Hello Sunshine Placemat I suggest going HERE and reading up on why the yarn you use matters for the fringe.
If you are planning on making a placemat with either no border or the pointed border, you can really use whatever cotton yarn you’d like! I tried this pattern with a handful of different cotton yarns and they all worked well so below are some recommendations if you’re not sure what to use.
Firstly, cotton yarn is my top choice for these placemats. Cotton yarn is durable, will absorb at water/liquid that gets spilled on it, and it’s also machine washable and can be put in the dryer! You can use acrylic though if you’d like!
For the yellow placemats pictured throughout this post I used Peaches & Creme cotton yarn in the color gold. This yarn is identical to Lily Sugar n’ Cream so either would work great! When making the Hello Sunshine Coaster I also tried Crafter’s Secret Cotton and enjoyed it as well. When it came to deciding which I yarn I wanted to use for these placemats, I went with Peaches & Creme because it was the only one I could find this nice gold color. The rest only had bright or pastel yellow which wasn’t the look I was going for. But you can make your placemats in any color which all of these cotton yarns have a huge variety of color ways to choose from!
Border Options + Sizes
The original Hello Sunshine Coaster pattern includes one border option, fringe, which looks amazing and since it’s a small project, it didn’t take too long to create. But after making a placemat with over 100 pieces of fringe, I realized that a lot of people probably won’t want to cut and attach 100 pieces of fringe, and I don’t blame them! So I came up with a fun alternative!
The instructions below include 2 border options: fringe and pointed! The pointed border is a quicker alternative that allows you to continue crochet around your placemat without cutting off your yarn and having to attach any extra pieces. The best part is, this pointed border can also be worked around the Hello Sunshine Coaster too! In order for the border to be worked evenly around you just need a multiple of 5 stitches, which the coaster and placemat have. Even if you decided to work more increase rounds or didn’t work as many increase rounds as the pattern, you should still have a multiple 5 of stitches!
Each border option will give each placemat a slightly different size. Without a border the placemat will be approximately 12.5″ in diameters, with a fringe border the placemat will be about 15″ in diameter, and with the pointed border it will be about 14″ in diameter. These sizes are based off if your gauge is inline with mine, which for this pattern gauge isn’t very important so your sizing could vary.
If you want to make your placemat smaller or larger, simply continue the increase rounds as many times until your desired size is reached! If making the fringe border, you can also cut your fringe to any length!
Not ready to make just yet? Save this pattern to pinterest!
Follow along with the video tutorial on YouTube!
DIFFICULTY
Easy
FINISHED SIZE
Approximately 14-15″ in diameter
GAUGE
Gauge is not important for this pattern.
4 STs x 2 Rows in DC = 1” x 1”
Adjust hook size up or down to meet gauge.
NOTES
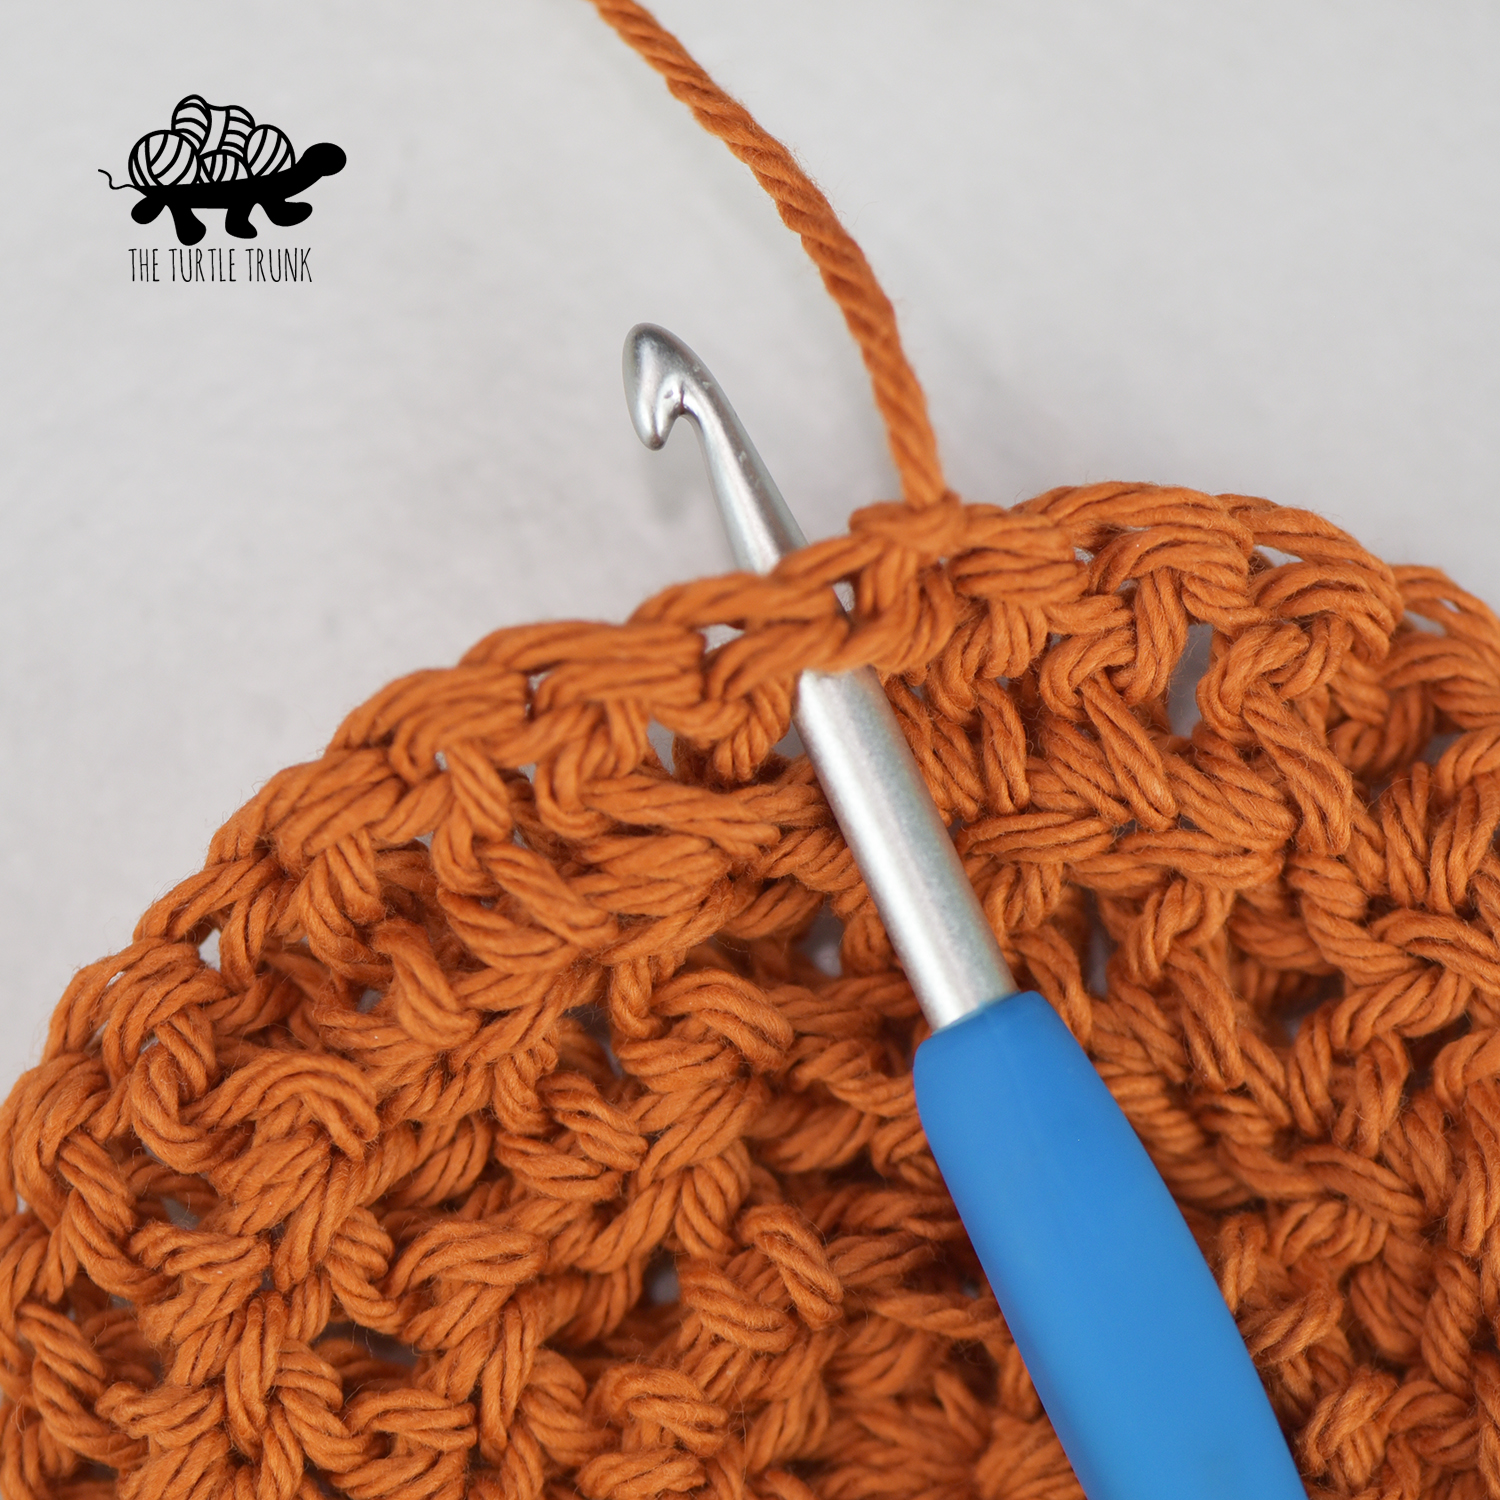
- This pattern is worked in the round. At the end of each round, join with a slip stitch to the top of the first stitch from the previous round then chain 2. Work your first stitch into the same stitch as the chain.
- Beginning chains do not count as stitches throughout the whole pattern.
- The number in parenthesis at the end of each round represents the total number of stitches to be worked in each round.
- Stitches between *asterisk’s* are to be repeated until the end of the round or until otherwise stated.
- Stitches between [brackets] are to be worked into the same stitch. Each FPDC will be worked around the FPDC from the previous round.
- Placemat can be made larger by continuing working the increase rounds.
- Placemat can be made without a border, with a fringe border, or a pointed border. Without a border the placemat will be about 12.5” in diameter, with a fringe border it will be about 15” in diameter, and with a pointed border it will be about 14” in diameter.
- The fringe can also be made any length you desire. Note each piece of fringe will be folded in half so make it double the length you want and you will need to trim it at the end so cut your pieces longer than you want to final length to be.
SUPPLIES
- Medium (4) Weight Cotton Yarn (115 yards per placemat)
- 5.00mm (H) crochet hook
- Yarn Needle
- Scissors
- Tape Measure
- Comb (optional for combing out fringe)
ABBREVIATIONS (US TERMS)
ST(s) – Stitch(es)
SL ST – Slip Stitch
CH – Chain
DC – Double Crochet
FPDC – Front Post Double Crochet
SK – Skip
SC – Single Crochet
SPECIAL STITCHES
Front Post Double Crochet (FPDC): Yarn over, then insert your hook from the front, around the back, and to the front again, around the post of the stitch. Yarn over, pull up a loop, yarn over, and then pull through 2 loops. Yarn over and pull through last 2 loops.
Hello Sunshine Placemat Pattern
Magic Circle & CH 2
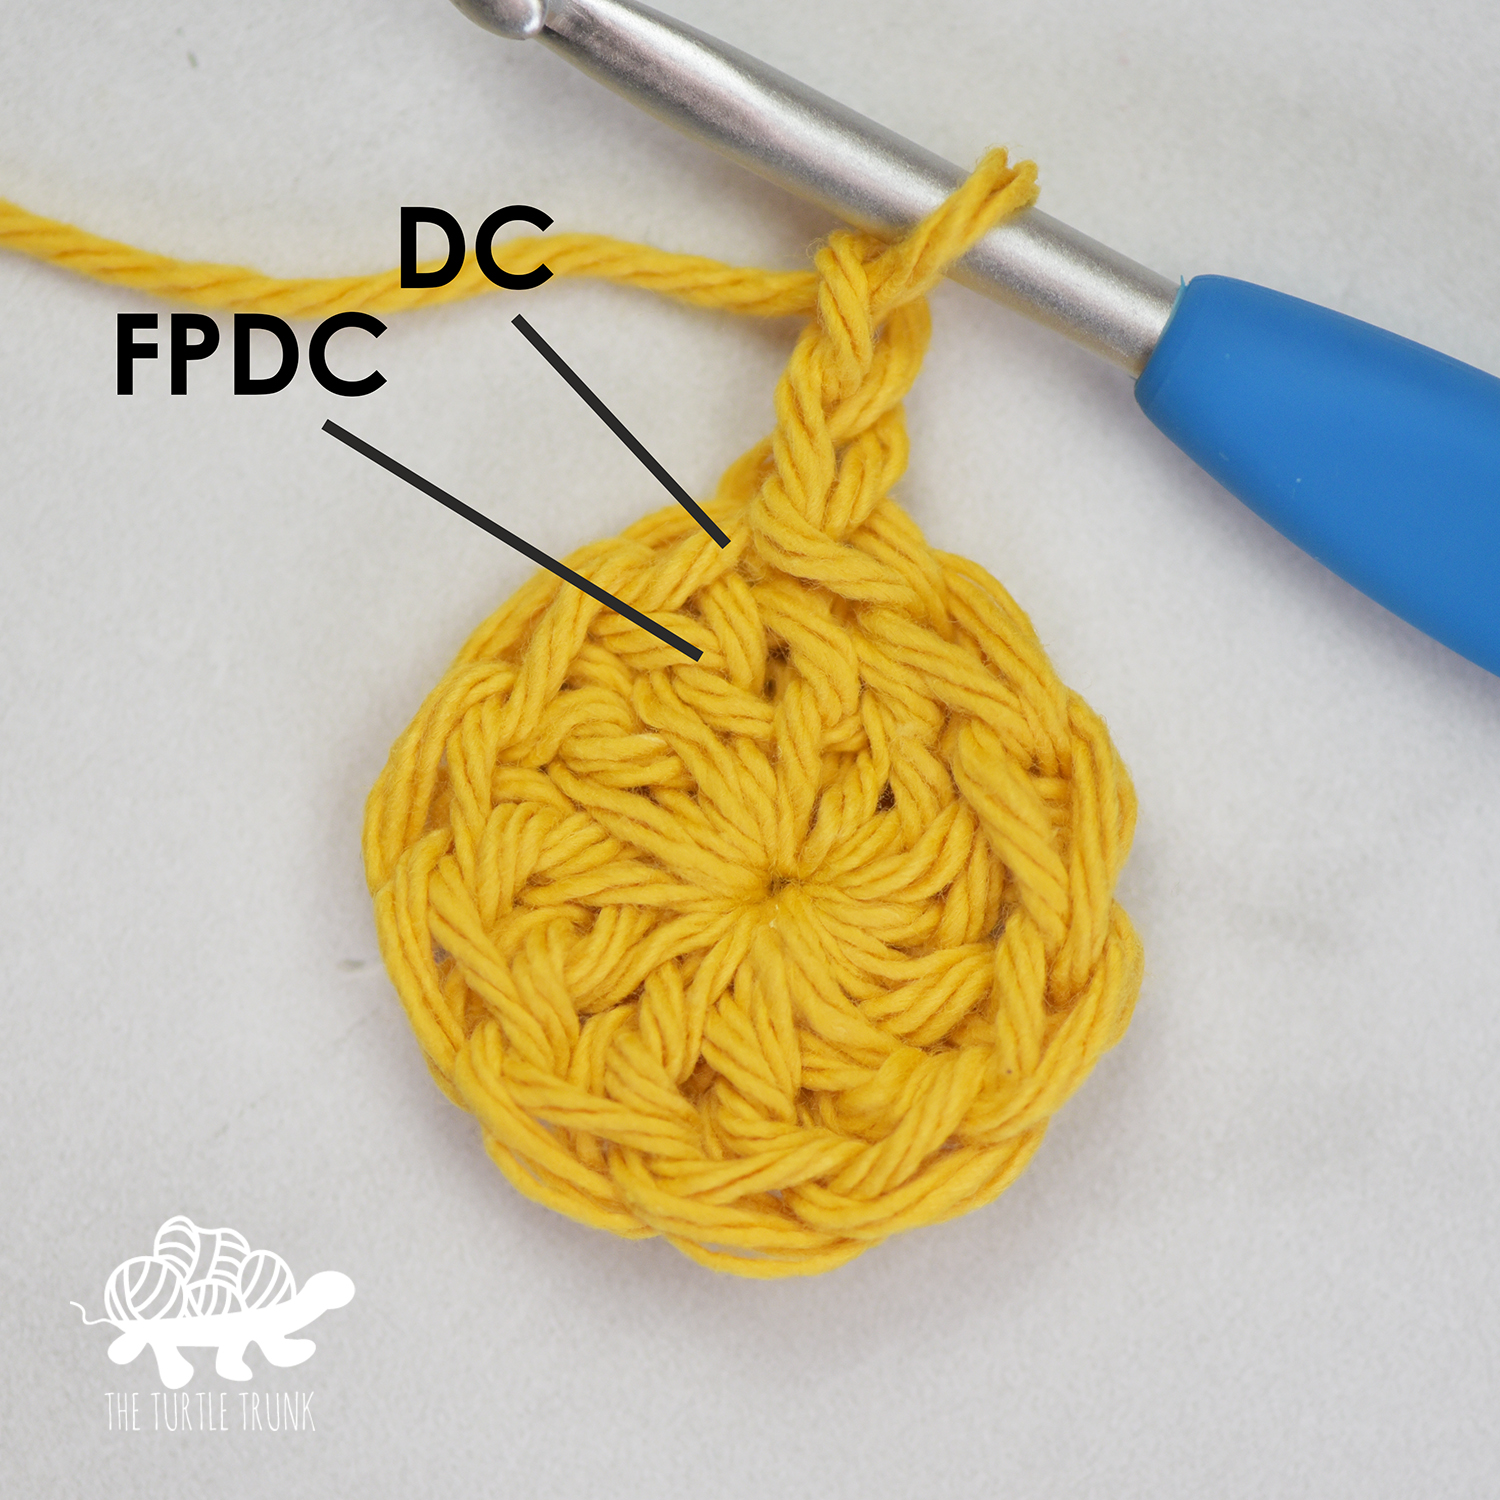
Round 1: DC x10 inside the circle. Join & CH 2. (10)
Round 2: [DC, FPDC] in each ST around. Join & CH 2. (20)
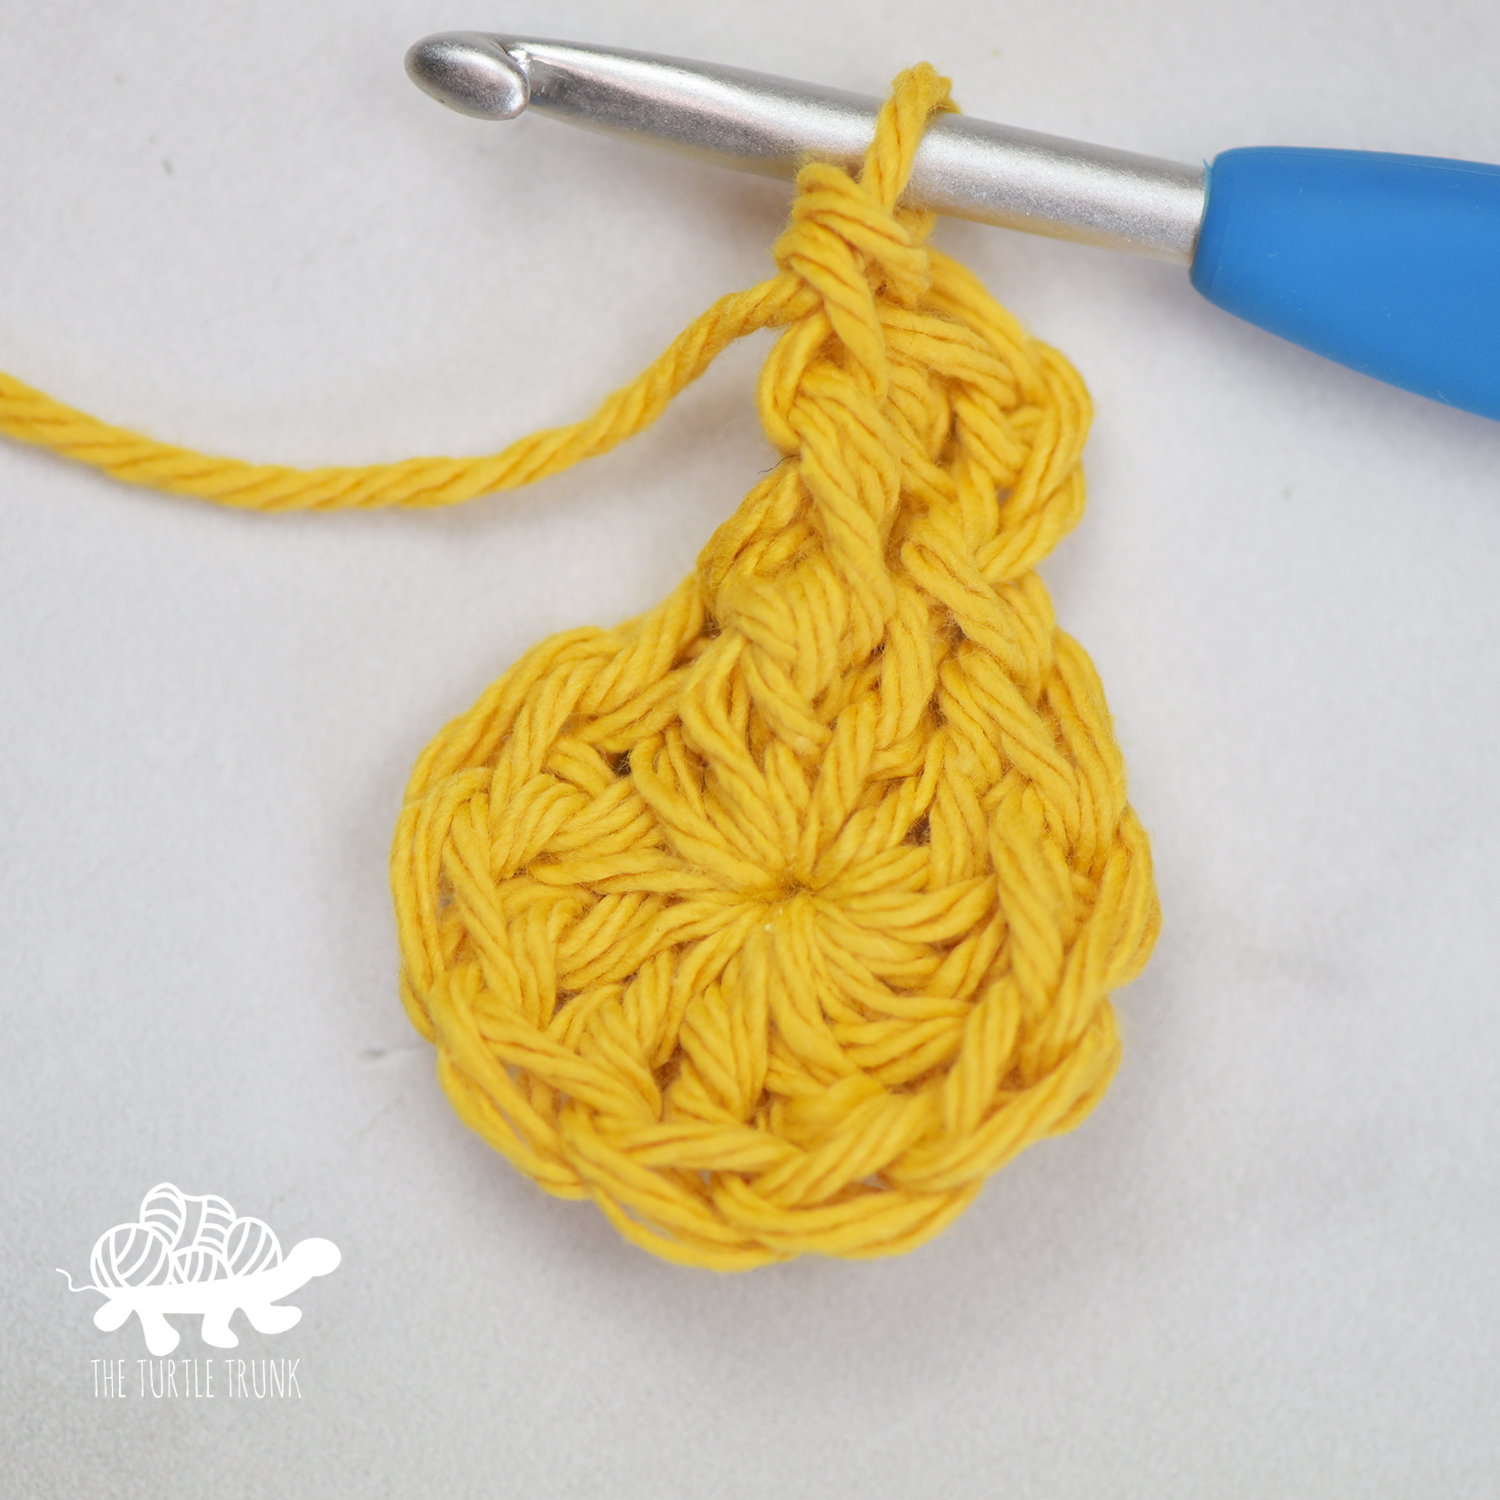

Round 3: *DC, [DC, FPDC]*. Join & CH 2. (30)
Round 4: *DC in next 2 STs, [DC, FPDC]*. Join & CH 2. (40)
Round 5: *DC, in next 3 STs, [DC, FPDC]*. Join & CH 2. (50)
Round 6: *DC in next 4 STs, [DC, FPDC]*. Join & CH 2. (60)
Round 7: *DC in next 5 STs, [DC, FPDC]*. Join & CH 2. (70)
Round 8: *DC in next 6 STs, [DC, FPDC]*. Join & CH 2. (80)
Round 9: *DC in next 7 STs, [DC, FPDC]*. Join & CH 2. (90)
Round 10: *DC in next 8 STs, [DC, FPDC]*. Join & CH 2. (100)
Round 11: *DC in next 9 STs, [DC, FPDC]*. Join & CH 1. (110)

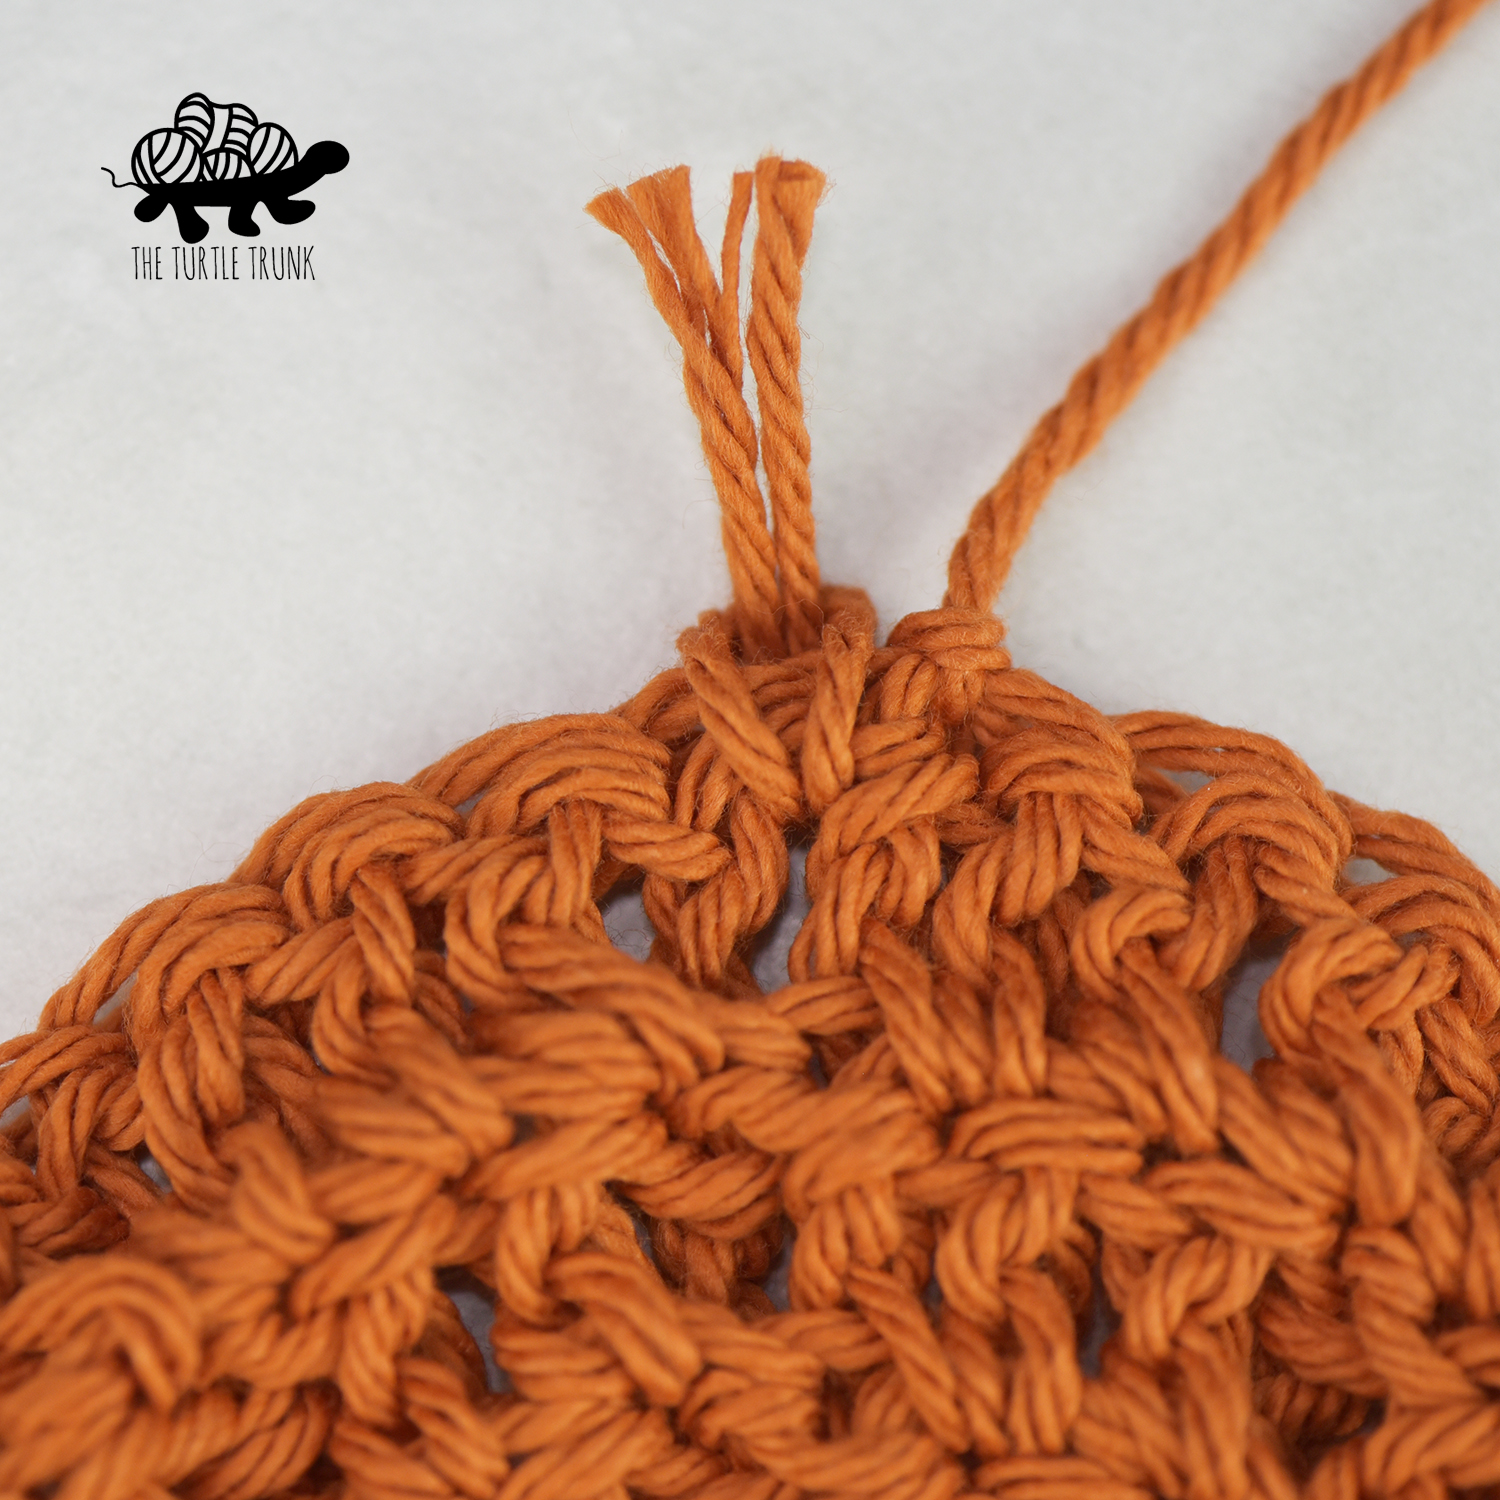
If you are not adding a border, you can cut off yarn and weave in ends. If you are adding a fringe boarder, cut off yarn leaving a 1.5” long tail. Tail end can be left as a piece of fringe, but weave in the end left from the beginning. If you are adding the pointed border, keep yarn attached.
Fringe Border
Note: After attaching and trimming, the fringe will about about 1” long so feel free to cut your pieces longer if you’d like.
Cut 111 – 3.5” long pieces of fringe.
Flip your coaster over so the wrong side is facing you. Insert your crochet hook between the stitches. Loop 1 piece of fringe around your crochet hook, pull halfway through, then remove your crochet hook. Take your fingers and pull the 2 ends of the fringe through the loop and pull tight to secure. Repeat around the coaster, working 1 piece of fringe between each stitch. Using a comb or fingers, gently brush through the fringe to separate. Trim ends to even out the fringe and make a perfect circle.
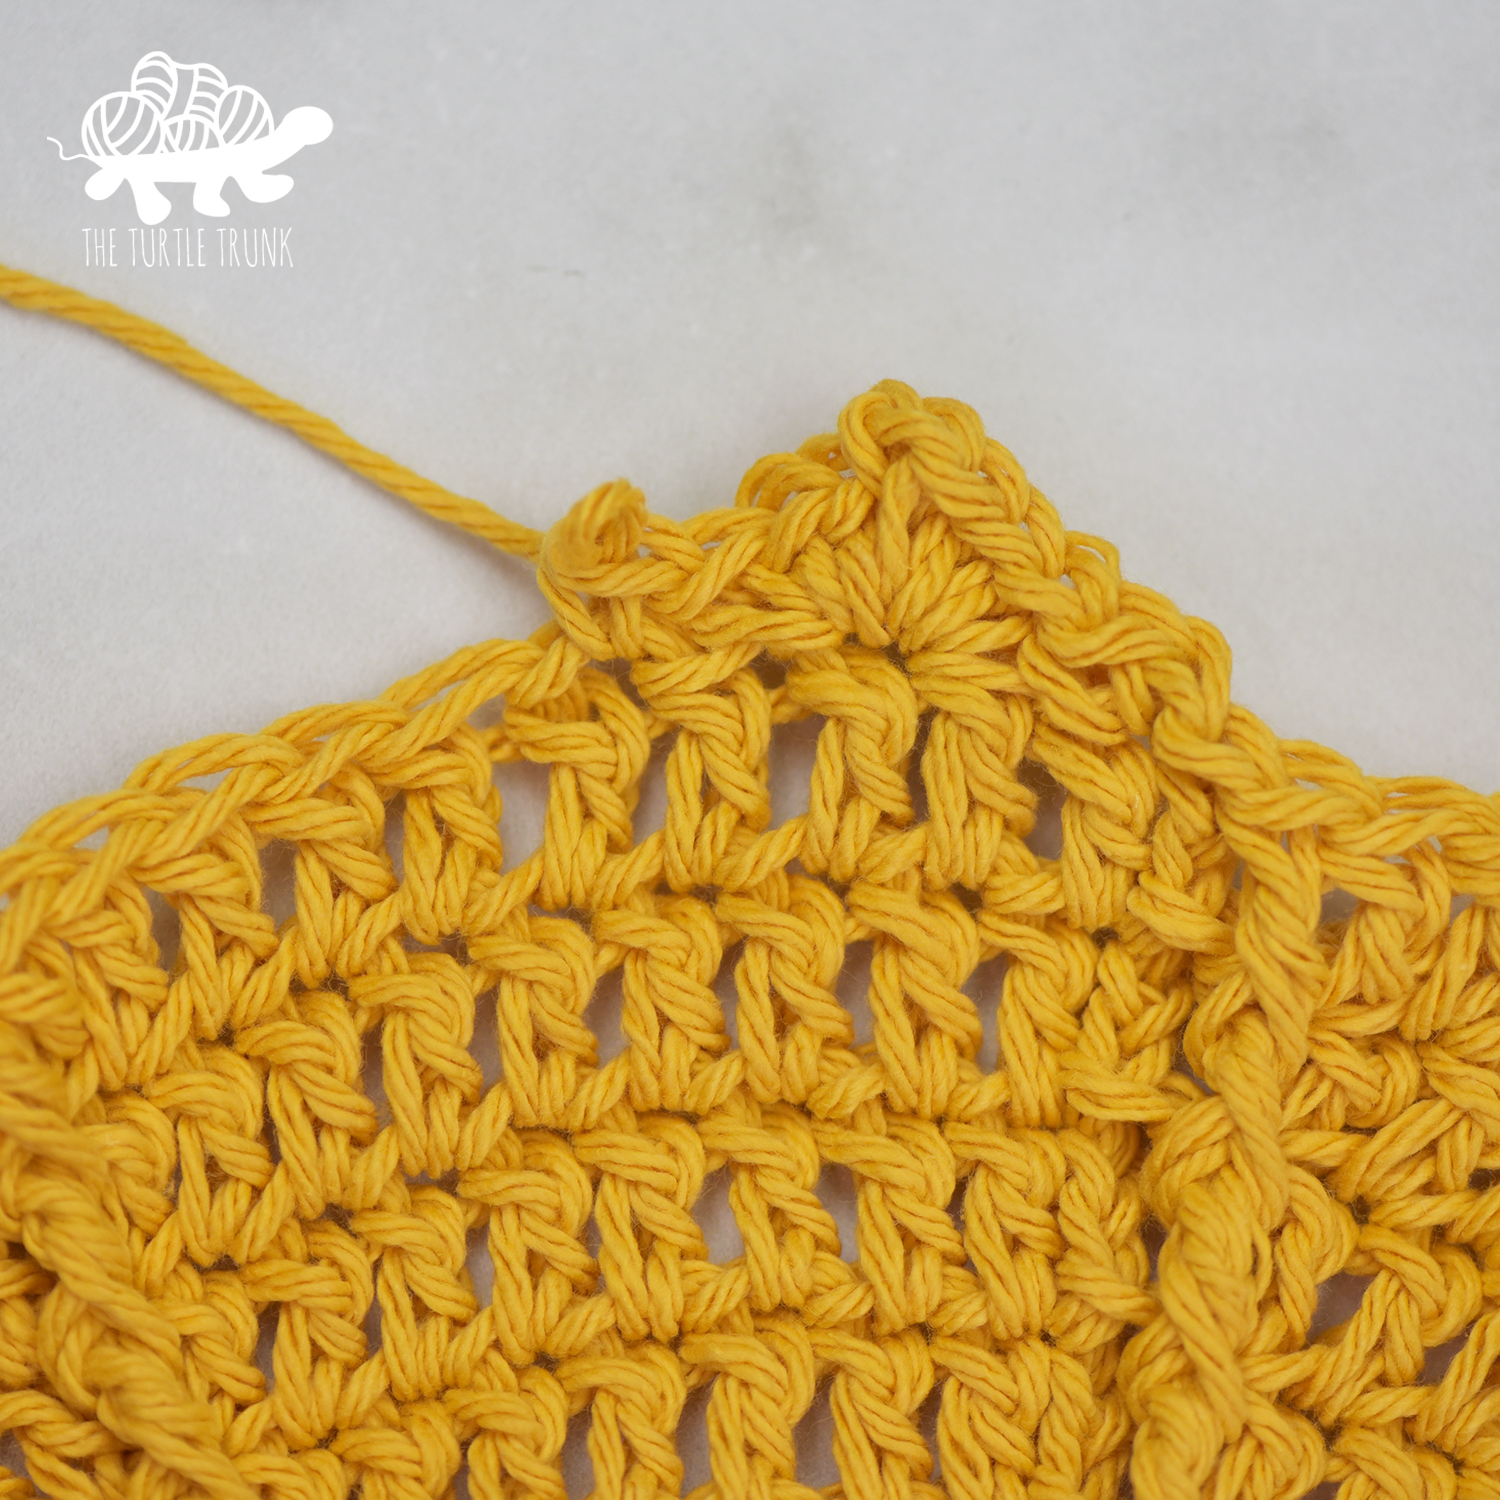
Pointed Border
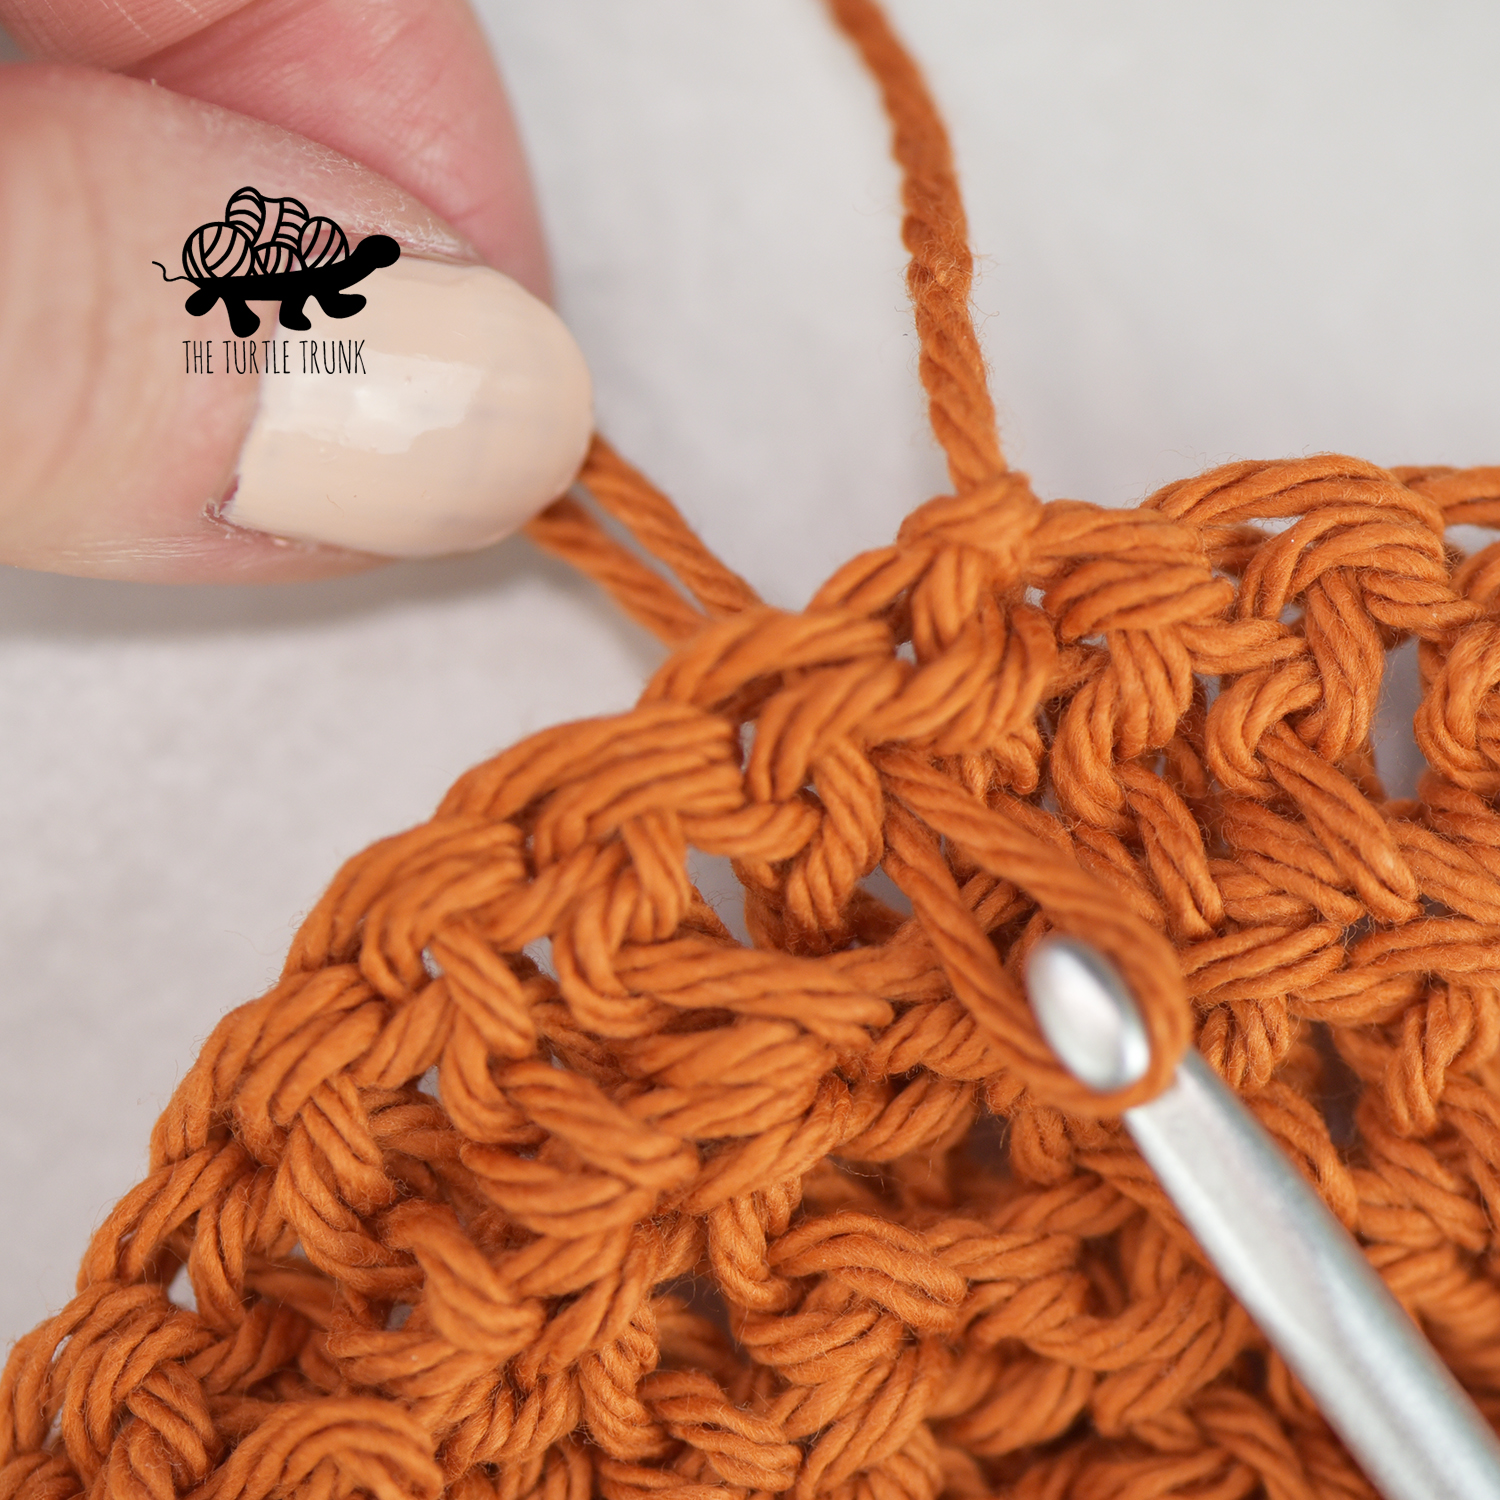
*SC in the 1st ST, SK the next ST, [3 SC, CH 2, 3 SC] all into the next ST, SK the next ST, SC in the next ST*. Repeat ** all the way around. Join to the top of the first SC and tie off yarn. Weave in ends.
And you’re all done! I hope you enjoyed the Hello Sunshine Placemat crochet pattern! I can’t wait to see your finished creations, so be sure to tag @theturtletrunk on Instagram!
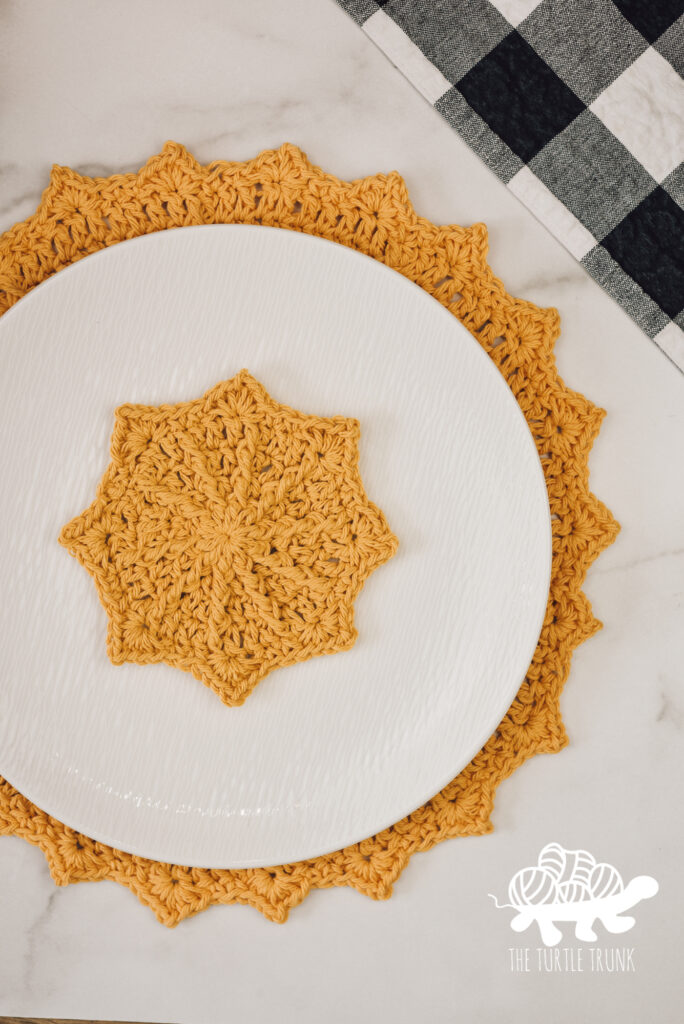
Be sure to try out the pointed border on the Hello Sunshine Coaster to make this fun, matching set!
You are free to sell the items you make with this crochet pattern, and I’d love if you could please link back to this page. You do not have permission to republish or distribute this pattern in any way or claim it as your own. Do not use my photos in your sale listings or for any other purposes. Thank you.
This page includes affiliate links. If you make a purchase from these links, I may make a small commission at no cost to you! Thank you for your support!
