
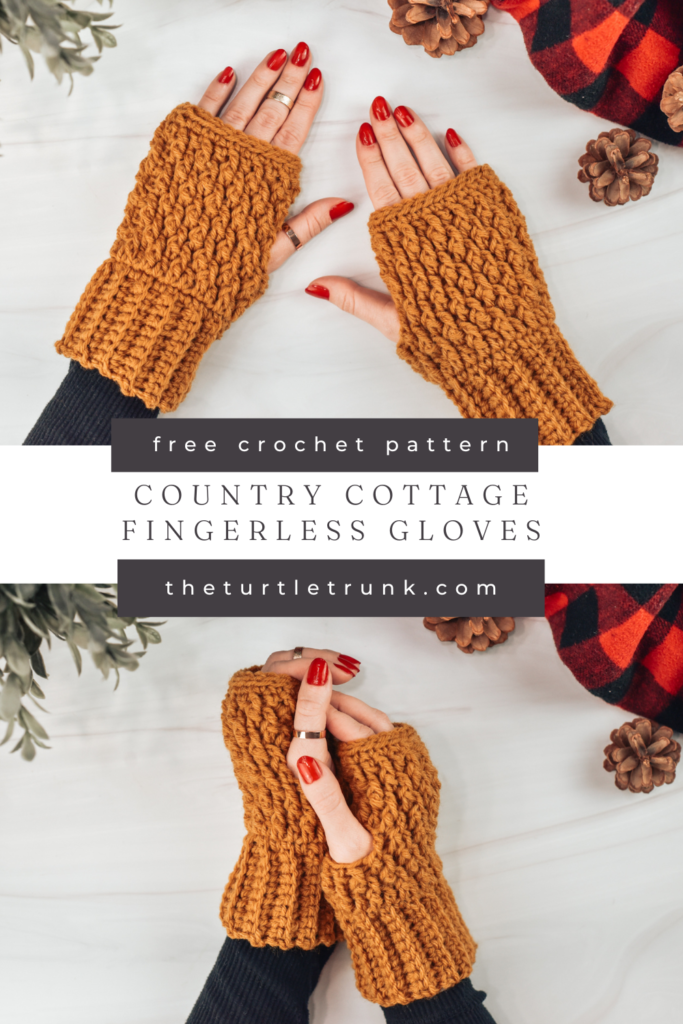
Country Cottage Fingerless Gloves Crochet Pattern
These easy fingerless gloves work up so quick! They feature a gorgeous texture that’s created by only 2 basic crochet stitches! This crochet pattern includes 3 sizes and uses less than 1 skein of yarn. The County Cottage Fingerless Gloves are perfect for cool weather and to make for gifts!

I know you all love the Country Cottage patterns as much as I do so here is the 12th Country Cottage pattern to be added to the collection! These Country Cottage Fingerless Gloves feature the same amazing texture as the other CC designs! They work up super quick and are easy to make!
Fingerless gloves are great for keeping your hands warm but your fingers free! Wear them when you’re chilly but still need to type on your computer, use your phone, crochet, and so much more!
The Country Cottage Fingerless Gloves are great for gifts too, so with the holidays coming up make a pair (or 2 or 5) for teachers, friend, and family!
Continue reading to learn more about the inspiration behind this pattern and the yarn I used or scroll down for the free written crochet pattern.
FOLLOW ALONG WITH THE AD FREE & PRINTABLE PDF PATTERN
FROM ETSY AND RAVELRY!
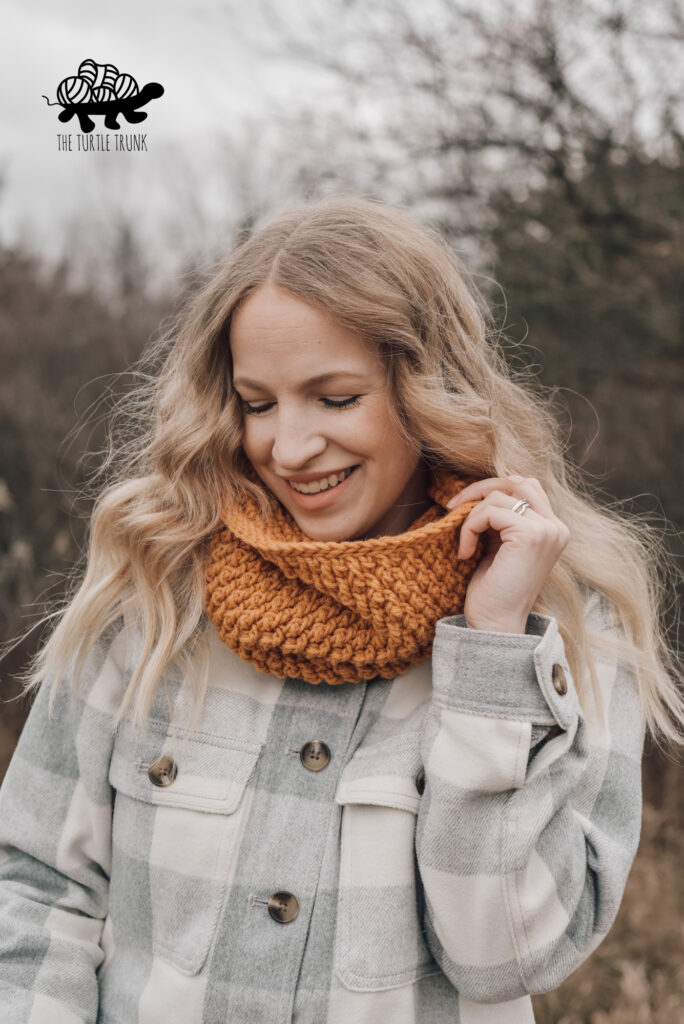
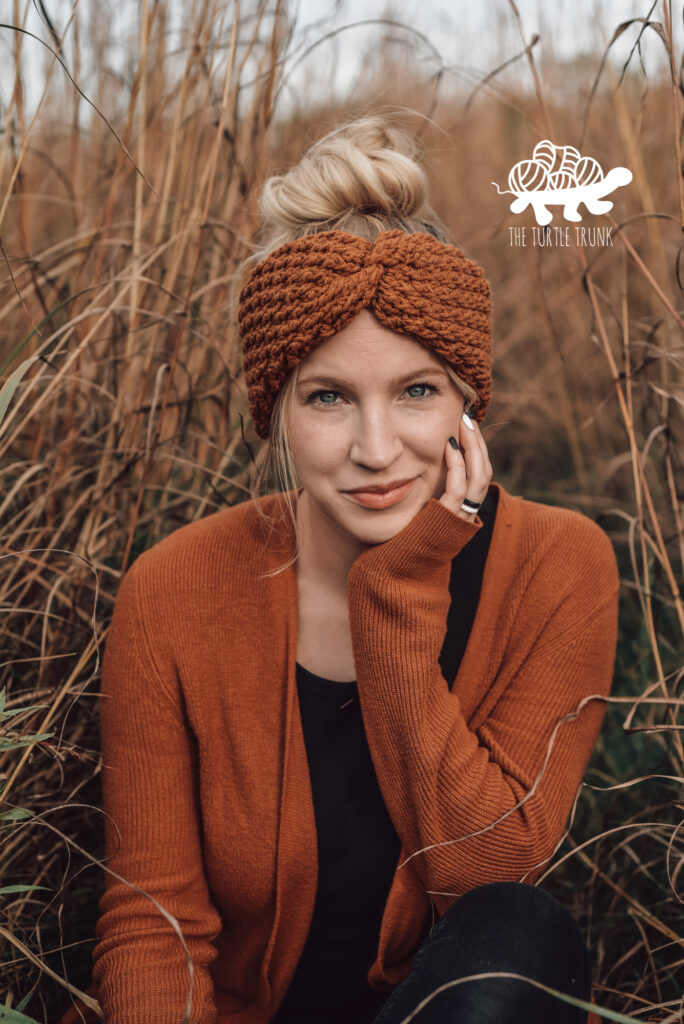
These Country Cottage Fingerless Gloves would make the perfect matching set the Country Cottage Cowl, Country Cottage Headband, or Country Cottage Beanie so be sure to check out these patterns when you’re done your gloves!

Not ready to make just yet? Save this pattern to pinterest!
Follow along with the video tutorial on YouTube!
Inspiration
A few years ago I designed my first Country Cottage pattern, the Country Cottage Stocking. This pattern has since been one of my most personal favorites, but it’s also been a favorite of so many in my audience! I loved the stitches and textures of this pattern that I decided I would make as many patterns with them as possible!
Over the past few years I have designed 12 Country Cottage patterns (including these fingerless gloves) and still have so many more ideas and patterns to add to the collection.
A while back I designed and released my Country Cottage Mittens and received quite a few messages asking for a fingerless gloves version, so here it is!
I had personally never worn fingerless gloves before making these and I didn’t fully understand the hype around them. But after making these Country Cottage Fingerless Gloves and wearing them around for a few days, I now understand! They’re incredible! I love the freedom of having my fingers out, so I don’t have to take the gloves off if I need to use my phone to easily grab something.
Although they aren’t as warm as full gloves or mittens would be, they allow more freedom and use of your fingers so they are very handy to have!
Yarn
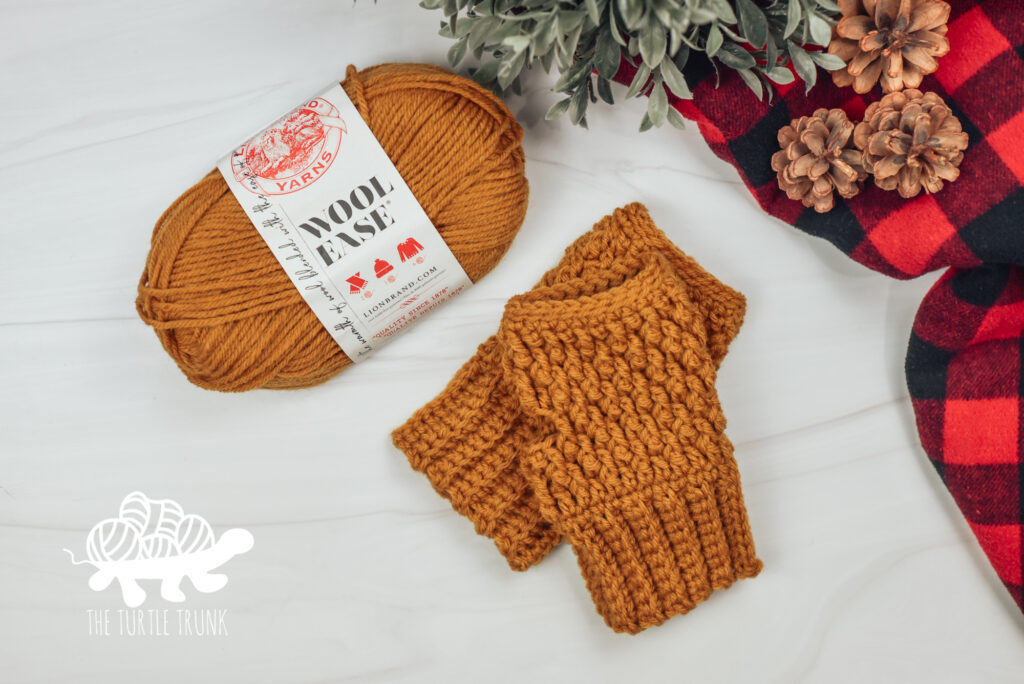
For my first set of Country Cottage Fingerless Gloves, as seen above, I used Lion Brand Yarn Wool Ease in the color Arrowwood. Wool Ease is an acrylic & wool blend, so it’s very warm and it’s machine washable and dryable!
I made a second pair of Country Cottage Fingerless Gloves using white and red yarn to create candy cane stripes! I used Lion Brand Yarn Wool Ease in the color Fisherman and Lion Brand Yarn Basic Stitch in the color Heather Red. I used the red for the cuff and the first round of the hand, then switched to the white and alternating between the white and red working 2 rounds with each color.
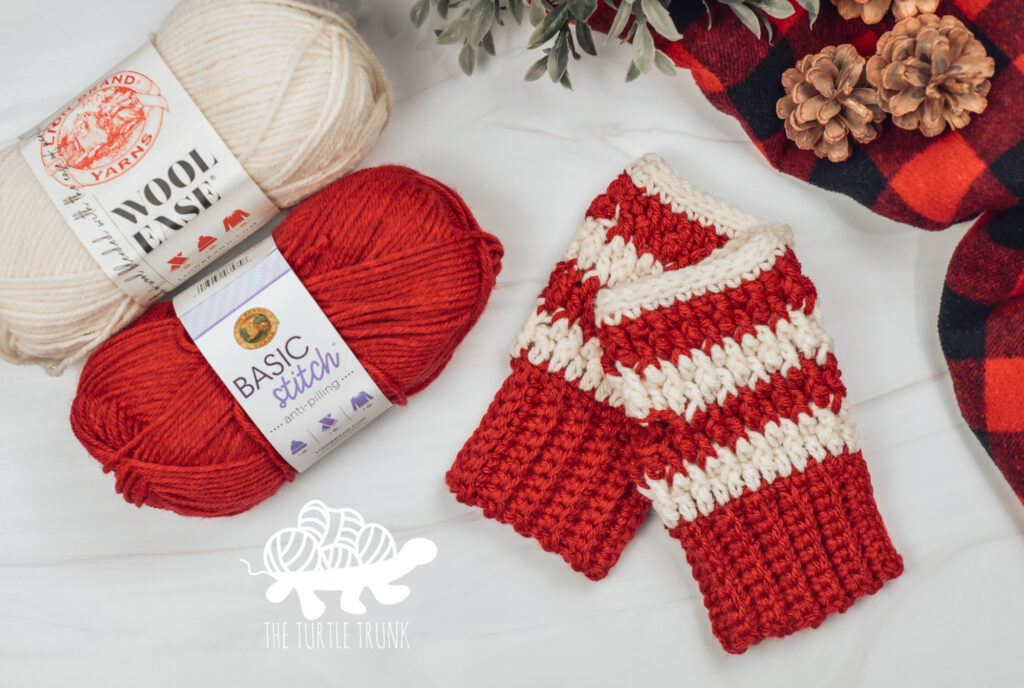
Basic Stitch is quite a bit softer and more on the shiny side than Wool Ease, but since Wool Ease has a little bit of wool in it, it would be a bit warmer. Both come in a variety of beautiful colors and both work great for this pattern.
Some other yarns I think would work great too are: Lion Brand Yarn Color Theory, this is one of my favorite medium 4 weight yarns and I originally wanted to use this yarn for this pattern but my local store was sold out of it. But I would highly recommend Color Theory.
Some other yarns are Red Heart Super Saver, I Love This Yarn, and Yarn Bee Soft and Sleek.
Sizing
This pattern includes 3 sizes: small, medium, and large. See the chart below for exact measurements. These are adult sizes, with the smallest size possibly fitting an older child, teen, or small adult hand. For reference, the gloves shown in all the photos in this post and the pair I made in the video tutorial are a size medium.
There are many ways to adjust the size of these gloves to be perfect for you or the person you’re making these for. You can adjust the length of the cuff by chaining any number of chains. To adjust the length of the hand, Repeat rows 3 + 4 as many times as you’d like before or after the thumb hole. To adjust the circumference, work any even number of rows (cuff) and stitches (hand).
| Sizes | Hand Length | Hand Circumference | Glove Length (with cuff) | Glove Circumference | Yardage (for 2 mittens) | |
| Small | 5” | 6” | 6” | 6” | 80 yards | |
| Medium | 6” | 7” | 7” | 7” | 110 yards | |
| Large | 7.5” | 8” | 8” | 8” | 130 yards |
DIFFICULTY
Advanced Beginner
GAUGE SWATCH
14 STs x 10 Rows = 4” x 4”
CH 14, without twisting your chain, SL ST into the 1st CH to create a loop. CH 2.
Round 1: DC in each CH around. Join & CH 2. (14)
Round 2: DC in the 1st ST, FPDC in the next. *DC, FPDC* around. Join & CH 2. (14)
Round 3: FPDC in the 1st ST, DC in the next. *FPDC, DC* around. Join & CH 2. (14)
Repeat Rounds 2 & 3 until the end of Round 10
Your swatch should be 2” across and 4” tall.
Adjust hook size up or down to reach gauge.
NOTES
- Beginning chains do not count as stitches. For the hand: at the end of the round, join with a slip stitch to the top of the 1st ST from the previous round. Chain and work the first ST into the same ST as the chain.
- The numbers in parenthesis at the end of the row/round represents the total stitch count at the end of that row/round, starting with the smallest size first.
- Stitches between *asterisks* are to be repeated until the end of the row/round or until otherwise noted.
SUPPLIES
- Medium (4) Weight Yarn (see size chart for yardage)
- 5.00mm (H) Crochet Hook
- Yarn Needle
- Scissors
ABBREVIATIONS (US TERMS)
ST(s) – Stitch(es)
CH – Chain
SL ST – Slip Stitch
SK – Skip
SC – Single Crochet
BLO – Back Loop Only
DC – Double Crochet
FPDC – Front Post Double Crochet: Yarn over, insert your hook from the front, around the back, and to the front again, around the post of the next ST, yarn over and pull up a loop, yarn over and pull through 2 loops, yarn over and pull through last 2 loops.
Country Cottage Fingerless Gloves Pattern
Make 2 Gloves
Cuff
The following instructions will create ribbing that is approximately (1.75”, 2.25”, 2.75”) long. Feel free to chain more or less to get a longer or shorter cuff or double the chain amount to make a fold over cuff.
CH (8, 10, 12)
Row 1: SC in the 2nd CH from the hook, SC in each CH across. CH 1 & turn. (7, 9, 11)
Row 2: SC BLO in each ST across. CH 1 & turn. (7, 9, 11)
Repeat Row 2 until the end of Row 20, 24, 28.
Bring the short ends of the cuff together. Working into the last row you worked and into the foundation chain from the beginning, SL ST the ends of the cuff together, working 1 SL ST into each ST. Do not tie off yarn. CH 1 and move ono the hand.
Hand
Round 1: SC into the edge of each row from the cuff. Join & CH 2. (20, 24, 28)
Round 2: DC in each ST around. Join & CH 2. (20, 24, 28)
Round 3: *DC, FPDC* repeat ** around. Join & CH 2. (20, 24, 28)
Round 4: *FPDC, DC* repeat ** around. Join & CH 2. (20, 24, 28)
Round 5: *DC, FPDC* x (4, 5, 6), CH 4, SK 4, *DC, FPDC* x (4, 5, 6). Join & CH 2. (20, 24, 28)
Round 6: *FPDC, DC* x (4, 5, 6), DC in the back bump of each CH, *FPDC, DC* x (4, 5, 6). Join & CH 2. (20, 24, 28)
Round 7: *DC, FPDC* repeat ** around. Join & CH 2. (20, 24, 28)
Round 8: *FPDC, DC* repeat ** around. Join & CH (1, 2, 2). (20, 24, 28)
(Sizes medium and large ONLY) Round 9: *DC, FPDC* repeat ** around. Join & CH (1, 2). (24, 28)
(Size large ONLY) Row 10: *FPDC, DC* repeat ** around. Join & CH 1. (28)
Round (9, 10, 11): SC in each ST around. Join & CH 1. (20, 24, 28)
Round (10, 11, 12): Loosely SL ST into the BLO of each ST around. Join and cut off yarn. (20, 24, 28)
Weave in ends on the inside.
And you’re all done!
You are free to sell the items you make with this pattern, and I’d love if you could please link back to this page. You do not have permission to republish or distribute this pattern in any way or claim it as your own. Do not use my photos in your sale listings or for any other purposes. Thank you
This page includes affiliate links. If you make a purchase from these links, I may make a small commission at no cost to you! Thank you for your support!
