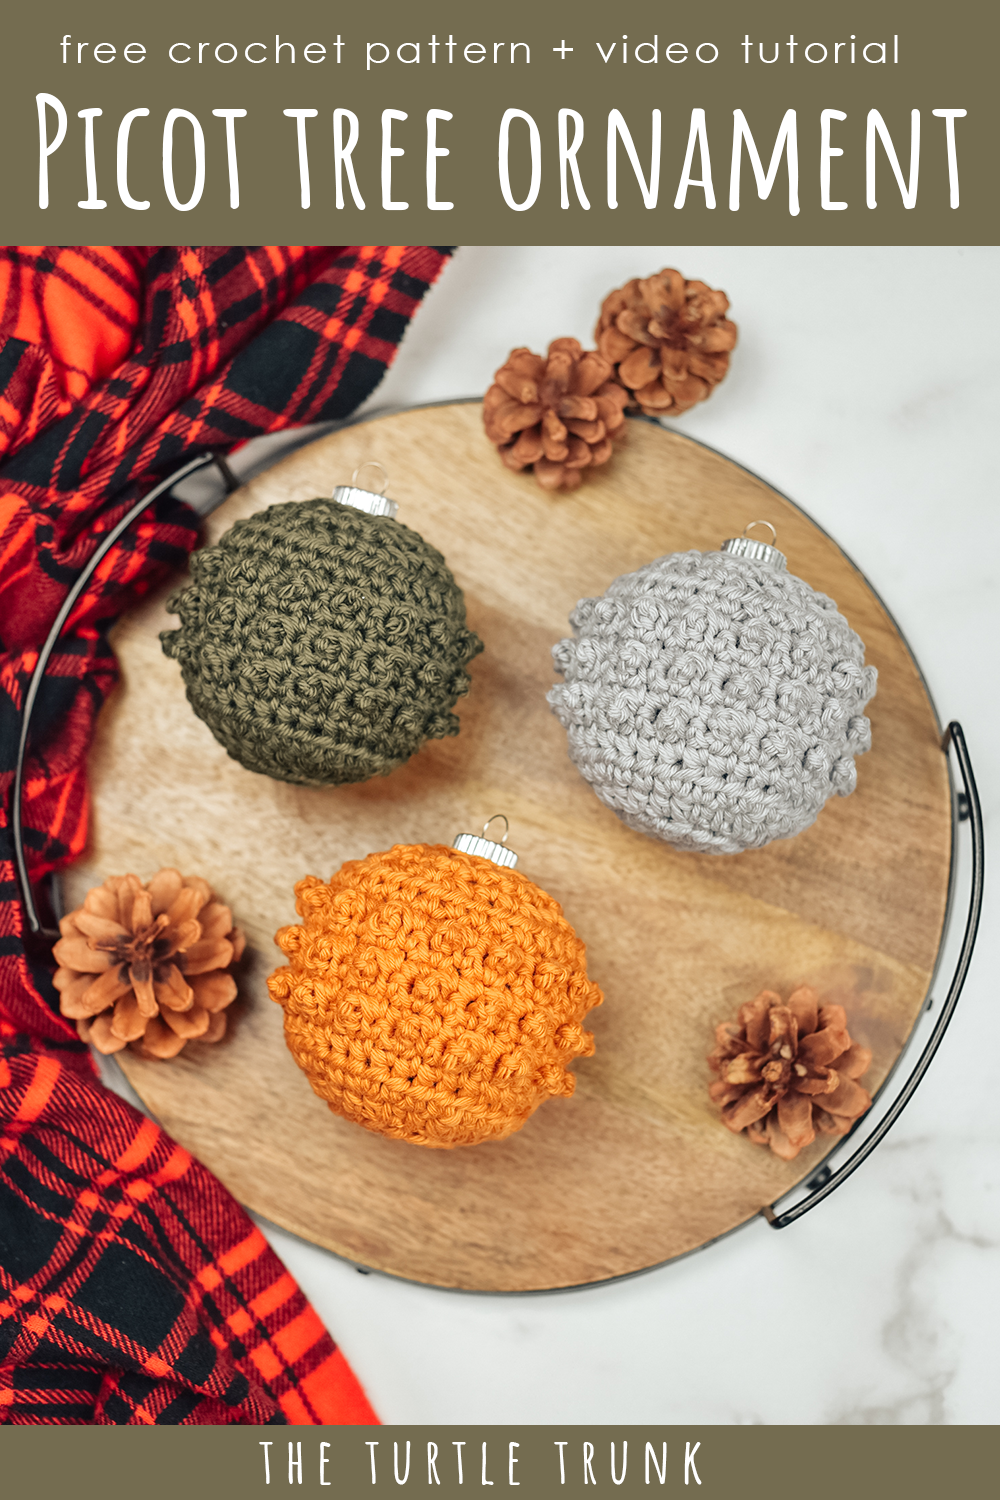
Picot Tree Ornament Crochet Pattern
The Picot Tree Ornament is a quick and easy crochet holiday tree ornament! It is a crochet cover to be added on top of a plastic or glass bauble. The Picot Tree Ornament features a beautiful and fun bumpy texture that’s easy to create!
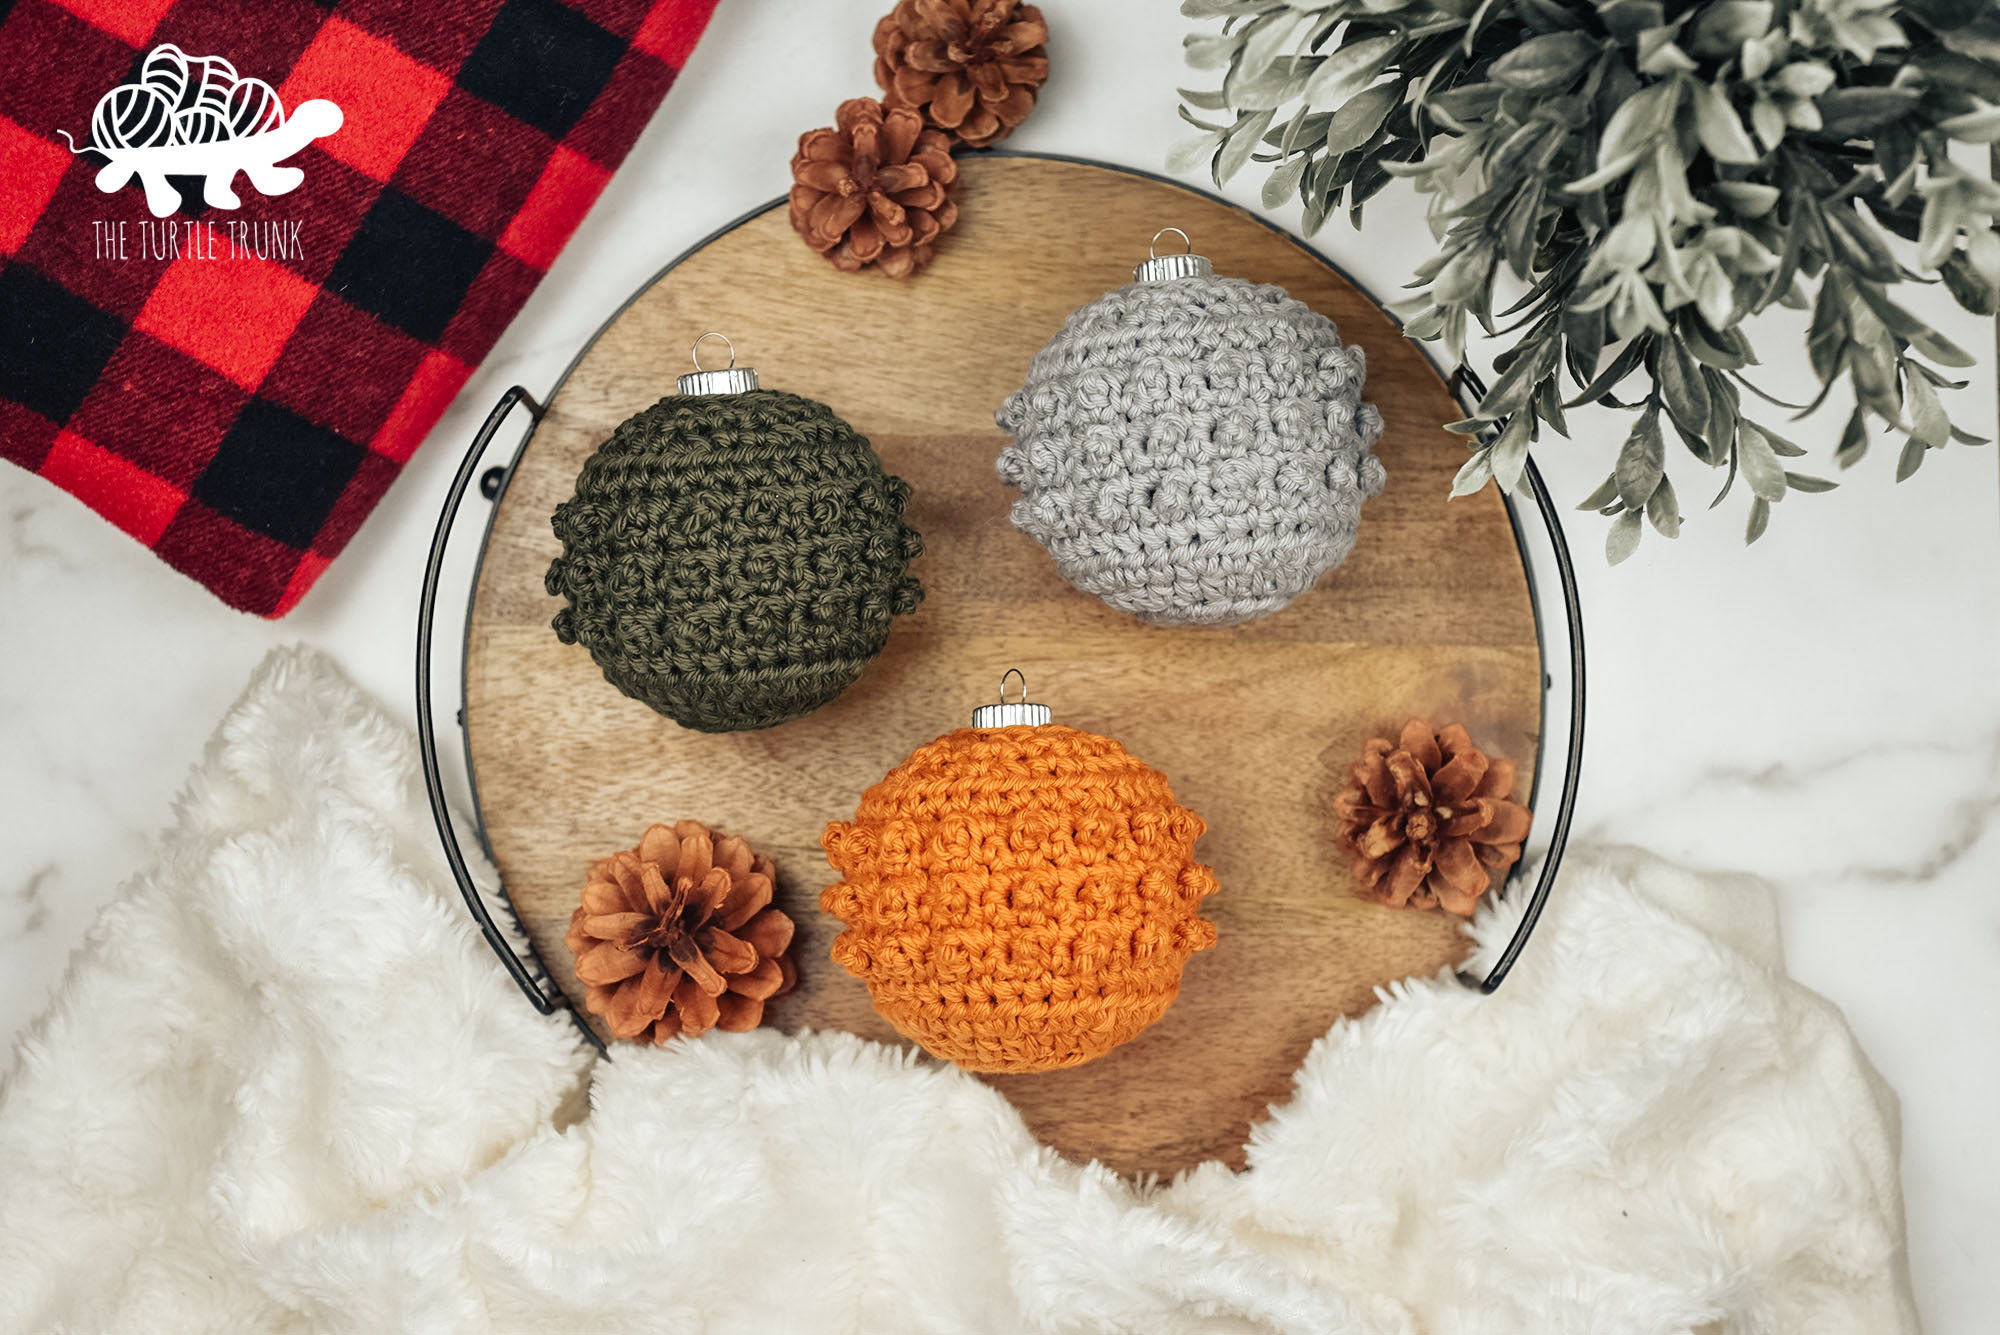
The Picot Tree Ornament is a quick and easy crochet cover for plastic or glass baubles that can be hung on your Christmas tree or used as holiday decor! It uses the picot single crochet stitch to create tiny, mini bobbles and tons of fun texture! This easy crochet tree ornament works up fast making it a perfect last minute holiday gift or make a bunch for your own Christmas tree!
The picot single crochet is one of my favorite crochet stitches! It’s easy to create and makes a beautifully textured fabric. This tree ornament cover is elegant and fun and would make for a great gift for anyone on your holiday list!
If you enjoy this pattern be sure to check out my other picot patterns! Continue reading for more information about this pattern or scroll down for the free pattern!
FOLLOW ALONG WITH THE AD FREE & PRINTABLE PDF PATTERN FROM
ETSY AND RAVELRY!
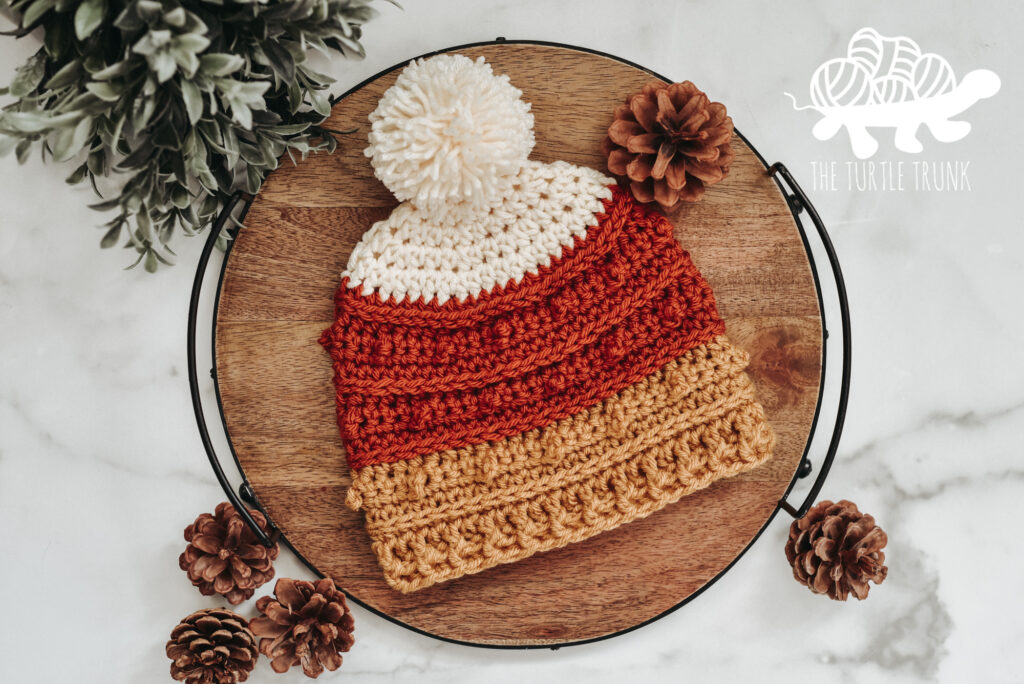
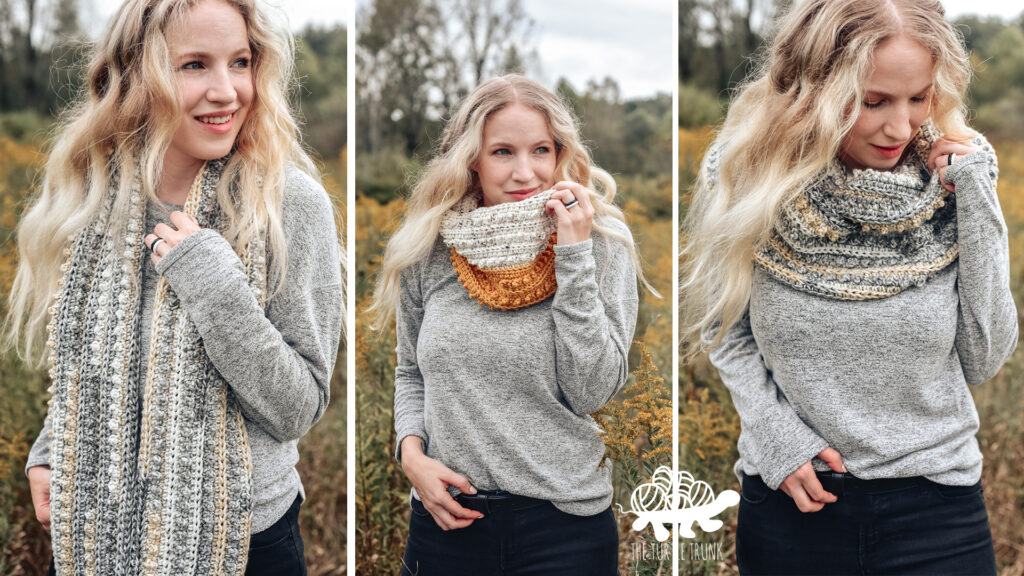
If you enjoy this Picot Tree Ornament, then check out these other picot patterns: Picot Headband, Picot Beanie, Picot Scarf & Cowl, Picot Blanket, and more.


Not ready to make just yet?! Pin this pattern for later!
Follow along with the video tutorial on YouTube!
Inspiration
I love the picot single crochet stitch so I try and use it in any designs that I can! I bought some glass baubles to crochet covers over and since I had not designed any holiday patterns using the picot single crochet, I figured a tree ornament would be the perfect item to use it for!
The best part of this pattern is how simple yet elegant it looks! The fun bumpy texture gives it a unique look that’s easy to create and interesting to look at! You could gives these as gifts to kids, coworkers, teachers, or any friends and family! I think these would also be great sellers at holiday markets!

Grab your supplies!
This pattern calls for a medium weight yarn and you can use whatever fiber you’d like! I used Circulo Natural Cotton for the mustard yellow and grey ornament, and used I Love This Cotton for the green. I love cotton for this pattern as it doesn’t fuzz and keeps the ornament very neat and clean looking. Since this pattern uses so little yarn, it’s a great stash busting project, so use what you have and it’s going to look great!
You’re also going to need a 3.25″ round ornament. I used clear, glass ornaments I got from Hobby Lobby (you can use these similar ones from HERE). Since we’ll be covering it, it can be any color and you can also use plastic or acrylic so it’s not so easily breakable!
Difficulty
Easy
Notes
- This pattern starts with a magic circle but will be worked in rows. Once completed, we will wrap the cover around the ornament and sew up the side.
- The number in parenthesis at the end of each row represents the total number of stitches to be worked in each row.
- Beginning chains do not count as stitches throughout the whole pattern. At the end of each row, chain 1 and turn, work the first stitch into the last stitch from the previous row.
- Stitches between ** are to be repeated until the end of the row or until otherwise stated.
- The right side of your work will show the texture from the PSC stitches. The wrong side will be flat.
- Measure the diameter after working row 4. It should measure between 3”-3.5”. If yours measures smaller or larger, go up or down a hook size until proper gauge is reached.
Supplies
- Medium (4) Weight Yarn – approx. 55 yards
- 5.50mm (I) Hook
- 3.25″ Round Ornament
- Yarn Needle
- Scissors
Abbreviations (US Terms)
ST(s) – Stitch(es)
CH – Chain
SC – Single Crochet
SC2TOG – Single Crochet Two Together
HDC – Half Double Crochet
PSC – Picot Single Crochet
Special Stitches
Check out the video tutorial if extra assistance is needed for the special stitches.
PSC – Picot Single Crochet
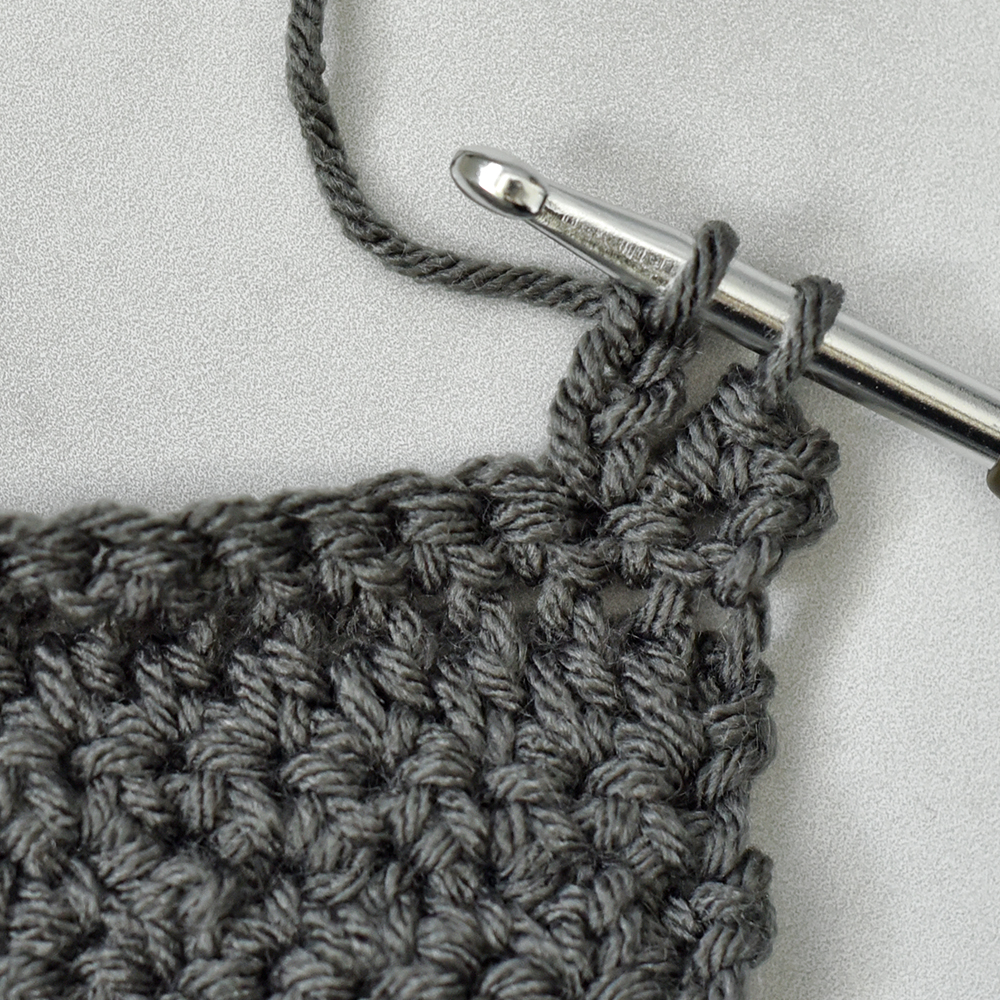
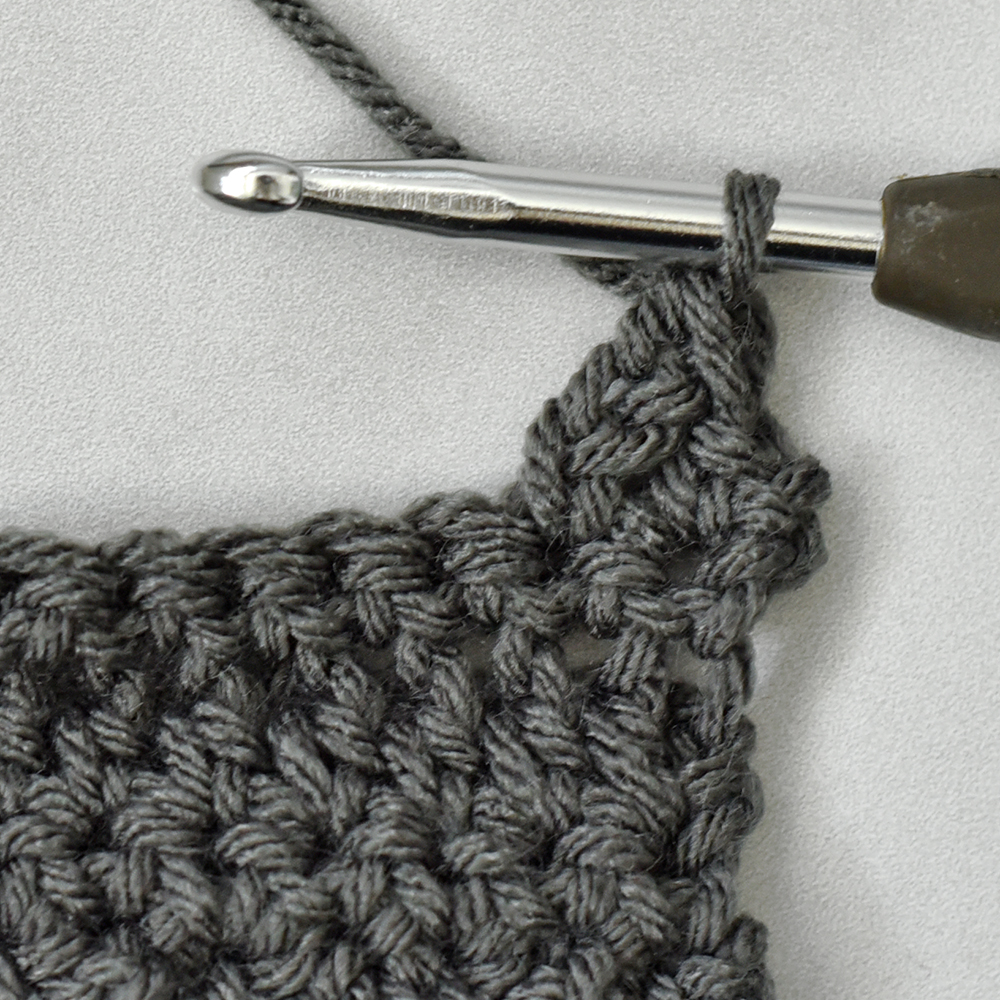
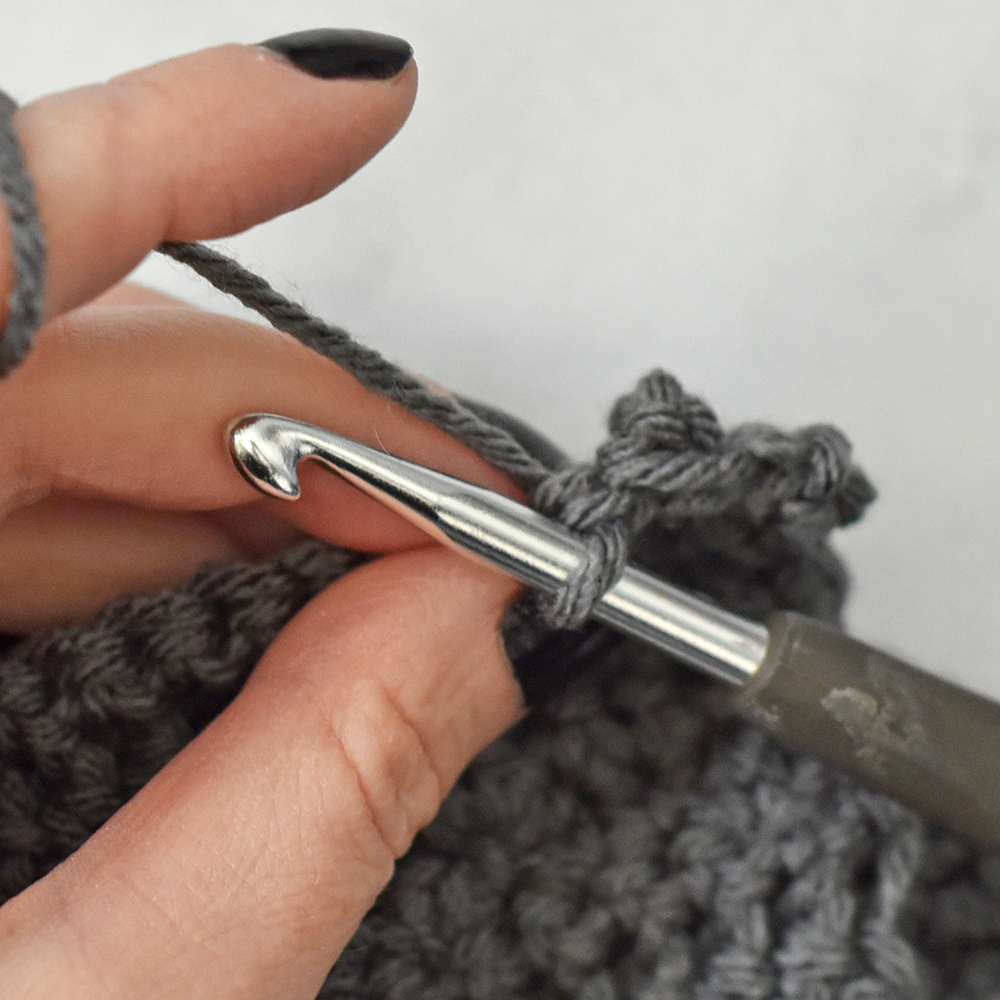
Insert your hook into the designated stitch. Pull up a loop, yarn over, and pull through the 1st loop on your hook. Yarn over and pull through the 1st loop again. Yarn over and pull through the 1st loop once more. Yarn over and pull through both loops on your hook. Push the CH 3 you just created behind so that it bumps out on the right side of your work and work the next ST.
Picot Tree Ornament Pattern
Magic Circle, CH 1
Row 1: SC x8 inside circle. CH 1 & turn (8)
Row 2: 2 HDC in each ST across. CH 1 & turn (16)
Row 3: *HDC in 1st ST, 2 HDC in next* CH 1 & turn (24)
Row 4: *HDC in 1st 2 STs, 2 HDC in next* CH 1 & turn (32)
Diameter should measure between 3”-3.5”
Row 5: SC in each ST across. CH 1 & turn (32)
Row 6: *PSC in 1st ST, SC in next* CH 1 & turn (32)
Row 7: SC in each ST across. CH 1 & turn (32)
Rows 8-11: Repeat Rows 6 & 7
Row 12: HDC in each ST across. CH 1 & turn (32)
Row 13: *SC in 1st 2 STs, SC2TOG* CH 1 & turn (24)
Row 14: *SC in 1st ST, SC2TOG* CH 1 & turn (16)
Row 15: SC2TOG x8 (8)
Tie off yarn leaving a 6” tail.
Closing & Finishing
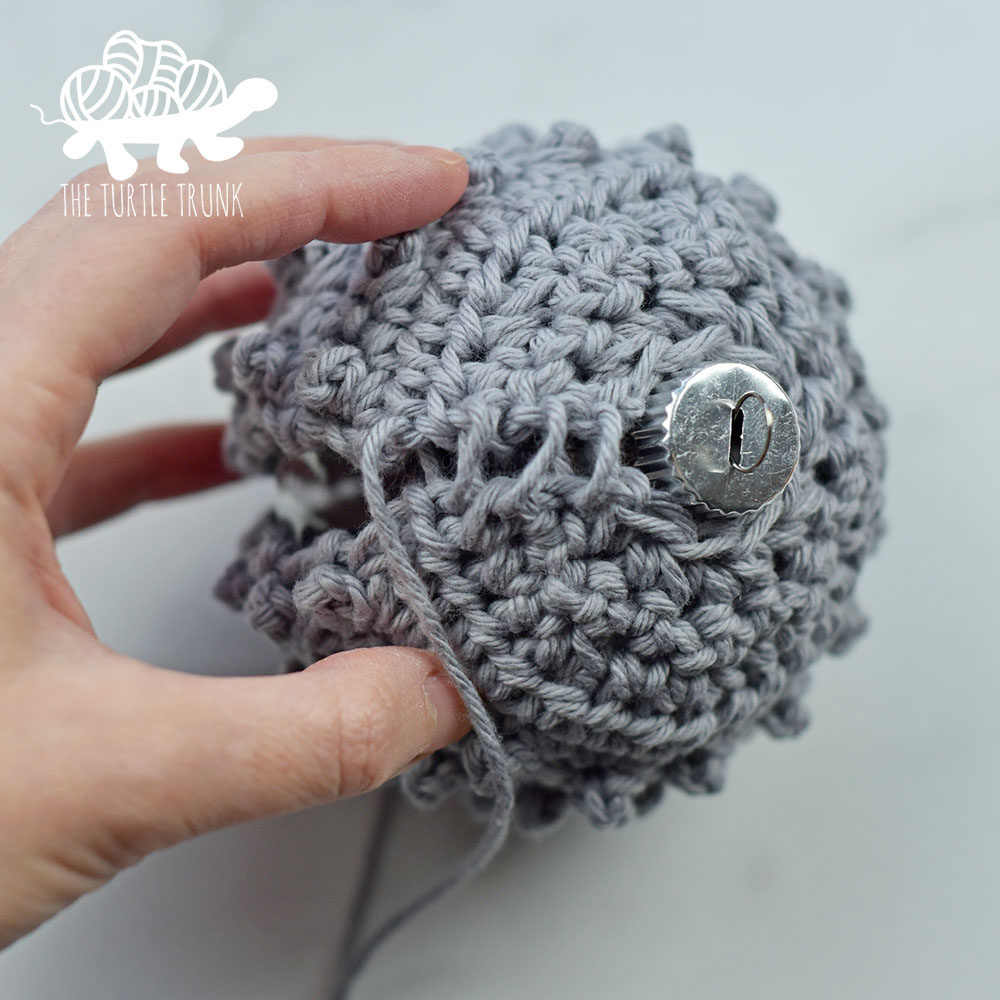
Wrap cover around your ornament with the right side facing out. Using a yarn needle and a whip stitch, sew down the side of the ornament cover to close. Secure with a few knots at the bottom and weave in ends.
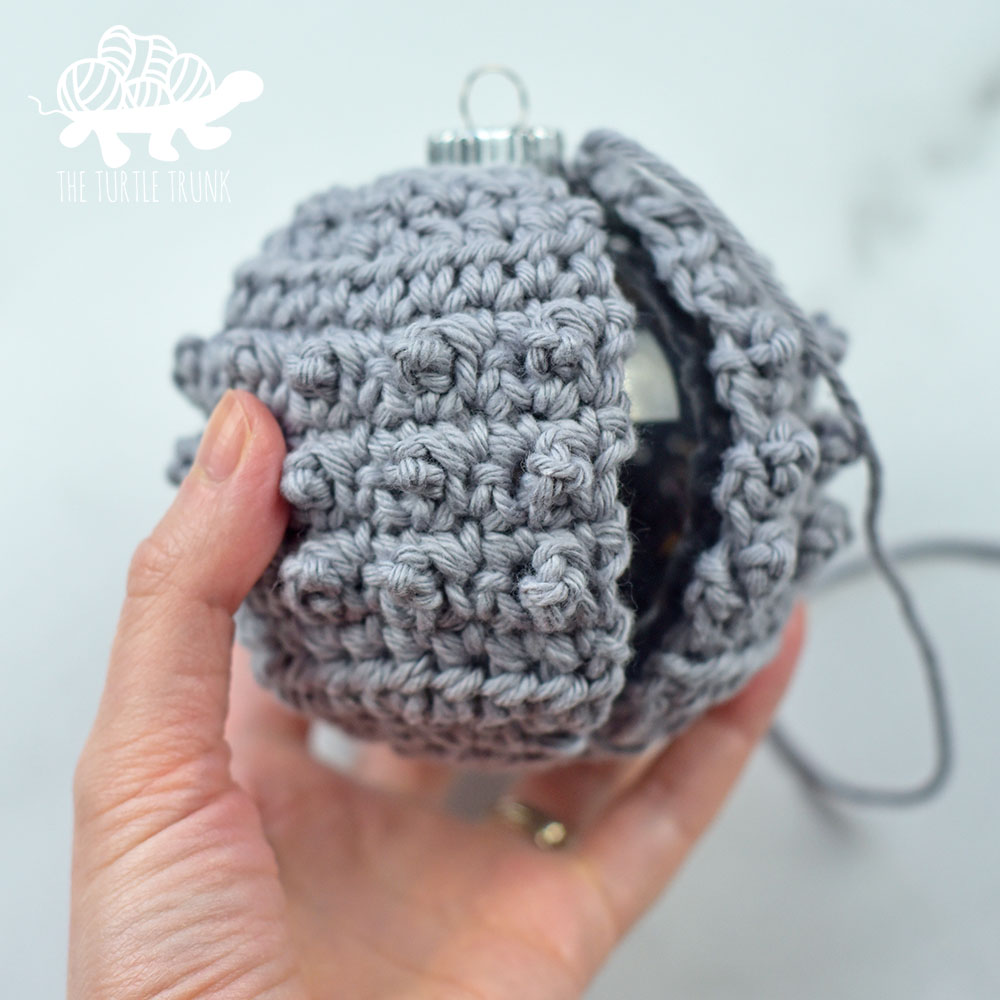


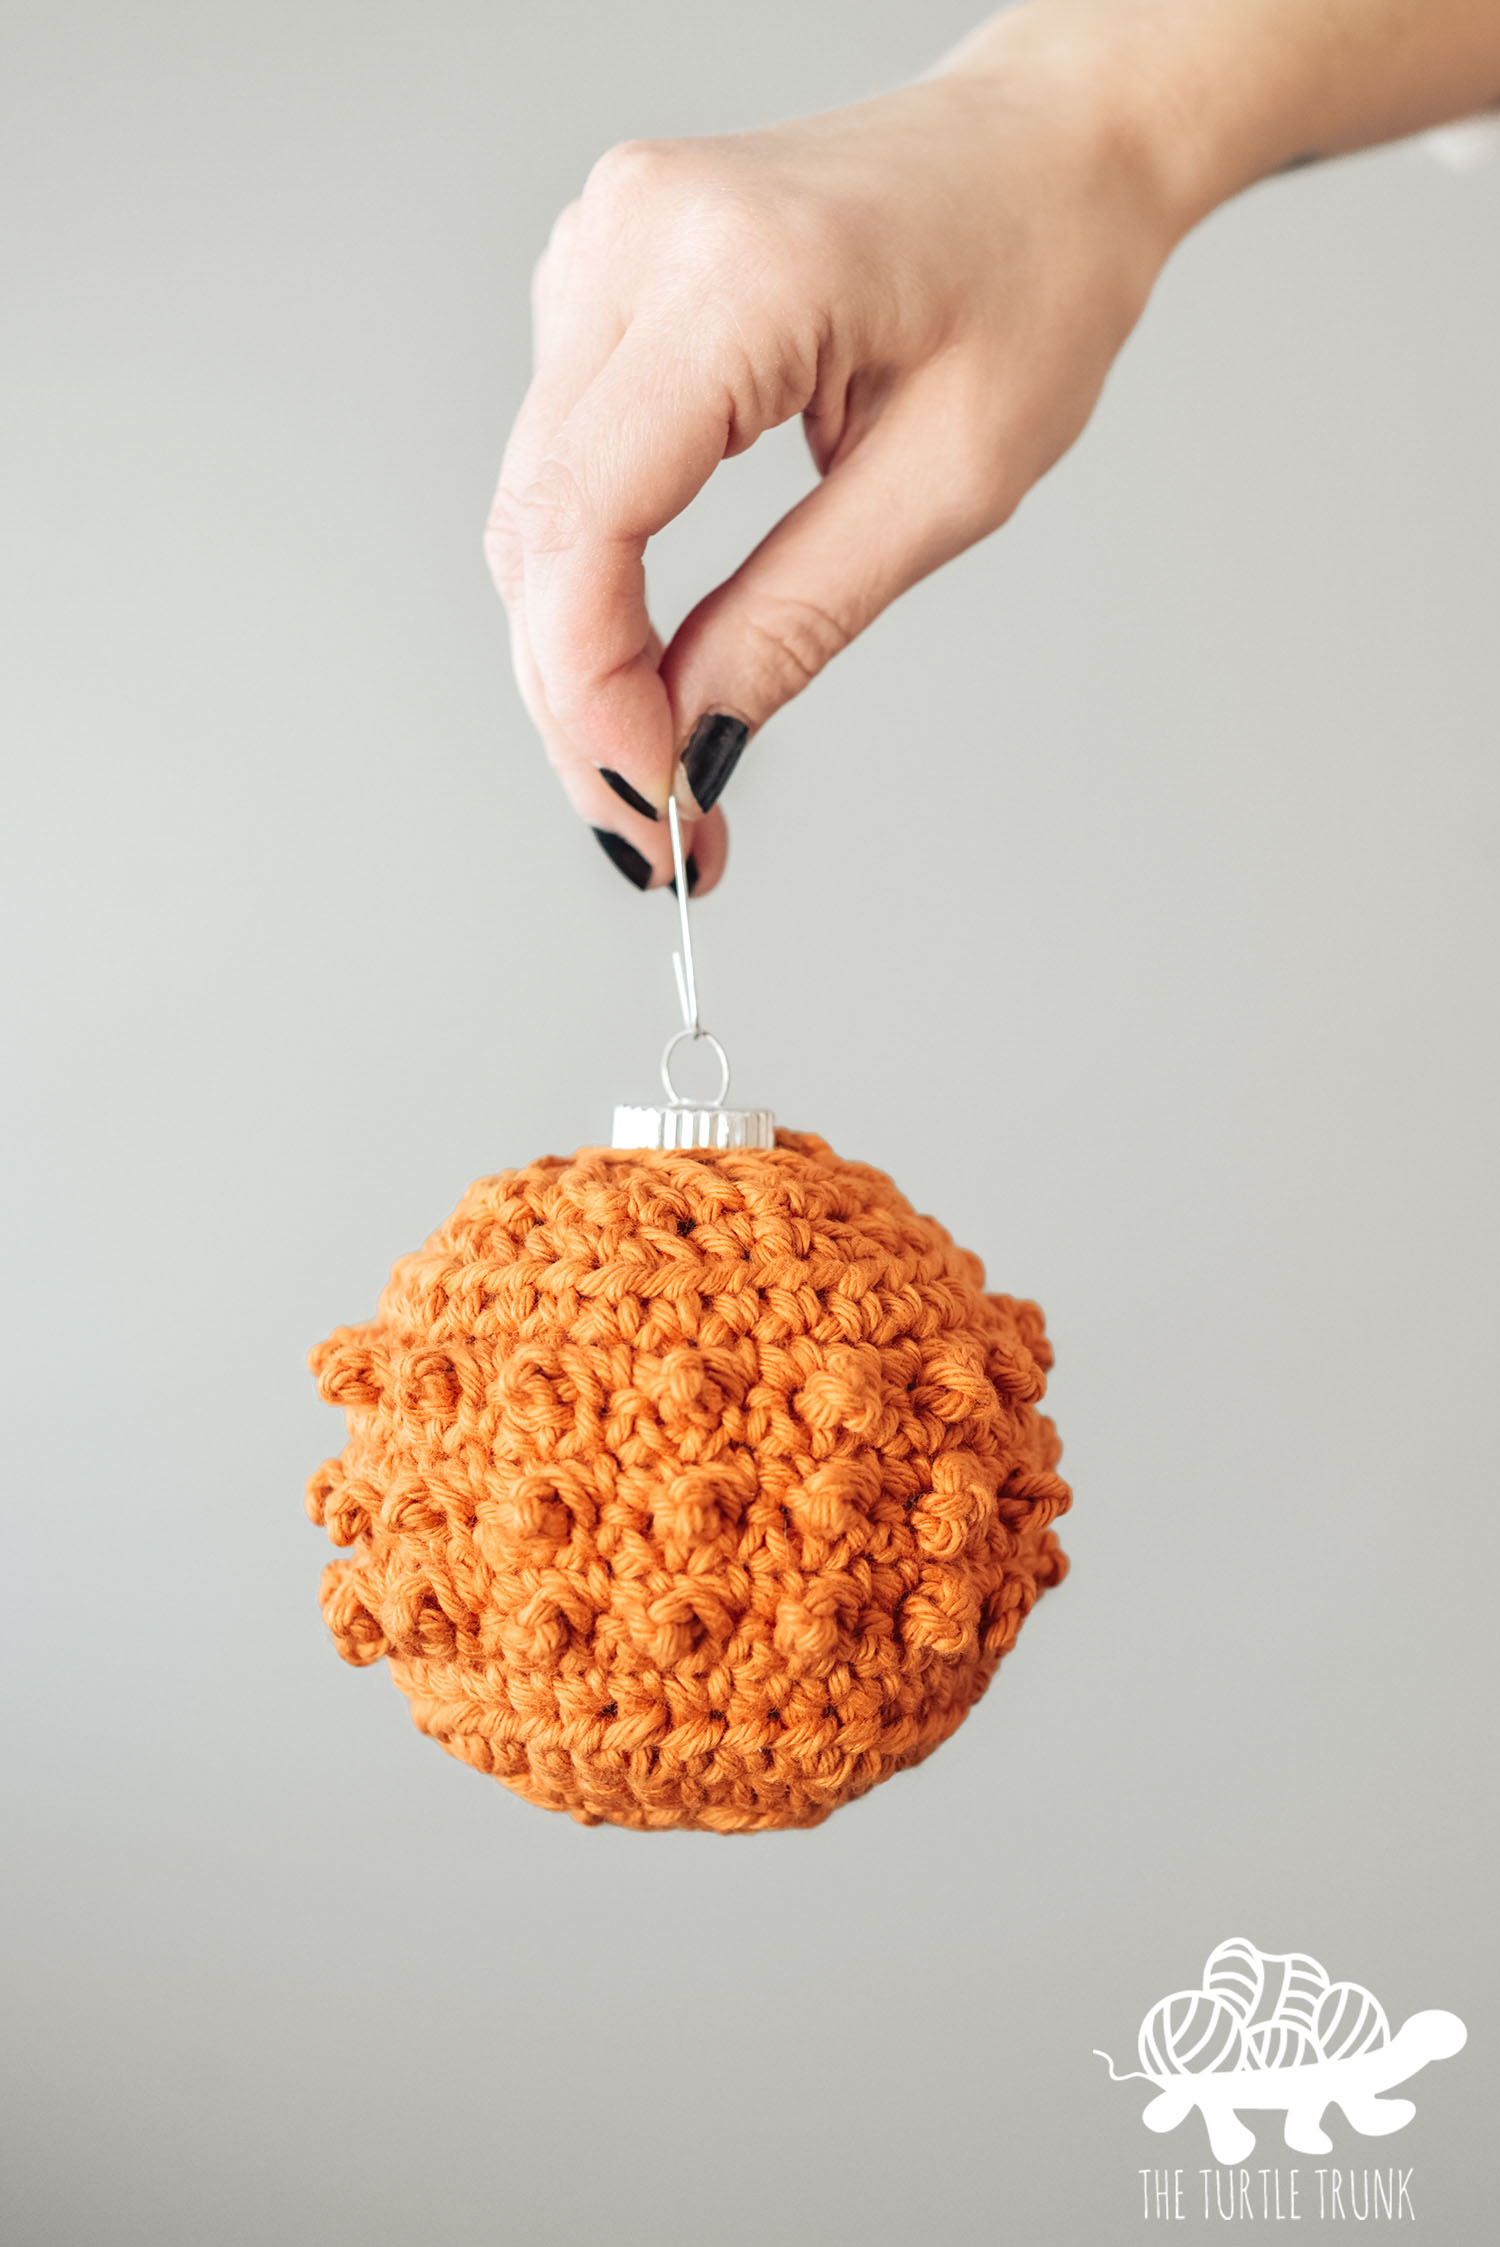
And you’re all done! I hope you enjoyed the Picot Tree Ornament pattern! I can’t wait to see your finished creations, so be sure to tag @theturtletrunk on Instagram!
You are free to sell the items you make with this pattern, and I’d love if you could please link back to this page. You do not have permission to republish or distribute this pattern in any way or claim it as your own. Do not use my photos in your sale listings or for any other purposes. Thank you.
This page includes affiliate links. If you make a purchase from these links, I may make a small commission at no cost to you! Thank you for your support!


