Picot Coffee Sleeve Crochet Pattern
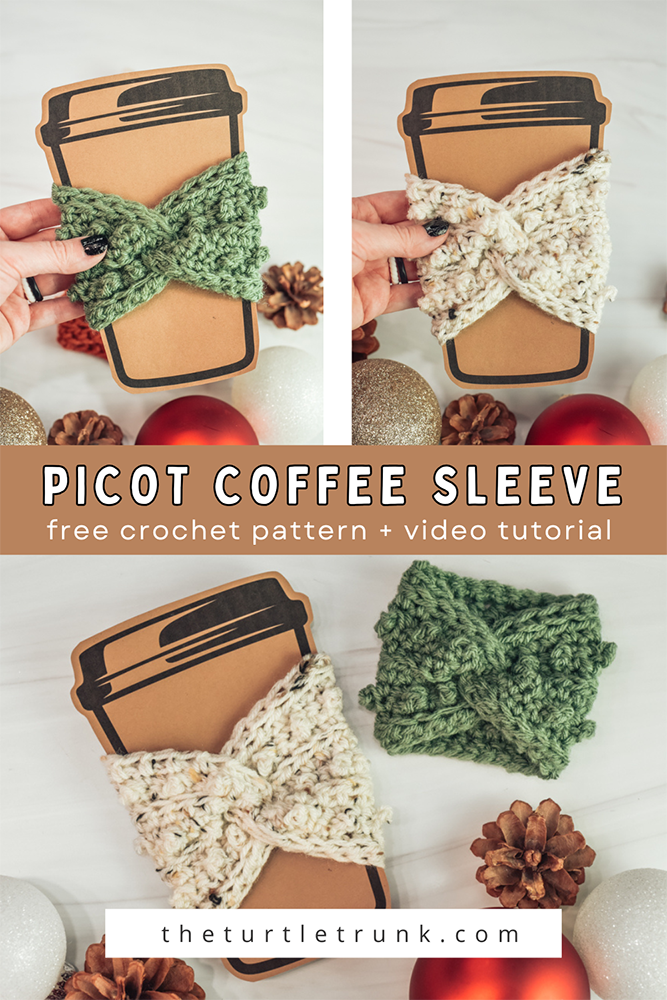
The Picot Coffee Sleeve is a super quick and easy crochet pattern! Perfect for a last minute holiday gift! This pattern includes 2 sizes, works up in 15 minutes, and uses minimal yarn.
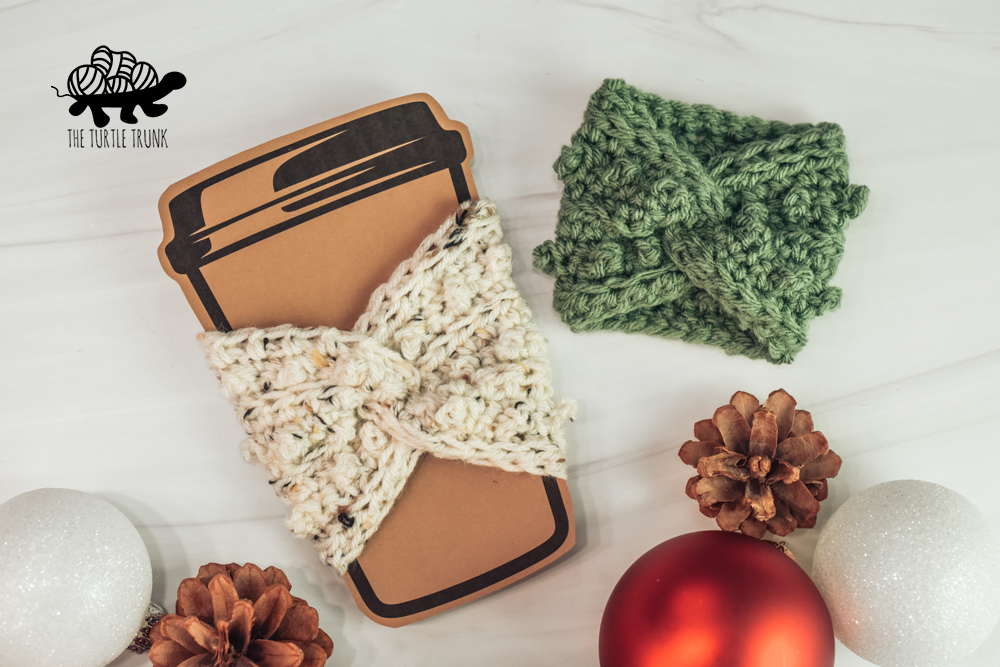
Need a QUICK, last minute Christmas gift?! The Picot Coffee Sleeve is it! It works up in about 15 minutes and would make the perfect stocking stuffer or gift. Pair it with a gift card to a local coffee shop and there’s a gift anyone would love!
The Picot Coffee Sleeve features one of my favorite crochet stitches, the picot single crochet stitch! It’s a cute, little, bumpy stitch that adds amazing texture to your crochet! It also helps your hand grip to your coffee cup so it’s pretty and functional!
Do you like the picot single crochets stitch as much as I do?
If so, check out these other picot patterns I have!
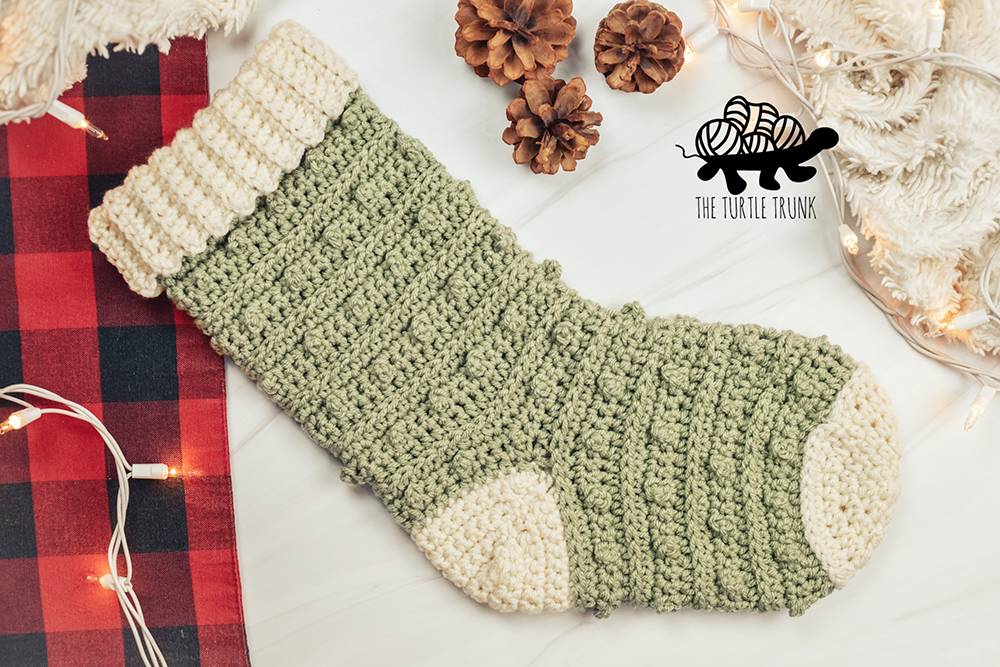
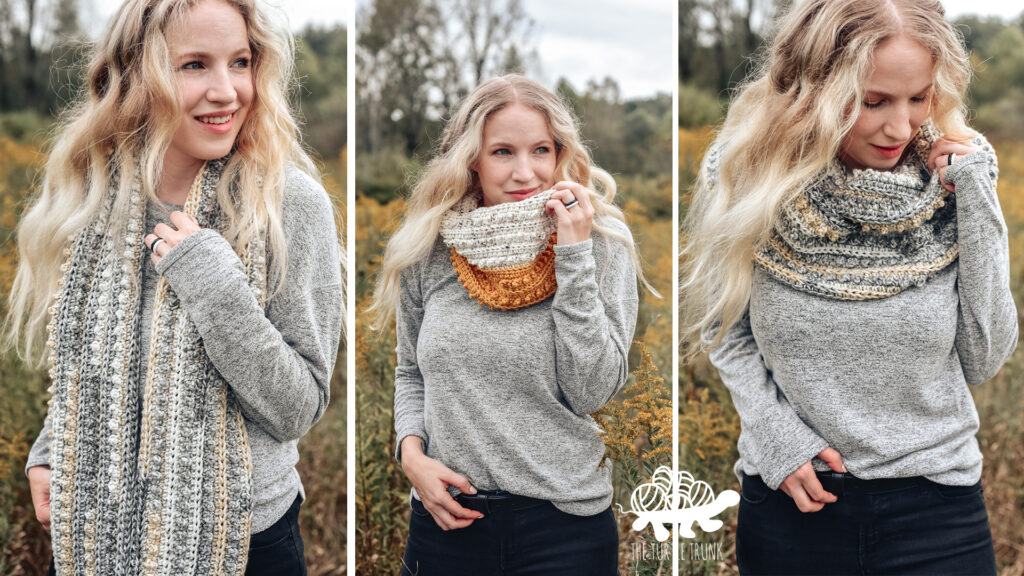
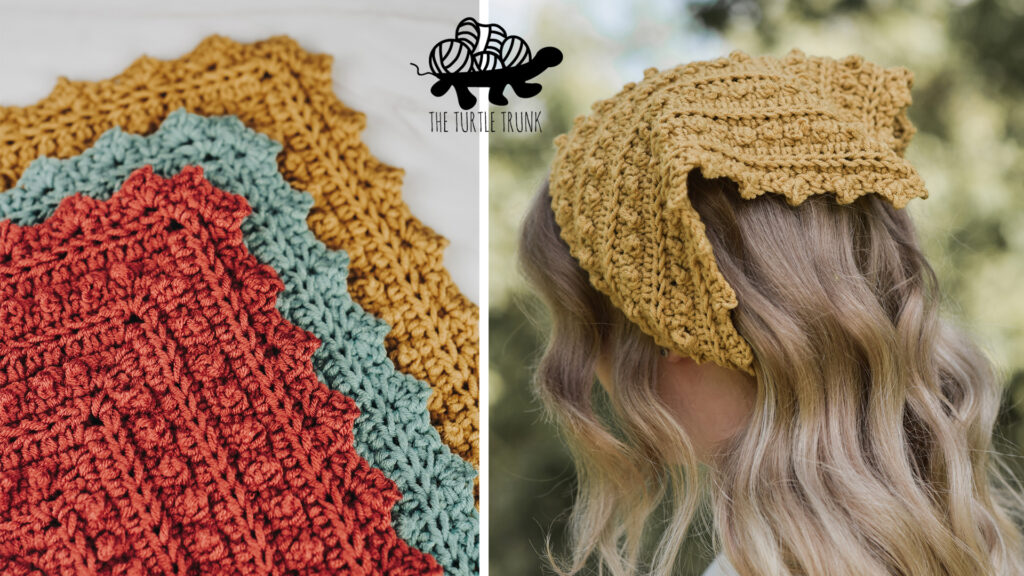
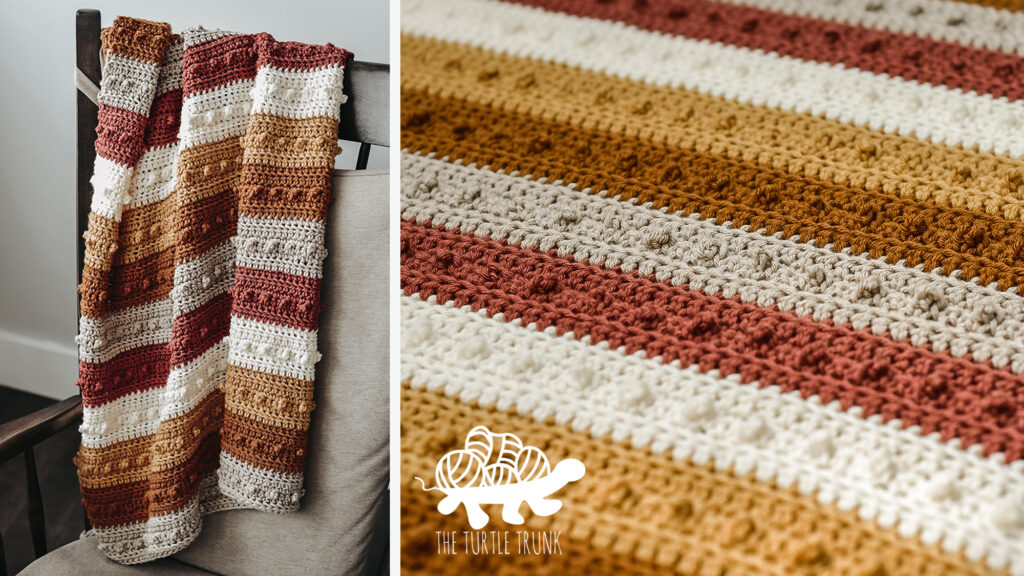
Want to follow along with the ad-free, printable PDF?
You can purchase it HERE on Etsy or HERE on Ravelry!
Looking for last minute holiday gifts or crochet patterns to make for Christmas?
Come hangout with me on YouTube as I share 10 Quick Crochet Patterns for the Holidays!
Coffee Sleeve vs Coffee Cozy – What’s the Difference?
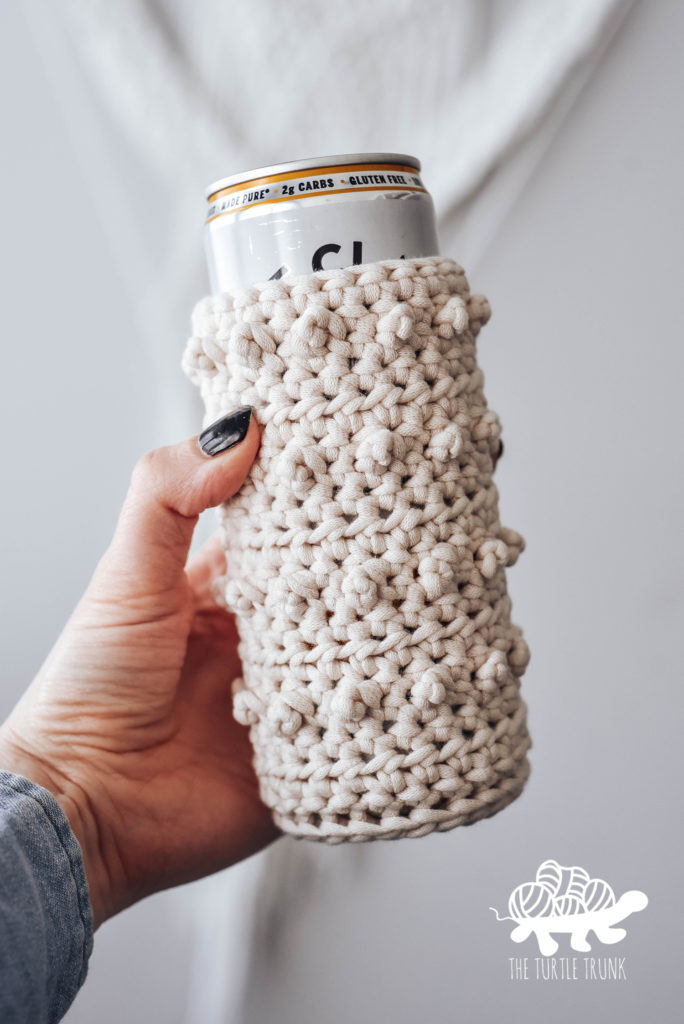
If you’re familiar with my crochet patterns, you may know that I already have the Picot Beverage Holder crochet pattern, which is a both a cup and can cozy. What makes the Picot Coffee Sleeve different is the base, or the lack of one!
The Picot Beverage Holder features a base so it’s perfect for cans. Since cans are cylindrical, a coffee sleeve (without a base) would just slip right off. Since a standard to-go coffee cup widens near the top, you don’t have to worry about the cup slipping straight through the sleeve.
The Picot Beverage Holder can be used for cups too, so picking between the holder and the sleeve is just personal preference!
Other than the base, both patterns to have another major difference in design. The Picot Beverage Holder is worked in the round, so the design looks identical all the way around, while the Picot Coffee Sleeve is worked in back and forth rows and features a faux knotted closure on the front.
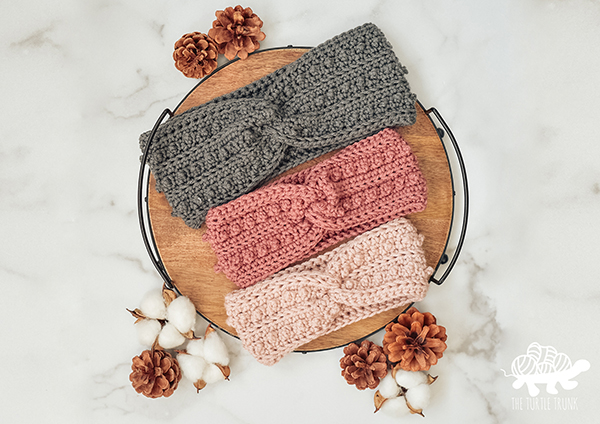
The Picot Coffee Sleeve was designed to match my most popular pattern, the Picot Headband! It’s actually almost identical other than the coffee sleeve being smaller in circumference.
I think it would be such a great gift idea to pair a Picot Headband and Picot Coffee Sleeve together! Maybe also add a coffee shop gift card in there too!
Nor ready to make this pattern just yet?
Save this post to Pinterest!
Follow along with the video tutorial on YouTube!
Best yarn for Coffee Sleeves
For my Picot Coffee Sleeve’s I used Red Heart Super Saver. It’s medium 4 weight, 100% acrylic yarn. You can sub with any medium 4 weight yarn though!
I like this yarn because it’s affordable and provides nice layer between your hand and the cup. It’s comfortable to hold and stretches nicely around the cup.
Other yarn’s I think would work well too are Brava Worsted, Big Twist Value, Yarn Bee Soft and Sleek, and I Love This Yarn.
If you plan on using this coffee sleeve more for iced drinks, then a cotton yarn may work better since it’ll absorb any condensation.
Printable Cup Template
If you’re planning on gifting or selling these sleeves, then you should check out these printable coffee cup templates from The Knotty Boss.
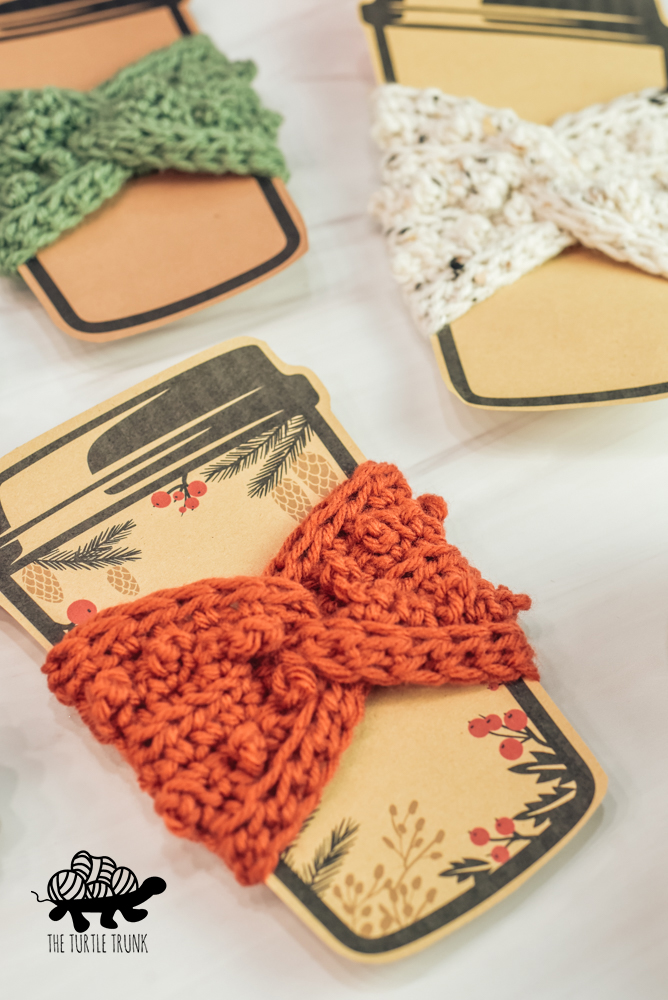
She sells these templates in her online shop HERE and they make your items look so nice and professional, she has different cup designs too for multiple holidays!
I have a discount code to her shop as well, so if you use code TURTLETRUNK30 in her shop you get 30% off, so definitely go check out all the amazing templates she has.
Now let’s get to the pattern!
FOLLOW ALONG WITH THE AD FREE & PRINTABLE PDF PATTERN FROM
ETSY AND RAVELRY!
Difficulty
Easy
Finished Sizes
Regular (8-12 oz cups): 4” wide x 3.5” tall
Tall (12-20 oz cups): 4” wide x 4.5” tall
Notes
- Pattern includes 2 sizes. See how to adjust the size below.
- Adjust the circumference by adding or subtracting the number of stitches you work for Row 1. Be sure to always work an odd number of stitches. Adjust the height by repeating rows 3-6 as many times as desired, each repeat is approximately 1” tall.
- The number in parenthesis at the end of each row represents the total number of stitches to be worked in each row.
- Beginning chains do not count as stitches throughout the whole pattern. At the end of each row, chain 1 and turn, work the first stitch into the last stitch from the previous row.
- Stitches between ** are to be repeated until the end of the row or until otherwise stated.
- The right side of your work will show the texture from the PSC and BLO stitches. The wrong side will be flat.
Supplies
- Medium 4 Weight Yarn – I used Red Heart Super Saver in Light Sage
- Regular: 21 yards / 20 metersTall: 32 yards / 30 meters
- 5.50 mm (I) Crochet Hook
- Yarn Needle
- Scissors
Gauge
6 STs x 7 Rows = 2” x 2” (Rows 1-7)
Adjust hook size up or down to meet gauge
Abbreviations (US Terms)
ST(s) – Stitch(es)
CH – Chain
FHDC – Foundation Half Double Crochet
SC – Single Crochet
SC BLO – Single Crochet Back Loop Only
HDC – Half Double Crochet
PSC – Picot Single Crochet
Special Stitches
Check out the video tutorial if extra assistance is needed for the special stitches.
FHDC – Foundation Half Double Crochet
A FHDC is working your foundation chain and first row of HDC’s together in one.
CH 2, yarn over and insert hook into 2nd CH from hook. Yarn over, pull up a loop, yarn over and pull through the 1st loop on the hook (that is the CH you will work into for the next stitch), yarn over and pull through all 3 loops on your hook. That is the first FHDC. Now working into the CH you created at the bottom of the ST, work your next FHDC. *Yarn over, insert hook into the bottom CH, pull up a loop, yarn over and pull through 1st loop on the hook, yarn over and pull through all 3 loops on your hook.* Repeat ** until you reach the specified length.
If needed, try using a stitch marker to mark where your first stitch was made and/or where you created the CH to help know to work your next stitch.
SC BLO – Single Crochet Back Loop Only
When looking at the top of a stitch you will see 2 loops. The one closest to you is the front loop and the one furthest away from you is the back loop. For a SC BLO, work a single crochet as normal but only work in the back loop of the stitch.
PSC – Picot Single Crochet
Insert your hook into the designated stitch. Pull up a loop, yarn over, and pull through the 1st loop on your hook. Yarn over and pull through the 1st loop again. Yarn over and pull through the 1st loop once more. Yarn over and pull through both loops on your hook. Push the CH 3 you just created behind so that it bumps out on the right side of your work and work the next ST.
Picot Coffee Sleeve Pattern
Regular
Row 1: FHDC 23. CH 1 & turn. (23)
Row 2: SC BLO in each ST across. CH 1 & turn. (23)
Row 3: SC in 1st ST, *PSC, SC*. CH 1 & turn. (23)
Row 4: SC in each ST across. CH 1 & turn. (23)
Row 5: HDC in each ST across. CH 1 & turn, (23)
Row 6: SC BLO in each ST across. CH 1 & turn. (23)
Rows 7-10: Repeat Rows 3-6
Move onto closing and finishing.
Tall
Row 1: FHDC 23. CH 1 & turn. (23)
Row 2: SC BLO in each ST across. CH 1 & turn. (23)
Row 3: SC in 1st ST, *PSC, SC*. CH 1 & turn. (23)
Row 4: SC in each ST across. CH 1 & turn. (23)
Row 5: HDC in each ST across. CH 1 & turn, (23)
Row 6: SC BLO in each ST across. CH 1 & turn. (23)
Rows 7-14: Repeat Rows 3-6
Move onto closing and finishing.
Closing & Finishing
Cut off yarn, leaving a 12” long tail. Lay out sleeve with the right side facing up. Pinch the top and the bottom of both the short ends to themselves and place them interlocking with each other.
Using a yarn needle, whip stitch across the ends, working through all 4 layers. Secure with a few knots and weave in ends. Flip the sleeve right side out.
And you’re all done!
I hope you enjoyed the Picot Coffee Sleeve pattern! I can’t wait to see your finished creations, so be sure to tag @theturtletrunk on Instagram!
You are free to sell the items you make with this pattern, and I’d love if you could please link back to this page. You do not have permission to republish or distribute this pattern in any way or claim it as your own. Do not use my photos in your sale listings or for any other purposes. Thank you
This page includes affiliate links. If you make a purchase from these links, I may make a small commission at no cost to you! Thank you for your support!


