Avocado Crochet Pattern
This avocado crochet pattern is quick, beginner friendly, and uses minimal supplies! This pattern is available for FREE on my blog or you can follow along with the video tutorial on my YouTube Channel! You can also find a printable, PDF version in my Etsy Shop!
Not ready to make just yet? Save this PIN for later!

Design Inspiration
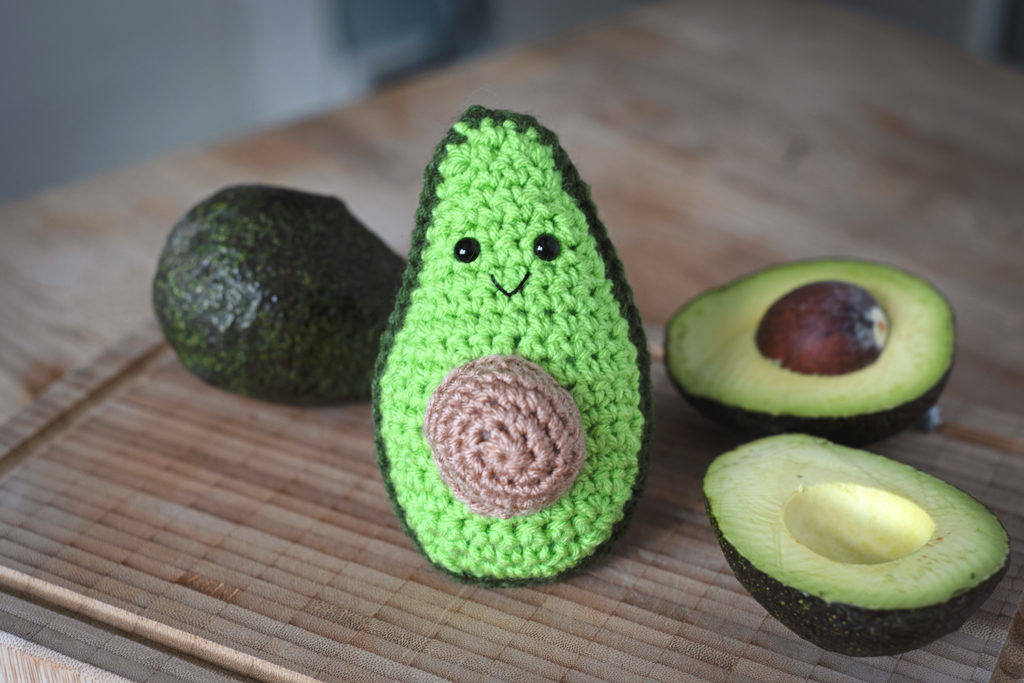
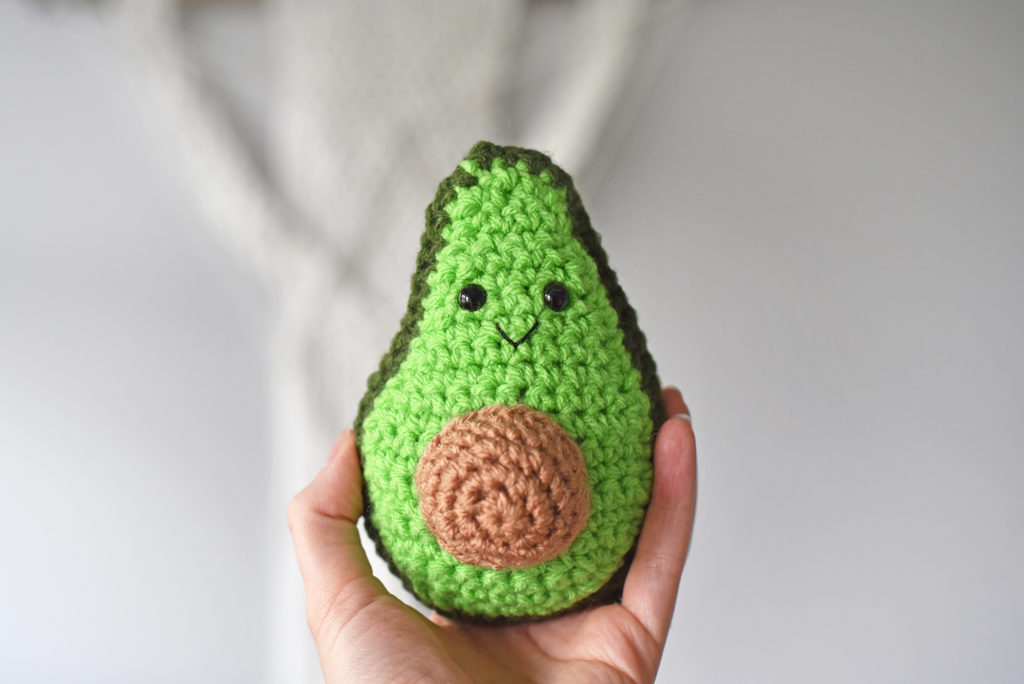
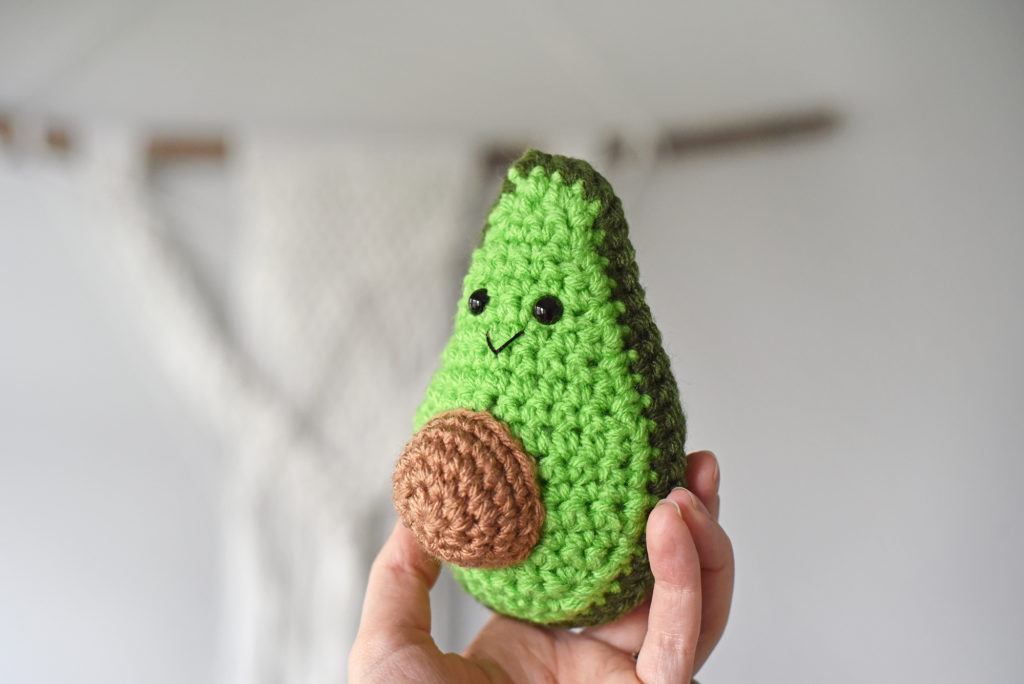
This avocado is the third pattern for the Pregnancy Progress Project! Measuring about 4.5″, it’s the same size as a baby at 16 weeks of pregnancy! Not only is this avocado a cute addition to tracking your pregnancy, it would also make a cute toy for your kid or pet!

Notes
- The main body is worked in rows. You will CH 1 and turn your work at the end of each row. The pit is worked in the round. Use a stitch marker to keep proper count.
- Repeat instructions given between the asterisks (*) until the end of each row/round.
- The number given at the end of each row/round states the total number of stitches for that row/round.
- Final size is approximately 4.5″ tall
Supplies
- Medium (4) weight yarn in Dark Green, Light Green, and Brown
- Hook: 4.00mm (G)
- Polyester Fiber Fill
- Yarn Needle
- Stitch Marker
- Scissors
- 2 8mm Safety Eyes (Optional)
- Black Crochet Thread (Optional)
Abbreviations (US Terms)
ST(s) – Stitch(es)
CH – Chain
SL ST – Slip Stitch
SC – Single Crochet
SC2TOG – Single Crochet Two Together
Pattern
Front (with light green)
CH 7
Row 1: SC in 2nd CH from hook. SC in each remaining CH. (6)
Row 2: CH 1. Turn. 2SC in 1st ST, SC in next 4 STs, 2SC in last ST. (8)
Row 3: CH 1. Turn. 2SC in 1st ST, SC in next 6 STs, 2SC in last ST. (10)
Row 4: CH 1. Turn. 2SC in 1st ST, SC in next 8 STs, 2SC in last ST. (12)
Rows 5-9: CH 1. Turn. SC in each ST across. (12)
Row 10: CH 1. Turn. SC2TOG, SC in next 8 STs, SC2TOG. (10)
Row 11: CH 1. Turn. SC in each ST across. (10)
Row 12: CH 1. Turn. SC2TOG, SC in next 6 STs, SC2TOG. (8)
Row 13: CH 1. Turn. SC in each ST across. (8)
Row 14: CH 1. Turn. SC2TOG, SC in next 4 STs, SC2TOG. (6)
Row 15: CH 1. Turn. SC in each ST across. (6)
Row 16: CH 1. Turn. SC2TOG, SC in next 2 STs, SC2TOG. (4)
Rows 17-18: CH 1. Turn. SC in each ST across. (4)
Row 19: CH 1. Turn. SC2TOG x2 (2)
Do not tie off. SC around the whole panel. Start by working 2 SC in the same ST you just worked into. Then work 1 SC in each row down the left, continue around the whole panel, working 2 SC into each corner and 1 SC into each row/ST. When you reach the beginning SL ST into the 1st SC made. There will be a total of 48 SC around. Tie off.
Pit
(with Brown)
Magic Circle, CH 1
Round
1: SC 7x inside circle (7)
Round 2: 2SC in each ST around (14)
Round 3: *1SC in the first ST, 2SC
in the next* (21)
Rounds 4-5: SC in each ST around
(21)
SL ST into first SC. Tie off leaving a 6” tail. Sew pit onto front of Avocado, centered and approx. between rows 3 & 11. Stuff before closing.
Add eyes to the front of the Avocado, 3-4 STS apart and between rows 15 & 16. Using crochet thread, add mouth centered between eyes and down 1 round.
Back (with Dark Green)
Repeat instructions for the front. After working the 48 SC around, do not tie off. Place the front panel on top of the back panel. With your yarn still attached to the back, SC the 2 pieces together, working 1 SC in each ST around. Stuff before closing. SL ST to the 1st SC. Tie off and weave end into the back of the avocado.
And you are all done! I hope you enjoyed the pattern for this amigurumi avocado! Be sure to show off your finished avocado on Instagram and don’t forget to tag me!
Find the free video tutorial HERE
You are free to sell the items you make with this crochet pattern, and I’d love if you could please credit The Turtle Trunk as the pattern designer. You do not have permission to republish or distribute this pattern in any way or claim it as your own. Do not use my photos in your sale listings or for any other purposes. Thank you.
This page includes affiliate links. If you make a purchase from these links, I may make a small commission at no cost to you! Thank you for your support!