Canadian Flag Blanket Crochet Pattern
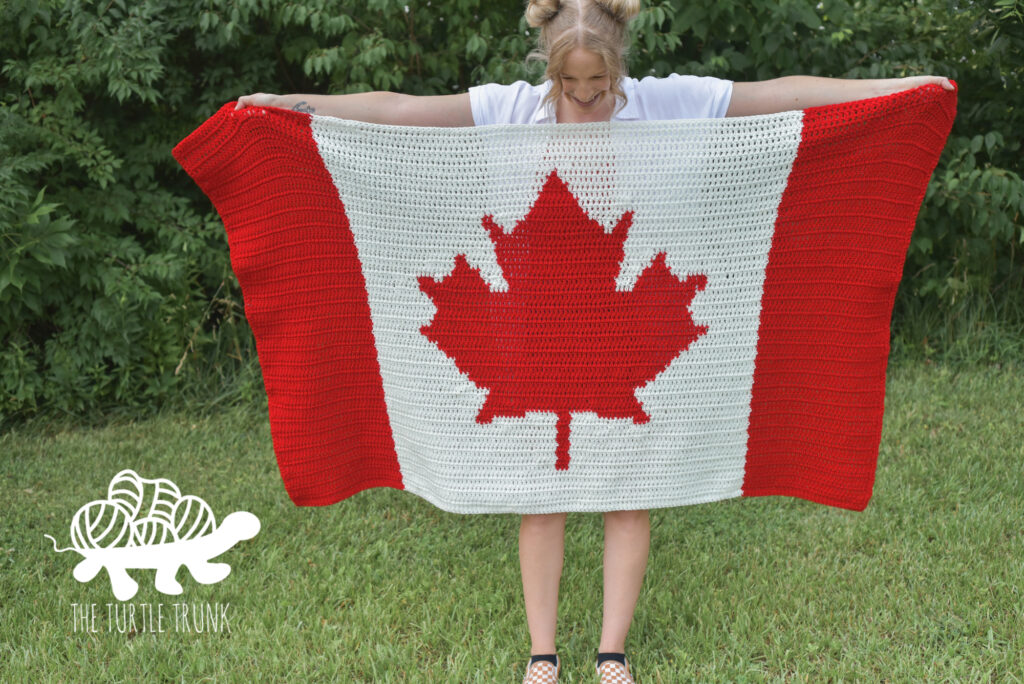
Crochet your own Canadian Flag Blanket with this free crochet pattern! Picnic on in the summer or to cuddle up with it in the winter, this crochet Canadian Flag Blanket is perfect for any Canadian to enjoy! This crochet blanket pattern uses basic crochet stitches and color changes to create the iconic maple leaf flag. Follow along with the full written instructions, graph, and video tutorial below!
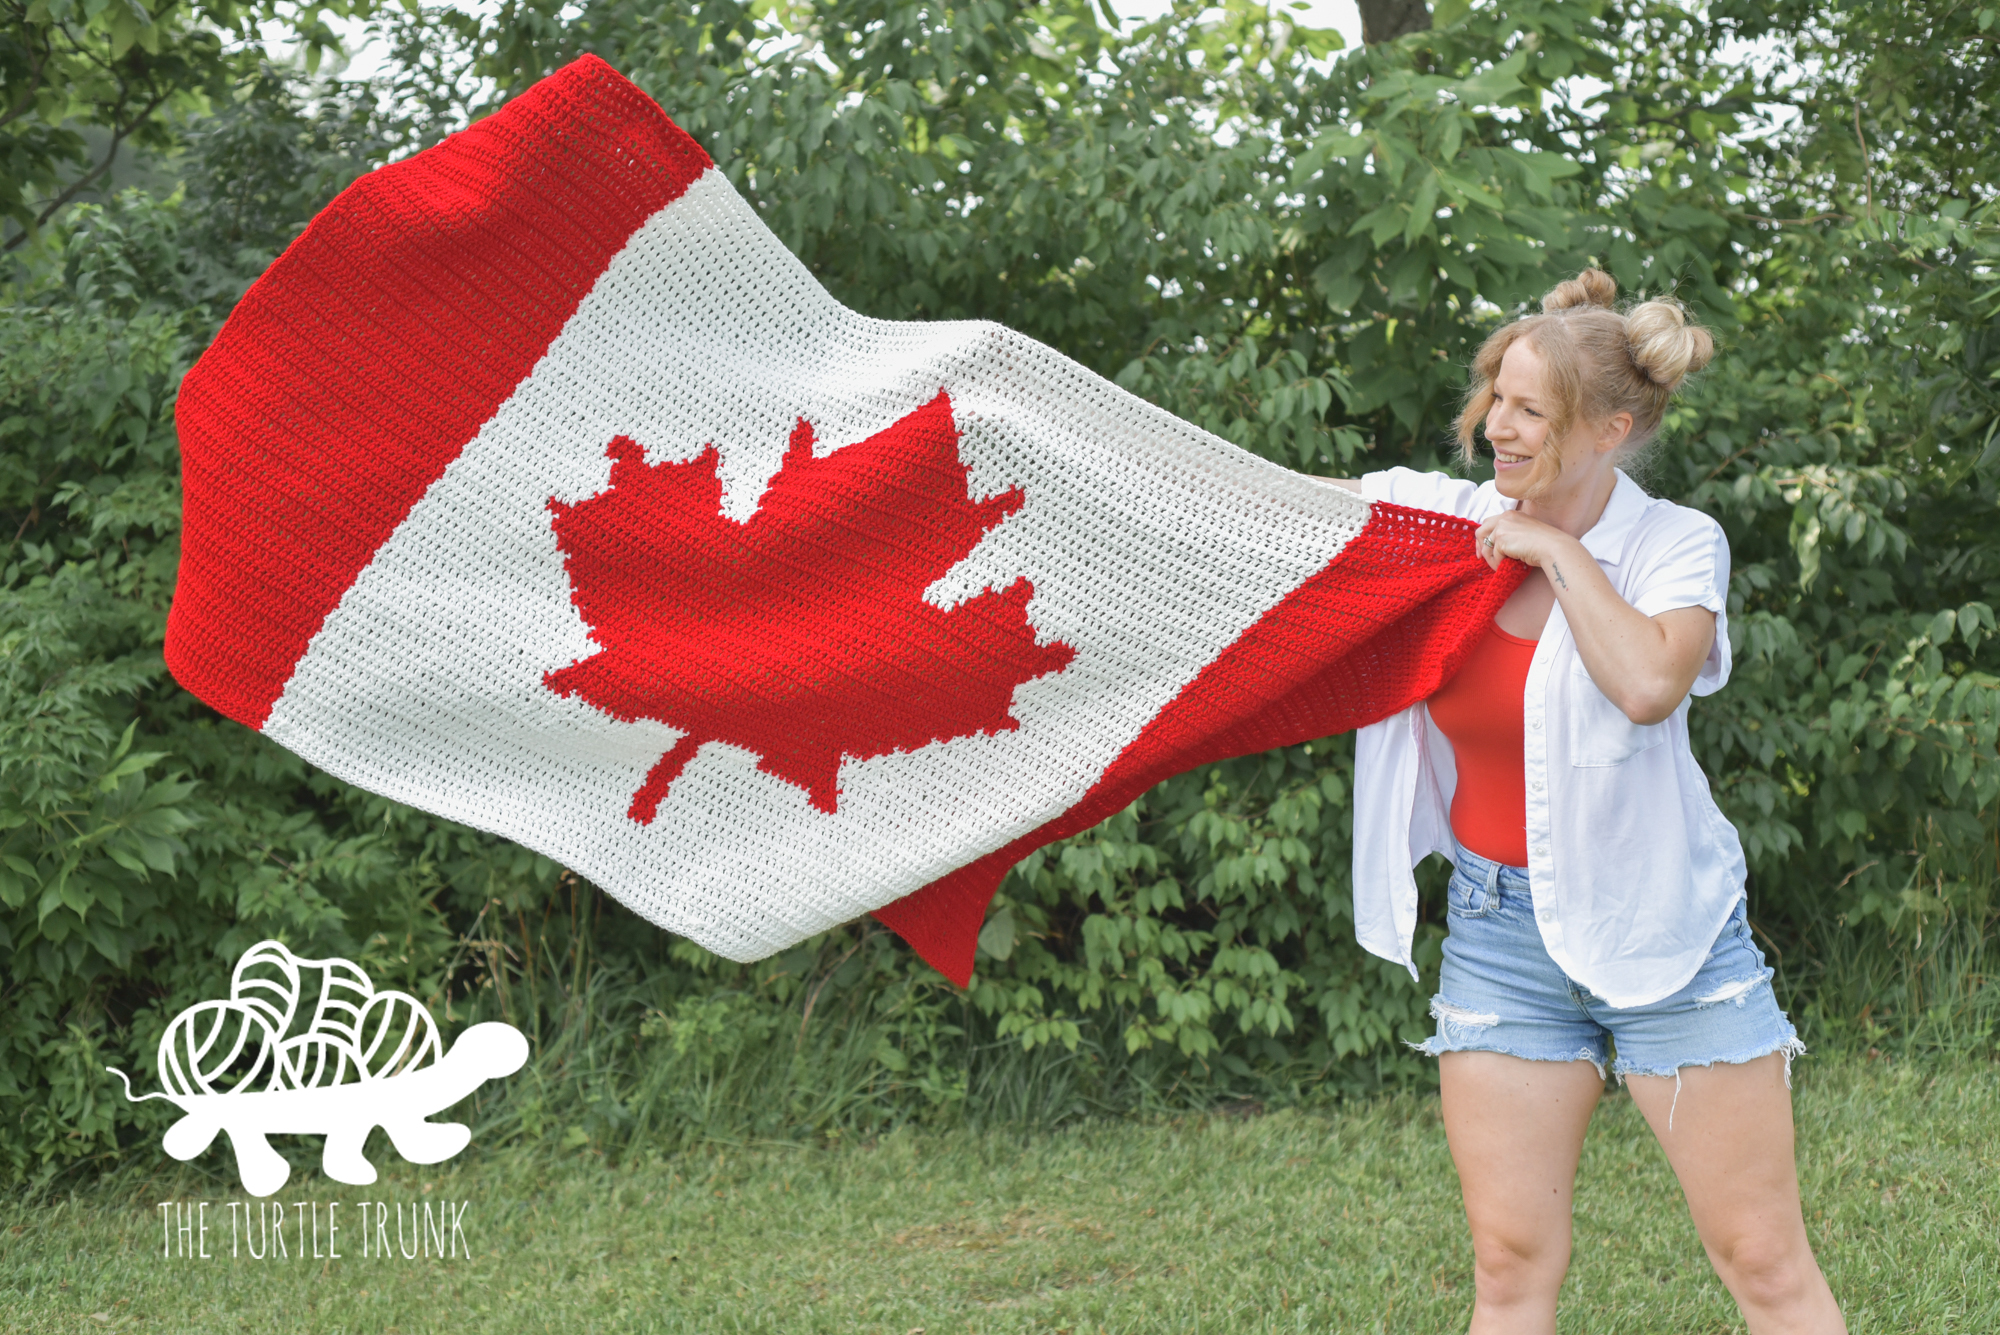
Happy (almost) Canada Day to all my Canadian friends! I only started crocheting this Canadian Flag Blanket a few weeks ago but gave myself the deadline of July 1 to get this done for Canada Day and here we are only 1 day before but I made it! Yay!
I am so excited to share this free crochet pattern with you today! I’ve been wanting to design this blanket for years and just ever got around to it until now!
This Canadian Flag Blanket measures approximately 60″ x 42″, making the perfect lap sized blanket. Cuddle up with it on chilly nights, wrap around your shoulders while enjoying the Canada Day fireworks, or use on a summer day at a picnic!

Since this Canadian Flag Blanket uses only double crochet stitches, it works up surprisingly fast. Once you get used to changing between colors, you’ll be able to crochet this blanket in no time!
Continue reading below to hear my inspiration for this pattern and to learn more about the yarn I used, then scroll down for the free written crochet pattern!
FOLLOW ALONG WITH THE AD FREE & PRINTABLE PDF PATTERN FROM
ETSY AND RAVELRY!
Check out these other free crochet blanket patterns by The Turtle Trunk, like the American Flag Blanket, Bebe Baby Blanket, Love to Cuddle Blanket, Bonfire Blanket, and Picot Blanket.


NOT READY TO MAKE JUST YET?
SAVE THIS PATTERN TO PINTEREST!
FOLLOW ALONG WITH THE VIDEO TUTORIAL ON YOUTUBE!
Inspiration
I was born and raised in Alberta, Canada and moved to the United States about 10 years ago and have lived here ever since! I visit my family in Canada often and loved growing up there. It has a special place in my heart and I will always consider Canada a home.
A few years ago I crocheted an American Flag Blanket for the 4th of July! It was a huge project that took many, many hours but it was worth all the work in the end! Since then I’ve been really wanting to crochet a Canadian Flag Blanket but had never seemed to find the time, and until now!
With only a few weeks until Canada Day (July 1), I decided to make that my deadline and got to work! I went out and bought the yarn I needed, made a color chart, and started crocheting!
Unfortunately when I got about 1/3 of the way done, I noticed my 2 skeins of white yarn were slightly different shades so I had to frog my entire project and start again. Luckily the rest of the blanket went smoothly and I finished it just days before Canada Day!
Yarn
Let’s talk yarn! Of course you need the iconic red and white!
I used Red Heart Super Saver in the colors Cherry Red and Soft White for my Canadian Flag Blanket.
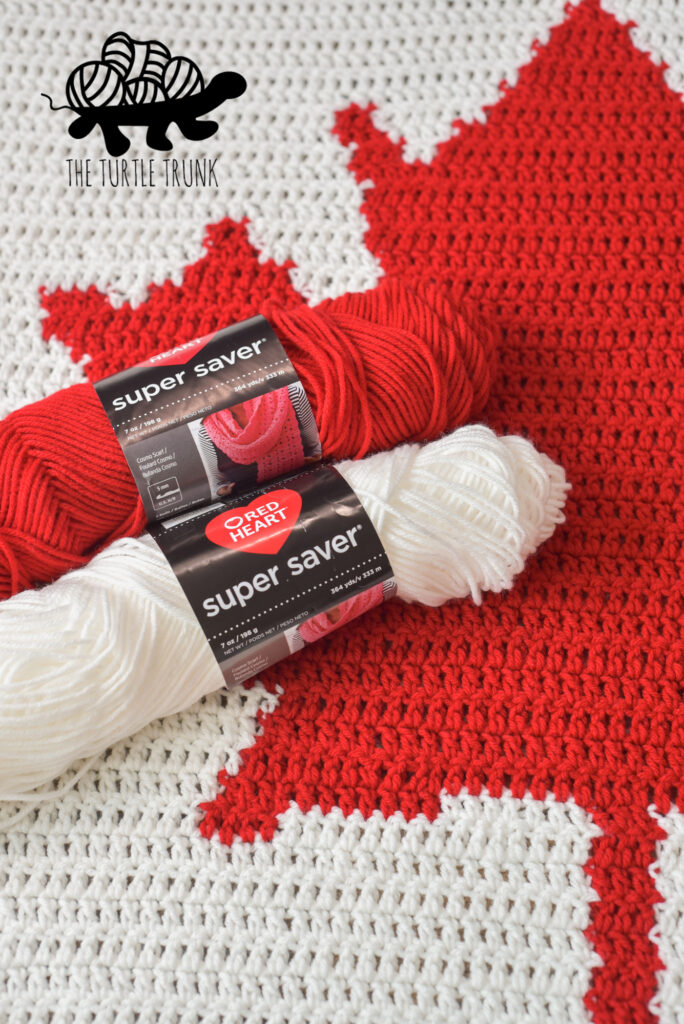
Cherry Red I feel is a true Canadian Flag color. It’s quite vibrant and offers a neutral tone in my opinion. I bought and used from 3 skeins of red yarn for this blanket and had quite a bit left over.
Red Heart Yarns does have other red options if you want to make your blanket in a darker tone, like with Burgundy, or in a brighter, warmer tone like with Hot Red.
Soft White is exactly what it sounds like, it’s a nice white shade that’s not too harsh and bright. It also has the slightest touch of cream to it without it making too yellow, which helps tone down the brightness of it. I used 2 skeins of this yarn.
Where to buy
I bought my yarn from Joann, which I know is an American company and the links I share for yarn are from amazon.com. But luckily Red Heart Super Saver is also available at Amazon.ca, Yarnspirations.com and Walmart.
Feel free to substitute with any medium (4) weight yarn that you’d like though!
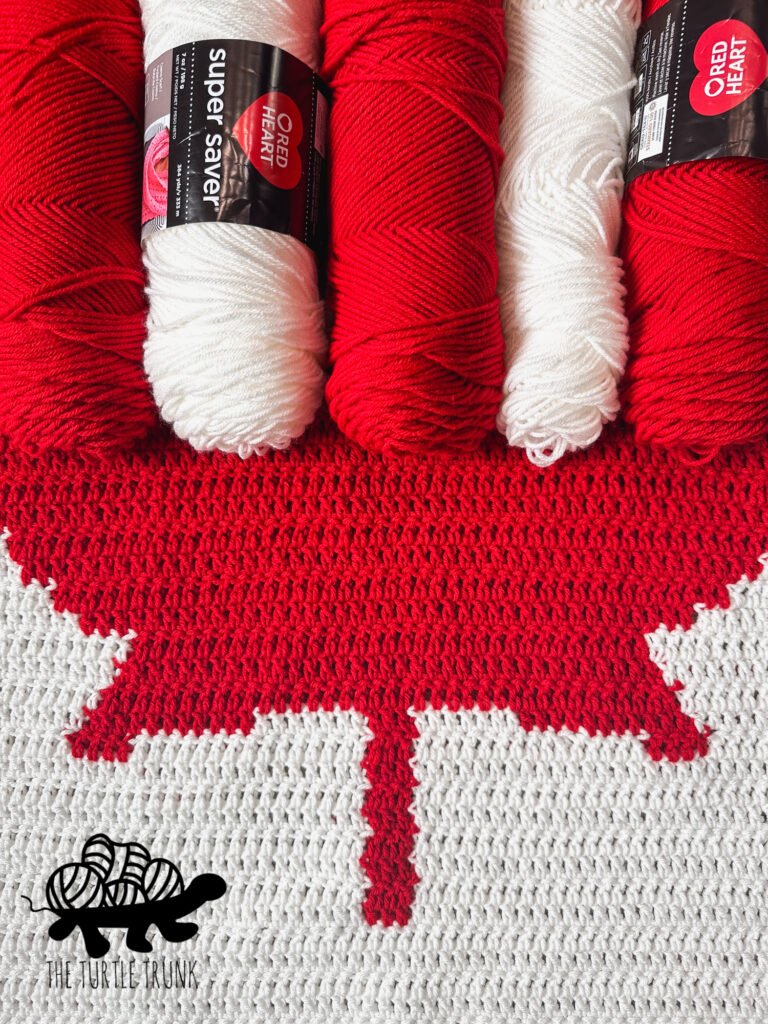
Now let’s talk about HOW we’re going to create this maple leaf design!
It may look complicated, but I promise it’s quite easy to create once you get the hang of changing colors and using multiple skeins/bobbins of yarn! We’re going to use a technique called Intarsia Crochet!
If you’re more of a visual learner, or just need a better explanation, check out the video tutorial for this pattern HERE! I find it easier to SHOW you how to do something as a visually learner myself, I am also a visual teacher.
Let me try my best to explain intarsia crochet.
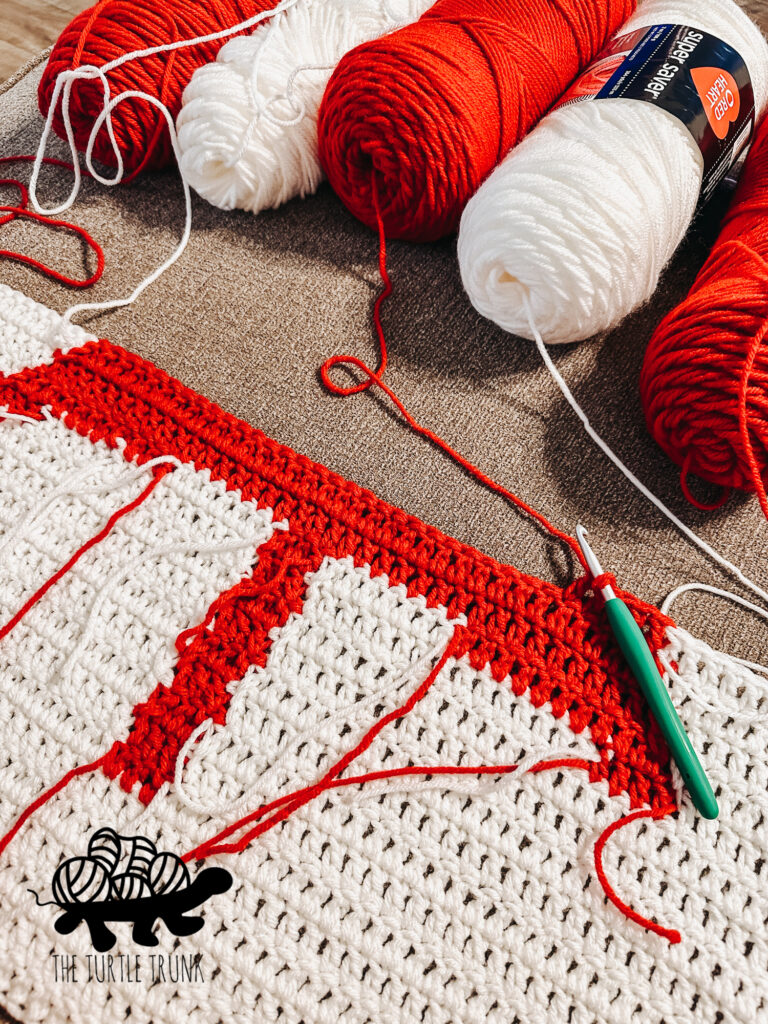
Intarsia Crochet
This pattern uses the Intarsia Crochet technique, where you start a new skein (or bobbin) of yarn for each color change then drop and pick-up bobbins as needed.
This method creates a design that is two sided. No yarn is carried behind the other color (fair isle crochet), instead with intarsia crochet, when you are done with one color you will drop it and start a new color. The use of bobbins (small balls of yarn or skeins) come in handy so you can pick up yarn from it instead of constantly cutting and attaching again. This method will keep your work looking nice on both sides as well as keeping yarn ends to a minimum.
I worked from 3 skeins of red yarn: 1 for the right side, 1 for the maple leaf, and 1 for the left side, and from 2 skeins of white: 1 for the right side of the maple leaf and 1 for the left side. There are parts where only a few yards/meters of yarn are needed so I cut yarn from the opposite side of a working skein when needed.
How to Change Colors
You will change color on the last DC before a new color starts.
Start the last DC as usual, before the final pull through, when only 2 loops remain on your hook, drop the current color and pick up the new color. Finish the stitch by pulling through the 2 loops on your hook with the new color. The next DC you work will be the first of the new color.
Be sure your tail ends are all on the WS of your project.
Do not cut off the last color.
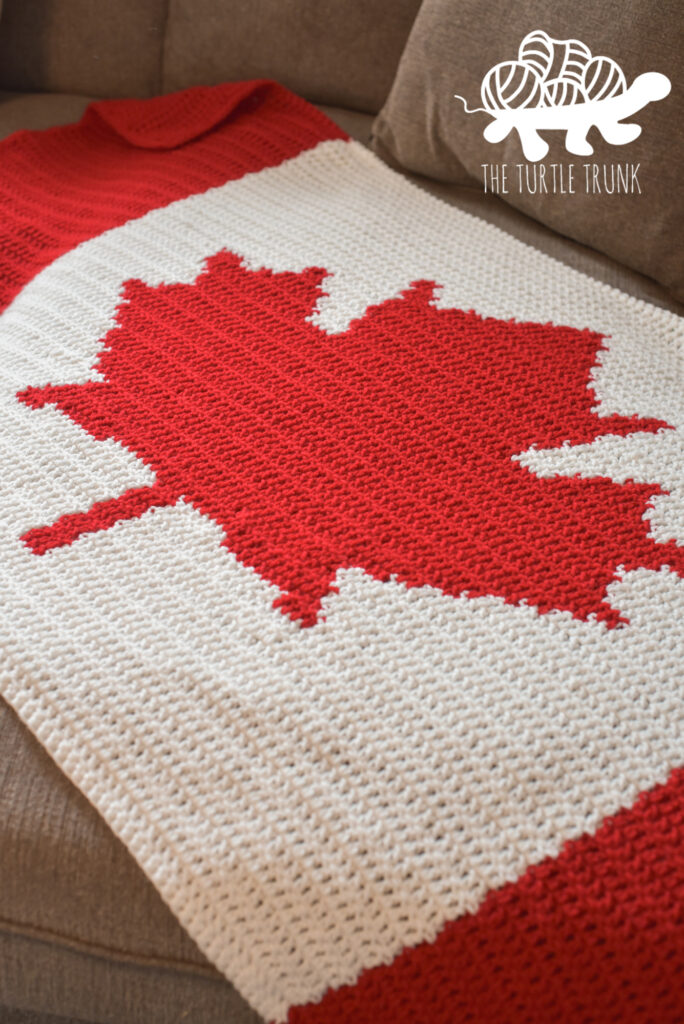
ways to make
There are 2 ways to follow along with this pattern, written instructions and a graph. You can use one or the other or both! I personally found the written instructions easiest to follow along with, since the graph is so large and the numbers and squares are so small. But feel free to use whatever method is easiest for you! You can find both down below and both are included in the PDF pattern on Etsy and Ravelry.
And don’t forget, to check out the video tutorial for help! The video does not go through the entire pattern (that would be a very long video), but it does offer assistance for the more confusing parts.
One last thing
One more thing I want to mention before we get started is a difference between my blanket and the photos you’ll see in this post and the pattern.
After crocheting my blanket, I wish I had added more rows to the top and the bottom of this blanket so there was more space above and below the maple leaf.
So I added 4 more rows to both the top and bottom, which added about 2.5″ to both (5″ total). Just keep that in mind if you are referencing my photos, yours should be a little wider (taller) and with 10 rows above and below the maple leaf, instead of only 6 like mine!
Now, if you’re ready to get started, let’s grab our supplies and let’s get making!
DIFFICULTY
Advanced Beginner
GAUGE
10 STs x 6 Rows = 4” x 4” in DC.
Adjust hook size up or down to meet gauge.
Notes
- This pattern includes both written instructions and a graph. You can follow along with one or both.
- See instructions above for how to change colors and use bobbins.
- Row 1 uses a FDC stitch. From row 2 on, only DC stitches are used.
- At the end of each row CH 2 & turn. CH 2 does not count as a stitch.
- Written Instructions: each row will have an arrow beside it telling you which direction that row will be worked. When working on the right side (RS) you will see ‘<’. When working on the wrong side (WS) you will see ‘>’. Make sure all loose ends are on the wrong side.
- This pattern is written in simplified terms, so each row will tell you the color to use and the number of stitches for that color. Ex. A32, B89, A32, means: DC 32 using color A, then 89 DC using color B, then DC 32 using color A again.
- Graph: each square on the graph represents one DC.
- The numbers on the side of the graph represent the row number. You will be working on the right side of the blanket when crocheting the odd numbered rows and wrong side of the blanket when crocheting the even numbered rows.
SUPPLIES
- Medium (4) weight yarn in Red & White
(I used Red Heart Super Saver in the colors Cherry Red (A) and Soft White (B).- Color A (Red) – 750 yards / 686 meters
- Color B (White) – 578 yards / 529 meters
- 5.50 mm (I) Hook
- Yarn Needle
- Scissors
ABBREVIATIONS (US TERMS)
ST(s) – Stitch(es)
SL ST – Slip Stitch
CH – Chain
SC – Single Crochet
DC – Double Crochet
FDC- Foundation Double Crochet
RS – Right Side
WS – Wrong Side
Canadian Flag Blanket crochet pattern – graph

Canadian Flag Blanket Crochet Pattern
Starting with Color A
< Row 1 [RS]: FDC A32, B89, A32. CH 2 & turn. (153)
Rows 2 – 10: A32, B89, A32.
Rows 11 – 17: A32, B43, A3, B43, A32.
> Row 18 [WS]: A32, B24, A4, B15, A3, B15, A4, B24, A32.
< Row 19 [RS]: A32, B25, A11, B7, A3, B7, A11, B25, A32.
> Row 20 [WS]: A32, B26, A37, B26, A32.
< Row 21 [RS]: A32, B27, A35, B27, A32.
> Row 22 [WS]: A32, B28, A33, B28, A32.
< Row 23 [RS]: A32, B25, A39, B25, A32.
> Row 24 [WS]: A32, B23, A43, B23, A32.
< Row 25 [RS]: A32, B21, A47, B21, A32.
> Row 26 [WS]: A32, B20, A49, B20, A32.
< Row 27 [RS]: A32, B18, A53, B18, A32.
> Row 28 [WS]: A32, B16, A57, B16, A32.
< Row 29 [RS]: A32, B14, A61, B14, A32.
> Row 30 [WS]: A32, B12, A65, B12, A32.
< Row 31 [RS]: A32, B15, A59, B15, A32.
> Row 32 [WS]: A32, B16, A57, B16, A32.
< Row 33 [RS]: A32, B17, A55, B17, A32.
> Row 34 [WS]: A32, B16, A57, B16, A32.
< Row 35 [RS]: A32, B15, A59, B15, A32.
> Row 36 [WS]: A32, B13, A16, B4, A23, B4, A16, B13, A32.
< Row 37 [RS]: A32, B13, A4, B2, A9, B5, A23, B5, A9, B2, A4, B13, A32.
> Row 38 [WS]: A32, B21, A6, B5, A25, B5, A6, B21, A32.
< Row 39 [RS]: A32, B22, A3, B7, A25, B7, A3, B22, A32.
> Row 40 [WS]: A32, B22, A2, B7, A27, B7, A2, B22, A32.
< Row 41 [RS]: A32, B31, A27, B31, A32.
> Row 42 [WS]: A32, B31, A27, B31, A32.
< Row 43 [RS]: A32, B30, A29, B30 A32.
> Row 44 [WS]: A32, B30, A3, B2, A19, B2, A3, B30, A32.
> Row 45 [RS]: A32, B29, A3, B4, A17, B4, A3, B29, A32.
< Row 46 [WS]: A32, B29, A2, B7, A13, B7, A2, B29, A32.
> Row 47 [RS]: A32, B39, A11, B39, A32.
> Row 48 [WS]: A32, B40, A9, B40, A32.
< Row 49 [RS]: A32, B41, A7, B41, A32.
> Row 50 [WS]: A32, B42, A5, B42, A32.
< Row 51 [RS]: A32, B43, A3, B43, A32.
> Row 52 [WS]: A32, B44, A1, B44, A32.
Rows 53 – 62: A32, B89, A32.
At the end of Row 62, leave current Color A yarn attached and cut off other bobbins.
Border
CH 1. Working down the left side of the blanket with the WS facing up, SC across (for an even border work 2 SC stitches into the edge of each row). When you reach the bottom corner, CH 2 and pivot your blanket 90° so you’re now working across the bottom row. Work 1 SC into each ST across, changing colors when needed. CH 2 at the corner, pivot 90° to the next side, 2 SC into each row across. Then CH 2, pivot 90°, SC in each ST across the top, changing colors when needed. CH 2 and join with a SL ST to the 1st SC of the border.
Tie off yarn and weave in ends.
And you’re all done!
Thank you for trying out my Canadian Flag Blanket crochet pattern! Show off your finished creation by tagging @theturtletrunk on Facebook and Instagram!
You are free to sell the items you make with this pattern, and I’d love if you could please link back to this page. You do not have permission to republish or distribute this pattern in any way or claim it as your own. Do not use my photos in your sale listings or for any other purposes. Thank you.
This page includes affiliate links. If you make a purchase from these links, I may make a small commission at no cost to you! Thank you for your support!


