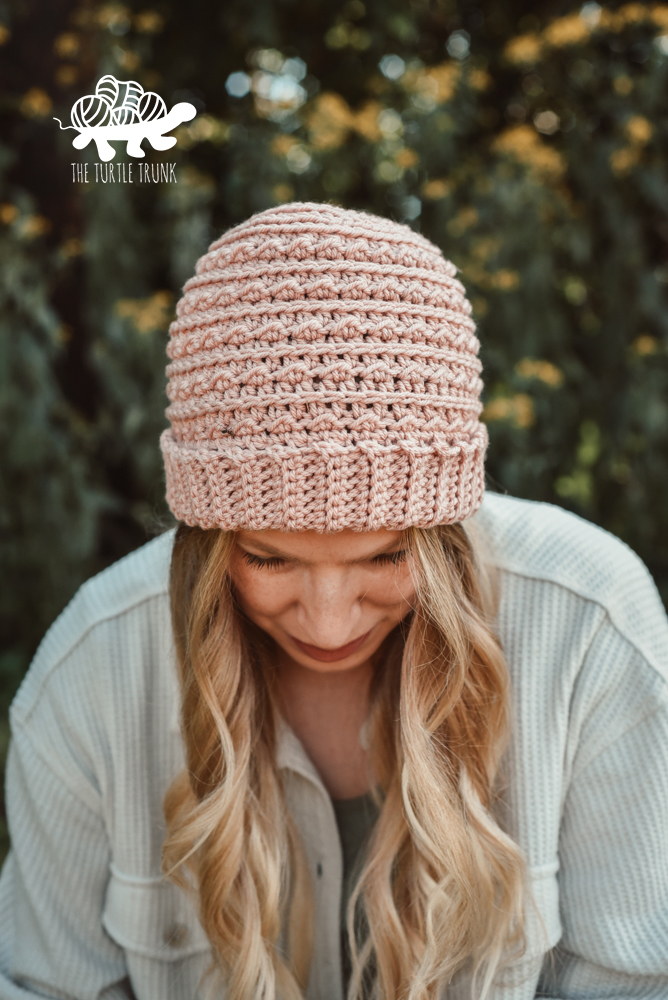
Basic Ridge Beanie Crochet Pattern
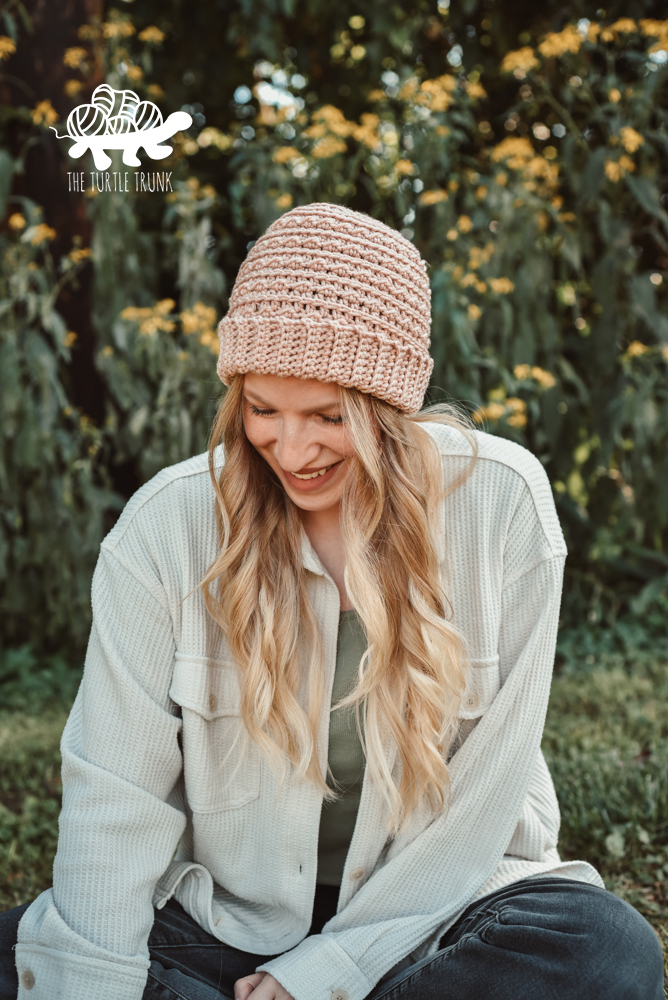
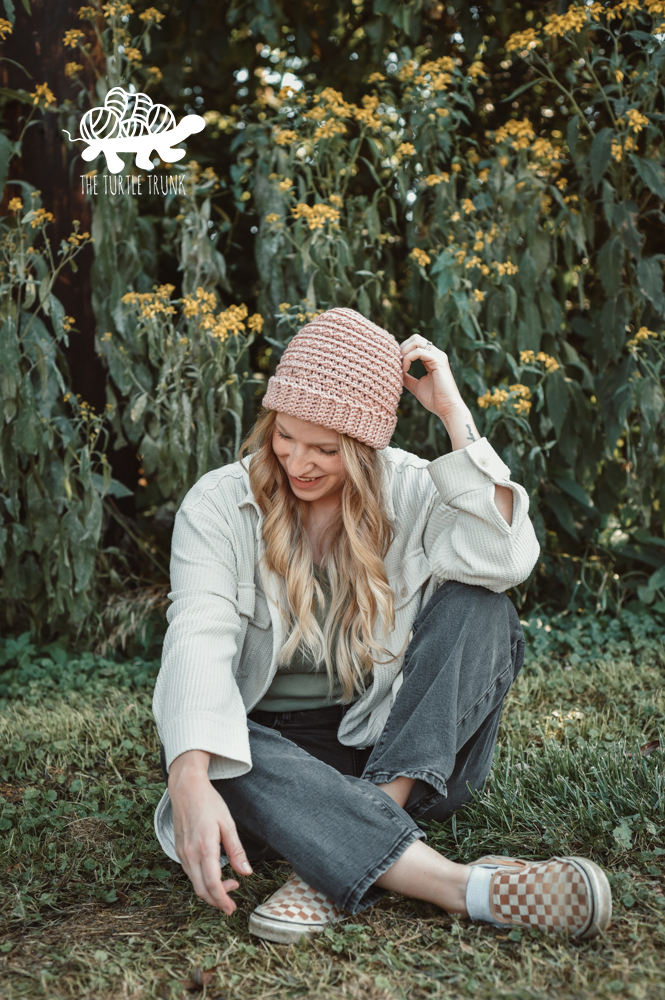
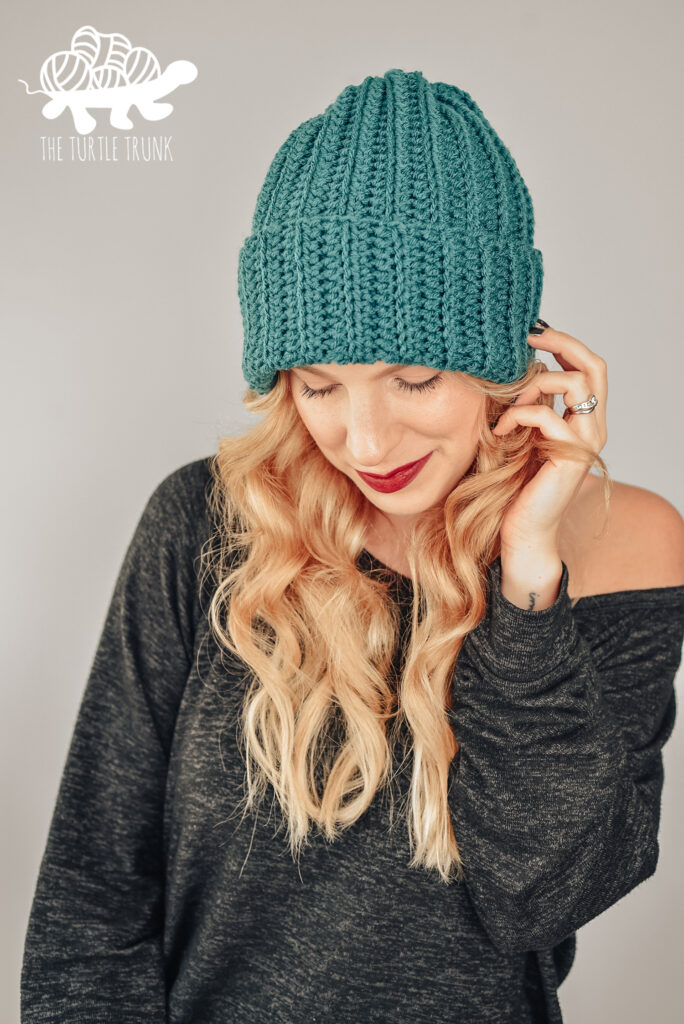
The Basic Ridge Beanie features a fun, textured pattern using only a few basic crochet stitches! This easy crochet hat includes 8 sizes, ranging from newborn to adult large, making it perfect for all sizes, ages, and genders! It’s warm and cozy, with a fold over brim, making it a great accessory for the colder months!
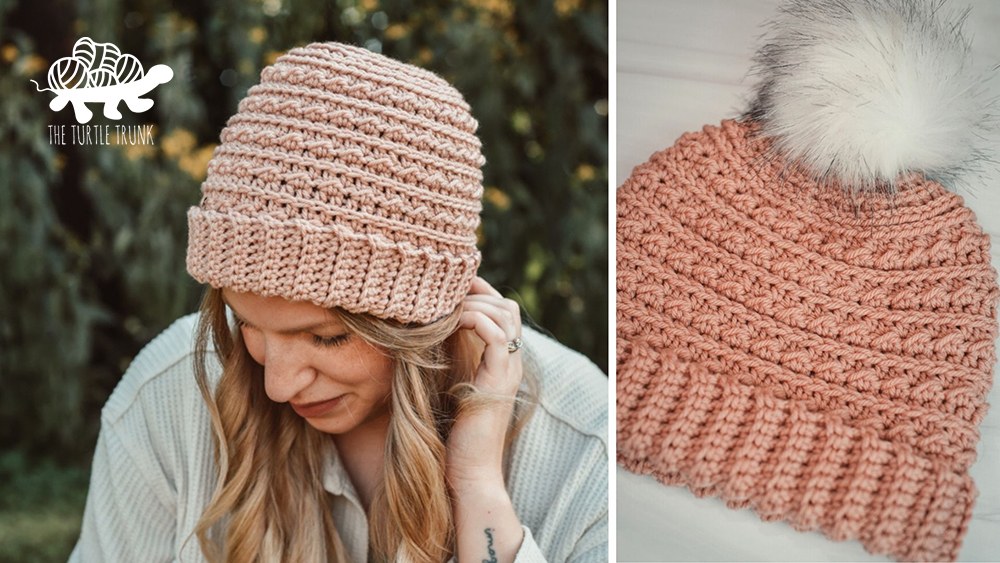
The Basic Ridge Beanie is perfect for beginners! It features textured stitches that are easy to create! It’s stylish and warm, making it the perfect accessory for Fall and Winter.
It can be hard finding great crochet hat patterns for all ages, genders, and sizes, so I designed the Basic Ridge Beanie with all heads in mind!
This pattern includes 8 sizes, ranging from newborn to adult large, so you can make one for anyone and everyone!
This beanie pattern was designed for the Crochet Cancer Challenge 2025 hosted by Sweet Potato 3, scroll down to read more about this amazing project and to get the link to the free PDF pattern!
Quick heads up! This page includes affiliate links. If you make a purchase from these links, I may make a small commission at no extra cost to you! You can read more about my disclosure policy HERE. Thank you for your support!
Not ready to make just yet?
Save this pattern to Pinterest!
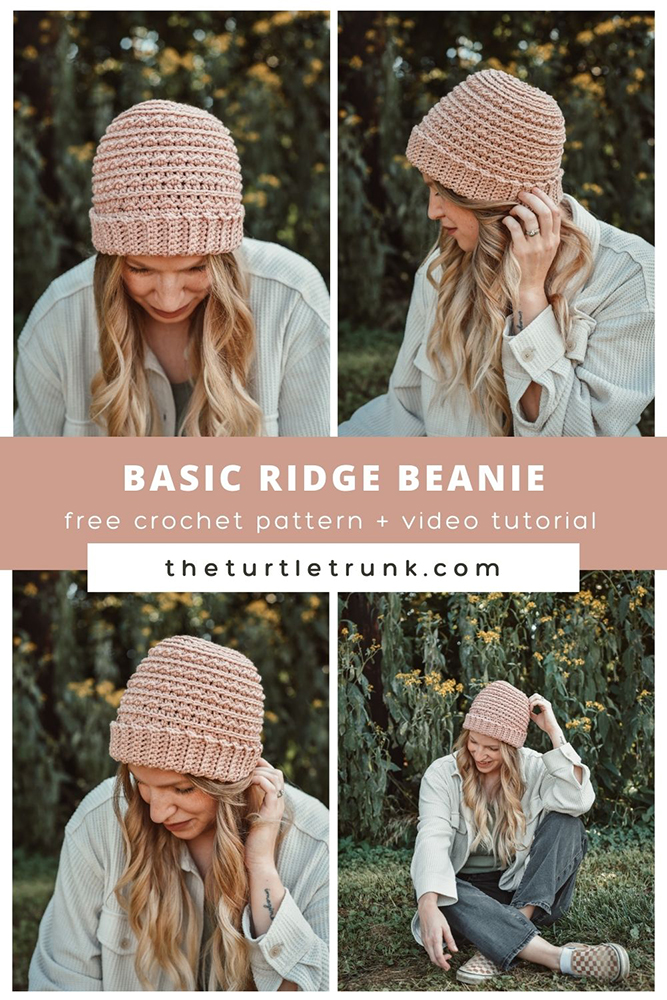
Follow along with the video tutorial on youtube!
Crochet Cancer Challenge 2025
The Crochet Cancer Challenge is an amazing, annual event hosted by Sweet Potato 3. It’s a chance to make and donate crochet beanies, support different cancers, and help those in need.
How It Works
For the month of October a new crochet hat pattern, by different designers will be shared every Monday-Saturday, from October 1st-31st.
You are able to download the pdf patterns for free (for limited time) WITH the promise to make and donate at least one beanie to someone with cancer. See all the other designs HERE!
My Featured Design – The Basic Ridge Beanie
I designed the Basic Ridge Beanie for this challenge.
This pattern was inspired for all of those who have been impacted by Breast Cancer.
I used rigid, textured stitches represent the challenges one faces when dealing with this illness.
Soft yarn and simple stitches make this beanie full of warmth and comfort for those who need it.
You can follow along with the video tutorial for this pattern HERE, scroll down for the free pattern, or download the pdf from Etsy and Ravelry.
Download the free PDF pattern from Ravelry HERE and be sure to use code CANCERCHALLENGE2025. This code will be valid until October 31, 2025 at 11:59pm est.
Learn more about the Crochet Cancer Challenge and check out all the other patterns in this blog hop HERE!
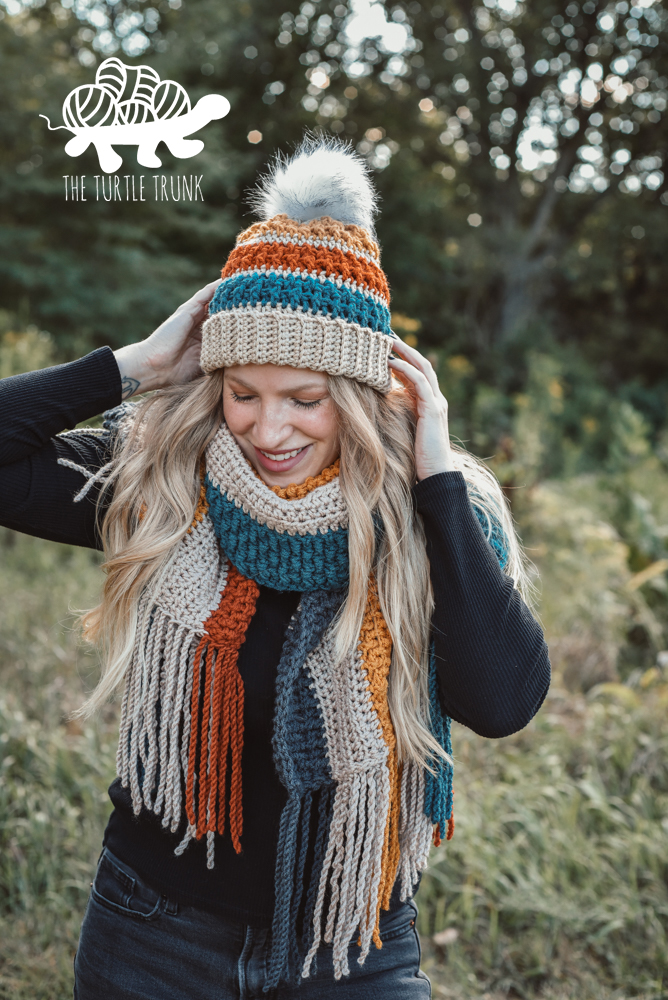
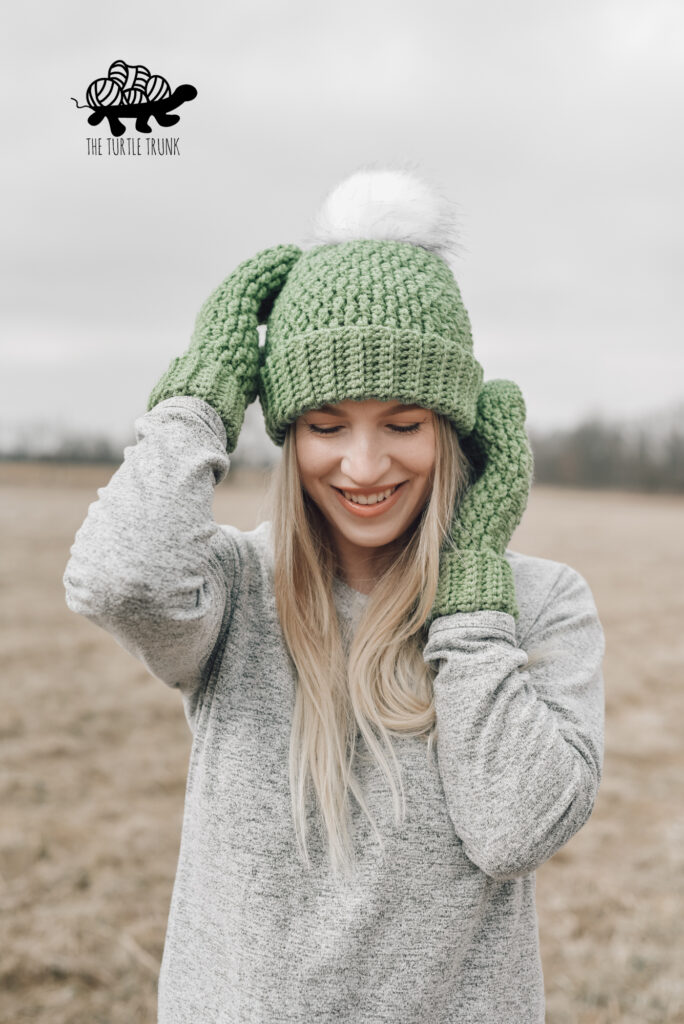
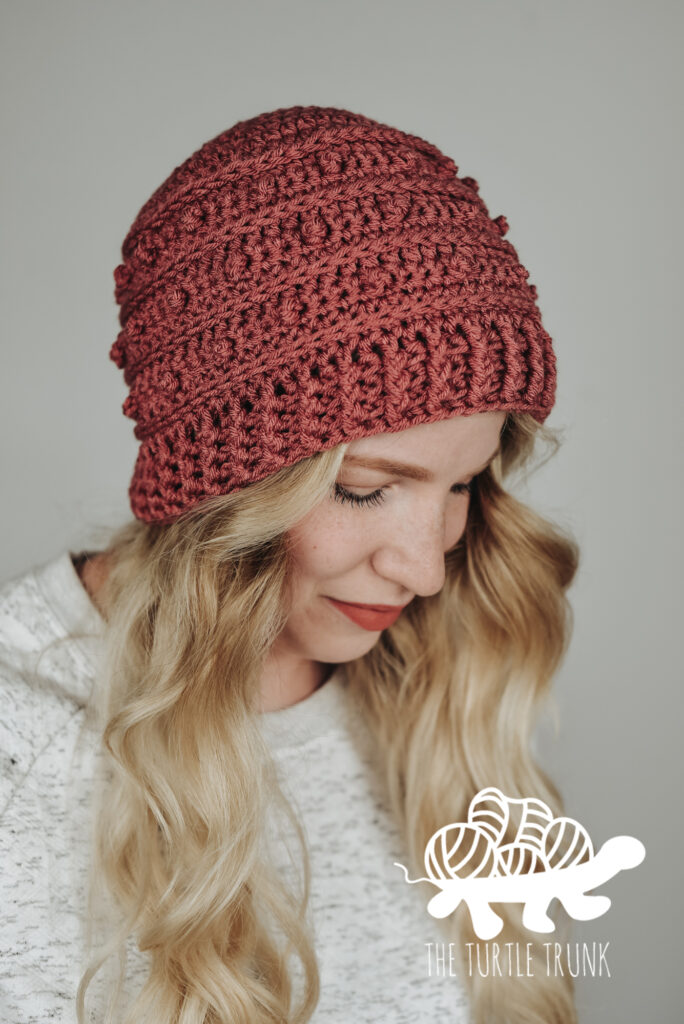
Check out these other crochet beanie patterns from The Turtle Trunk!
yarn
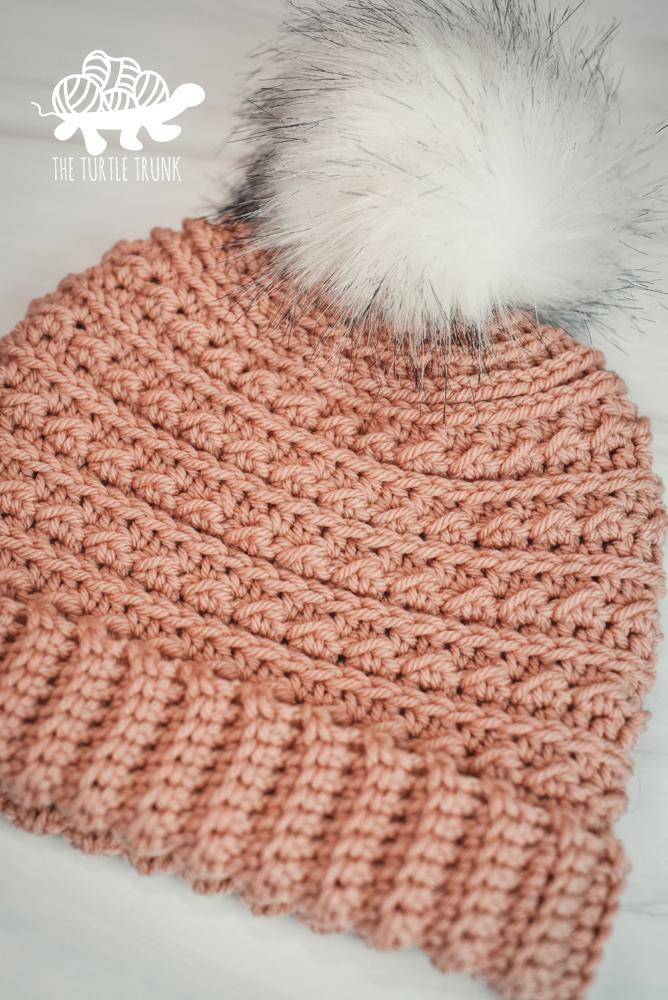
I used Yarn Bee Yarn ID in the color Himalayan Salt for my Basic Ridge Beanie.
I chose this yarn because it is durable, machine washable, and so soft!
Feel free to sub with your favorite medium 4 weight yarn! Some other options I think would work great are Yarn Bee Soft and Sleek, I Love This Yarn, Vanna’s Choice, and WeCrochet/KnitPicks Brava.
sizes
The Basic Ridge Beanie crochet pattern includes 8 sizes. See the chart below to find your size. See the Notes section to see how to customize the size of the beanie.
| Sizes(head circumference) | Hat Circumference | Hat Height | Yardage |
| Newborn 0-3m (12″) | 12″ | 5.5″ | 77 yards |
| Baby 3-6m (14″) | 13″ | 6″ | 90 yards |
| Baby 6-12m (15-16″) | 14″ | 6.5″ | 117 yards |
| Toddler 1-3yrs (16-18″) | 16″ | 7″ | 142 yards |
| Child 3-10yrs (19″) | 17″ | 8″ | 162 yards |
| Teen/Adult Small (20″) | 18.5″ | 8″ | 172 yards |
| Adult Medium (22″) | 20″ | 8.5″ | 200 yards |
| Adult Large (23″) | 21″ | 9″ | 244 yards |
difficulty
Easy
gauge
7 STs x 6 Rows = 2″ x 2″ in SC BLO
Adjust hook size up or down to meet gauge.
notes
- CH 1 at the beginning of each row/round does not count as a ST.
- At the end of each round, join with a SL ST to the top of the 1st ST of the previous round. Work your 1st ST of the new round into the same ST you joined to.
- Round 2 is worked on the wrong side. At the beginning and end of Round 2, remember to turn your work.
- The Row/Round numbers in parentheses are in order by size, smallest to largest.
- The numbers at the end of the Rows/Rounds represent that number of STs to be worked. They are also in order by size from smallest to largest.
- ST x# means to work 1 ST in each of those # of STs across. # ST means to work that # of STs in the same ST.
- Repeat instructions between *asterisks* until the end of the round.
- To adjust the size of the hat:
- Band Height: work any number of CHs for the foundation CH of the band.
- Circumference: Work a multiple of 4 rows for the band.
- Hat Height: repeat rounds 2-4 as many times as you’d like.
- Please see the video tutorial for extra assistance.
supplies
- Medium (4) weight yarn
- 5.00mm (H) crochet hook
- Yarn needle
- Scissors
abbreviations
CH(s) – Chain(s)
ST(s) – Stitch(es)
SL ST – Slip Stitch
SC – Single Crochet
SC BLO – Single Crochet Back Loop Only
HDC – Half Double Crochet
HDC2TOG – Half Double Crochet 2 Together
Special Stitches
SC BLO (Single Crochet Back Loop Only)
There are 2 loops on the top of a crochet stitch. The loop closest to you, is the front loop, and the loop furthest away from you is the back loop. For a SC BLO, you will work a normal SC stitch, but working only into the back loop. This will create a ribbing effect for the band.
HDC in the 3rd loop
A HDC stitch has 3 loops. The front and back loops, as well as a 3rd loop on the back of the stitch. For a HDC in the 3rd loop, work a regular HDC into the 3rd loop only. This will create a more distinct ribbed effect.
HDC2TOG (Half Double Crochet 2 Together)
A HDC2TOG is a decrease ST.
To HDC2TOG: yarn over, insert your hook into the ST, and pull up a loop (3 loops on hook). Yarn over, insert your hook into the next ST, and pull up a loop (5 loops on hook). Yarn over and pull through all 5 loops on your hook.
Round 2
Round 2 is worked on the ‘wrong side’ of the beanie. This round alternates SL STs and HDC STs to create a fun texture. The texture comes from the 3rd loop of the HDC. Since this loop is on the back of the HDC, this round will be worked on the wrong side, so that the 3rd loop is visible on the right side of the beanie. At the beginning and end of the round remember to turn your work.
Basic Ridge Beanie Pattern
Brim
CH (8,8,12,15,15,15,15,19)
Row 1: SC in 2nd CH from hook and in each CH across. CH 1 & turn.
(7, 7, 11, 14, 14, 14, 14, 18)
Rows 2-(36,40,44,48,52,56,60,64):
SC BLO in each SC across. CH 1 & turn.
(7, 7, 11, 14, 14, 14, 14, 18)
Bring both ends of the band together. Working into the foundation CH and the last row, SL ST across. CH 1 and flip band inside out.
Body
Round 1: SC in each ST around, working into the edge of each row of the band. Join & CH 1. (36,40,44,48,52,56,60,64)
Round 2: Turn your work. *SL ST, HDC* around. Join, CH 1, & turn. (36,40,44,48,52,56,60,64)
Round 3: HDC in each ST around. Join & CH 1. (36,40,44,48,52,56,60,64)
Round 4: HDC in the 3rd loop in each ST around. Join & CH 1. (36,40,44,48,52,56,60,64)
Rounds 5-(10,13,13,13,16,16,19,19): Repeat Rounds 2-4
Work the next 4 rounds all into the 3rd loop.
Round (11,14,14,14,17,17,20,20): *HDC x2, HDC2TOG* around. Join & CH 1. (27,30,33,36,39,42,45,48)
Round (12,15,15,15,18,18,21,21): *HDC, HDC2TOG* around. Join & CH 1. (18,20,22,24,26,28,30,32)
Round (13,16,16,16,19,19,22,22): HDC2TOG around. Join & CH 1. (9,10,11,12,13,14,15,16)
Round (14,15,15,15,20,20,23,23): HDC2TOG around, if there’s an extra ST at the end, HDC in the last ST. Join. (5,5,6,6,7,7,8,8)
Cut off yarn leaving a 12″ long tail. Use the tail end to weave through the last STs of the last round. Pull tight to close the top hole. Secure with a few knots. Weave in all ends.
And you’re all done!
Thanks so much for trying out my Basic Ridge Beanie crochet pattern! Be sure to tag me in your photos on Facebook and Instagram so I can see your finished beanie!
You are free to sell the items you make with this pattern, and I’d love if you could please link back to this page. You do not have permission to republish or distribute this pattern in any way or claim it as your own. Do not use my photos in your sale listings or for any other purposes. Thank you