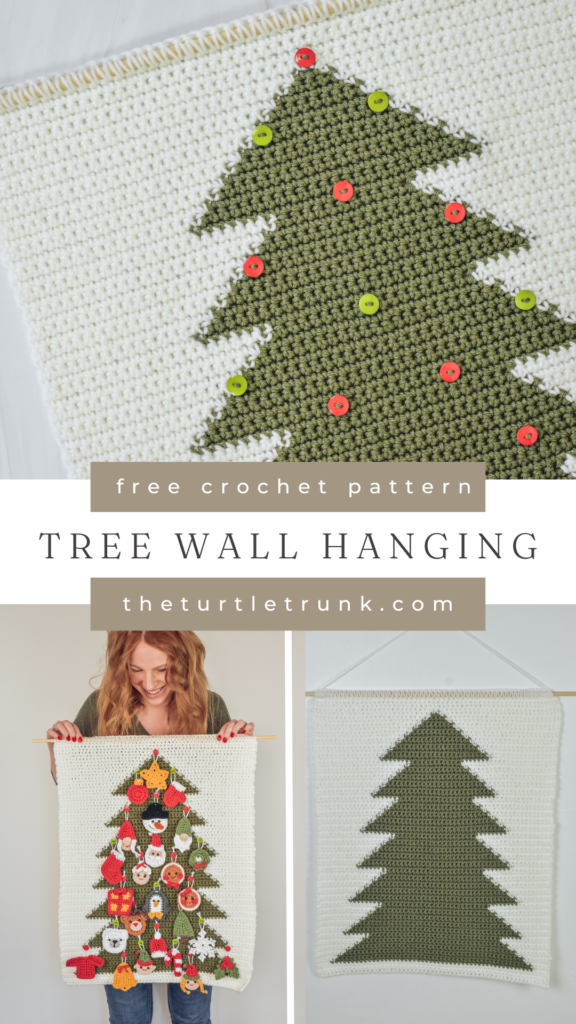
Advent Calendar – Tree Wall Hanging Crochet Pattern
This Tree Wall Hanging is the perfect background for a Christmas Advent Calendar! Measuring approximately 20″ x 24″, this wall hanging can be left as is and put up as a year round home decor piece! Or add buttons and hang holiday decorations for Christmastime!
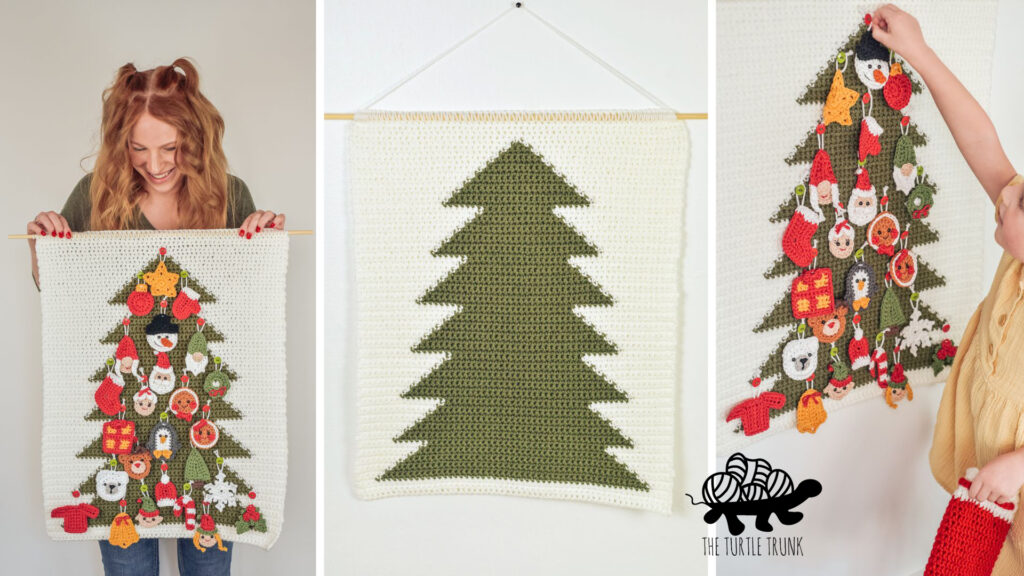
This Tree Wall Hanging can be used as a simple wall decoration year round, or you can make it into a fun Christmas activity! Add buttons and appliqués to make a beautiful Advent Calendar! This crochet project is something any child (and adult) would cherish for a lifetime and look forward to every single year!
The Advent Calendar includes 27 crochet patterns! I will be sharing all of the free crochet patterns here on my blog and posting them in parts throughout this week (November 20-23), starting with this Tree Hanging! Don’t want to wait? Get the PDF Pattern Bundle, which includes all 27 crochet patterns and is available now!
Once the patterns for the Advent Calendar are posted, you can find them by clicking the links below:
- Advent Calendar – Tree Wall Hanging Crochet Pattern
- Advent Calendar – Pouch & Gift Bag Crochet Pattern
- Advent Calendar – Winter & Christmas Appliqué Crochet Patterns Part 1
- Advent Calendar – Winter & Christmas Appliqué Crochet Patterns Part 2
Continue reading below to hear more about the Advent Calendar Series and to learn more about this Tree Wall Hanging, then scroll down for the free written crochet pattern!
Get the PDF Pattern Bundle that features all 27 crochet patterns for this Advent Calendar! The PDF Bundle includes the written patterns for this Tree Wall Hanging, 25 winter/Christmas themed appliqués, and a pouch/gift bag to hold the appliqués!
buy the PDF advent calendar bundle FROM ETSY!
buy the PDF advent calendar bundle FROM RAVELRY!
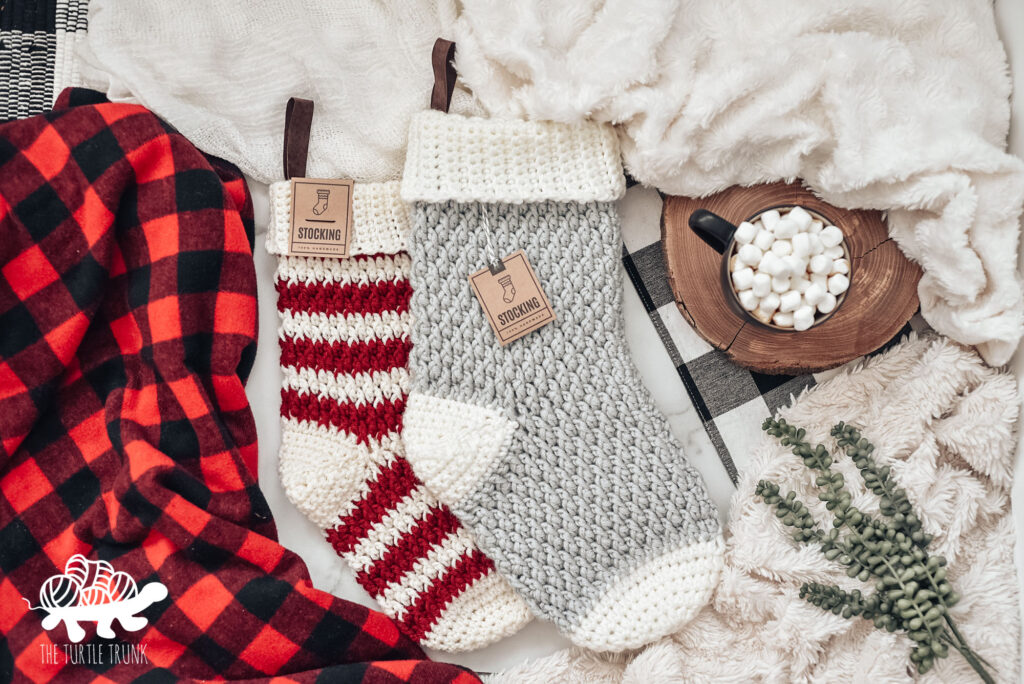
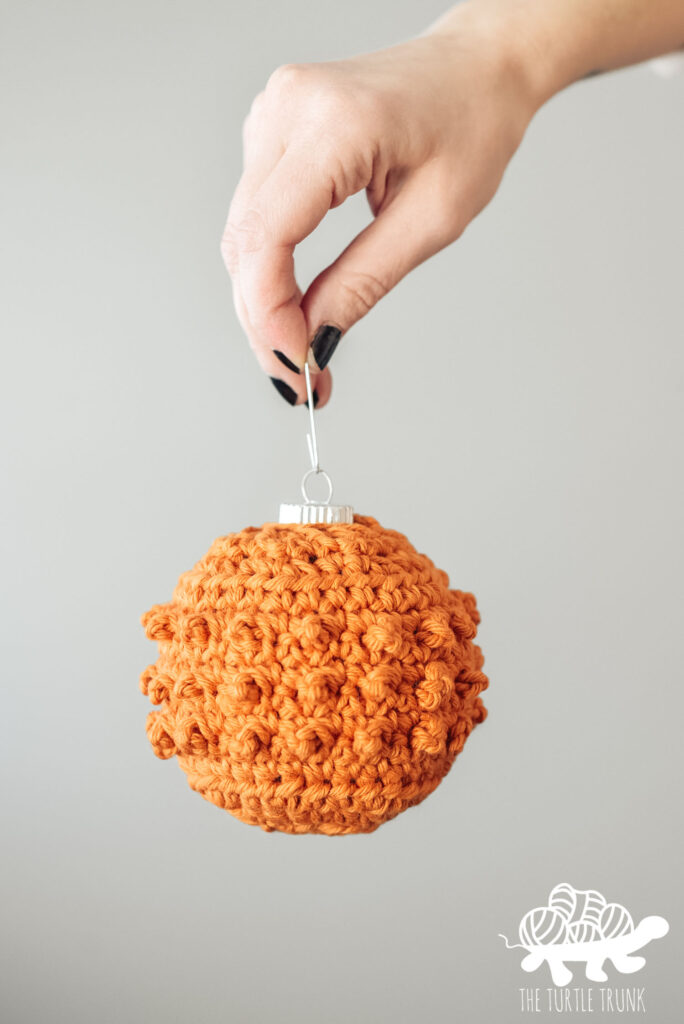
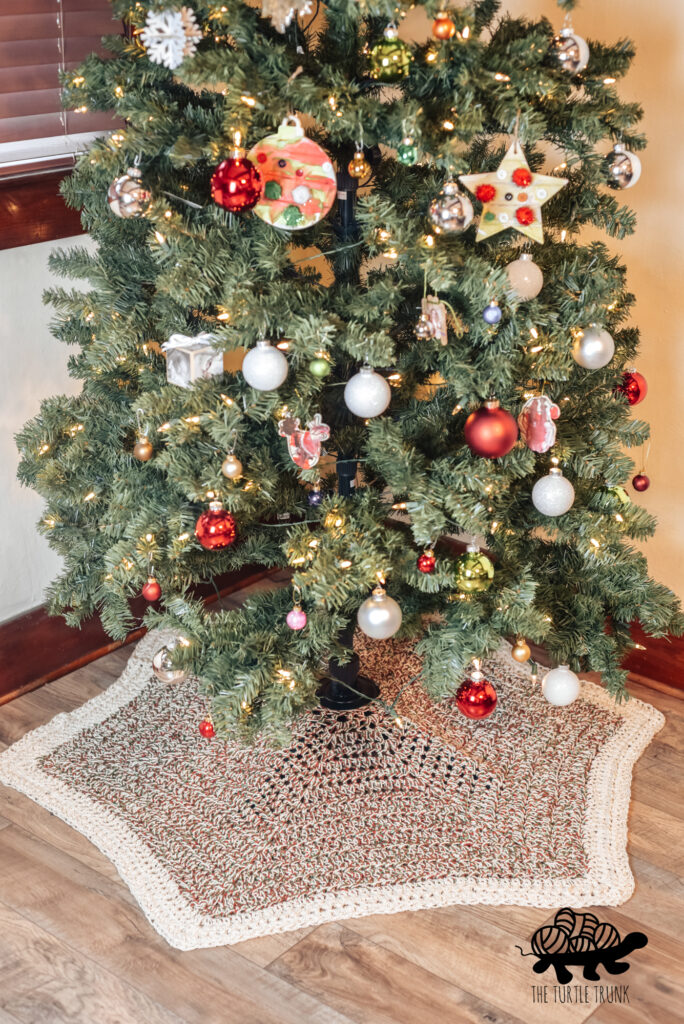
Looking for more Christmas crochet patterns? Check out these holiday favorites: Country Cottage Stocking, Picot Tree Ornament, Christmas Cheer Tree Skirt, Happy Holiday Wreath, and the Country Cottage Minis.


Not ready to make just yet? Save this pattern to pinterest!
Follow along with the video tutorial on YouTube!
Advent Calendar Inspiration
I was inspired to crochet this Advent Calendar from the one my mom had made when I was a kid! She had sewn a tree wall hanging and stuck 25 little baggies on it with velcro. Inside the bags were little toys and characters and ornaments made from felt. Every December 1 she would hang it up and my sisters and I would take turns opening up one of the baggies, choosing one a day until Christmas. We looked forward to this every year and the excitement and anticipation we felt was incredible!
We each had our favorite pieces we had hoped to pick and felt pure joy with every new addition we got to stick on the tree. We looked forward to this every year throughout our childhood and it’s still one of my favorite Christmastime memories.
Since having my daughter, I have always wanted to make her an Advent Calendar, so that she could experience the same joy and happy memories that I had. So I designed this crochet Advent Calendar!
How to Use the Advent Calendar
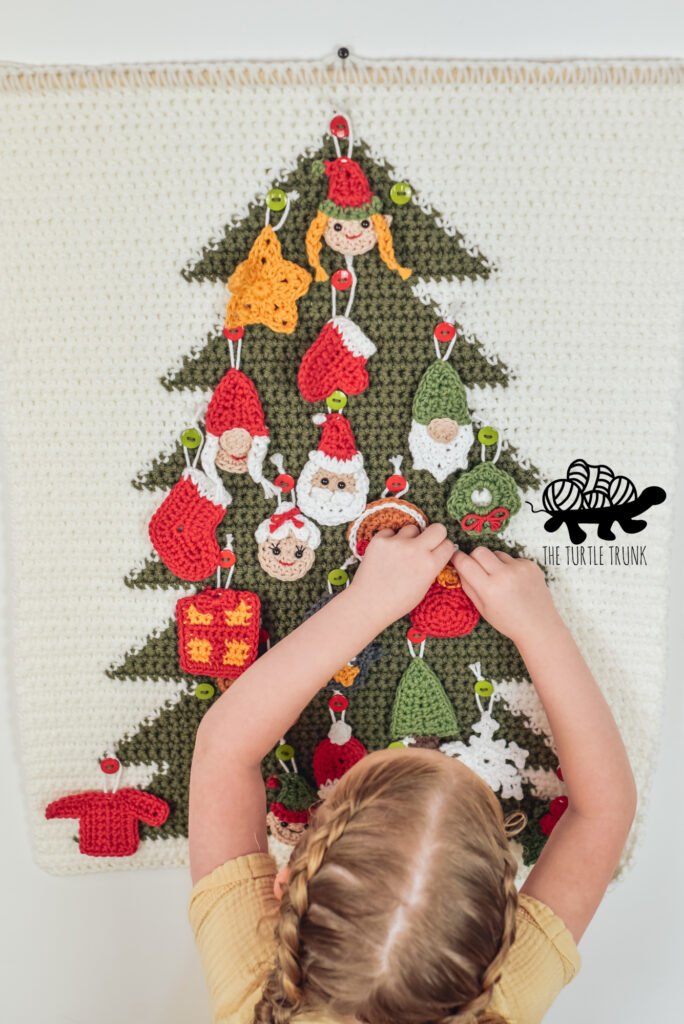
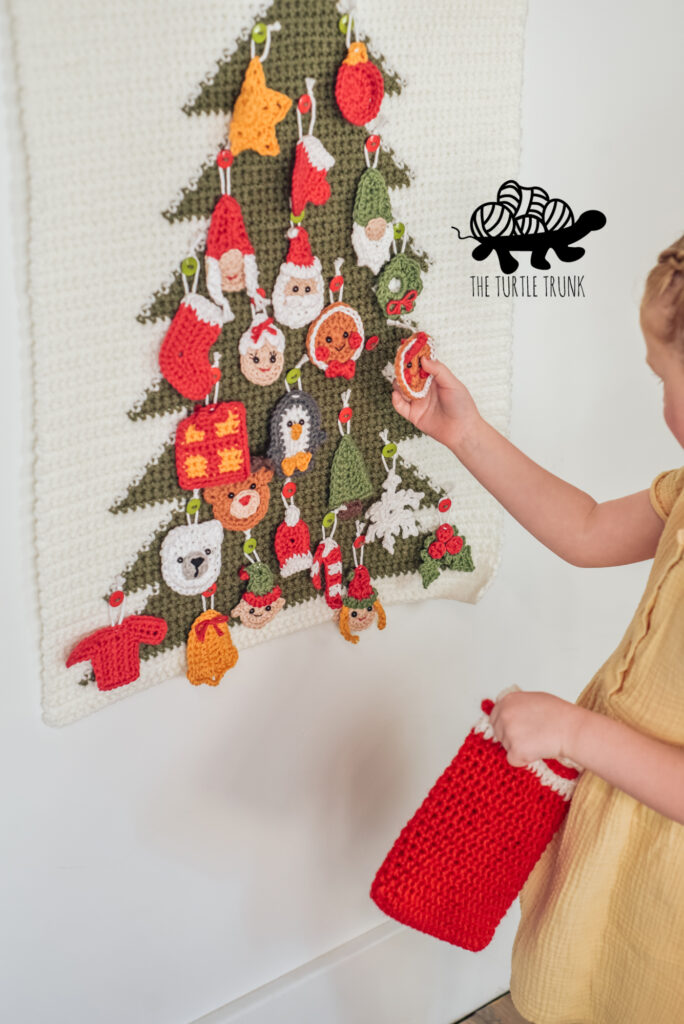
Hang up your tree wall hanging and place all 25 of the appliqués into the pouch. Starting on December 1, choose one appliqué and hang it on the tree. The last appliqué will be placed on December 25
The intended purpose of the Advent Calendar is to be a countdown to Christmas, but it doesn’t have to be! Hang the tree wall hanging up any time and let your kids decorate it however they like as a fun winter and Christmas activity! Let them place, remove, change the decorations however they like, with no limits or countdowns.
You can also make and use the pieces of the Advent Calendar separately! Use the Tree Wall Hanging as a year round wall decoration, use the pouch for gifts, and sew the appliqués on other projects or to hang on your Christmas tree!
Once all the Advent Calendar patterns are posted you can find them here:
- Advent Calendar – Tree Wall Hanging Crochet Pattern
- Advent Calendar – Pouch & Gift Bag Crochet Pattern
- Advent Calendar – Winter & Christmas Appliqué Crochet Patterns Part 1
- Advent Calendar – Winter & Christmas Appliqué Crochet Patterns Part 2
Just the Wall Hanging
The Tree Wall Hanging measures approximately 20″ x 24″. After making your wall hanging, you may want to steam or wet block it to help straighten the edges and relax the stitches. Once it is hung up, it may stretch a little in length from the weight of itself.
Supplies you’ll need
For yarn I used I Love This Yarn! in Ivory, for the background, and Clover, for the tree. Feel free to use any colors you’d like though!
You’ll also need a wooden dowel to attach your wall hanging to. I bought a 48″ long, wooden dowel from the hardware store then cut it in half.
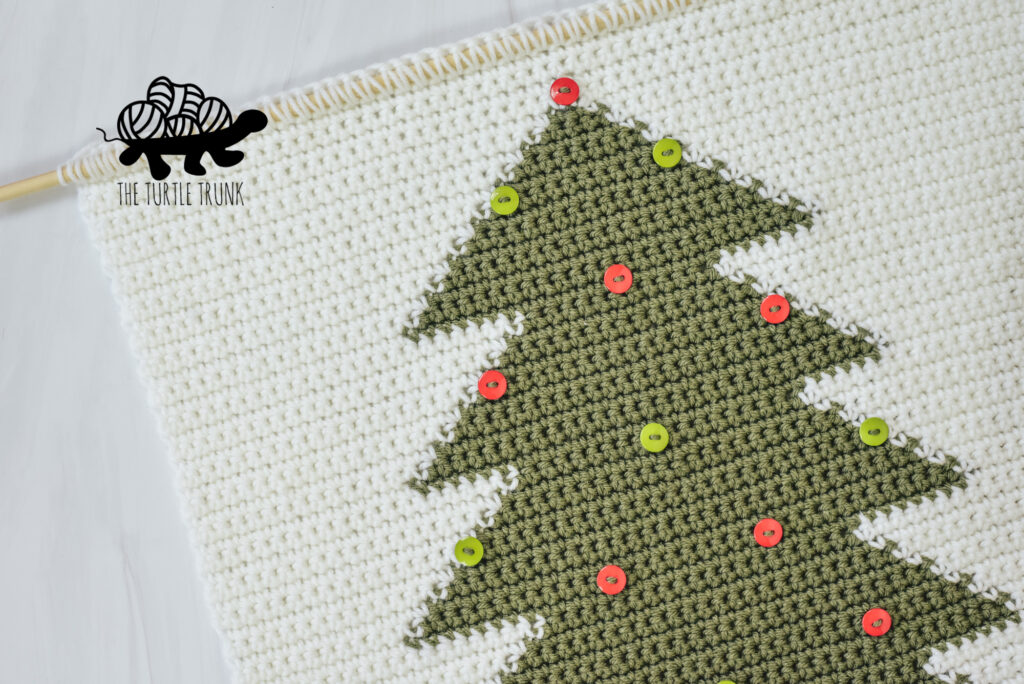
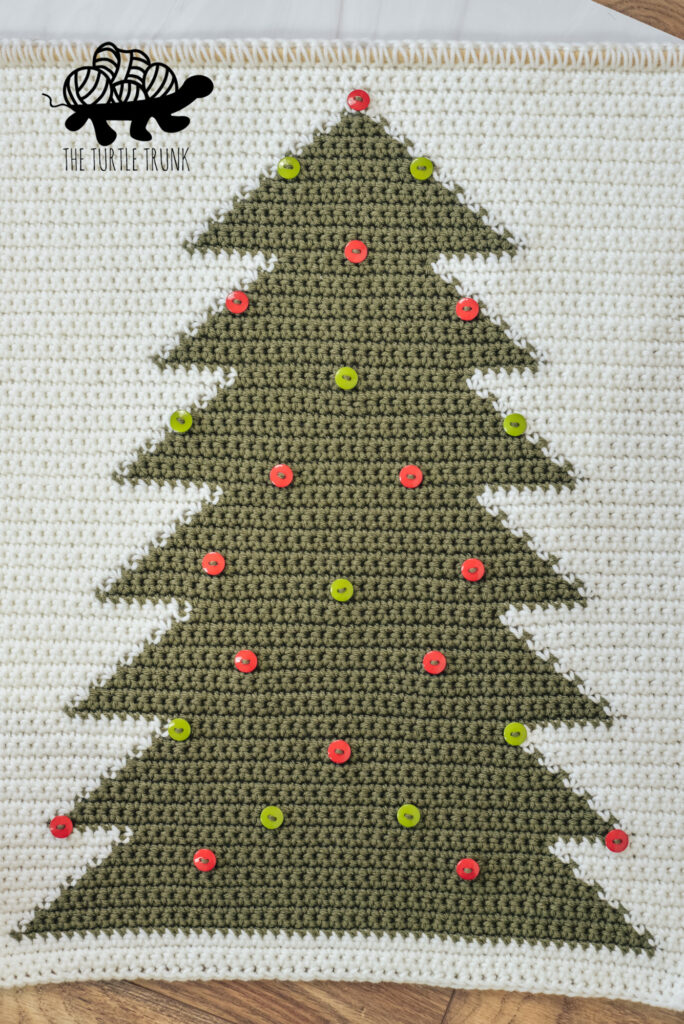
For the advent calendar, you will need to sew 25 buttons onto your wall hanging. I bought these red buttons and green buttons from Joann’s. I used 16mm buttons but you can use smaller or larger ones and you can also use any colored buttons you’d like. Click HERE for similar buttons from Amazon.
Check out the photo below on where to add the buttons onto your wall hanging.
How to Change Color
You will change color on the last SC before a new color starts.
Start the last SC as usual, before the final pull through, when only 2 loops remain on your hook, drop the current color and pick up the new color. Finish the stitch by pulling through the 2 loops on your hook with the new color. The next SC you work will be the first of the new color.
Be sure your tail ends are all on the WS of your project.
Do not cut off the last color.
Intarsia Crochet and Using Bobbins
This pattern uses the Intarsia Crochet technique. You will start a new skein (or bobbin) of yarn for each color change then drop and pick-up bobbins as needed.
This method creates a design that is two sided. No yarn is carried behind the other color (fair isle crochet), instead with intarsia crochet, when you are done with one color you will drop it and start a new color. The use of bobbins (small balls of yarn or skeins) come in handy so you can pick up yarn from it instead of constantly cutting and attaching again. This method will keep your work looking nice on both sides as well as keeping yarn ends to a minimum.
I worked from 1 skein of green yarn and 1 skein of white yarn. For the white yarn I pulled from both ends of the skein, starting with the center pull for the bottom and right side of the background, then pulled from the outside of the skein for the left side. Feel free to do this method also, or you can spilt your white yarn in half or work from 2 separate skeins.
Difficulty
Advanced Beginner
Finished Size
20″ x 24″
Gauge
12 STs x 13 Rows = 4″ x 4″ in SC.
Adjust hook size up or down to reach gauge.
Notes
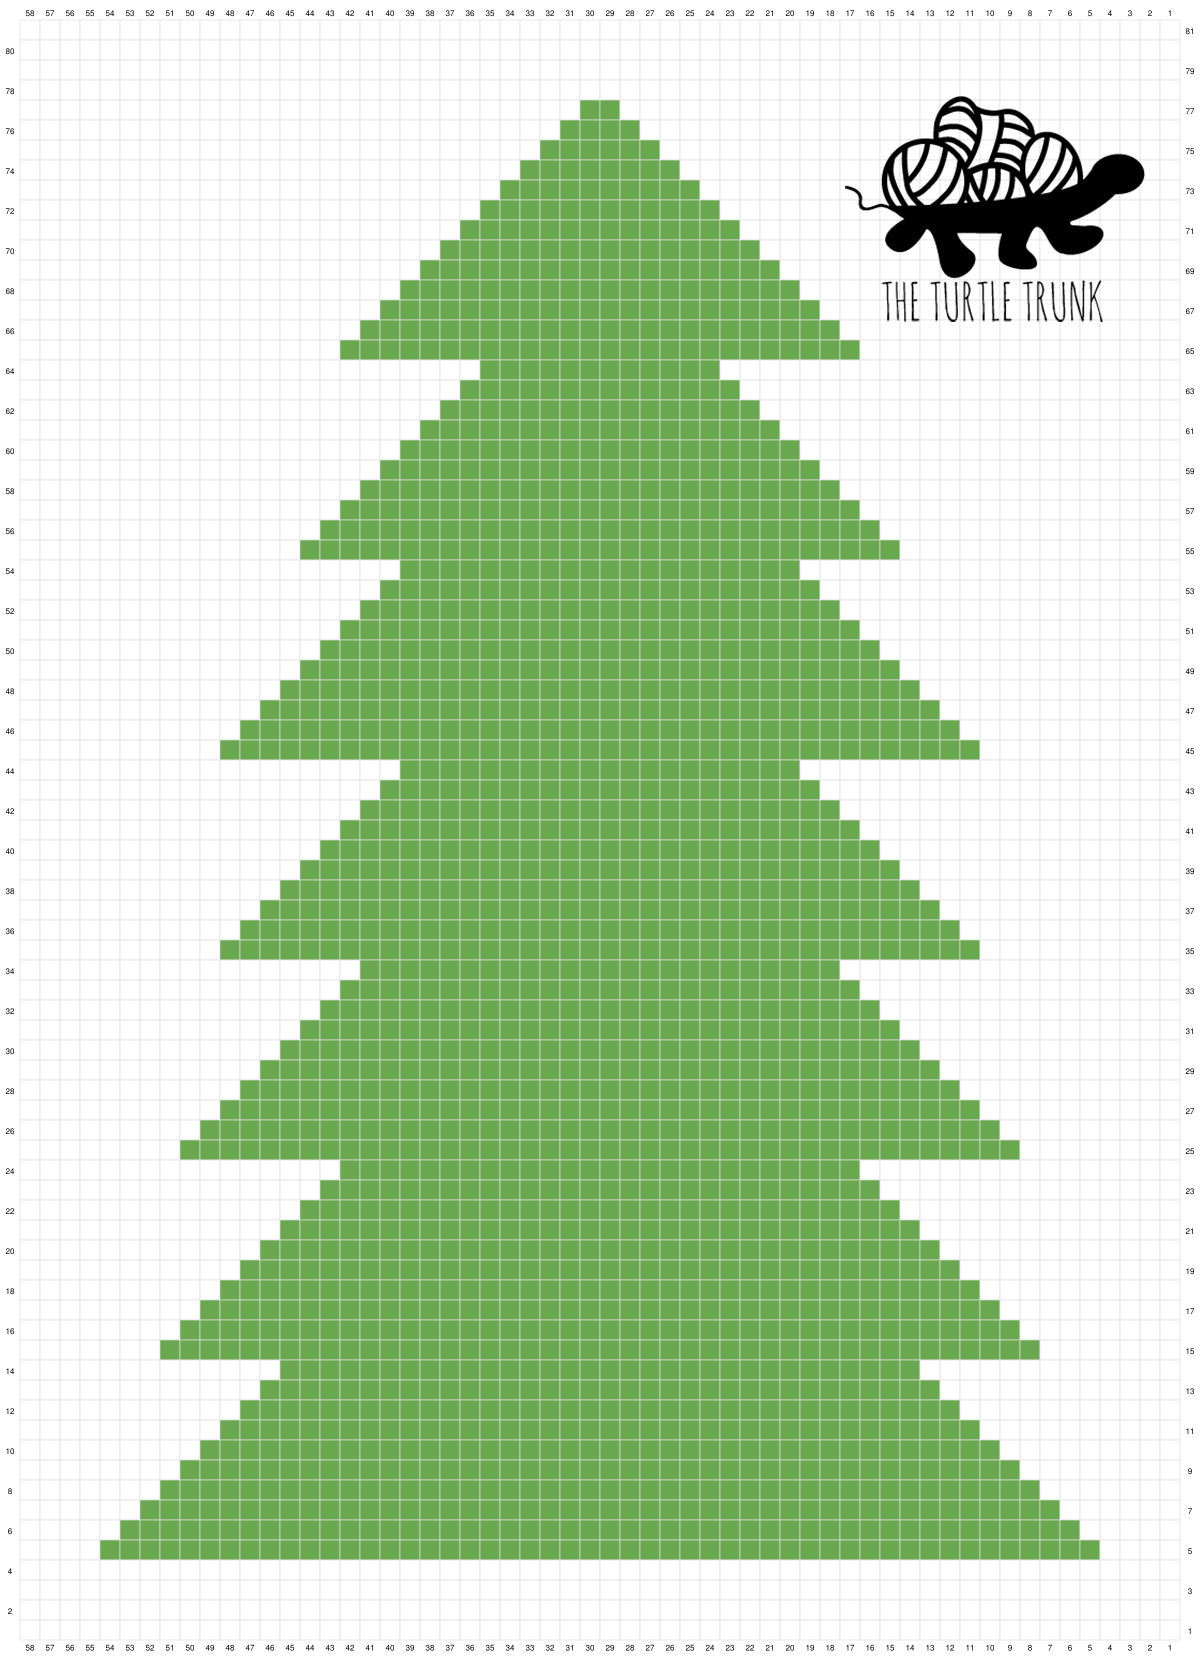
- This pattern includes both written instructions and a graph. You can follow along with one or both.
- Row 1 uses a FSC stitch. From row 2 on, only SC stitches are used.
- At the end of each row CH 1 & turn. CH 1 does not count as a stitch.
- Written Instructions: each row will have an arrow beside it telling you which direction that row will be worked. When working on the right side (RS) you will see ‘<’. When working on the wrong side (WS) you will see ‘>’. Make sure all loose ends are on the wrong side.
- This pattern is written in simplified terms, so each row will tell you the color to use and the number of stitches for that color. Ex. A4, B50, A4, means: SC 4 using color A, then 50 SC using color B, then SC 4 using color A again.
- Graph: each square on the graph represents one SC.
- The numbers on the side of the graph represent the row number. You will be working on the right side of the wall hanging when crocheting the odd numbered rows and wrong side of the wall hanging when crocheting the even numbered rows.
Supplies
- Medium (4) weight yarn (I used I Love This Yarn! in Ivory and Clover)
- Color A (White) – 222 yards / 203 meters
- Color B (Green) – 168 yards / 154 meters
- 5.00 mm (H) Hook
- Yarn Needle
- Scissors
- 24” Wooden Dowel
- 25 – 5/8” (16mm) Buttons (for advent calendar only)
ABBREVIATIONS (US TERMS)
ST(s) – Stitch(es)
CH – Chain
SC – Single Crochet
FDC- Foundation Single Crochet
RS – Right Side
WS – Wrong Side
Tree Wall Hanging Pattern
Starting with Color A
< Row 1 [RS]: FSC 58.
Rows 2 – 4: A58.
< Row 5 [RS]: A4, B50, A4.
> Row 6 [WS]: A5, B48, A5.
< Row 7 [RS]: A6, B46, A6.
> Row 8 [WS]: A7, B44, A7.
< Row 9 [RS]: A8, B42, A8.
> Row 10 [WS]: A9, B40, A9.
< Row 11 [RS]: A10, B38, A10.
> Row 12 [WS]: A11, B36, A11.
< Row 13 [RS]: A12, B34, A12.
> Row 14 [WS]: A13, B32, A13.
< Row 15 [RS]: A7, B44, A7.
> Row 16 [WS]: A8, B42, A8.
< Row 17 [RS]: A9, B40, A9.
> Row 18 [WS]: A10, B38, A10.
< Row 19 [RS]: A11, B36, A11.
> Row 20 [WS]: A12, B34, A12.
< Row 21 [RS]: A13, B32, A13.
> Row 22 [WS]: A14, B30, A14.
< Row 23 [RS]: A15, B28, A15.
> Row 24 [WS]: A16, B26, A16.
< Row 25 [RS]: A8, B42, A8.
> Row 26 [WS]: A9, B40, A9.
< Row 27 [RS]: A10, B38, A10.
> Row 28 [WS]: A11, B36, A11.
< Row 29 [RS]: A12, B34, A12.
> Row 30 [WS]: A13, B32, A13.
< Row 31 [RS]: A14, B30, A14.
> Row 32 [WS]: A15, B28, A15.
< Row 33 [RS]: A16, B26, A16.
> Row 34 [WS]: A17, B24, A17.
< Row 35 [RS]: A10, B38, A10.
> Row 36 [WS]: A11, B36, A11.
< Row 37 [RS]: A12, B34, A12.
> Row 38 [WS]: A13, B32, A13.
< Row 39 [RS]: A14, B30, A14.
> Row 40 [WS]: A15, B28, A15.
< Row 41 [RS]: A16, B26, A16.
> Row 42 [WS]: A17, B24, A17.
< Row 43 [RS]: A18, B22, A18.
> Row 44 [WS]: A19, B20, A19.
< Row 45 [RS]: A11, B36, A11.
> Row 46 [WS]: A12, B34, A12.
< Row 47 [RS]: A13, B32, A13.
> Row 48 [WS]: A14, B30, A14.
< Row 49 [RS]: A15, B28, A15.
> Row 50 [WS]: A16, B26, A16.
< Row 51 [RS]: A17, B24, A17.
> Row 52 [WS]: A18, B22, A18.
< Row 53 [RS]: A19, B20, A19.
> Row 54 [WS]: A20, B18, A20.
< Row 55 [RS]: A14, B30, A14.
> Row 56 [WS]: A15, B28, A15.
< Row 57 [RS]: A16, B26, A16.
> Row 58 [WS]: A17, B24, A17.
< Row 59 [RS]: A18, B22, A18.
> Row 60 [WS]: A19, B20, A19.
< Row 61 [RS]: A20, B18, A20.
> Row 62 [WS]: A21, B16, A21.
< Row 63 [RS]: A22, B14, A22.
> Row 64 [WS]: A23, B12, A23.
< Row 65 [RS]: A16, B26, A16.
> Row 66 [WS]: A17, B24, A17.
< Row 67 [RS]: A18, B22, A18.
> Row 68 [WS]: A19, B20, A19.
< Row 69 [RS]: A20, B18, A20.
> Row 70 [WS]: A21, B16, A21.
< Row 71 [RS]: A22, B14, A22.
> Row 72 [WS]: A23, B12, A23.
< Row 73 [RS]: A24, B10, A24.
> Row 74 [WS]: A25, B8, A25.
< Row 75 [RS]: A26, B6, A26.
> Row 76 [WS]: A27, B4, A27.
< Row 77 [RS]: A28, B2, A28.
At the end of Row 77, leave current Color A yarn attached and cut off other bobbins.
Rows 78-81: A58.
Do not tie off. Move onto Attaching the Dowel.
Attaching the Dowel
CH 1 & turn. SC in each ST across the top, working around the dowel for each ST. Work your stitches loosely.
Tie off yarn and weave in ends.
Tie a long strand of yarn on either side of the dowel for hanging or hang from the center stitch above the dowel.
Adding Buttons for the Advent Calendar
Sew 25 buttons on the tree, using Color B yarn or thread. Use stitch markers to mark the places you want the buttons. See the photo to the right for placement ideas or place them however you’d like.
And you’re all done!
Be sure to check out the rest of the patterns in the Advent Calendar Series!
- Advent Calendar – Tree Wall Hanging Crochet Pattern
- Advent Calendar – Pouch & Gift Bag Crochet Pattern
- Advent Calendar – Winter & Christmas Appliqué Crochet Patterns Part 1
- Advent Calendar – Winter & Christmas Appliqué Crochet Patterns Part 2
You are free to sell the items you make with this pattern, and I’d love if you could please link back to this page. You do not have permission to republish or distribute this pattern in any way or claim it as your own. Do not use my photos in your sale listings or for any other purposes. Thank you
This page includes affiliate links. If you make a purchase from these links, I may make a small commission at no cost to you! Thank you for your support!