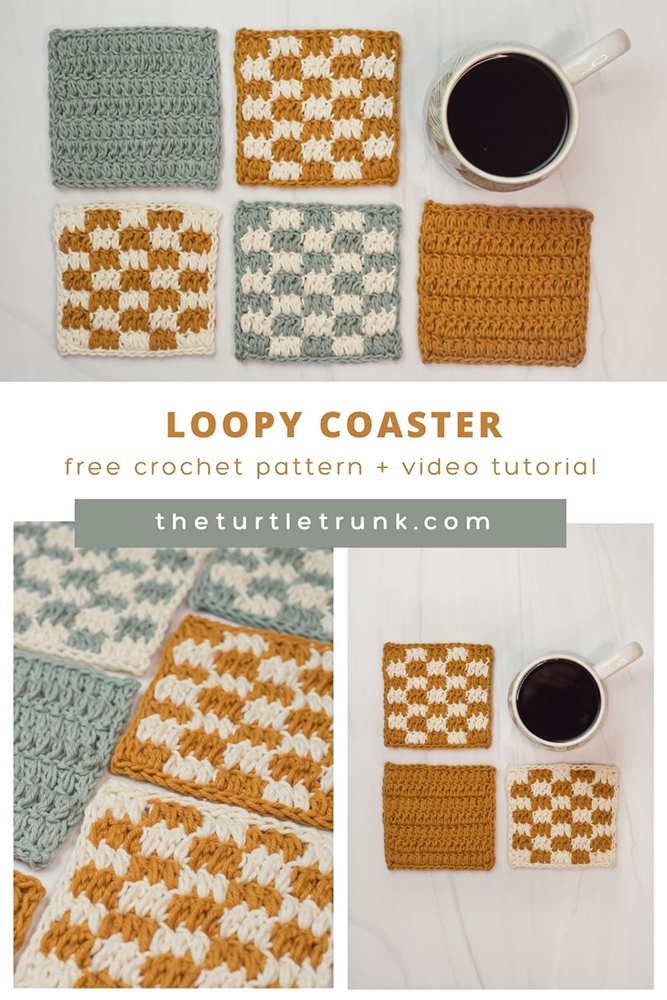
Loopy Coaster Crochet Pattern
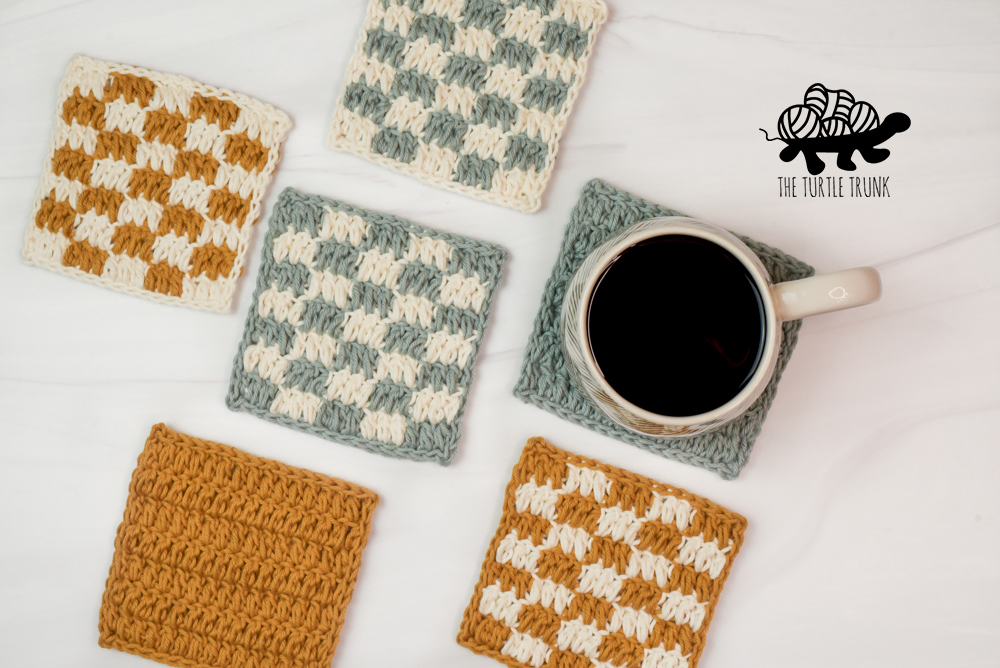
The Loopy Coaster is a quick and easy crochet coaster pattern! It features a puff stitch variation that creates a fun texture! Make in a solid color or make it checkered! This cool coaster is perfect for gifting, making for your own home, or selling at craft fairs and markets!
Crochet coasters are the BEST quick and easy patterns!
And these Loopy Coasters are just that!
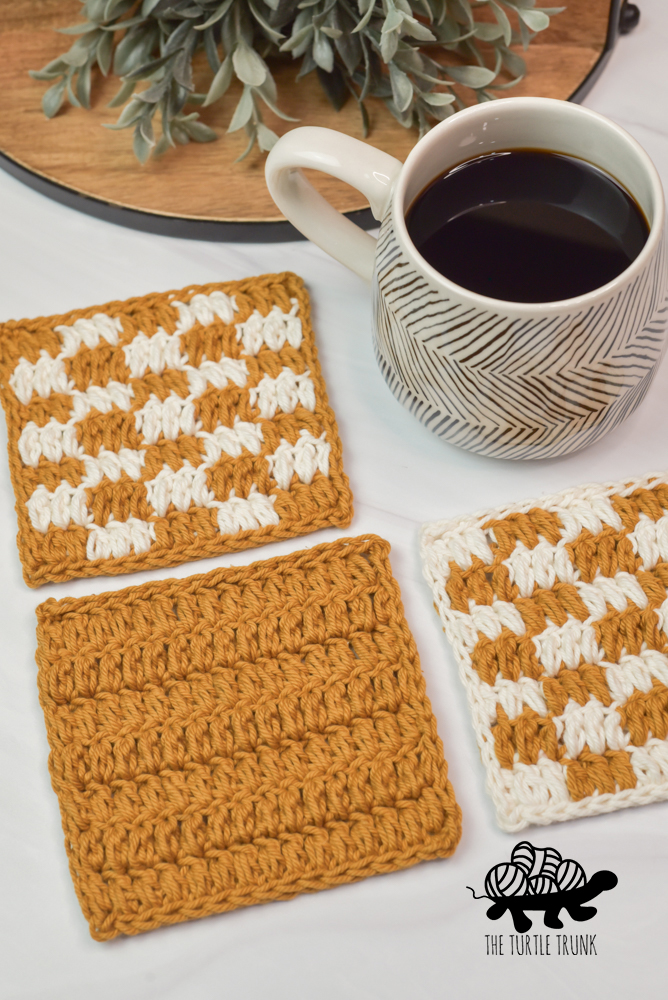
Make them checkered, solid colored, or any color combination you’d like!
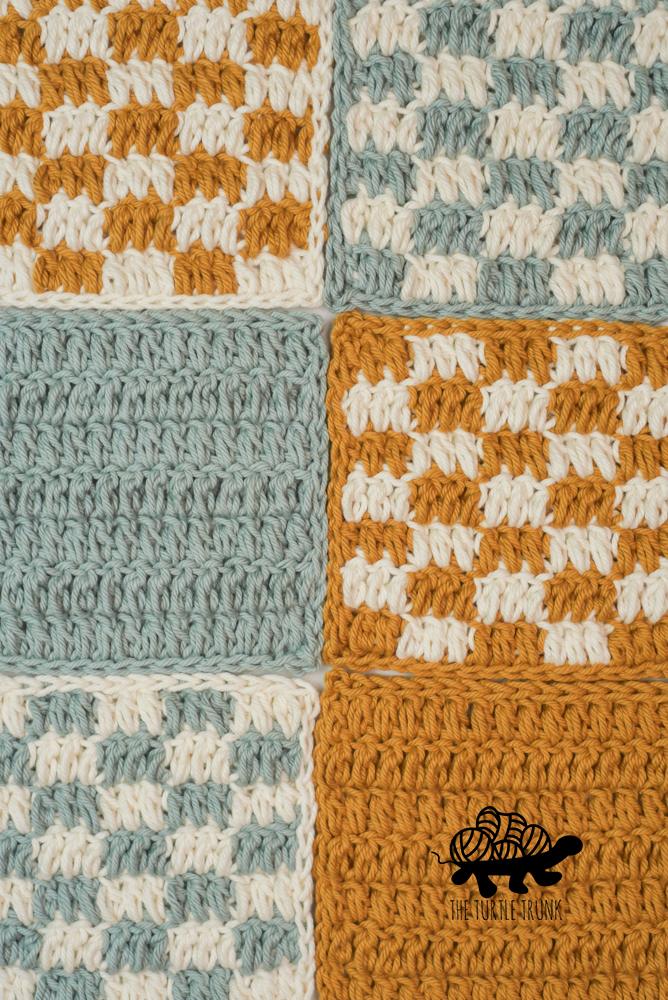
The instructions below show you how to make a 2 toned, checkered coaster that has a fun texture!
The Loopy Coaster crochet pattern is beginner friendly, works up FAST, and uses less than 25 yards of yarn!
Keep reading below to learn more about this pattern or scroll to the bottom for the free written pattern and video tutorial. You can also grab the ad-free, printable PDF pattern on Etsy and Ravelry!
FOLLOW ALONG WITH THE AD FREE & PRINTABLE PDF PATTERN
FROM ETSY AND RAVELRY!
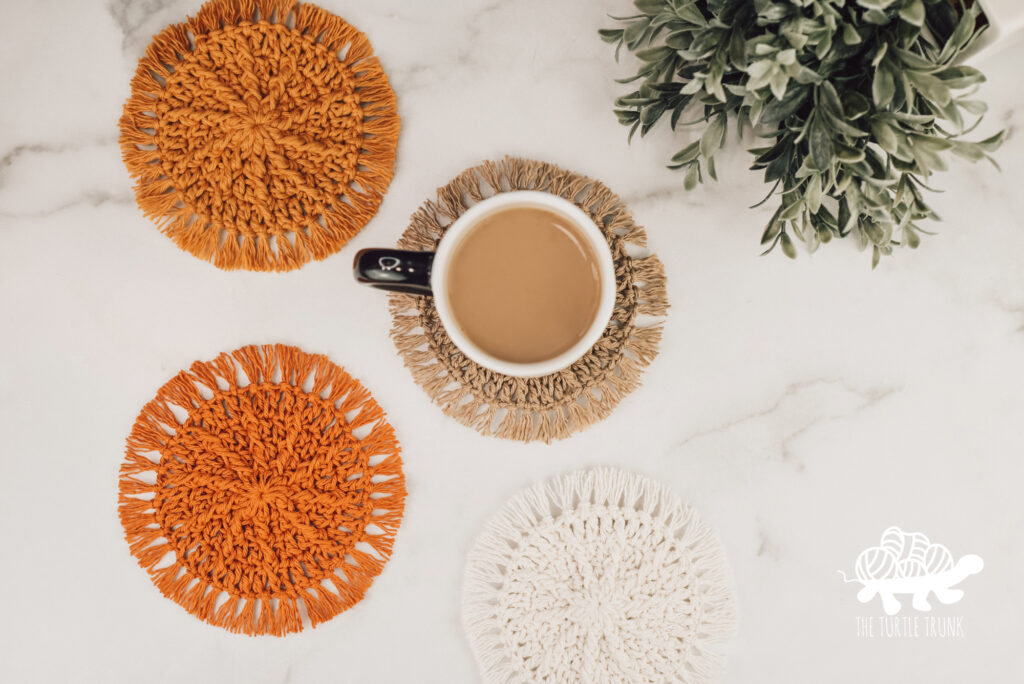
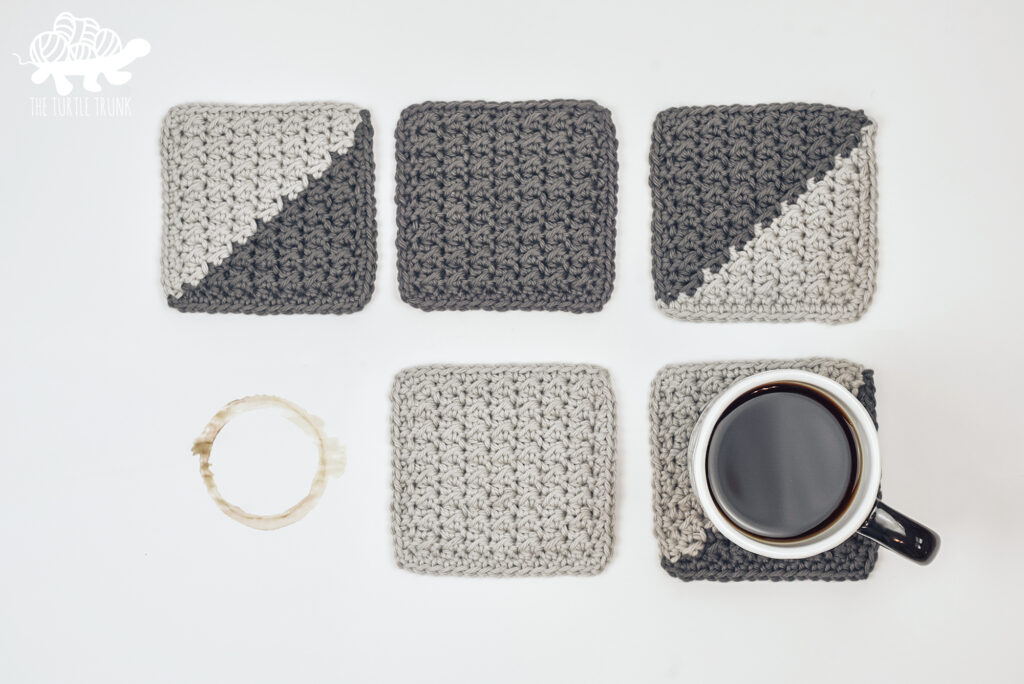
Check out these other crochet coaster patterns from The Turtle Trunk!
Not ready to make just yet?
Save this pattern to Pinterest!
Follow along with the video tutorial on YouTube!
Yarn
I always use cotton yarn for my crochet coasters.
Cotton yarn absorbs liquid, is durable, and can be washed in dried in the machine so it’s the perfect yarn for something like coasters!
Currently my favorite cotton yarn is WeCrochet KnitPicks Dishie!
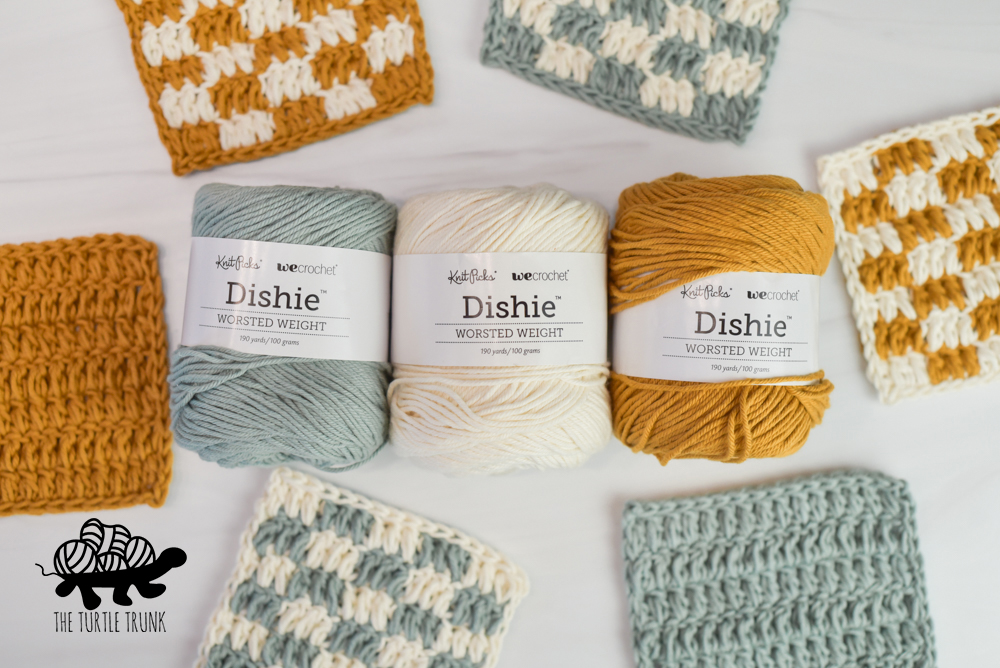
For my Loopy Coasters I used Dishie in the colors Inlet (soft blue), Swan (cream white), and Butterscotch (mustard yellow).
Dishie comes in a huge variety of colors, plus it has a nice feel to it! I love this yarn and highly recommend it!
Wrap Labels
Planning on selling or gifting your coasters?
Check out these printable wrap labels!
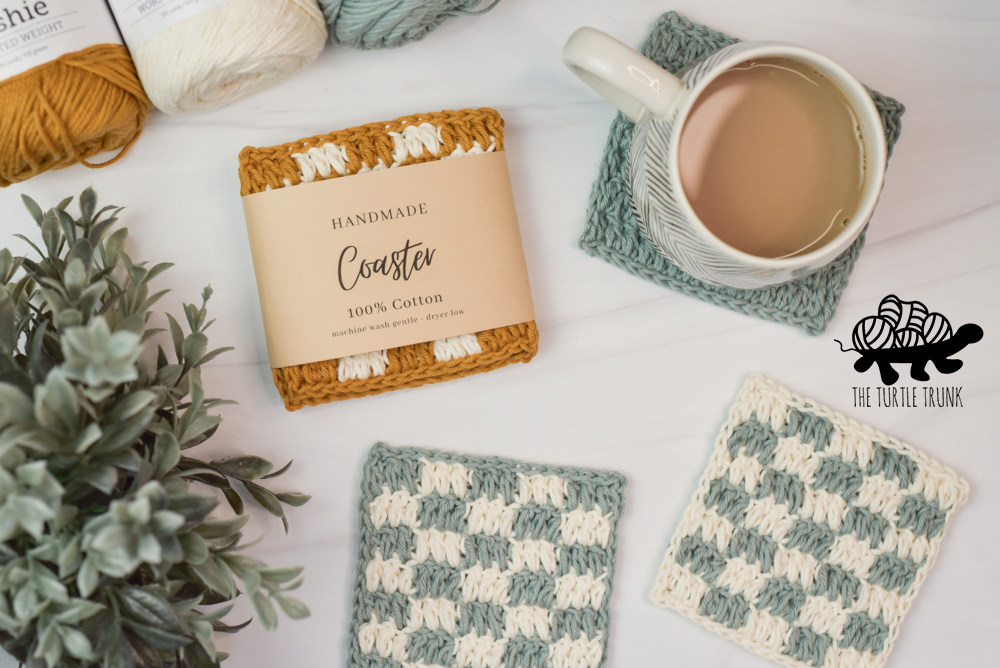
Simply download, print at home, cut them out, and wrap around your coasters!
These make your items looks so professional and help recipients know exactly what they’re getting!
Find these labels in my Etsy Shop HERE!
Finished Size
4.5″ x 4.5″
difficulty
Easy
Gauge
14 STs x 7 Rows – 4″ x 4″ in Puff Stitch
See Special Stitch Instructions below.
Adjust hook size up or down to meet gauge.
supplies
- Medium (4) weight cotton yarn
- Color A (Butterscotch): 12 yards
- Color B (Swan): 11 yards
- 4.00mm (G) crochet hook
- Yarn needle
- Scissors
abbreviations (us terms)
Notes
- CH 1 at the end of the row does not count as a ST. Work the 1st ST of the row into the last ST from the previous row.
- The number in (parentheses) at the end of the row represents the number of STs to be worked in that row.
- Puff ST x3 = work 1 Puff ST in each of the next 3 STs.
- To adjust the size of the coaster:
- Length: Work a foundation chain that is a multiple of 3+1. For a single color coaster work your foundation chain any length.
- Width: Work an odd number of rows the same length as the coaster. For a single color coaster work any number of rows the same length as the coaster.
- See the video tutorial for assistance.
special Stitches
Closed 2 HDC Puff Stitch
This pattern uses a variation of a puff stitch.
Even if you have worked a puff stitch before please read these instruction as puff stitches can be made a number of different ways and this may be different than others you have used.
How to:
- Yarn over and insert your hook into the ST.
- Yarn over and pull up a loop (3 loops on hook).
- Yarn over and insert your hook into the same ST.
- Yarn over and pull up a loop (5 loops on hook).
- Yarn over and pull through the 1st 4 loops on your hook (2 loops on hook).
- Yarn over and pull through the last 2 loops on your hook.
Changing Color
You will change color on the last (3rd) Puff ST before a new color starts. Start the Puff ST as normal, before the final pull through of the last 2 loops, drop your current color and pull through with the new color. The next Puff ST you work will be with the new color.
Carrying Yarn
This patten uses the tapestry crochet method, where you carry your non working yarn through your stitches. After joining the 2nd color, you will work your Puff STs around the non working yarn strand. This hides the strand but carries it over so it’s ready for the frequent color changes.
loopy coaster pattern
With Color A, CH 16
Row 1: Puff ST in 2nd CH from hook and in the next 2 CHs, *change to Color B, Puff ST x3, change to Color A, Puff ST x3*. Repeat ** until the end of the row. Change to Color B on the last ST of the row. CH 1 & turn. (15)
Row 2: Puff ST x3, *change to Color A, Puff ST x3, change to Color B, Puff ST x3*. Repeat ** until the end of the row. Change to Color A on the last ST of the row. CH 1 & turn. (15)
Row 3: Puff ST x3, *change to Color B, Puff ST x3, change to Color A, Puff ST x3*. Repeat ** until the end of the row. Change to Color B on the last ST of the row. CH 1 & turn. (15)
Rows 4-7: Repeat Rows 2 and 3. On the last ST of Row 7 finish with Color A or whatever color you want for the border. Cut off other color, leaving long enough tail to weave in.
Border
Loosely SL ST down the left side of the coaster, working 2 SL STs in the side of each row down for a total of 14 STs. I worked 1 SL ST on the side of the Puff ST and the other at the botton of the Puff ST.
In the corner [SL ST, CH 1, SL ST].
Work 1 SL ST in each ST across the bottom.
Continue around the coaster, [SL ST, CH 1, SL ST] in the corners, 2 SL STs in each row up the side, and 1 SL ST in each ST across the top.
[SL ST, CH 1, SL ST] into the last ST from Row 7. Cut off yarn, leaving a long enough tail to weave in.
Weave in all ends on the backside of the coaster.
And you’re all done!
I hope you enjoyed the Loopy Coaster crochet pattern! I can’t wait to see your finished creations, so be sure to tag @theturtletrunk on Instagram!
You are free to sell the items you make with this crochet pattern, and I’d love if you could please link back to this page. You do not have permission to republish or distribute this pattern in any way or claim it as your own. Do not use my photos in your sale listings or for any other purposes. Thank you.
This page includes affiliate links. If you make a purchase from these links, I may make a small commission at no cost to you! Thank you for your support!