Farmhouse Coaster Crochet Pattern
The Farmhouse Coaster pattern includes instructions for both solid colored and two toned coasters! These crochet coasters feature a beautiful, rigid texture that’s made from only 2 basic stitches, so it’s beginner friendly! These are a great quick project for either your own home or to give as gifts!
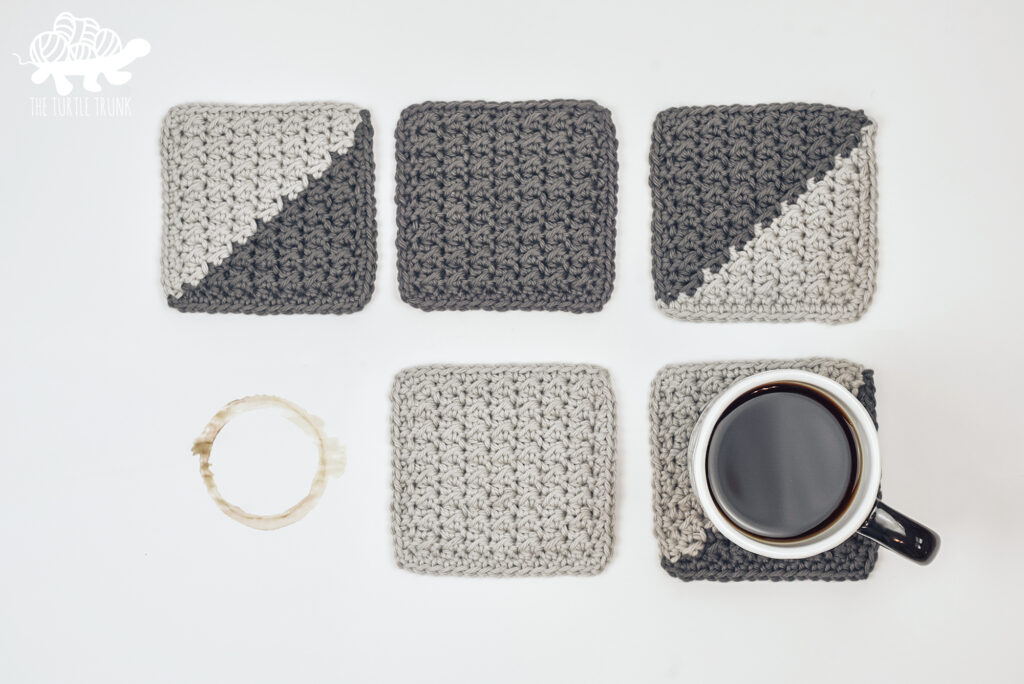
Who doesn’t love a quick and fun crochet project! Since you all enjoyed the Farmhouse Dish Set so much, I decided to add to the collection and make these beautiful, matching crochet coasters! The Farmhouse Coaster features the same gorgeous texture the Dish Set does, but I tried something a little different and made some two-toned! I love this fun combination, so feel free to make yours either solid colored, two-toned, or a mix of BOTH!
These crochet coasters feature a gorgeous, ridged texture, and while it may look complicated to create, it’s actually quite easy! This pattern uses the even moss stitch, which consists of just wo basic crochet stitches!
Continue reading below to hear my inspiration for this pattern and to learn more about the yarn I used, then scroll down for the written pattern!
Follow along with the ad free & printable pdf pattern from Etsy and Ravelry!
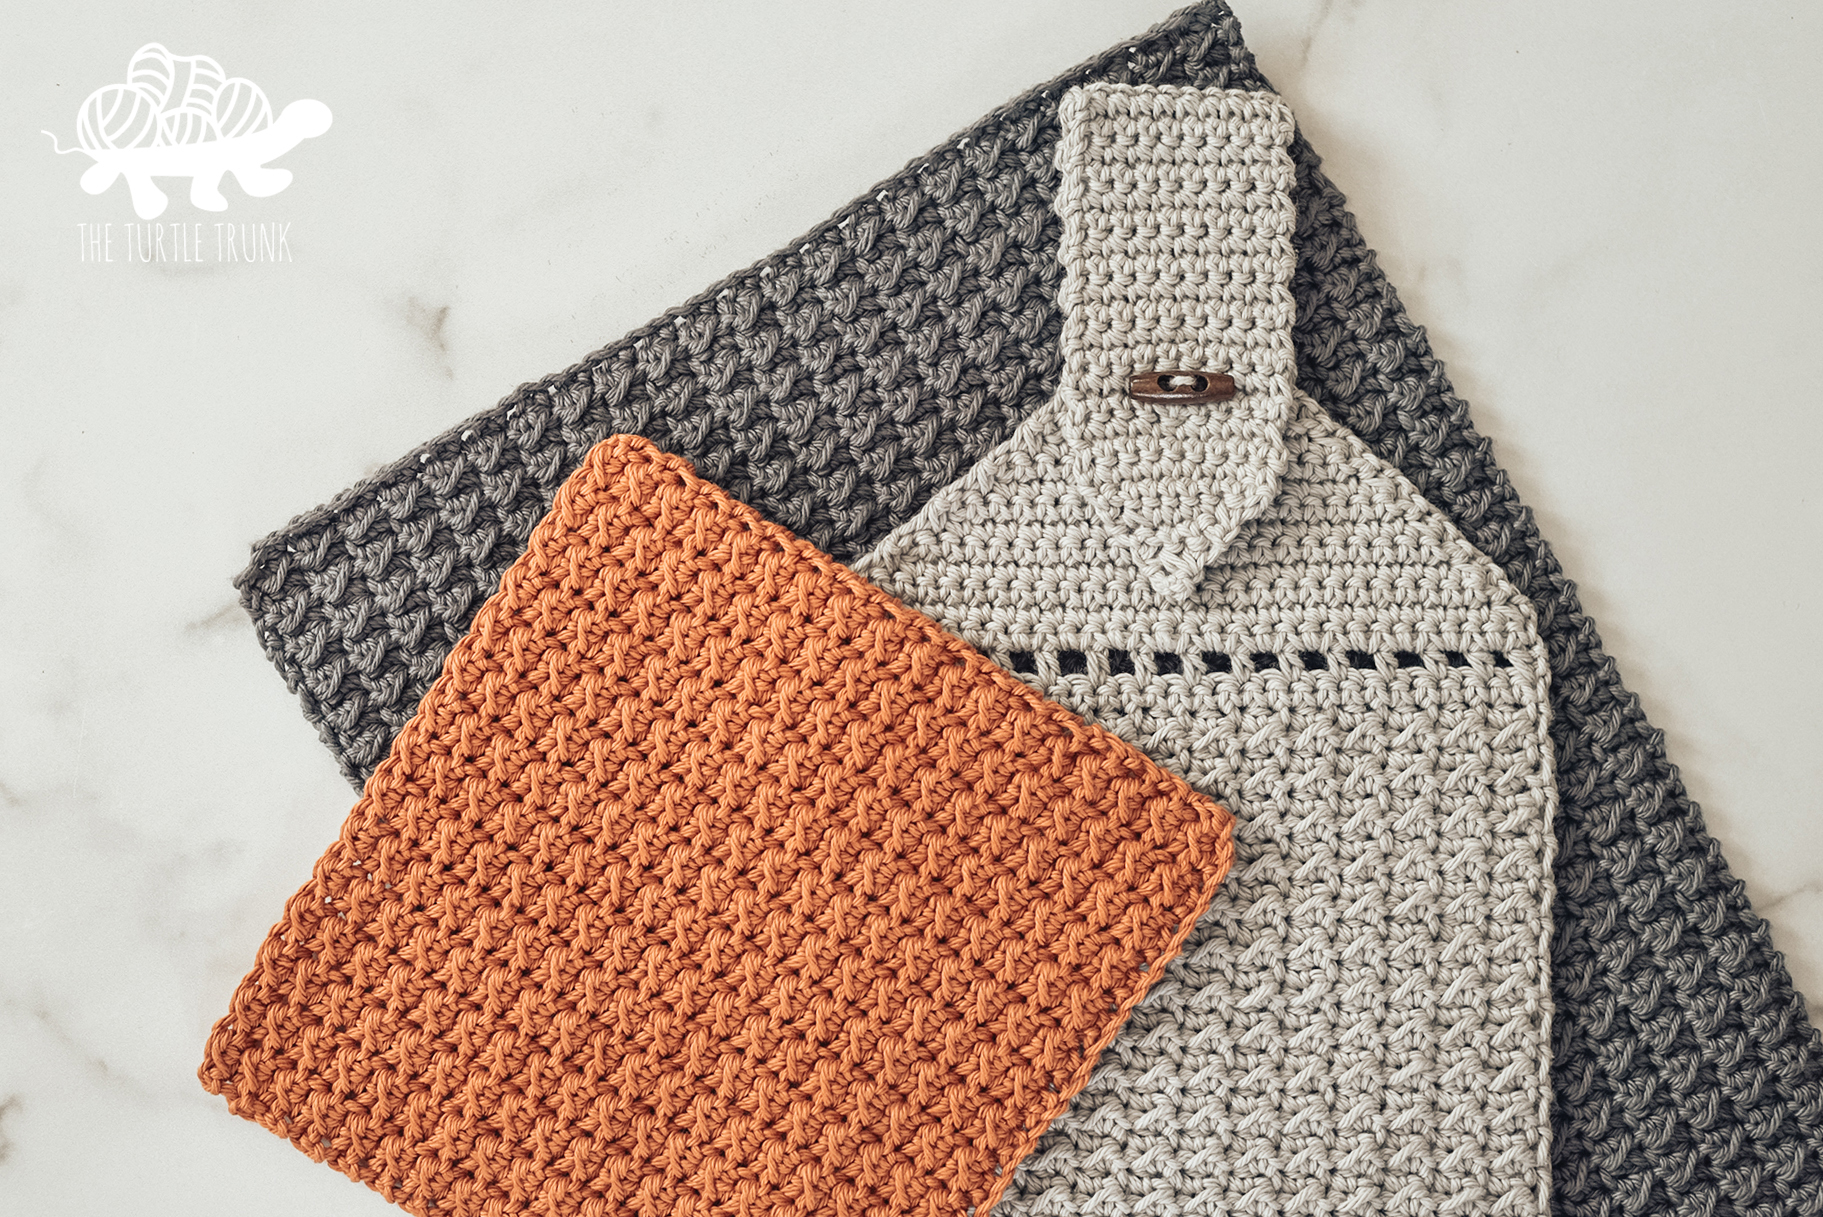
If you’d like more Farmhouse crochet patterns, then check out the rest of the collection: Farmhouse Dish Set and Farmhouse Pot Holder!

Inspiration
After designing the Farmhouse Dish Set and Farmhouse Pot Holder, I knew I wanted to use the even moss for even more patterns because I love the look so much! It also just so happened that my husband made us a new coffee table and we were in need of coasters to protect the tables finish! I honestly was about to go out a buy new coasters until I realized that crochet coasters would be super easy to make, plus I could make them in a style and in colors that match our home best!
At first I designed just the solid colored coasters which I love, but they seemed a bit too simple when writing out the pattern. I didn’t want to stray away from the design too much since I wanted the whole Farmhouse Collection to match, so just by adding in a second color yarn I was able to add some extra interest but keeping the integrity of the design! I personally love the mix of both the solid colored coasters and the two tone coasters, but feel free to do a set of one or the other or do a fun mix of both!

Yarn
For yarn I used Hobby Lobby’s I Love This Cotton in the colors Pewter and Dove, but you can use any medium (4) weight cotton yarn! I love 100% cotton yarn for coasters because it can absorb moisture, it’s durable, and it’s also machine washable! I Love This Cotton is one of the softest cotton yarns I have ever used, so I use it for a lot of my patterns! It also comes in a large variety of colors and hold up well to being machined washed and dried. Yarnspirations Lily Sugar n’ Cream would also be great cotton yarn to use as well. Another fiber option you could use too is bamboo yarn!
Size
The finished size of a Farmhouse Coaster is approximately 4.5″ x 4.5″ but you can easily adjust the size! To adjust the length of the coaster work as many rows needed to reach your desired length and to adjust the width just make your chain any even number.
Not ready to make just yet?! PIN this pattern for later!

Follow along with the video tutorial on YouTube! Don’t forget to subscribe!
Difficulty
Easy
Gauge
15 STs x 16 Rows = 4” x 4” in Even Moss Stitch (SL ST in 1st ST, HDC in next)
Adjust hook size up or down to meet gauge
Notes
- Row 1 will be worked into the back bump of the chain. When you look at your chain from above, you will see a loop bumping out the back. So we will work row 1 into that bump and this will ensure there are not large gaps or holes between row 1 and the boarder.
- This pattern uses the Even Moss Stitch. The Even Moss Stitch is created by working a SL ST into the first ST, then a HDC in the next, then SL ST into the next. Repeat until the end of the row. For the next row you will repeat the same pattern, working the SL ST into the previous SL ST and the HDC into the previous HDC.
- Work SL STs loosely especially the first and last one of each row to ensure your piece doesn’t cinch at the ends.
- To adjust the width: make your chain as long or short as you want, just be sure to chain an even number of stitches. To adjust the length: work as many rows to get your desired length.
- Beginning chains do not count as stitches throughout the whole pattern.
- The number in parenthesis at the end of each round represents the total number of stitches to be worked in each row.
- Repeat instructions between asterisks (*) until the end of each row.
- For the two tone coasters: When changing colors on the RS, drop your yarn behind. When changing color on the WS, drop your yarn in front.
Supplies
- Medium (4) Weight Cotton Yarn (I used: I Love This Cotton)
- Solid Color – 40 yards / 0.5 oz per coaster
- Two Tone – 20 yards / 0.25 oz of each color, per coaster
- Hook: 5.00 mm (H)
- Yarn Needle
- Scissors
Abbreviations (US Terms)
ST(s) – Stitch(es)
SL ST – Slip Stitch
CH – Chain
HDC – Half Double Crochet
SC – Single Crochet
RS – Right Side
WS – Wrong Side
Reference Photos
Back Bumps of Chain: when looking at the chain from above, you’ll see the back loops bumping out on the back. Work Row 1 into the back bumps of the chain.

Changing Colors: Change colors on the last pull through of a HDC. When working on the RS – drop current color behind work, pull through with new color. When working on the WS – drop current color in front of work, pull through with new color.


Farmhouse Coaster Pattern
Solid Color
CH 16
(RS) Row 1: SL ST into 2nd CH from hook then, *HDC in next ST, SL ST into next* repeat ** across. CH 1. Turn. (15)
(WS) Rows 2-16: SL ST in 1st ST, then *HDC in next ST, SL ST in next* repeat ** across. CH 1. Turn. (15)
You can either tie off here if you like the rough edge, or make a boarder around your coaster for a cleaner edge.
To make the boarder, CH 1 & turn. Then, working back into Row 16, SC in each ST across the top, down the side, across the bottom, and back up the last side. [SC, CH 1, SC] in each of the corners to help round the corners. When you reach the end, SL ST into the 1st SC worked.
Tie off then weave in ends on the WS.
Two Tone
CH 16 (Color A)
(RS) Row 1: SL ST into 2nd CH from hook, then *HDC in next ST, SL ST into next* repeat ** until 2 CHs remain, HDC (change to Color B), SL ST in last CH. CH 1. Turn. (15)
(WS) Row 2: SL ST into 1st ST, HDC in next ST (change to Color A), SL ST in next, *HDC, SL ST* repeat ** across. CH 1. Turn. (15)
(RS) Row 3: SL ST into 1st ST, *HDC, SL ST* repeat ** until 4 STs remain, HDC (change to Color B), SL ST, HDC, SL ST. CH 1. Turn. (15)
(WS) Row 4: SL ST into 1st ST, HDC, SL ST, HDC (change to Color A), SL ST, *HDC, SL ST* repeat ** across. CH 1. Turn. (15)
(RS) Row 5: SL ST into 1st ST, *HDC, SL ST* repeat ** until 6 STs remain, HDC (change to Color B), SL ST, HDC, SL ST, HDC, SL ST. CH 1. Turn, (15)
(WS) Row 6: SL ST into 1st ST, HDC, SL ST, HDC, SL ST, HDC (change to Color A), SL ST, *HDC, SL ST* repeat ** across. CH 1. Turn. (15)
(RS) Row 7: SL ST into 1st ST, *HDC, SL ST* repeat ** until 8 STs remain, HDC (change to Color B), SL ST, *HDC, SL ST* repeat ** across. CH 1. Turn. (15)
(WS) Row 8: SL ST into 1st ST, *HDC, SL ST* repeat ** x2, HDC (change to Color A), SL ST, *HDC, SL ST* repeat ** across. CH 1. Turn. (15)
(RS) Row 9: SL ST into 1st ST, HDC, SL ST, HDC, SL ST, HDC (change to Color B), SL ST, *HDC, SL ST* repeat ** across. CH 1. Turn. (15)
(WS) Row 10: SL ST into 1st ST, *HDC, SL ST* repeat ** until 6 STs remain, HDC (Change to Color A), SL ST, *HDC, SL ST* repeat ** across. CH 1. Turn. (15)
(RS) Row 11: SL ST into 1st ST, HDC, SL ST, HDC (change to Color B), SL ST, *HDC, SL ST* repeat ** across. CH 1. Turn. (15)
(WS) Row 12: SL ST into 1st ST, *HDC, SL ST* repeat ** until 4 STs remain, HDC (change to Color A), SL ST, HDC, SL ST. CH 1. Turn. (15)
(RS) Row 13: SL ST into 1st ST, HDC (change to Color B), SL ST, *HDC, SL ST* repeat ** across. CH 1. Turn. (15)
(WS) Row 14: SL ST into 1st ST, *HDC, SL ST* repeat across until 2 STs remain, HDC (change to Color A), SL ST. CH 1 (change to Color B). Turn. (15)
(RS) Row 15: SL ST into 1st ST, *HDC, SL ST* repeat ** across. CH 1. Turn. (15)
(WS) Row 16: SL ST into 1st ST, *HDC, SL ST* repeat ** across. (15)
You can either tie off here if you like the rough edge, or make a boarder around your coaster for a cleaner edge.
To make the boarder, cut off Color A (we will reattach later), CH 1 & turn, (working back into Row 16 – with Color B) SC in each ST across the top, [SC, CH 1, SC] in the last ST, SC in each row down the side, [change to Color A on the last SC, CH 1, SC], SC in each ST across the bottom, [SC, CH 1, SC] in the last ST, SC in each row up, SL ST into the 1st SC worked.
Tie off then weave in ends on the WS.
And you’re all done!
I hope you enjoyed the Farmhouse Coaster pattern! I can’t wait to see your finished creations, so be sure to tag @theturtletrunk on Instagram!
You are free to sell the items you make with this crochet pattern, and I’d love if you could please link back to this page. You do not have permission to republish or distribute this pattern in any way or claim it as your own. Do not use my photos in your sale listings or for any other purposes. Thank you.
This page includes affiliate links. If you make a purchase from these links, I may make a small commission at no cost to you! Thank you for your support!