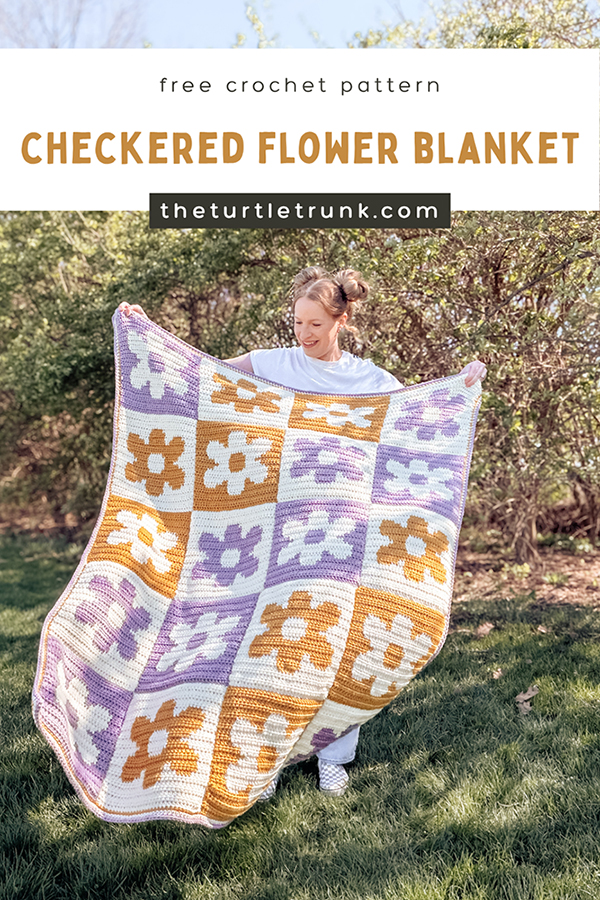
Checkered Flower Blanket Crochet Pattern
The Checkered Flower Blanket is a cute and fun crochet blanket pattern! It features 20 flower squares and measures about 40″ x 50″. Customize the size and colors of your blanket to make it perfect for you!
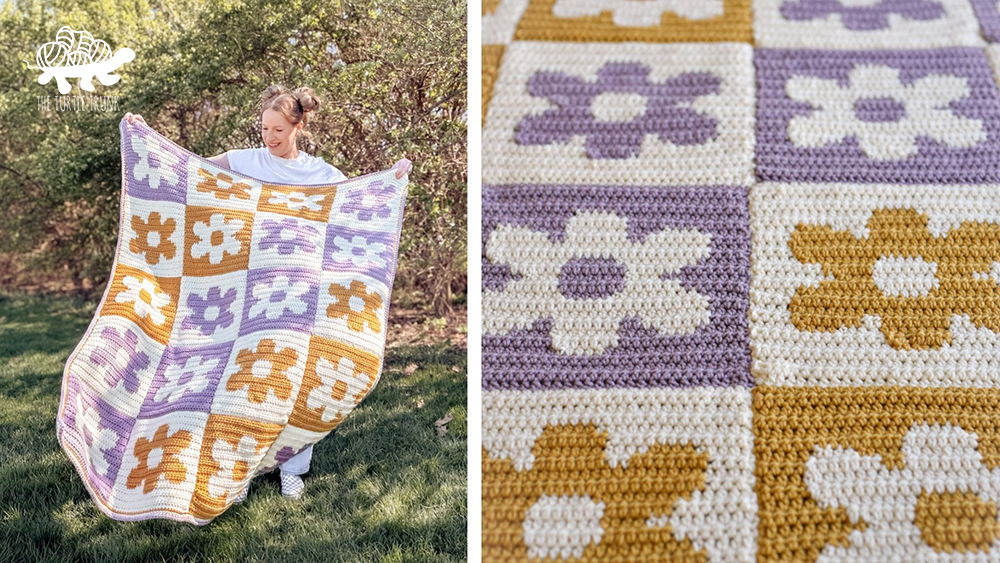
This cute and fun crochet blanket pattern is perfect for Spring and Summer!
Make for kids rooms, babies, Mother’s Day, for your own home, or anyone who just loves flowers!
Make as many of the 10″ x 10″ squares to make different sized blankets!
Use whatever and as many colors as you’d like, the possibilities are endless!
This crochet blanket pattern uses basic crochet stitches and color changes making it perfect for an advanced crocheter or higher. I’ll also show you how to join the squares using the mattress stitch and how to add on a cute single crochet border.
Keep reading below to learn more about this pattern or scroll to the bottom for the free written pattern, graph, and video tutorial. You can also grab the ad-free, printable, PDF pattern on Etsy and Ravelry!
FOLLOW ALONG WITH THE AD FREE & PRINTABLE PDF PATTERN
FROM ETSY AND RAVELRY!
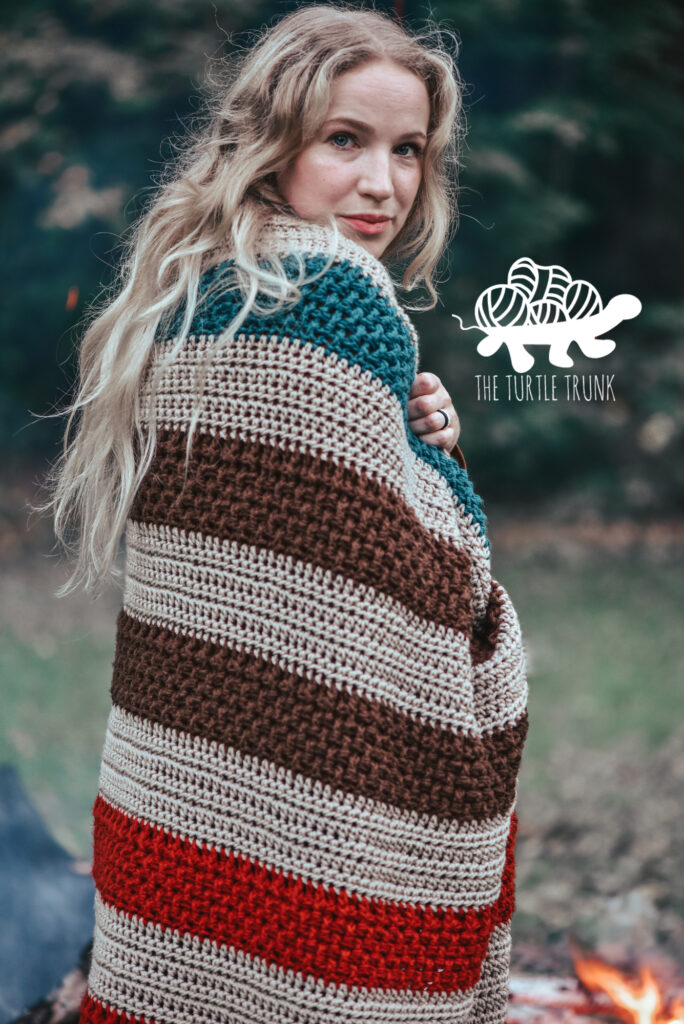
Check out these other crochet blanket patterns from The Turtle Trunk!
Quick heads up! This page includes affiliate links. If you make a purchase from these links, I may make a small commission at no extra cost to you! You can read more about my disclosure policy HERE. Thank you for your support!
Not ready to take just yet?
Save this pattern to Pinterest!
Follow along with the video tutorial on YouTube!
Other Checkered Blanket Patterns
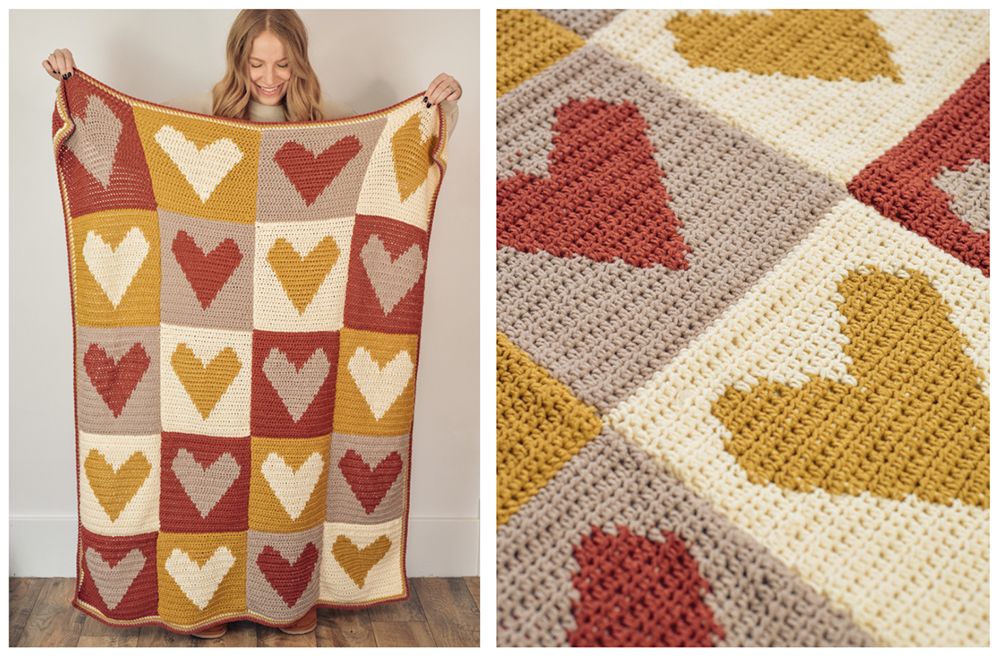
The Checkered Flower Blanket is the second Checkered Blanket I’ve designed!
The first pattern was the Checkered Heart Blanket!

These patterns can be used together! The squares are the same size and use the same number of stitches and rows. Mix and match the squares to make your own, unique blanket!
I also plan on making more Checkered Blankets using different designs for different seasons and holidays so let me know if there’s a specific square you’d like to see!
Yarn
You’ll need medium 4 weight yarn for this pattern in at least 2 colors.
I used Yarn Bee Soft & Sleek in the colors Purple Haze, Mustard, and Ivory.
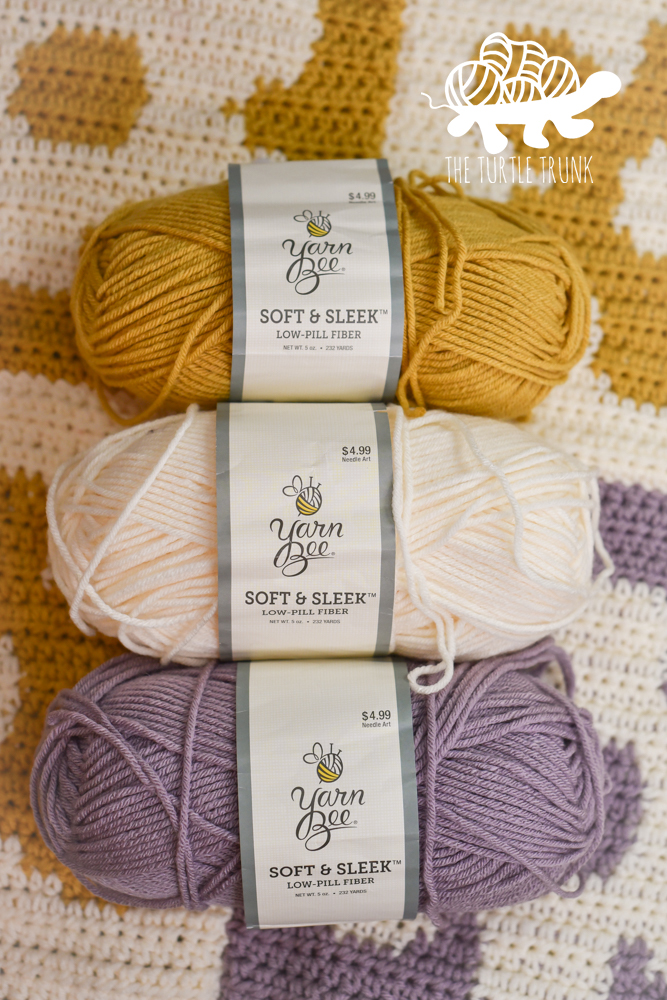
Feel free to use your favorite medium 4 weight yarn. With this yarn my blanket was a little bit thicker than my Checkered Heart Blanket, where I used Lion Brand Yarn Color Theory, which was a bit thinner and lighter, creating a drappier blanket.
You can also use as many colors as you’d like! Use 2 contrasting colors, a random rainbow, use up scraps in your stash, or plan out a nice color scheme. The possibilities are endless!
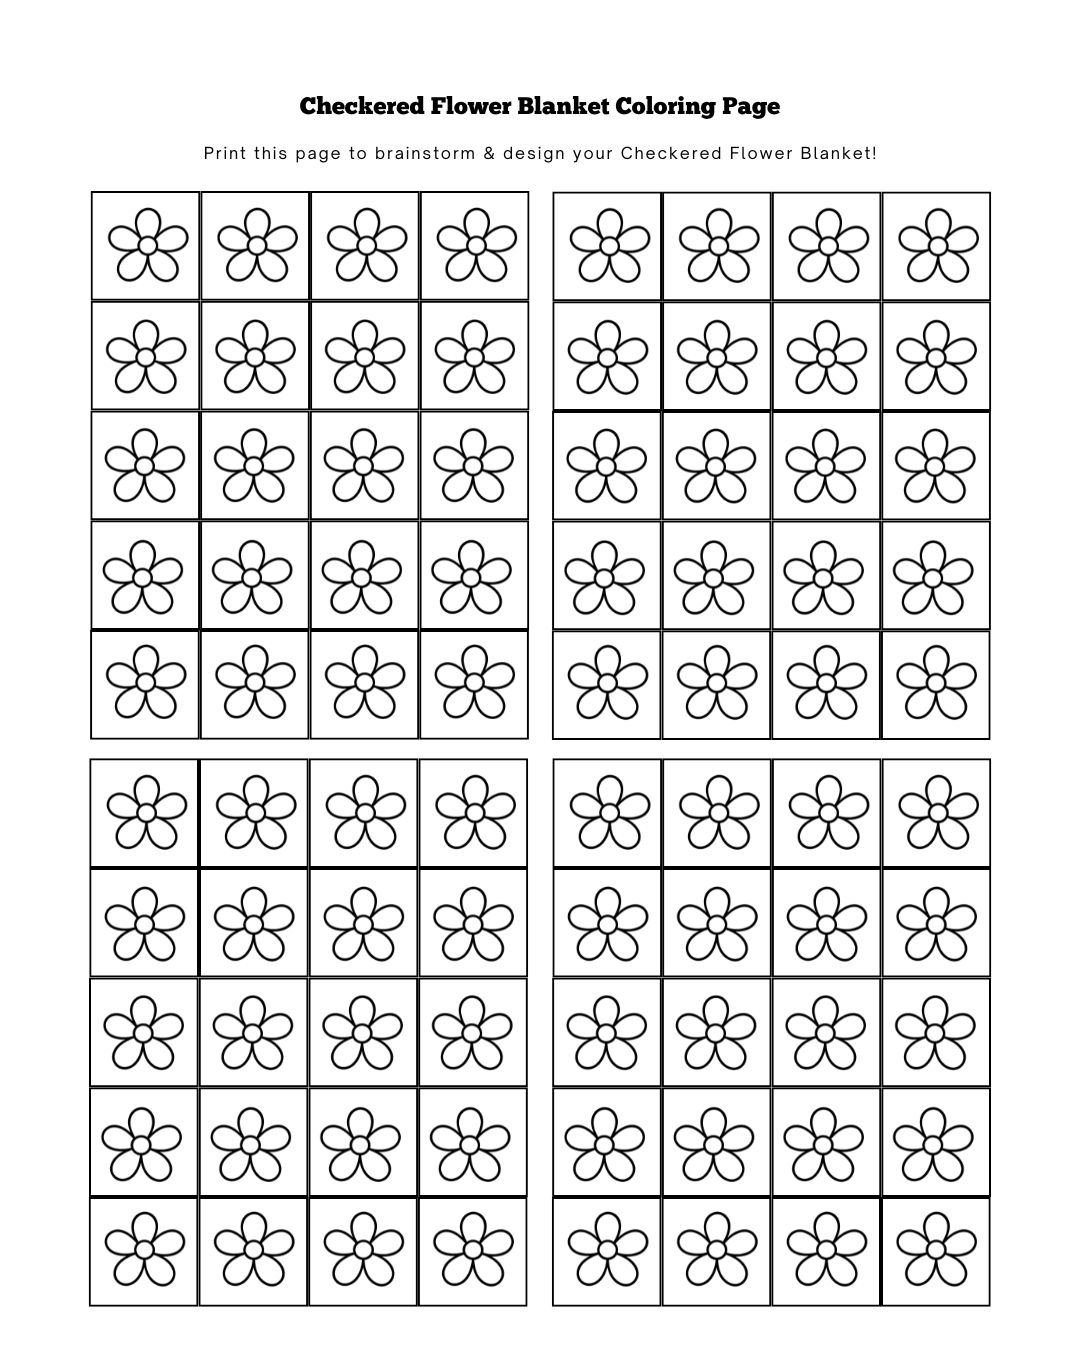
Print out this coloring page to help plan out your design!
Blanket Size and Layout
Each flower square is 10″ x 10″ and uses about 63 yards for the background color and 30 yards for the flower.
You can make any number of squares to get different sized blankets.
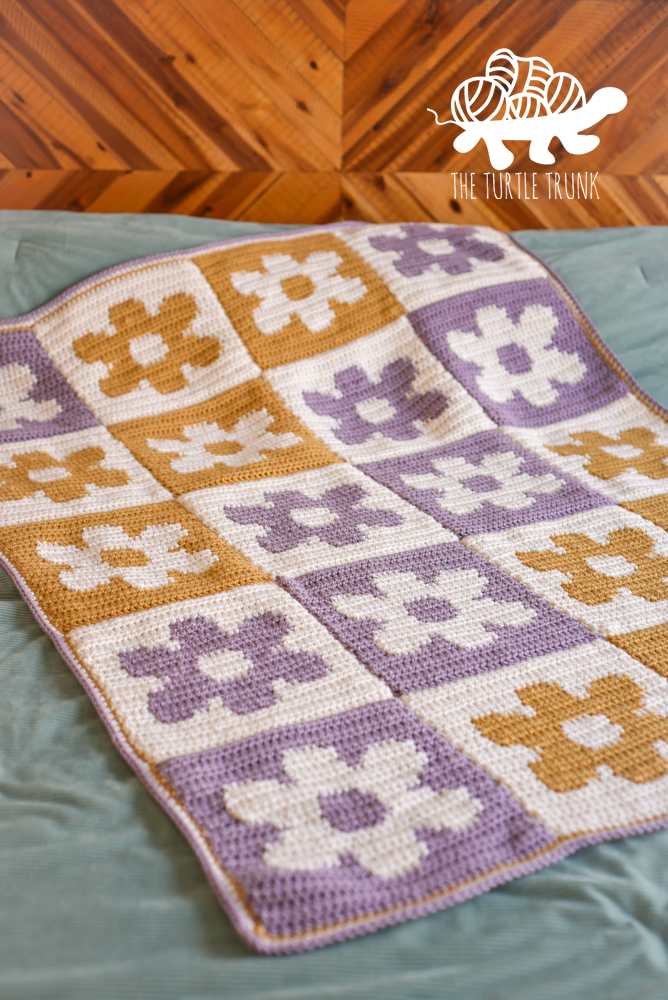
I made 20 squares for mine and placed them 4 across and 5 down, making a blanket that was approximately 40″ x 50″.
I used 3 yarn colors to create 4 different squares. I made 5 of each of the different squares for a total of 20. Below you can see how I laid them out.
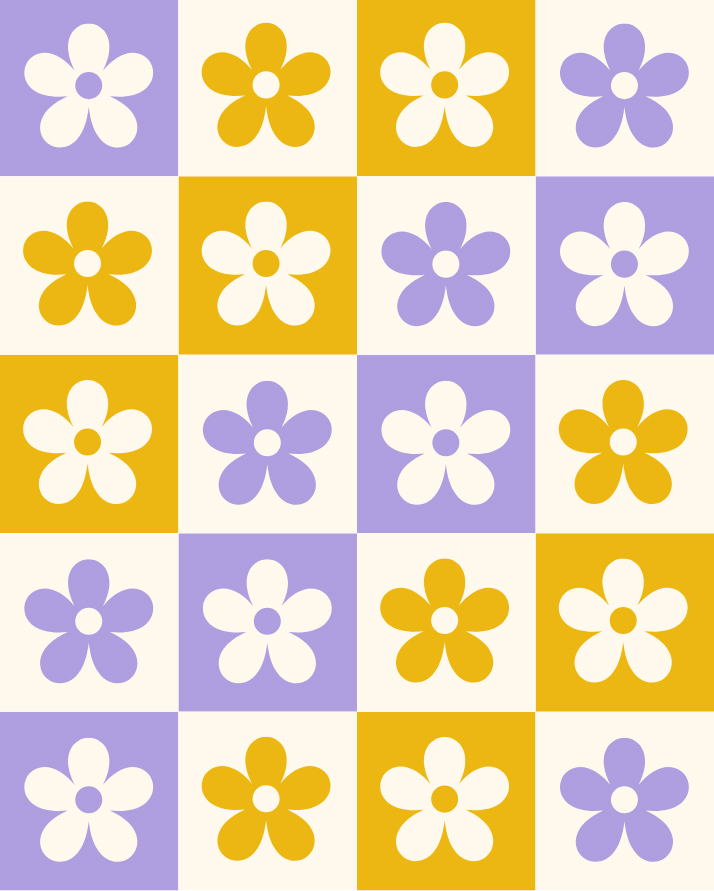
You can organize your square is any pattern that you’d like! Plan out your design before getting started to know exactly how many squares in each color that you’ll need.
Border
For my border, I did 3 rounds of single crochet, using 1 of the 3 colors for each round.
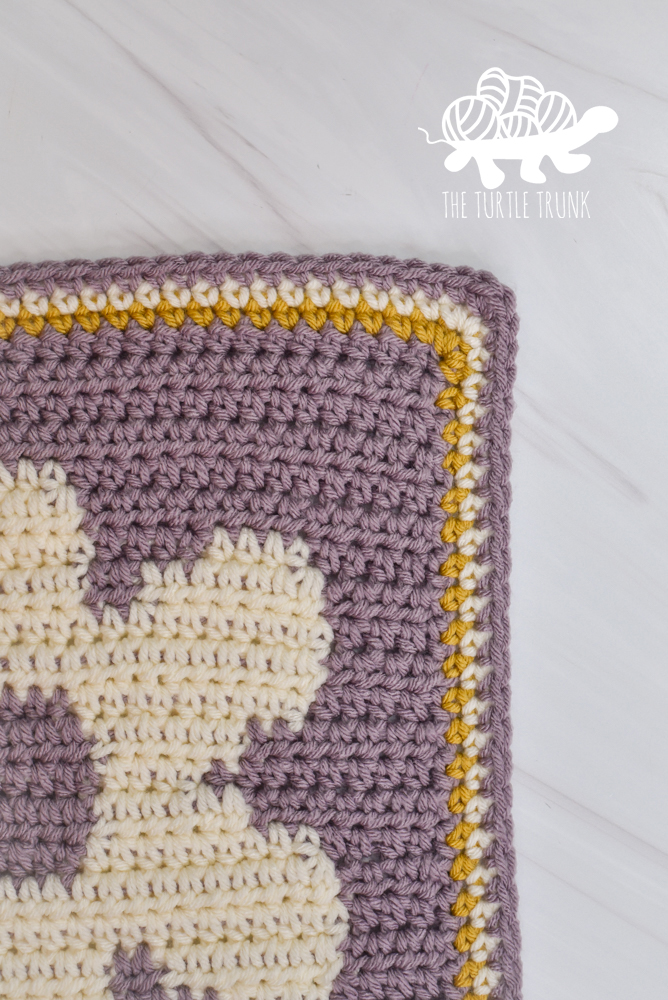
Feel free to use any border stitch that you’d like or don’t add a border at all!
DIFFICULTY
Advanced Beginner
GAUGE
14 STs x 10 Rows = 4″ x 4″ in HDC
Adjust hook size up or down to meet gauge.
Notes
- This pattern includes both written instructions and a graph. You can follow along with one or both.
- At the end of each row CH 1 & turn.
- Written Instructions: each row will have an arrow beside it telling you which direction that row will be worked. When working on the right side (RS) you will see ‘<’. When working on the wrong side (WS) you will see ‘>’. Make sure all loose ends are on the wrong side.
- From Row 2 on, only HDC stitches are used. This pattern is written in simplified terms, so each row will tell you the color to use and the number of stitches for that color. Ex. BC 4, HC 25, BC 4, means HDC 4 with background color, HDC 25 with flower color, then HDC 4 with background color again.
- Changing Color: change color on the last HDC before a new color starts. Start your last HDC as usual, before the final pull through, drop the current color, then pull through the 3 loops on your hook with the new color. The next HDC you work will be the first of the new color.
- Carrying Yarn: I carried the BC through the flower to avoid cutting + attaching yarn or using multiple bobbins. Feel free to use your favorite color work method.
SUPPLIES
- Medium (4) weight yarn (I used 3 colors of Yarn Bee Soft & Sleek)
- Color A (Purple Haze) – 511 yards
- Color B (Mustard) – 511 yards
- Color C (Ivory) – 1,076 yards
- 5.00mm (H) crochet hook
- Yarn needle
- Scissors
ABBREVIATIONS (US TERMS)
CH(s) – Chain(s)
ST(s) – Stitch(es)
HDC – Half Double Crochet
FHDC – Foundation Half Double Crochet
SC – Single Crochet
RS – Right Side
WS – Wrong Side
BC – Background Color
FC – Flower Color
Checkered Flower Blanket Graph
Checkered Flower Blanket Pattern
Flower Square – Make 20
Starting with BC
< Row 1 [RS]: FHDC 33 (or CH 34, HDC in 2nd CH from hook and HDC in each CH across). CH 1 & turn. (33)
Rows 2 – 4: BC 33
< Row 5 [RS]: BC 14, FC 5, BC 14
> Row 6 [WS]: BC 13, FC 7, BC 13
< Row 7 [RS]: BC 5, FC 4, BC 4, FC 7, BC 4, FC 4, BC 5
> Row 8 [WS]: BC 4, FC 7, BC 2, FC 7, BC 2, FC 7, BC 4
< Row 9 [RS]: BC 4, FC 25, BC 4
> Row 10 [WS]: BC 4, FC 25, BC 4
< Row 11 [RS]: BC 5, FC 9, BC 5, FC 9, BC 5
> Row 12 [WS]: BC 7, FC 6, BC 7, FC 6, BC 7
< Row 13 [RS]: BC 9, FC 4, BC 7, FC 4, BC 9
> Row 14 [WS]: BC 7, FC 6, BC 7, FC 6, BC 7
< Row 15 [RS]: BC 5, FC 9, BC 5, FC 9, BC 5
> Row 16 [WS]: BC 4, FC 25, BC 4
< Row 17 [RS]: BC 4, FC 25, BC 4
> Row 18 [WS]: BC 4, FC 7, BC 2, FC 7, BC 2, FC 7, BC 4
< Row 19 [RS]: BC 5, FC 4, BC 4, FC 7, BC 4, FC 4, BC 5
> Row 20 [WS]: BC 13, FC 7, BC 13
< Row 21 [RS]: BC 14, FC 5, BC 14
Rows 22-25: BC 33
Tie off yarn and weave in ends.
When all squares are done, move onto joining them together.
Joining the Squares
See the video tutorial for help.
To join all the squares we will use the mattress stitch. This sewing technique creates a near invisible seam.
You will need a yarn needle and yarn color of choice. I will be using Color C.
Start by laying out your squares in the pattern you want.
Cut a strand of yarn that is at least 3 times the length of 1 square (about 30″). This is enough yarn to join 2 squares with some left over. You can also cut a longer piece to join more squares so you’re not having to attach more yarn for joining later on. Keep in mind, the longer the strand, the harder it will be to manage so find what’s comfortable for you.
Joining order: it does not matter what order you join the squares. I did all the horizontal joins first, starting with the top left square and joining the one directly below it, then continuing to join the rest of row 1 & 2, then add row 3, then 4, and then 5. Then I did all the vertical joins.
Mattress Stitch: lay the first 2 squares beside each other, with the right sides facing up. Insert your needle into the 1st ST on the left square, working from the bottom of the stitch, up through the top, pull the yarn through, leaving about a 2” tail. Then repeat on the right square, insert your needle through the bottom of the first stitch and up through to the top.
*Next, insert your needle back through the first stitch on the left square, but go from the top of the stitch down to the bottom, then bring your needle up through the next stitch. Repeat on the right square, insert your needle through the first stitch, working from the top down, then bring your needle up through the next stitch.*
Repeat ** across. Every inch or so, stop and pull the 2 ends of the yarn strand tight to close the gap, then continue joining.
When you reach the end, keep the yarn strand attached and use to continue joining the next square in that line. Join more yarn strands as needed. Repeat for the rest of the squares.
Border
I did 3 rounds of single crochet, using each of the colors. Feel free to use any colors in any order. At the end of each round, do not join, work in a continuous round.
Attach Color B to the corner of the blanket.
Row 1: SCx3 in the corners and SCx1 in each ST around. Change to Color C on the last ST.
Row 2: SCx3 in the corners and SCx1 in each ST around. Change to Color A on the last ST.
Row 3: SCx3 in the corners and SCx1 in each ST around.
Join to the top of the 1st ST, cut off yarn, and weave in ends.
And you’re all done!
I hope you enjoyed the Checkered Heart Blanket crochet pattern!
I can’t wait to see your finished creations, so be sure to tag @theturtletrunk on Instagram!
You are free to sell the items you make with this crochet pattern, and I’d love if you could please link back to this page. You do not have permission to republish or distribute this pattern in any way or claim it as your own. Do not use my photos in your sale listings or for any other purposes. Thank you.
This page includes affiliate links. If you make a purchase from these links, I may make a small commission at no cost to you! Thank you for your support!