
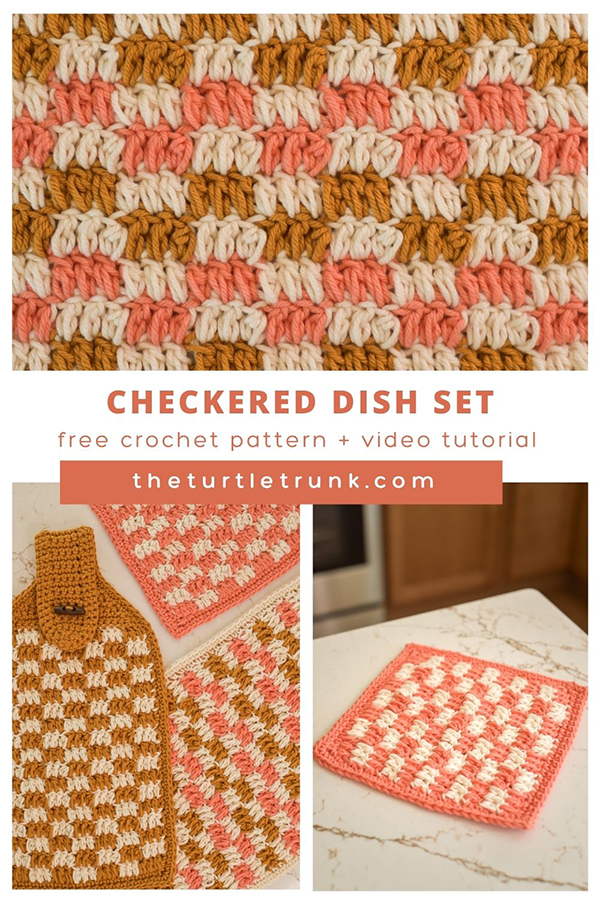
Checkered Dish Set Crochet Pattern
The Checkered Dish Set includes a dishcloth, dish towel, and hanging towel! These are perfect for making for your own home, giving as gifts, or selling at markets! These crochet cloths feature a fun texture and cool, checkered design!
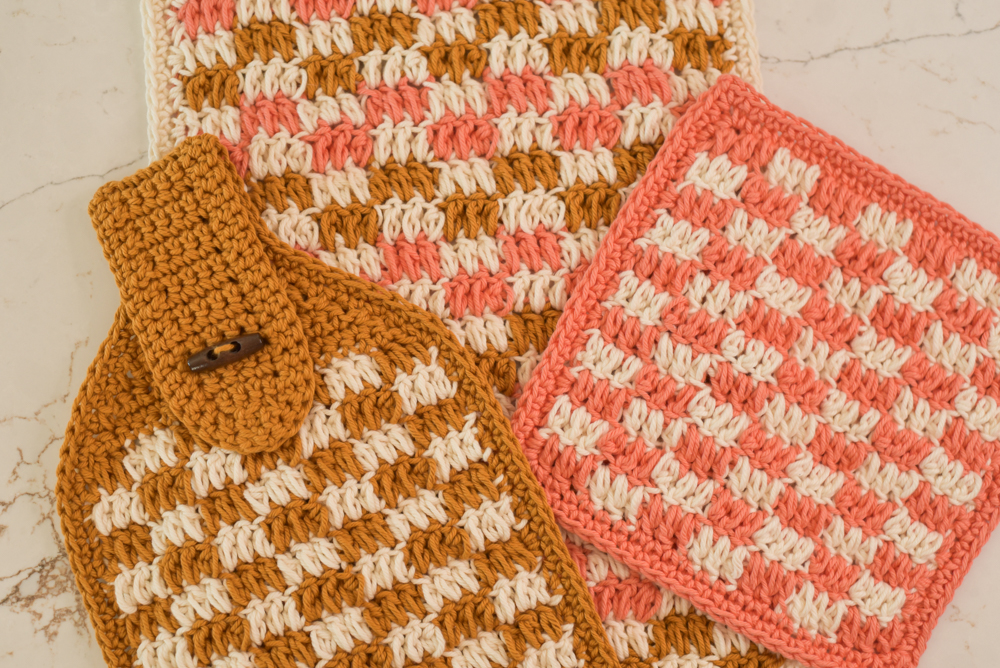
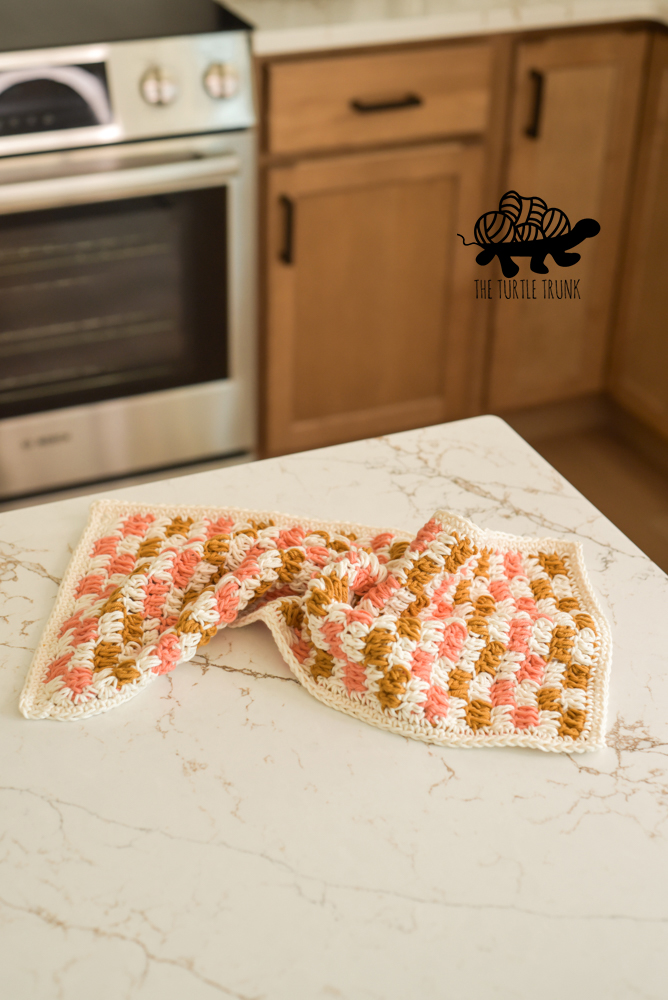
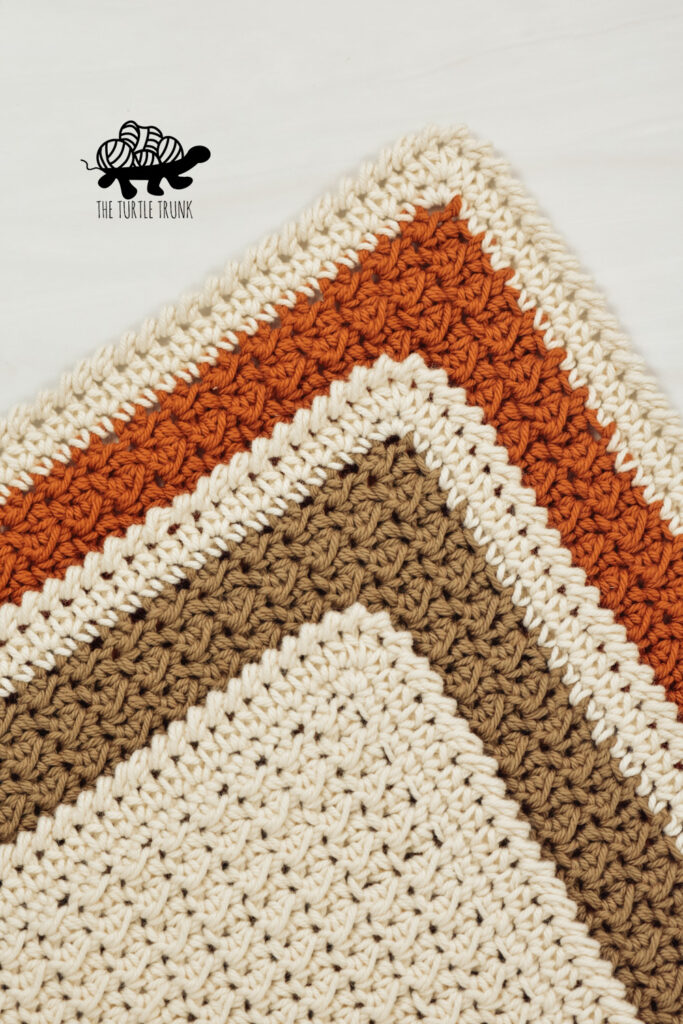
This crochet dish set is the perfect addition to any home!
The Checkered Dish Set features a fun texture and cool checkered pattern.
You can use any color combo to match or compliment your home, and you can make them individually or as a set!
These are great for gifts (think housewarming or Christmas!) and they would sell great at markets and craft fairs too! Or just make them for your own home!
FOLLOW ALONG WITH THE AD FREE &
PRINTABLE PDF PATTERN FROM
ETSY AND RAVELRY!
My Farmhouse Dish Set has been one of my most popular crochet patterns for YEARS! So I Hope you enjoy the Checkered Dish Set pattern just as much!
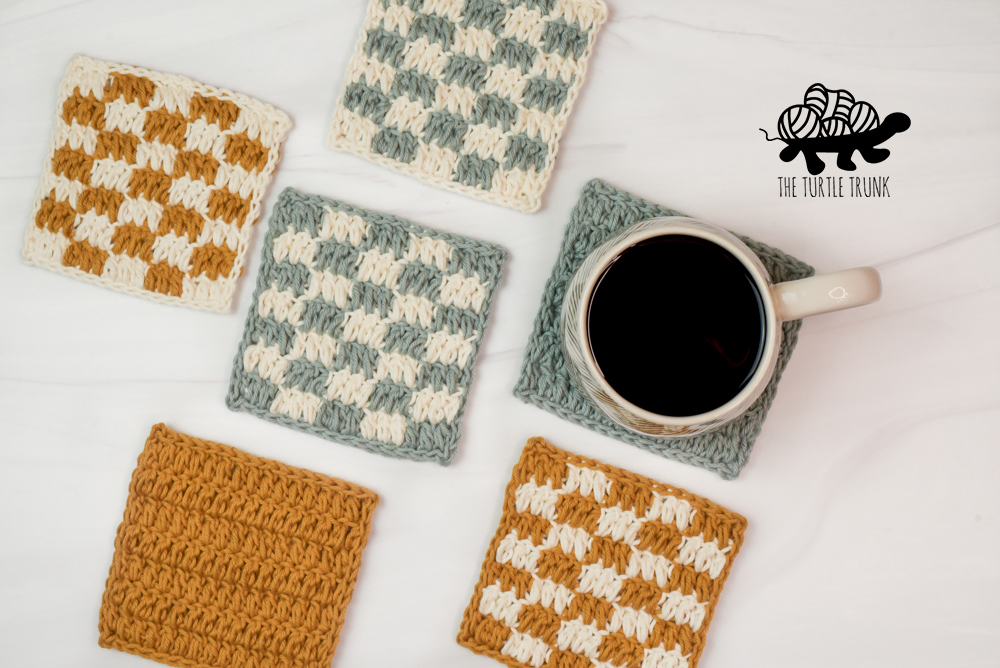
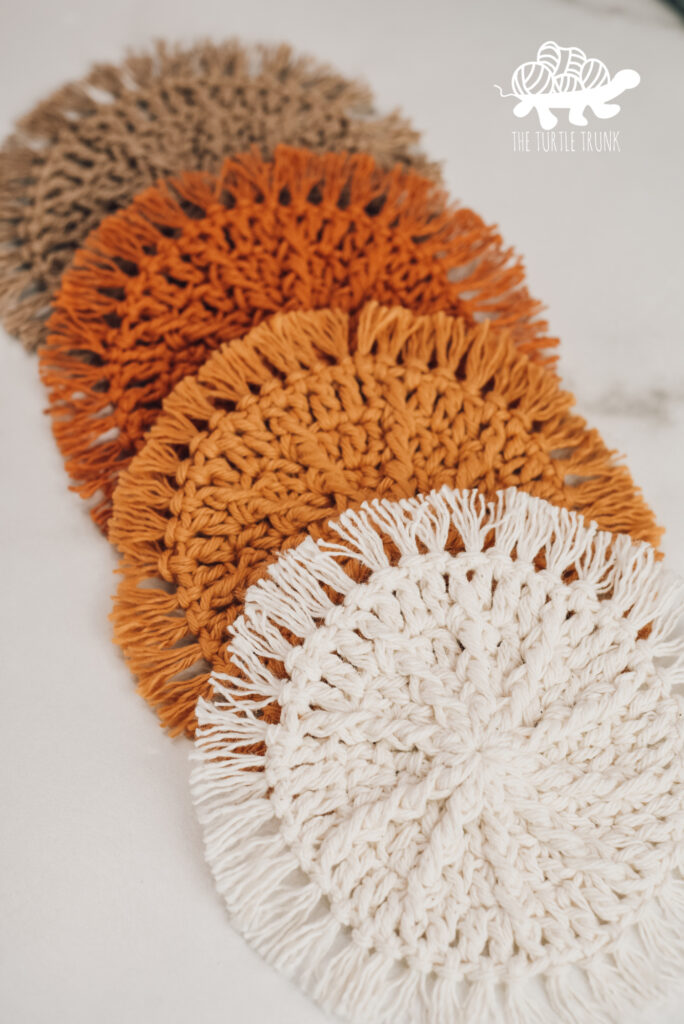
The Checkered Dish Set matches my Loopy Coaster crochet pattern that I released a few months ago, so if you enjoy the pattern, be sure to go check out the coaster too!
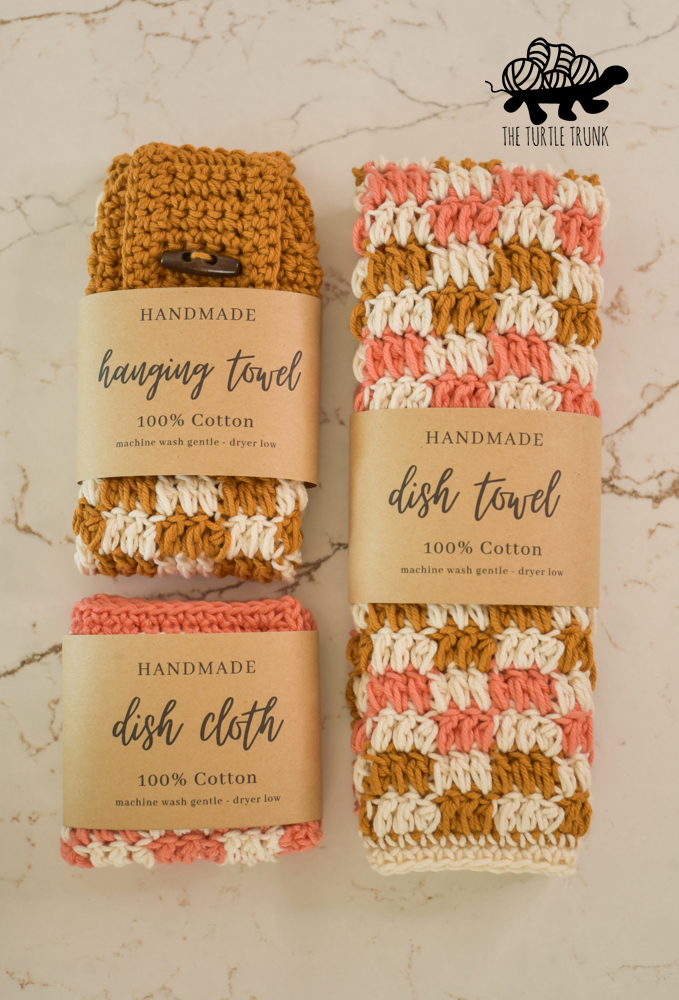
If you do plan on gifting or selling this set, then check out these printable wrap labels that I designed! You can grab this digital pdf from my Etsy shop and easily print these at home! They make your products look more professional and they let the recipient know what they’re getting and how to properly care for it!
What’s included in a crochet dish set?
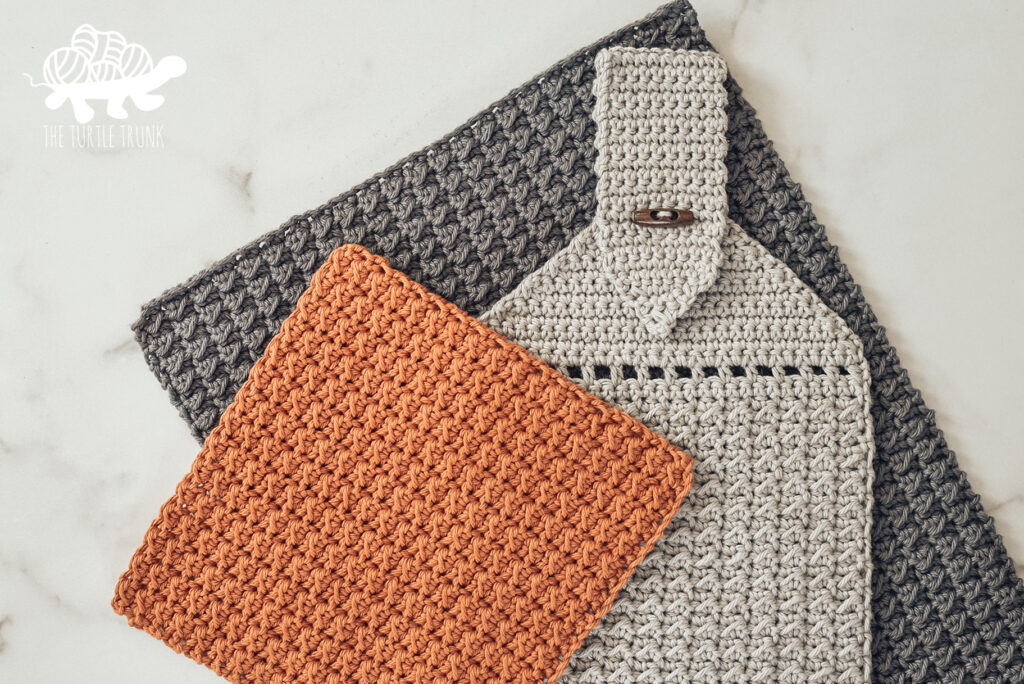
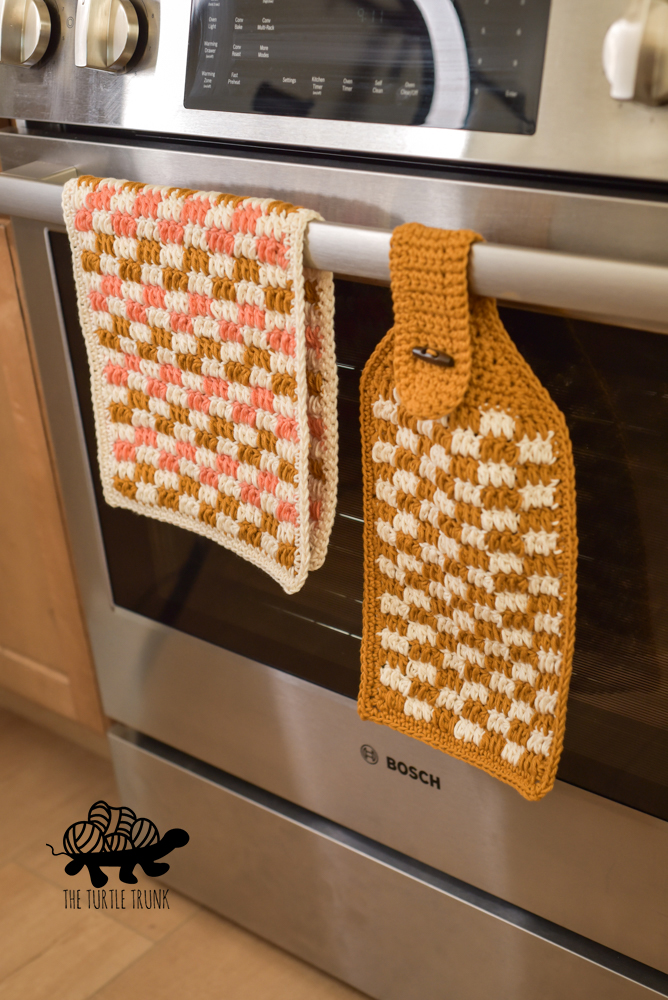
The Checkered Dish Set includes 3 patterns: a 8″ x 8″ Dishcloth, 9.5″ x 20″ Dish Towel, and 8″ x 14″ Hanging Towel.
Use 2 or more colors for your cloths and towels to create the checkered design or feel free to use a single color if you don’t want checkers!
I used 2 colors for my dishcloth and hanging towel, and 3 colors for my dish towel! Have fun with your colors to make your set unique!
What yarn is best for dishcloths and towels?
I always use 100% cotton yarn for my dishcloths and towels.
Cotton yarn is durable, absorbent, and machine washer and dryer friendly!
My favorite cotton yarn is Dishie! It comes in a large variety of beautiful colors (both solids and variegated). It’s also very soft and doesn’t pill!
I used Dishie in the colors Swan (off whitish), Conch (coral pink), and Butterscotch (mustard yellow).
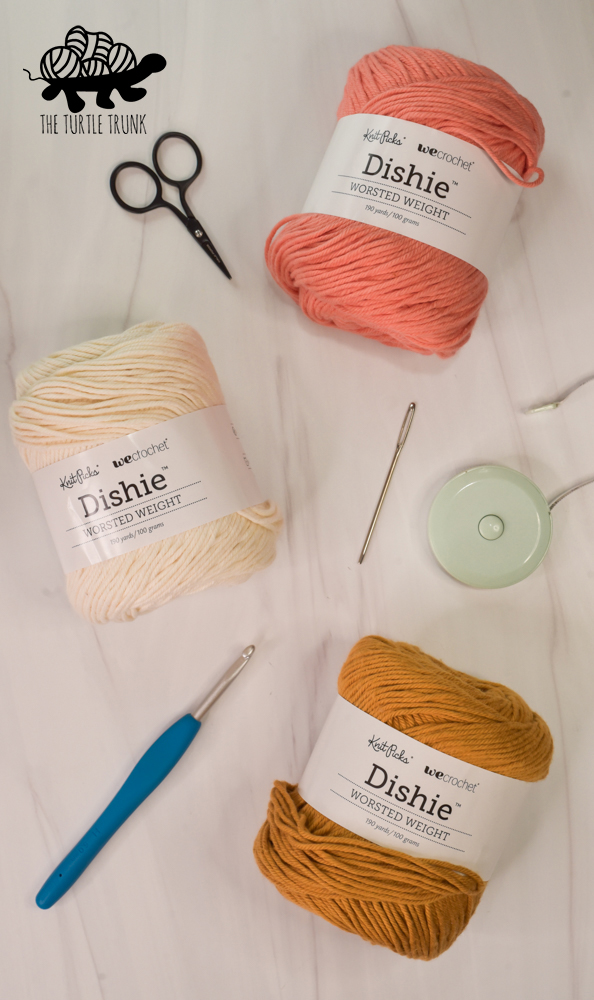
I highly recommend this yarn! You can find it HERE!
Follow along with the video tutorial on YouTube!
Not ready to make just yet?
save this pattern to pinterest!
Difficulty
Advanced Beginner
finished sizes
Dishcloth -8″ x 8″
Dish Towel – 9.5″ x 20″
Hanging Towel – 8″ x 14″
gauge
13 STs x 7 Rows = 4″ x 4″ in Puff ST
See special stitch instructions on Page 3.
Adjust hook size up or down to meet gauge.
notes
- CH 1 at the end of the row does not count as a ST. Work the 1st ST of the row into the last ST from the previous row.
- The number in (parentheses) at the end of the row represents the number of STs to be worked in that row.
- ST x # = work 1 ST in each of the next # of STs.
- See the video tutorial for assistance.
supplies
- Medium (4) weight cotton yarn – I used WeCrochet Dishie
- Dishcloth
- Color A (Conch): 38 yards + 24 yards for the border
- Color B (Swan): 34 yards
- Dish Towel
- Color A: 60 yards
- I used 30 yards (Butterscotch) and 30 yards (Conch)
- Color B (Swan): 144 yards + 31 yards for the border
- Color A: 60 yards
- Hanging Towel
- Color A (Butterscotch): 90 yards + 24 yards for the border
- Color B (Swan): 60 yards
- Dishcloth
abbreviations (us terms)
CH(s) – Chain(s)
ST(s) – Stitch(es)
SL ST – Slip Stitch
SC – Single Crochet
SC2TOG – Single Crochet 2 Together
SC3TOG – Single Crochet 3 Together
SK – Skip ST
special stitches
Closed 2 HDC Puff Stitch
This pattern uses a variation of a puff stitch and will just be referred to as ‘Puff ST’ in the pattern.
Even if you have worked a puff stitch before please read these instruction as puff stitches can be made a number of different ways and this may be different than others you have used.
How to:
- Yarn over and insert your hook into the ST
- Yarn over and pull up a loop (3 loops on hook)
- Yarn over and insert your hook into the same ST
- Yarn over and pull up a loop (5 loops on hook)
- Yarn over and pull through the 1st 4 loops on your hook (2 loops on hook)
- Yarn over and pull through the last 2 loops on your hook
Changing Color
You will change color on the last (3rd) Puff ST before a new color starts. Start the Puff ST as normal, before the final pull through of the last 2 loops, drop your current color and pull through with the new color. The next Puff ST you work will be with the new color.
Carrying Yarn
This patten uses the tapestry crochet method, where you carry your non working yarn through your stitches. After joining the 2nd color, you will work your Puff STs around the non working yarn strand. This hides the strand but carries it over so it’s ready for the frequent color changes.
Checkered Dish Set Pattern
Dishcloth (8″ x 8″)
With Color A, CH 22
Row 1: Puff ST in 2nd CH from hook and in the next 2 CHs, *change to Color B, Puff ST x3, change to Color A, Puff ST x3*. Repeat ** until the end of the row. Change to Color B on the last ST of the row. CH 1 & turn. (21)
Row 2: Puff ST x3, *change to Color A, Puff ST x3, change to Color B, Puff ST x3*. Repeat ** until the end of the row. Change to Color A on the last ST of the row. CH 1 & turn. (21)
Row 3: Puff ST x3, *change to Color B, Puff ST x3, change to Color A, Puff ST x3*. Repeat ** until the end of the row. Change to Color B on the last ST of the row. CH 1 & turn. (21)
Rows 4-11: Repeat Rows 2 and 3. On the last ST of Row 11 finish with Color A or whatever color you want for the border. Cut off other color, leaving long enough tail to weave in.
Border
Round 1: SC around the dishcloth, working 2 SC in each row on the sides, 1 SC across the top and bottom, and {SC, CH 2, SC] in each corner. Join with a SL ST to the 1st SC. CH 1. (90)
Round 2: SC around, working 1 SC in each ST around and [SC, CH 2, SC] in each corner. Join with a SL ST to the 1st SC. (94)
Tie off yarn and weave in ends.
Dish Towel (9.5″ x 20″)
(For Color A, I alternated between the colors Butterscotch and Conch every 2 rows, starting with Butterscotch).
With Color A, CH 28
Row 1: Puff ST in 2nd CH from hook and in the next 2 CHs, *change to Color B, Puff ST x3, change to Color A, Puff ST x3*. Repeat ** until the end of the row. Change to Color B on the last ST of the row. CH 1 & turn. (27)
Row 2: Puff ST x3, *change to Color A, Puff ST x3, change to Color B, Puff ST x3*. Repeat ** until the end of the row. Change to Color A on the last ST of the row. CH 1 & turn. (27)
Row 3: Puff ST x3, *change to Color B, Puff ST x3, change to Color A, Puff ST x3*. Repeat ** until the end of the row. Change to Color B on the last ST of the row. CH 1 & turn. (27)
Rows 4-32: Repeat Rows 2 and 3.
(If using only 1 color for Color A, end on an odd numbered row.)
On the last ST of Row 32 finish with Color A or whatever color you want for the border. Cut off other colors, leaving long enough tail to weave in.
Border
Round 1: SC around, working 2 SC in each row on the sides, 1 SC across the top and bottom, and [SC, CH 2, SC] in each corner. Join with a SL ST to the 1st SC. CH 1. (186)
Round 2: SC around, working 1 SC in each ST around and [SC, CH 2, SC] in each corner. Join with a SL ST to the 1st SC. (190)
Tie off yarn and weave in ends.
Hanging Towel (8″ x 14″)
With Color A, CH 22
Row 1: Puff ST in 2nd CH from hook and in the next 2 CHs, *change to Color B, Puff ST x3, change to Color A, Puff ST x3*. Repeat ** until the end of the row. Change to Color B on the last ST of the row. CH 1 & turn. (21)
Row 2: Puff ST x3, *change to Color A, Puff ST x3, change to Color B, Puff ST x3*. Repeat ** until the end of the row. Change to Color A on the last ST of the row. CH 1 & turn. (21)
Row 3: Puff ST x3, *change to Color B, Puff ST x3, change to Color A, Puff ST x3*. Repeat ** until the end of the row. Change to Color B on the last ST of the row. CH 1 & turn. (21)
Rows 4-17: Repeat Rows 2 and 3. On the last ST of Row 17, do the final pull through with Color A or the color you want for the top. CH 1 & turn. Cut off other color, leaving long enough tail to weave in.
Row 18: SC2TOG, SC across until 2 STs remain, SC2TOG. CH 1 & turn. (19)
Rows 19-25: Repeat Row 18 until 5 STs remain.
Rows 26-45: SC in each ST across. CH 1 & turn. (5)
Row 46: SC x2, CH 2, SK 1, SC x2. CH 1 & turn. (5)
Row 47: SC x2, SC in CH space, SC x2. CH 1 & turn. (5)
Rows 48-49: SC in each ST across. Ch 1 & turn. (5)
Row 50: SC2TOG, SC, SC2TOG. CH 1 & turn. (3)
Row 51: SC3TOG. CH 1. Do not turn, do not tie off. Move onto border. (1)
Border
Round 1: SC around, working 1 SC into each SC row, 2 SC in each of the Puff ST rows, and 1 SC in each ST across the bottom. In the bottom corners work a [SC, CH 2, SC]. Join with a SL ST to the 1st SC at the end. (160)
Round 2: SC around, working 1 SC in each ST around and [SC, CH 2, SC] in each of the bottom corners. Join with a SL ST to the 1st SC. (162)
Tie off yarn and weave in ends.
Add Button
With a 6″ strand of yarn, sew your Botton centered between Rows 20 & 21.
Secure yarn on the back with a few knots and weave in ends.
And you’re all done!
I hope you enjoyed the Checkered Dish Set crochet pattern! Be sure to tag me @theturtletrunk in your photos on Instagram so I can see your finished creations!
Check out these other crochet patterns for the home!
You are free to sell the items you make with this pattern, and I’d love if you could please link back to this page. You do not have permission to republish or distribute this pattern in any way or claim it as your own. Do not use my photos in your sale listings or for any other purposes. Thank you.
This page includes affiliate links. If you make a purchase from these links, I may make a small commission at no cost to you! Thank you for your support!
