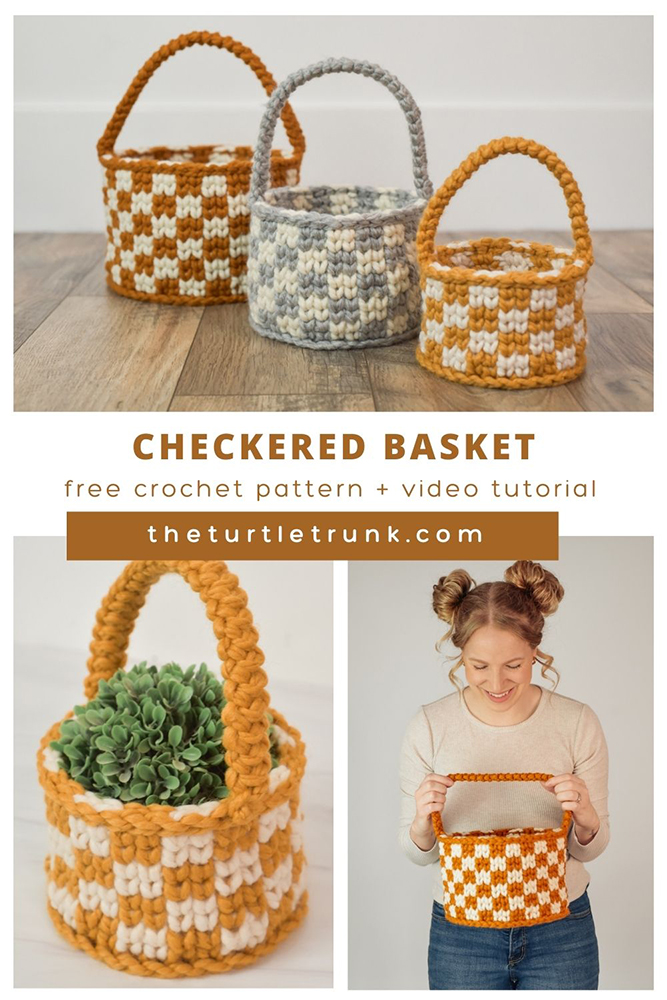
Checkered Basket Crochet Pattern
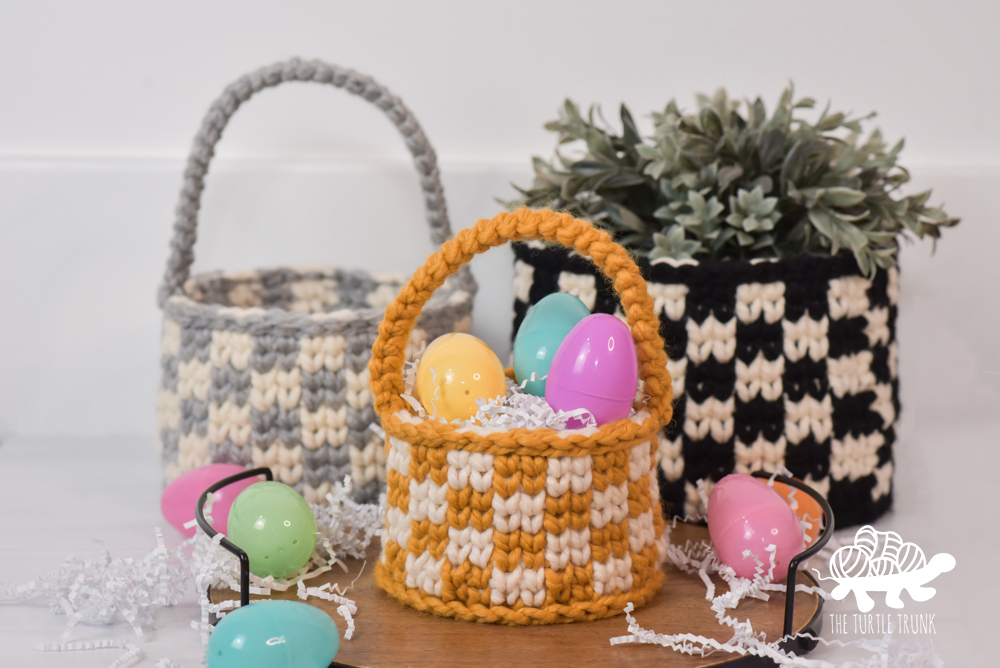
This Checkered Basket crochet pattern includes 3 sizes! Perfect for Easter baskets, storing left over yarn or knick knacks, or you can even put your plants in them! These crochet baskets use super bulky yarn in 2 colors and the waistcoat stitch to create a sturdy and cute storage basket!
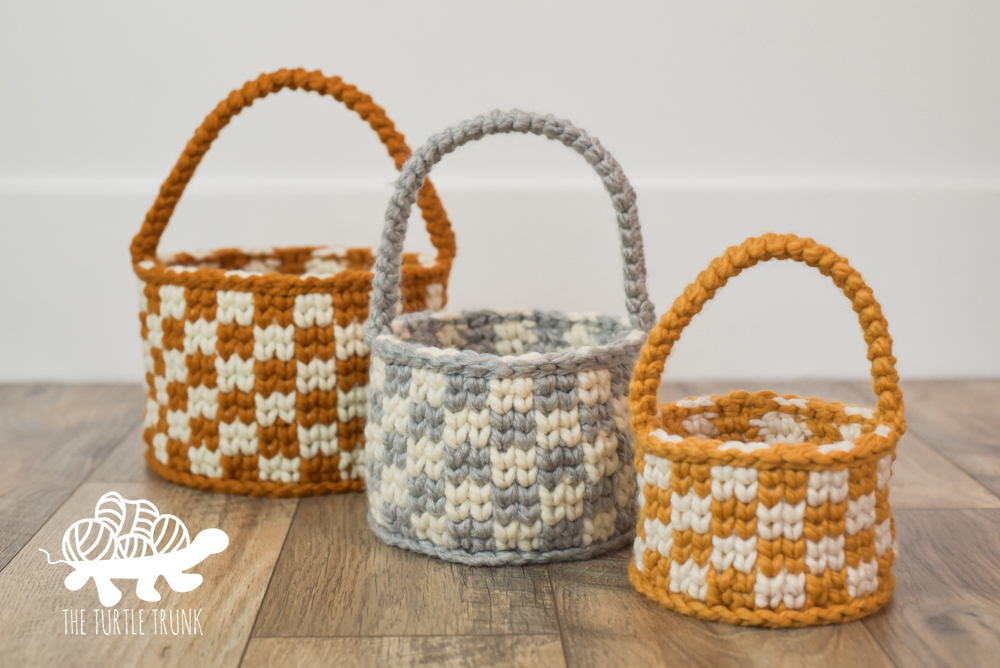
I love crochet baskets because they’re cute AND practical!
I figured with Easter coming soon I should design a crochet Easter basket!
Lately, I’ve been obsessed with checkers, see my latest crochet patterns like the Checkered Heart Blanket and Loopy Coaster!
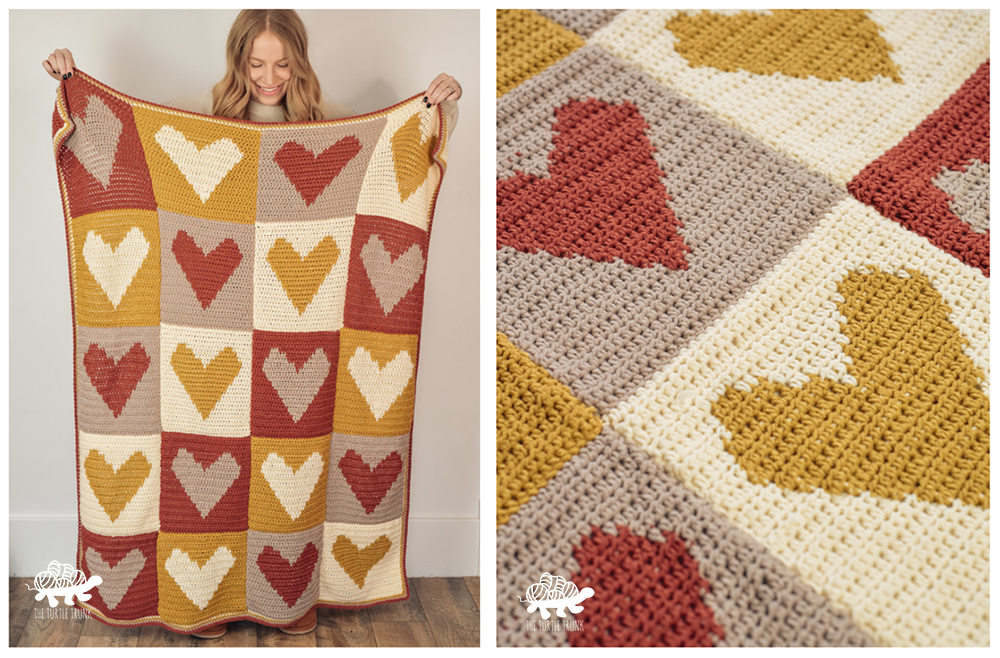
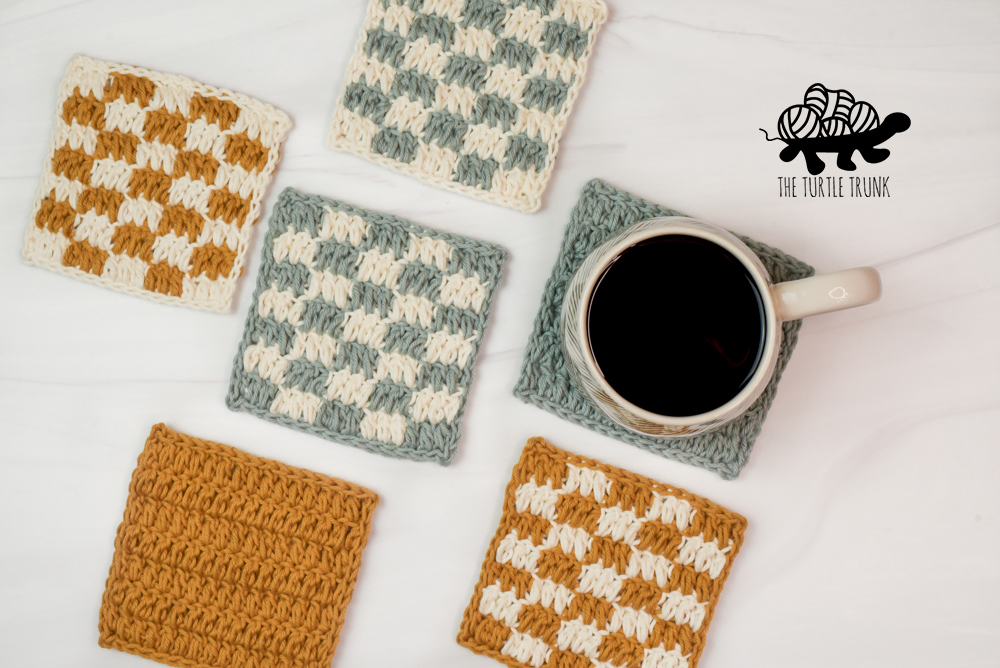
A Checkered Basket seemed like a great design idea so I could use them to decorate my own home!
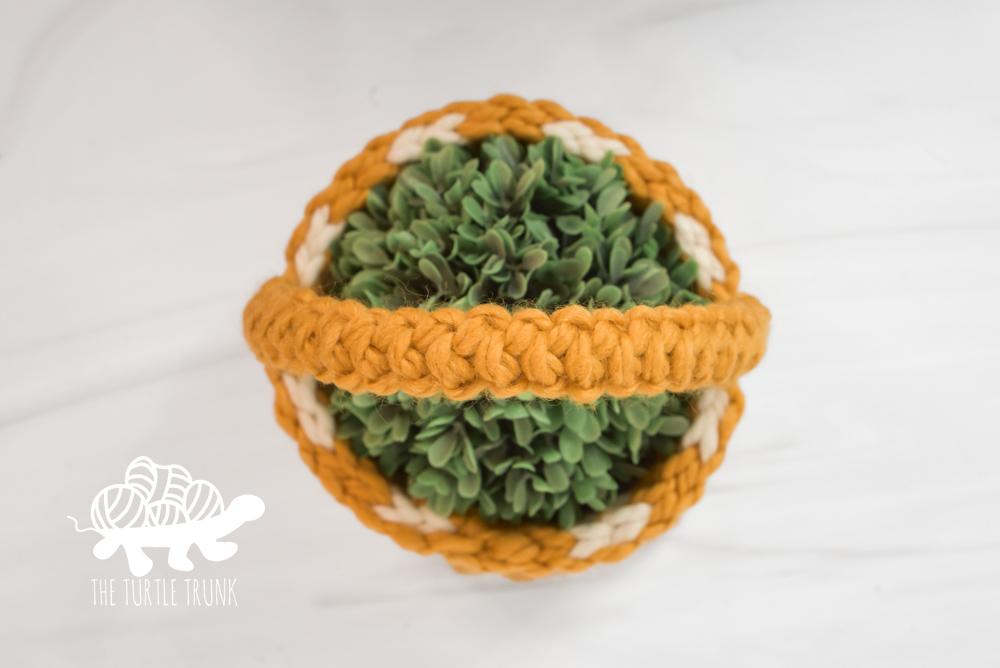
This Checkered Basket pattern features a long handle, making it perfect for Easter baskets but you can also add 2 small, side handles instead, or no handles at all depending on the look you want!
You can also use these to hold left over yarn or knick knacks or even put your plants in them!
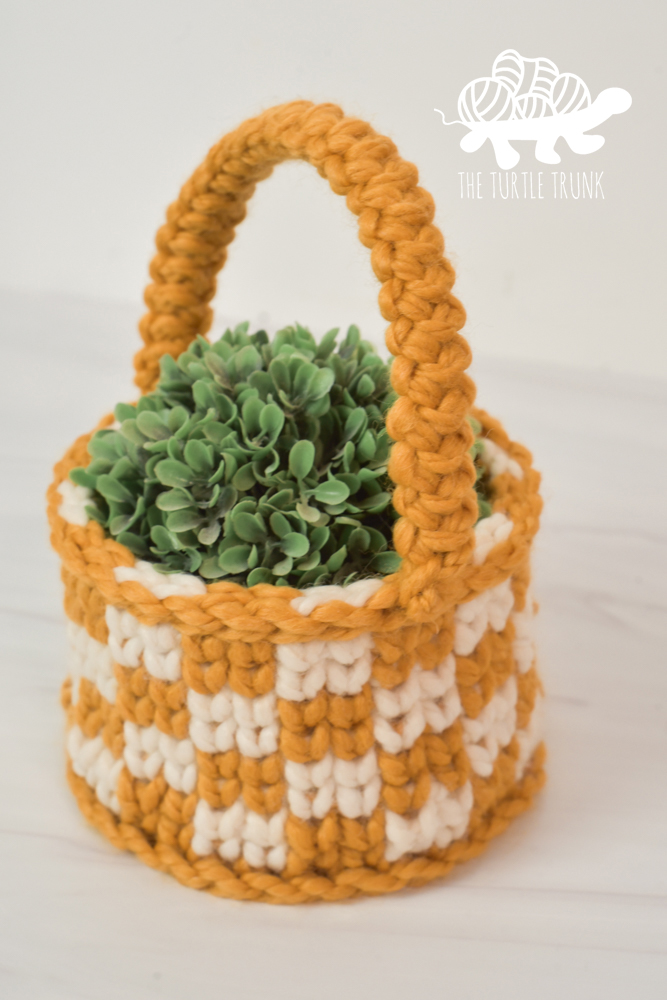
Keep reading to learn more about the yarn I used and the different sizes you can make! Or scroll down to the bottom for the free written pattern!
FOLLOW ALONG WITH THE AD FREE & PRINTABLE PDF PATTERN FROM
ETSY AND RAVELRY!
Check out these other crochet basket patterns from The Turtle Trunk!
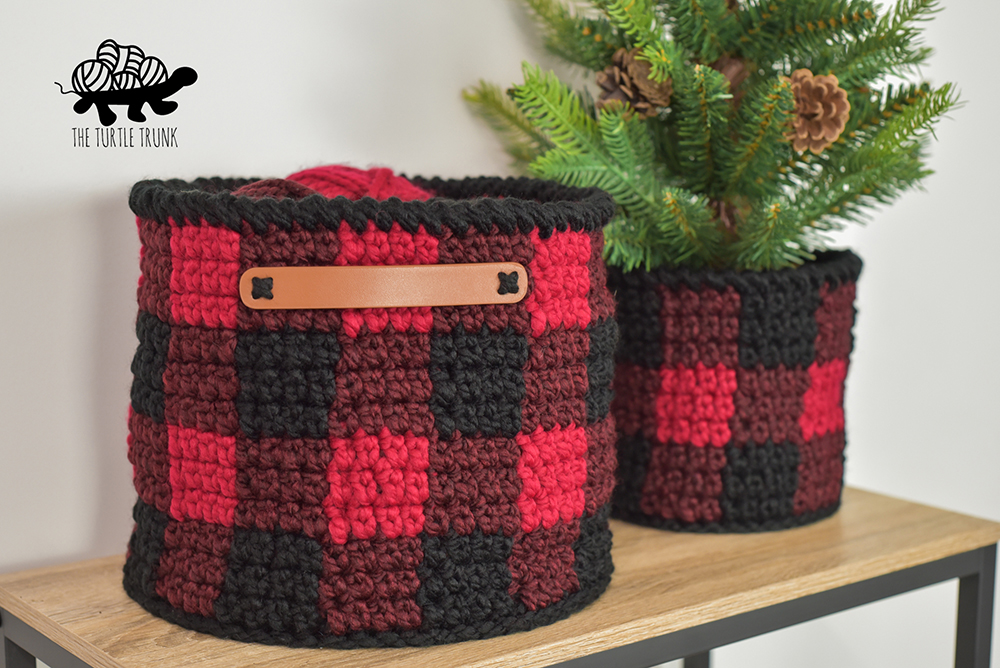
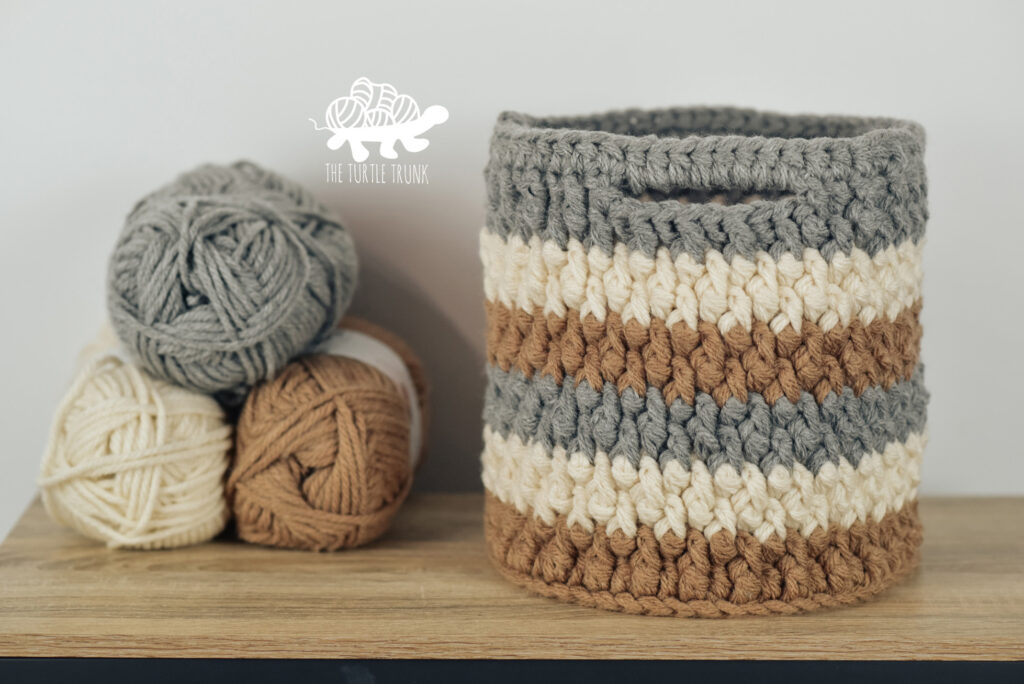
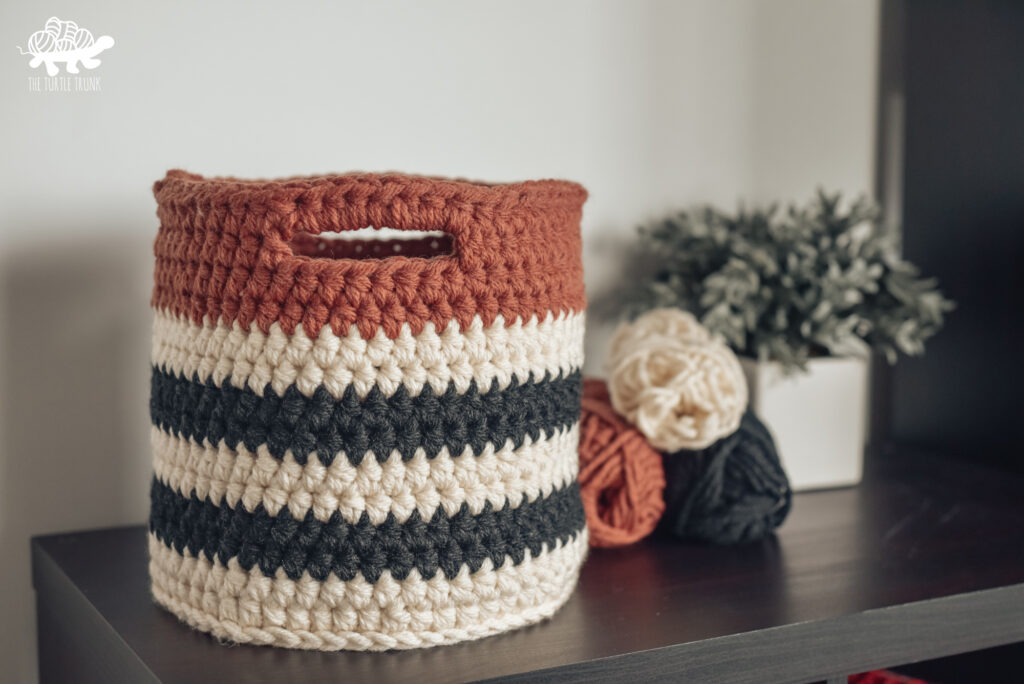
Not ready to make just yet?
Save the pattern to Pinterest!
Follow along with the video tutorial for the
checkered basket on YouTube!
Sizes
The Checkered Basket crochet pattern includes 3 sizes: small, medium, and large.
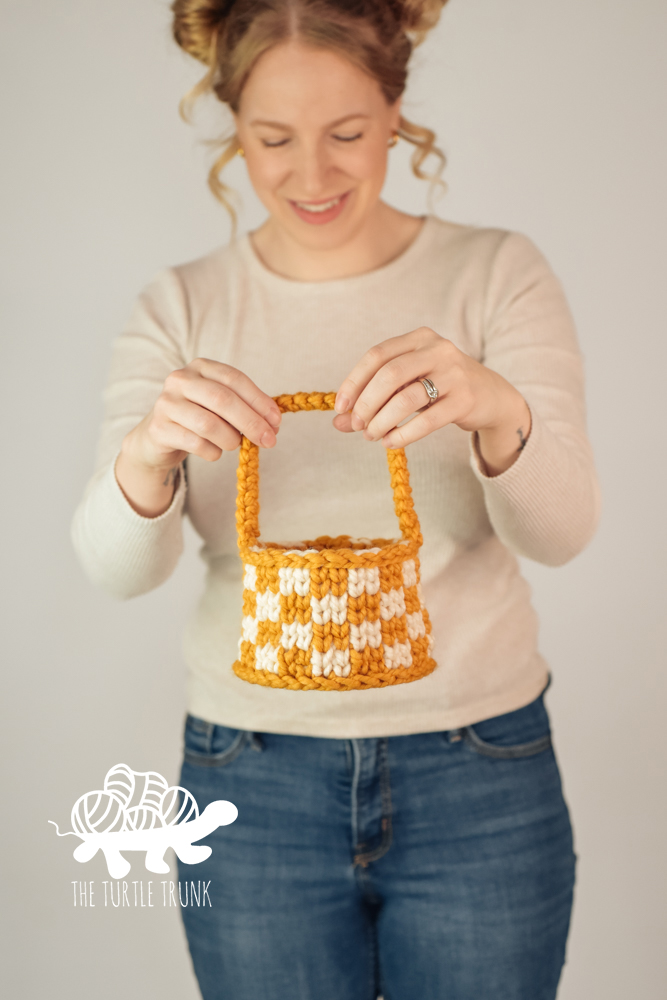
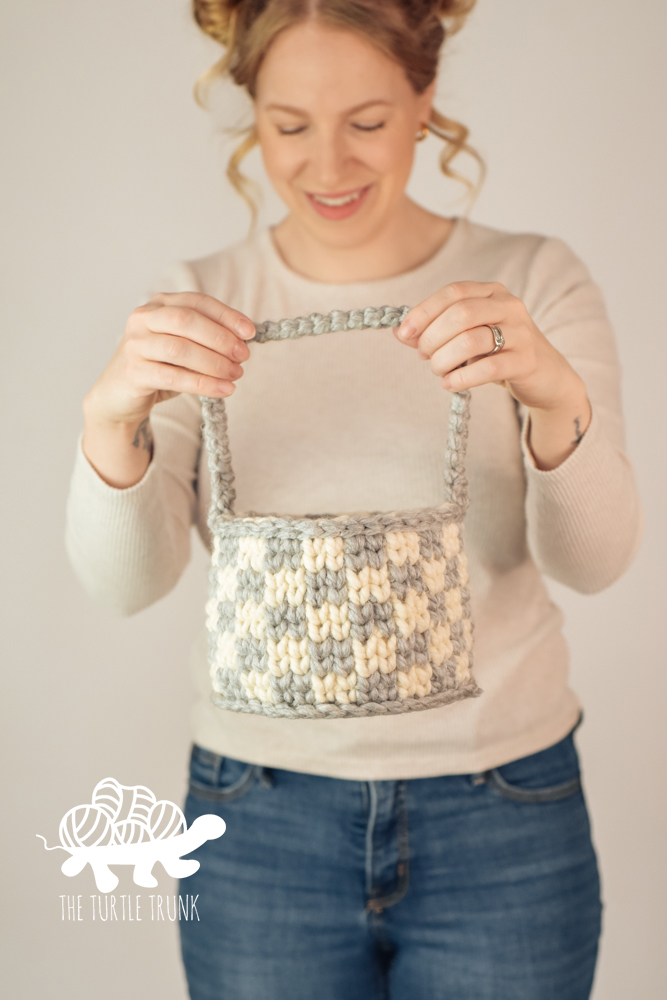
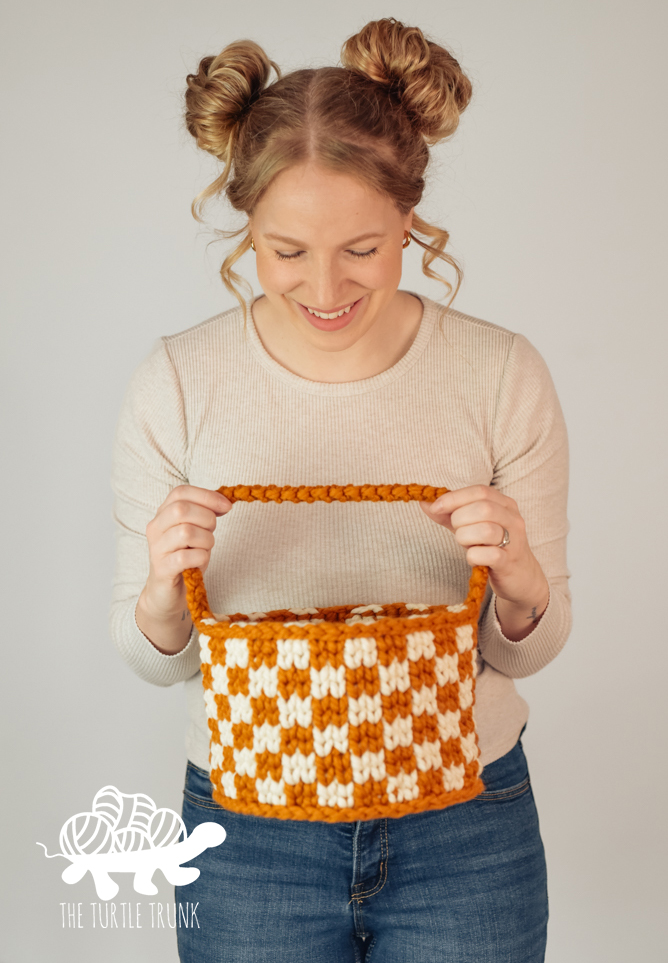
The small basket measures approximately 5.5″ wide and 4″ tall, the medium is 7″ wide and 5″ tall, and the large is 8″ wide and 6″ tall.
You can easily customize the basket size by continuing the increase rounds for the base and working any number of rounds for all the walls of the basket to reach your desired size.
Yarn
These baskets use a super bulky 6 weight yarn which creates a strong and sturdy basket.
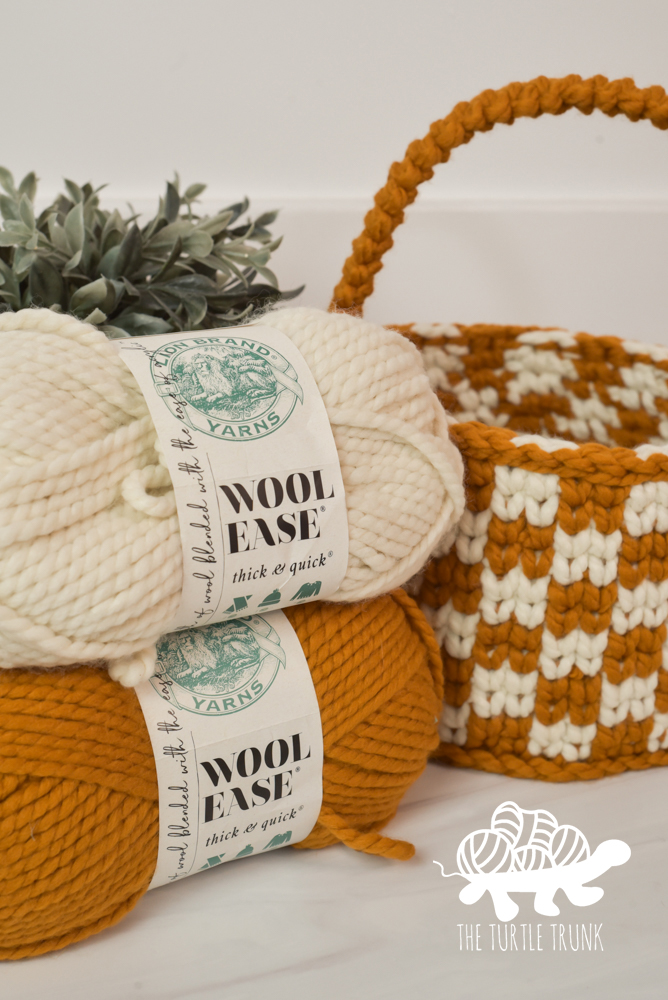
I used Lion Brand Yarn Wool Ease Thick and Quick in the colors Mustard and Fisherman (small), Slate and Fisherman (medium), and Butterscotch and Fisherman (large.)
I used 2 contrasting colors for all of my baskets but you can use a many or few colors as you’d like!
Lion Brand Yarn Wool Ease Thick and Quick is one of my favorite super bulky 6 weight yarns! It comes in a large variety of beautiful colors and looks really nice for baskets.
You can substitute with any super bulky 6 weight yarn though!
Here’s a Checkered Basket I made without the checkers!
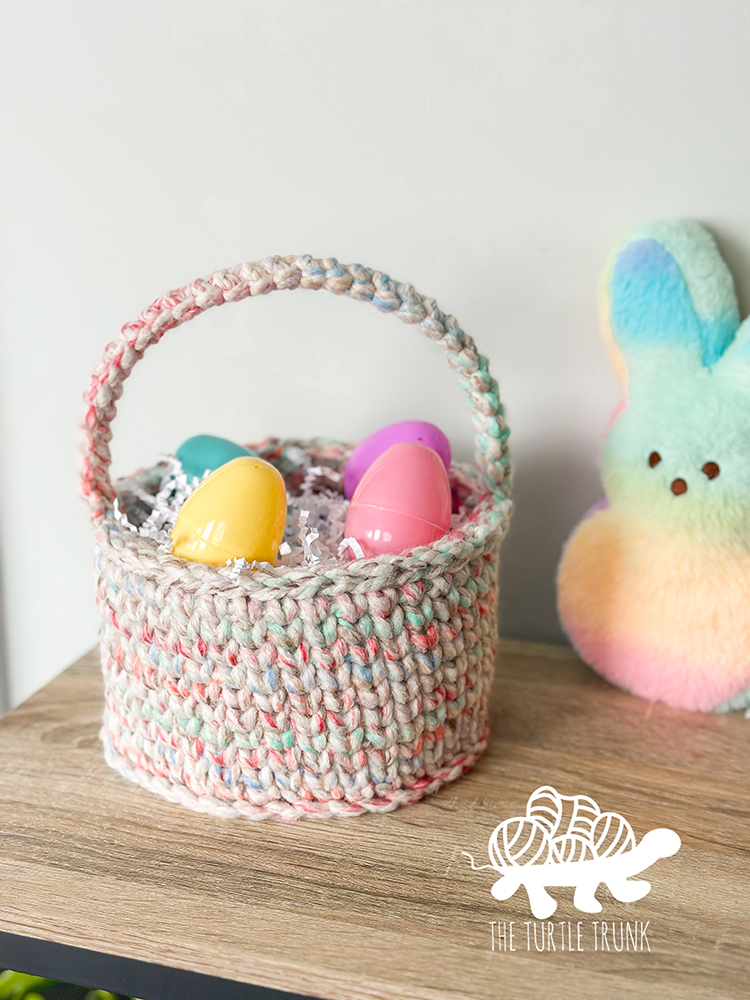
For this medium sized basket, I used 1 skein of a Lion Brand Yarn Wool Ease Thick and Quick in the color way Carousel. This variegated yarn is so pretty and perfect for Spring and Easter!
If using 1 color of yarn instead of 2, you simple ignore the color changing steps and just work the SC and WC stitches in the single color! It’s super easy and will work up quicker than having to change the colors frequently!
Now let’s move onto the pattern!
Difficulty
Advanced Beginner
Gauge
8 STs x 10 Rows = 4″ x 4″ in Waistcoat Stitch
See Special Stitch Instructions below.
Adjust hook size up or down to meet gauge.
Notes
- Join with a SL ST to the top of the 1st ST of the round.
- The CH 1 at the end of the round does not count as a ST. Work the 1st ST of the round into the same space you joined to.
- The number in (parentheses) at the end of the round represents the number of STs to be worked in that round.
- Instruction between *asterisks* are to be repeated until the end of the round.
- # HDC means to work that number of HDC into the same ST. HDC x# means to work 1 HDC into that number of STs around.
- See the video tutorial for assistance.
supplies
- Super Bulky (6) weight yarn in 2 colors
I used Lion Brand Wool Ease Thick + Quick- Small
- Color A (Mustard): 45 yards
- Color B (Fisherman): 15 yards
- Medium
- Color A (Slate): 60 yards
- Color B (Fisherman): 20 yards
- Large
- Color A (Butterscotch): 80 yards
- Color B (Fisherman): 30 yards
- Small
- 6.50mm (K) & 8.00mm (L) crochet hook
- Yarn needle
- Scissors
Abbreviations (us terms)
CH(s) – Chain(s)
ST(s) – Stitch(es)
SL ST – Slip Stitch
HDC – Half Double Crochet
SC – Single Crochet
WC – Waistcoat Stitch
Special Stitches
Waistcoat Stitch (WC) (also known as Center Post Stitch or Knit Stitch)
The Waistcoat stitch is just a single crochet stitch that is worked between the post of the stitch instead of the top 2 loops on a stitch.
Keep your stitches loose to make it easier to work through the stitches.
How to:
- Insert your hook into the middle of the post of the next ST (between the “V”)
- Yarn over and pull up a loop
- Yarn over and pull through both loops on your hook
Changing Color
You will change color on the last ST before a new color starts. Start the ST as normal, before the final pull through of the last 2 loops, drop your current color and pull through with the new color. The next ST you work will be with the new color.
Carrying Yarn
This patten uses the tapestry crochet method, where you carry your non working yarn through your stitches. After joining the 2nd color, you will work your STs around the non working yarn strand. This hides the strand but carries it over so it’s ready for the frequent color changes.
3rd Loop Only
A HDC stitch has 3 loops: 2 on the top (front loop and back loop) and 1 on the back (3rd loop). When stated, work only into the 3rd loop. This will create a nice and flat base for the basket, give a nice ridge around the edge, and help the walls of the basket go straight up instead of rounding at the bottom.
Checkered Basket Pattern
Small Basket (5.5″ x 4”)
With Color A and 8mm hook, Magic Circle, CH 1
Round 1: HDC x8 inside the circle. Join & CH 1. (8)
Round 2: 2 HDC in each ST around. Join & CH 1. (16)
Round 3: *HDC, 2 HDC.* Join & CH 1. (24)
Round 4: *HDC x2, 2 HDC.* Join & CH 1. (32)
Round 5: Working in the 3rd loop only, *Color A SC x2, Color B SC x 2.* On the last ST change to Color A. Join & CH 1. (32)
Round 6: *Color A WC x2, Color B WC x2.* On the last ST continue with Color B. Join & CH 1. (32)
Round 7: *Color B WC x2, Color A WC x2.* On the last ST change to Color B. Join & CH 1. (32)
Round 8: *Color B WC x2, Color A WC x2.* On the last ST continue with Color A. Join & CH 1. (32)
Round 9: *Color A WC x2, Color B WC x2.* On the last ST continue with Color A. Join & CH 1. (32)
Round 10: *Color A WC x2, Color B WC x2.* On the last ST change to Color B. Join & CH 1. (32)
Rounds 11-12: Repeat Rounds 7-8
Round 13: Loosely SL ST in each ST around. Join. (32)
Tie off yarn and weave in ends.
Move onto the handle (instructions below).
Medium Basket (7 “ x 5”)
With Color A and 8mm hook, Magic Circle, CH 1
Round 1: HDC x8 inside the circle. Join & CH 1. (8)
Round 2: 2 HDC in each ST around. Join & CH 1. (16)
Round 3: *HDC, 2 HDC.* Join & CH 1. (24)
Round 4: *HDC x2, 2 HDC.* Join & CH 1. (32)
Round 5: *HDC x3, 2 HDC.* Join & CH 1. (40)
Round 6: Working in the 3rd loop only, *Color A SC x2, Color B SC x 2.* On the last ST change to Color A. Join & CH 1. (40)
Round 7: *Color A WC x2, Color B WC x2.* On the last ST continue with Color B. Join & CH 1. (40)
Round 8: *Color B WC x2, Color A WC x2.* On the last ST change to Color B. Join & CH 1. (40)
Round 9: *Color B WC x2, Color A WC x2.* On the last ST continue with Color A. Join & CH 1. (40)
Round 10: *Color A WC x2, Color B WC x2.* On the last ST continue with Color A. Join & CH 1. (40)
Round 11: *Color A WC x2, Color B WC x2.* On the last ST change to Color B. Join & CH 1. (40)
Rounds 12-15: Repeat Rounds 8-11
Round 16: Loosely SL ST in each ST around. Join. (40)
Tie off yarn and weave in ends.
Move onto the handle (instructions below).
Large Basket (8 “ x 6”)
With Color A and 8mm hook, Magic Circle, CH 1
Round 1: HDC x8 inside the circle. Join & CH 1. (8)
Round 2: 2 HDC in each ST around. Join & CH 1. (16)
Round 3: *HDC, 2 HDC.* Join & CH 1. (24)
Round 4: *HDC x2, 2 HDC.* Join & CH 1. (32)
Round 5: *HDC x3, 2 HDC.* Join & CH 1. (40)
Round 6: *HDC x4, 2 HDC.* Join & CH 1. (48)
Round 7: Working in the 3rd loop only, *Color A SC x2, Color B SC x 2.* On the last ST change to Color A. Join & CH 1. (48)
Round 8: *Color A WC x2, Color B WC x2.* On the last ST continue with Color B. Join & CH 1. (48)
Round 9: *Color B WC x2, Color A WC x2.* On the last ST change to Color B. Join & CH 1. (48)
Round 10: *Color B WC x2, Color A WC x2.* On the last ST continue with Color A. Join & CH 1. (48)
Round 11: *Color A WC x2, Color B WC x2.* On the last ST continue with Color A. Join & CH 1. (48)
Round 12: *Color A WC x2, Color B WC x2.* On the last ST change to Color B. Join & CH 1. (48)
Round 13: *Color B WC x2, Color A WC x2.* On the last ST change to Color B. Join & CH 1. (48)
Round 14: *Color B WC x2, Color A WC x2.* On the last ST continue with Color A. Join & CH 1. (48)
Rounds 15-18-: Repeat Rounds 11-14
Round 19: Loosely SL ST in each ST around. Join. (48)
Tie off yarn and weave in ends.
Move onto the handle (instructions below).
Handle
Romanian Cord
Notes:
- Keep yarn loose on hook
- The instructions below are for 1 long handle but you can make your handle any length or even make 2 side handles instead of 1 top handle.
With 6.5mm hook.
Step 1: Start with a slip knot, leaving a long tail end to use for sewing on your handle later. CH 2.
Step 2: SC in 2nd CH from hook working in the back bump of the chain.
Step 3: Turn your work. There will be a bump (a single loop) on the left side of your work. SC into that loop.
Step 4: Turn your work. Again, there will be a bump on the left side, this time there will be 2 loops. SC into the 2 loops.
Repeat Step 4 until your cord is your desired length. I made mine: Small (10″), Medium (15″), Large (15″).
When done, CH 1. Tie off yarn leaving a long tail for sewing. Sew both ends of cord onto your basket.
And you’re all done!
I hope you enjoyed the Checkered Basket crochet pattern!
I can’t wait to see your finished creations, so be sure to tag @theturtletrunk on Instagram!
You are free to sell the items you make with this crochet pattern. You do not have permission to republish or distribute this pattern in any way or claim it as your own. Do not use my photos in your sale listings or for any other purposes. Thank you.
This page includes affiliate links. If you make a purchase from these links, I may make a small commission at no cost to you! Thank you for your support!


