Bonfire Beanie Crochet Pattern
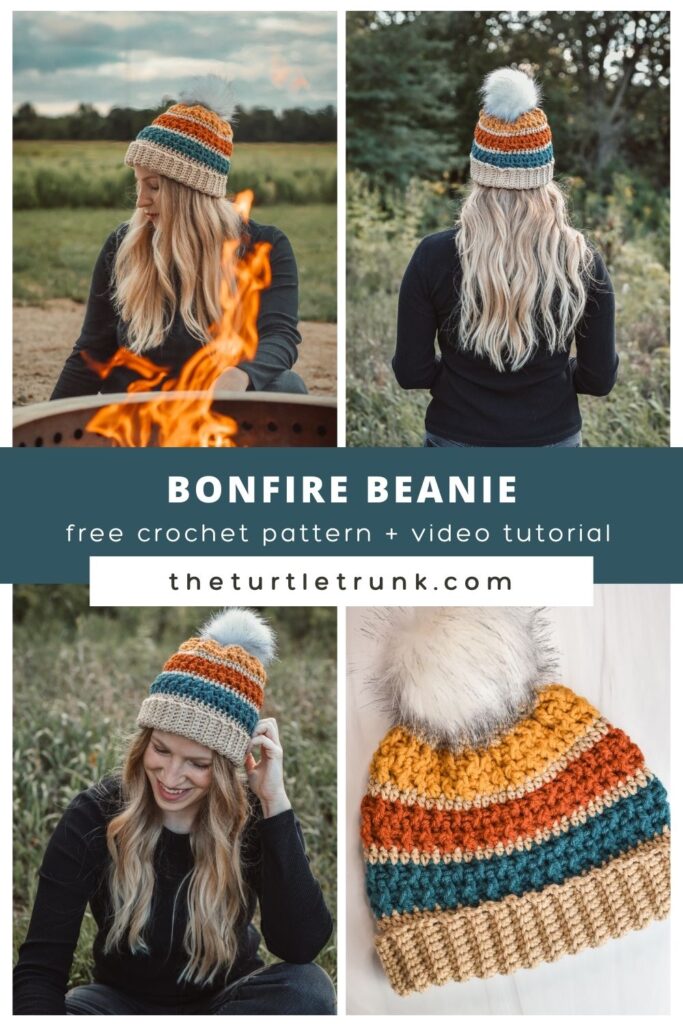
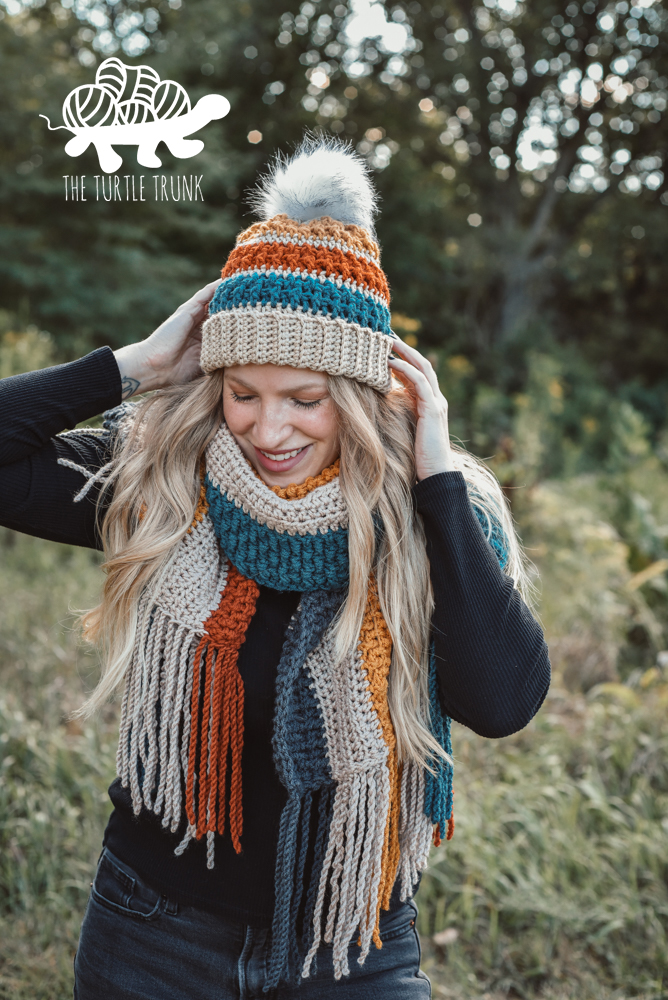
A new addition to the Bonfire Collection, the Bonfire Beanie! This easy crochet beanie features a fold over brim and fun, textured stripes. It includes 4 sizes: Baby, Child, Adult Small, and Adult Large. The Bonfire Beanie is perfect for Fall and Winter!
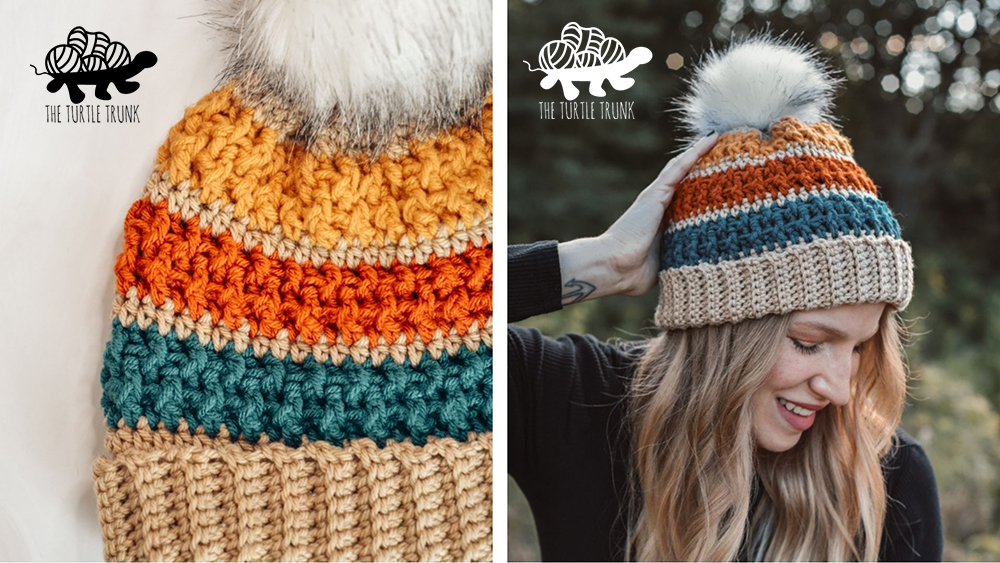
The Bonfire Beanie is the perfect Fall accessory!
I designed it with Fall bonfires and cozy campfires in mind!
The Bonfire Beanie features a fold over brim which makes it extra warm for your ears. It also has fun, textured stripes using the rice stitch.
This pattern includes 4 sizes: Baby, Child, Adult Small, and Adult Large. Check out the size chart below for measurements to find your perfect size!
Scroll down to follow along with the free version of this pattern and watch the video tutorial! Or grab the ad-free, printable pdf from Etsy and Ravelry! The pdf has color coded sizes so it’s easier to follow.
YOU CAN FIND THE AD-FREE AND PRINTABLE PDF VERSION
OF THIS PATTERN ON ETSY AND ALSO RAVELRY!
Not ready to make just yet?
Save this pattern to Pinterest!
Follow along with video tutorial on YouTube!
Bonfire Collection
This is the 3rd crochet pattern in the Bonfire Collection!
The Bonfire Collection also includes the Bonfire Blanket and Bonfire Scarf.
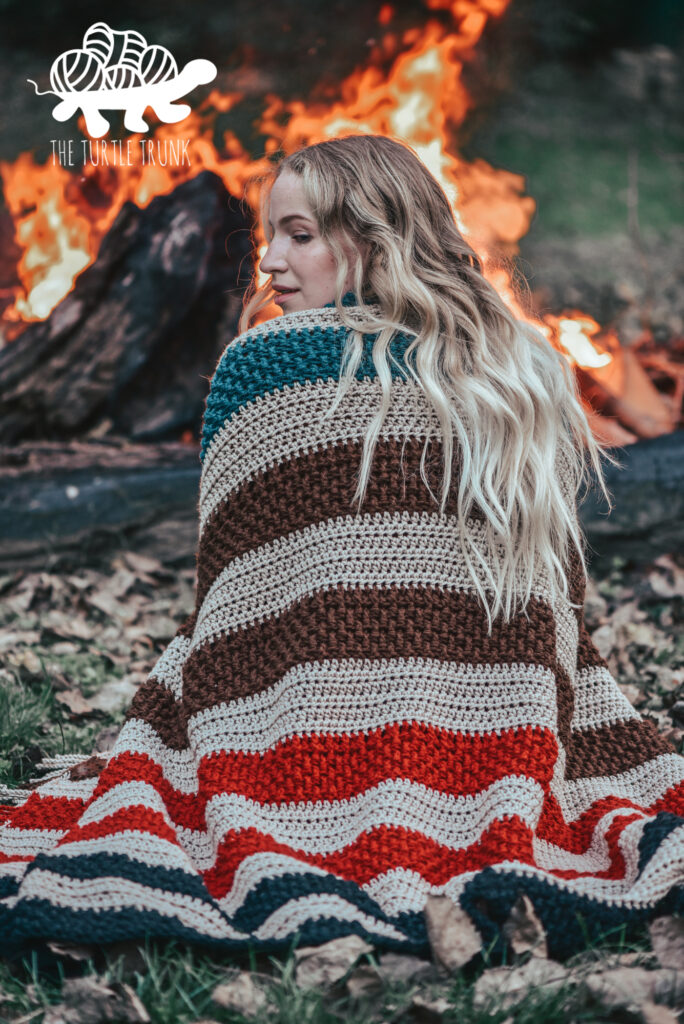
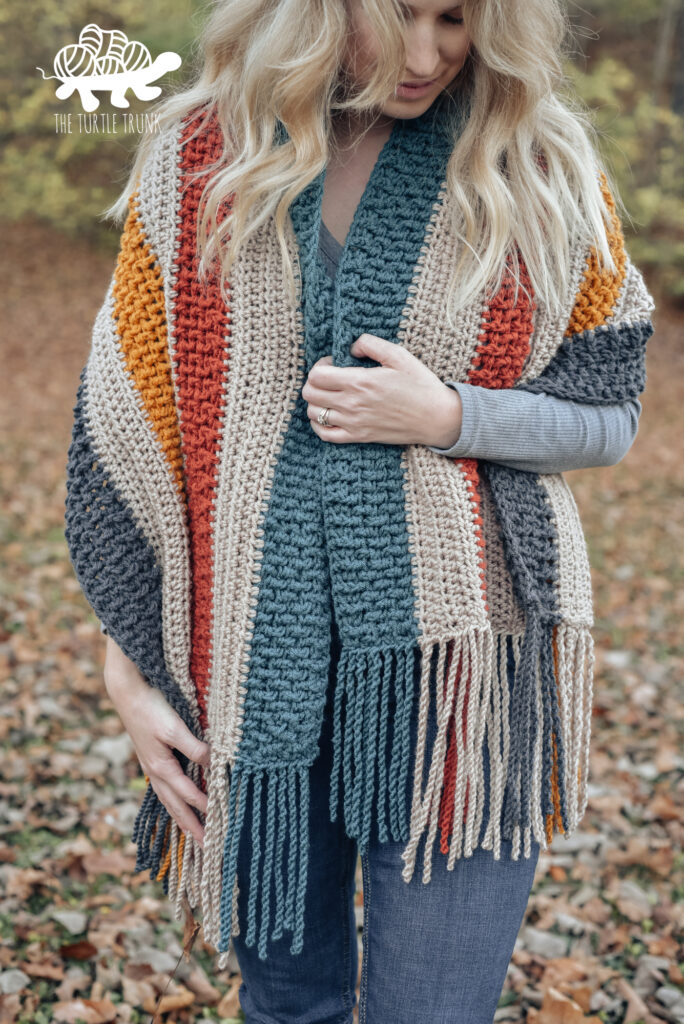
When designing these patterns I was inspired by bonfires in the Fall and cozy campfires. I used a warm color palette and thick textured stitches to provide warmth.
All of the Bonfire patterns feature the same stitches, the textured stripes use the rice stitch and the neutral stripes use half double crochets.
If you enjoy the Bonfire Beanie pattern then be sure to make the others! The Beanie and Scarf make the perfect set!
yarn + colors
I used 4 colors for my Bonfire Beanie but you can use as many or few colors as you’d like! The Baby and Child sizes call for 3 different colors and the Adult sizes call for 4 different colors.
The Baby and Child sizes only have 2 textured stripes, while the Adult sizes have 3. You can use a different color for each of the textured stripes, plus another color for the rest of the beanie, use 1-2 colors for the whole beanie, or change colors every round if you’d like! There are so many color combos you can try or you can even just make it one solid color!
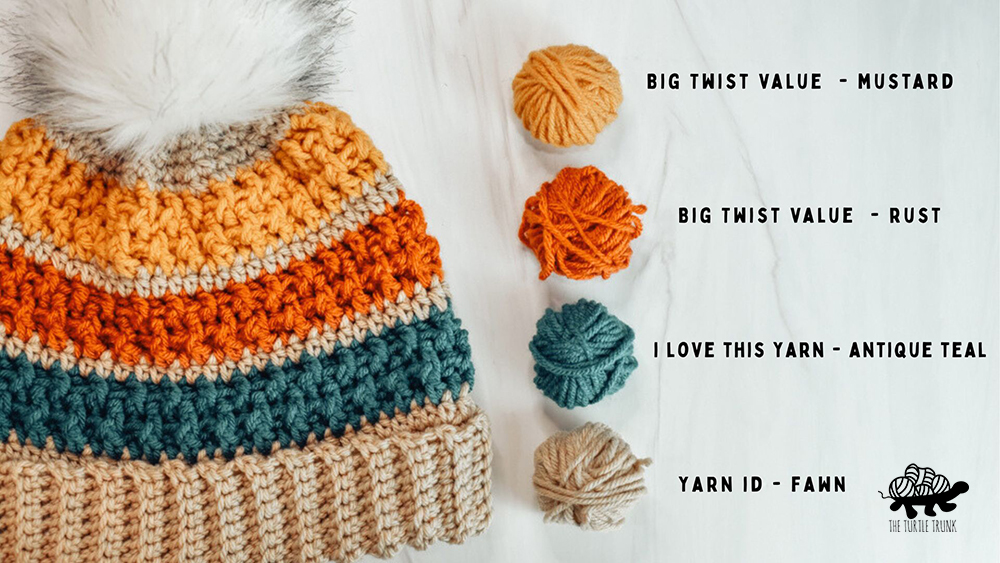
As you can see in the photo above, I used a mix of yarn brands. These are the same colors I used for my Bonfire Scarf, and when designing that pattern, I was looking for very specific colors that I couldn’t find all in one brand. Make sure if you’re mixing brands that all the yarn is the same size.
If you do choose to use multiple colors then this is a great project to use up any scrap or left over yarn you have! Each stripe uses minimal yarn so you don’t need to go out and buy a full skein if you don’t want to!
Sizes
To get the best fit, measure the head to determine the best size for you! The hat circumference is meant to be a bit smaller than the head size since the beanie will stretch.
| Sizes (Head Circumference) | Hat Circumference | Height | Yardage |
| Baby(14-16″) | 14″ | 6.5″ | Color A – 84 yards Color B – 22 yards Color C – 22 yards |
| Child(16-18″) | 16″ | 7″ | Color A – 92 yards Color B – 24 yards Color C – 24 yards |
| Adult Small(18-22“) | 18″ | 8″ | Color A – 88 yards Color B – 26 yards Color C – 26 yards Color D – 26 yards |
| Adult Large(22-24″) | 20″ | 9″ | Color A – 130 yards Color B – 28 yards Color C – 28 yards Color D – 28 yards |
difficulty
Advanced Beginner
gauge
14 STs x 8 Rows – 4″ x 4″ in HDC
Adjust hook size to meet gauge.
Notes
- The Baby + Child sizes have 2 colored stripes and the Adult sizes have 3 colored stripes.
- The Row/Round numbers in parentheses are in order by size, smallest to largest (baby, child, adult small, adult large)
- The numbers at the end of the Rows/Rounds represent that number of STs to be worked. They are also in order by size from smallest to largest.
- The CH 1 + 2 at the beginning of each Row/Round does not count as a ST.
- SC x# means to work 1 SC in each of those # of STs across.
- Please see the video tutorial for extra assistance.
supplies
- Medium (4) weight yarn in 3-4 colors.
- 5.00mm (H) crochet hook
- Yarn needle
- Scissors
abbreviations (us terms)
CH(s) – Chain(s)
SL ST – Slip Stitch
SC – Single Crochet
SC2TOG – Single Crochet 2 Together
HDC – Half Double Crochet
DC – Double Crochet
FPDC – Front Post Double Crochet
BPDC – Back Post Double Crochet
special stitches
How to Change Colors
On the final pull through on the last ST before a new color starts, drop current color and pull through with the new color.
SC2TOG – Single Crochet 2 Together
Insert hook into stitch, yarn over and pull up a loop, insert hook into next stitch, yarn over and pull up a loop, yarn over and pull through all 3 loops on your hook.
FPDC – FRONT POST DOUBLE CROCHET
Yarn over, insert your hook from the front, around the back, and to the front again, around the post of the next ST, yarn over and pull up a loop, yarn over and pull through 2 loops, yarn over and pull through last 2 loops.
BPDC – BACK POST DOUBLE CROCHET
Yarn over, insert your hook from the back, around the front, and to the back again around the post of the next ST, yarn over and pull up a loop, yarn over and pull through 2 loops, yarn over and pull through last 2 loops.
Bonfire Beanie Pattern
Brim (with Color A)
CH (15,23,15,23)
Row 1: SC in 2nd CH from hook and in each CH across. CH 1 & turn. (14,22,14,22)
Rows 2-(48,54,60,66):
SC BLO in each SC across. CH 1 & turn. (14,22,14,22)
Bring both ends of the band together. Working into the last row and the foundation CH , SL ST across. CH 1 and flip band inside out.
Body
Round 1: SC in each ST around, working into the edge of each row of the band. Join & CH 1. (48,54,60,66)
Round 2: HDC in each ST around. On the last ST of the round, change to Color B. Join & CH 2. (48,54,60,66)
Round 3: DC in each ST around. Join & CH 2. (48,54,60,66)
Round 4: *FPDC, BPDC* repeat around. Join & CH 2. (48,54,60,66)
Round 5: *BPDC, FPDC* repeat around. On the last ST of the round, Change to Color A. Join & CH 1. (48,54,60,66)
Baby & Child Sizes ONLY
Rounds 6-9: Repeat Rounds 2-5, changing to Color C at the end of Round 6. Move onto the Top.
Adult Small & Large Sizes ONLY
Rounds 6-13: Repeat Rounds 2-5 x2, changing to Color C at the end of Round 6 and Color D at the end of Round 10. Move onto the Top.
Top
Round (10,10,14,14): *SC x4, SC2TOG* repeat around. Join & CH 1. (40,45,50,55)
Round (11,11,15,15): *SC x3, SC2TOG* repeat around. Join & CH 1. (32,36,40,44)
Round (12,12,16,16): *SCx2, SC2TOG* repeat around. Join & CH 1. (24,27,30,33)
Round (13,13,17,17): *SC, SC2TOG* repeat around. Join & CH 1. (16,18,20,22)
Round (14,14,18,18): SC2TOG around. Join & cut off yarn leaving a 10″ long tail end. (8,9,10,11)
Closing the Top
Using your yarn needle, thread the tail end of yarn through the STs of the last round. Pull tight to close the top hole. Secure with a few knots and weave in all ends.
Feel free to add a pom pom to the top or leave it as is!
And you’re all done!
Thanks so much for trying out my Bonfire Beanie crochet pattern! Be sure to tag me in your photos on Facebook and Instagram so I can see your finished beanie!
You are free to sell the items you make with this pattern, and I’d love if you could please link back to this page. You do not have permission to republish or distribute this pattern in any way or claim it as your own. Do not use my photos in your sale listings or for any other purposes. Thank you
This page includes affiliate links. If you make a purchase from these links, I may make a small commission at no cost to you! Thank you for your support!


