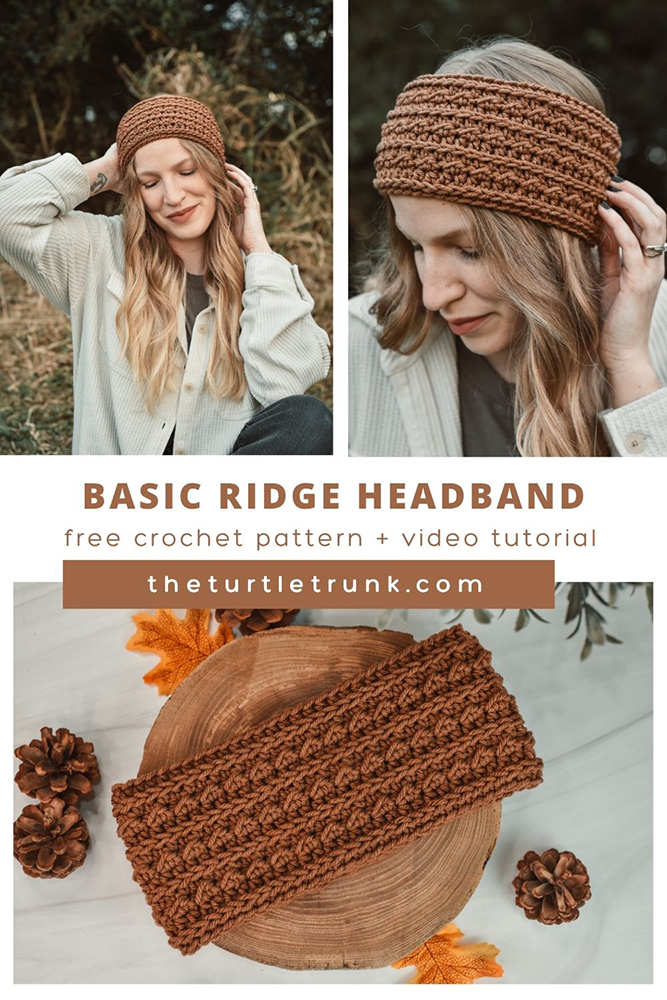
Basic Ridge Headband Crochet Pattern
The Basic Ridge Headband is a quick and easy crochet headband and ear warmer pattern! This pattern is beginner friendly and includes 8 sizes for babies, kids, and adults! Make for yourself, your kids, to give as gifts, or to sell at markets!
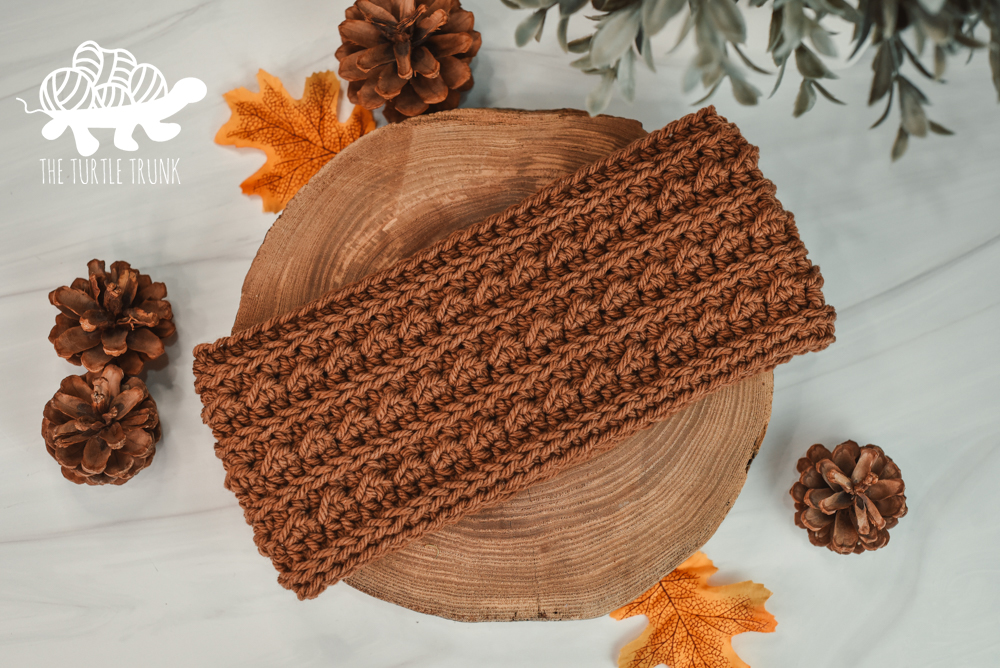
The Basic Ridge Headband is perfect for beginners!
It uses only a few basic crochet stitches, works up quickly, and uses minimal yarn!
This pattern includes 8 sizes for babies, kids, and adults! Make one for yourself, kids, for gifts, or to sell at markets!
Quick heads up! This page includes affiliate links. If you make a purchase from these links, I may make a small commission at no extra cost to you! You can read more about my disclosure policy HERE. Thank you for your support!
Scroll down for the free crochet pattern or follow along with the step by step video tutorial on YouTube! You can also purchase the ad-free, printable PDF from Etsy and Ravelry! The PDF pattern includes color coded sizes to make it even easier to follow along with!
YOU CAN FIND THE AD-FREE AND PRINTABLE PDF VERSION
OF THIS PATTERN ON ETSY AND ALSO RAVELRY!
Not ready to make just yet?
Save this pattern to Pinterest!
Follow along with the video tutorial on YouTube!
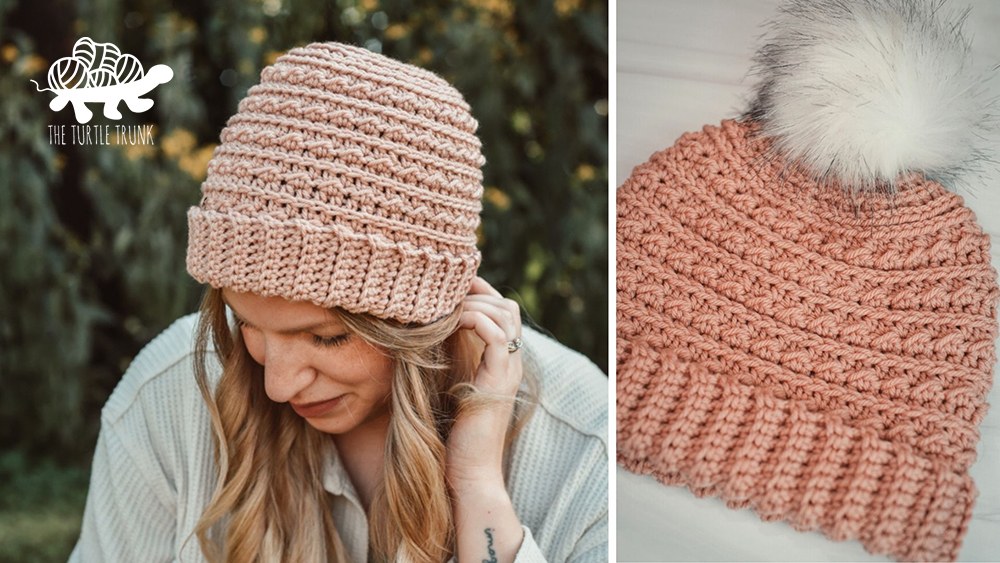
If you enjoy this pattern beside to check out the Basic Ridge Beanie crochet pattern as well! It features the same amazing stitches and textures in a beanie!
Check out these other crochet headband patterns by The Turtle Trunk!
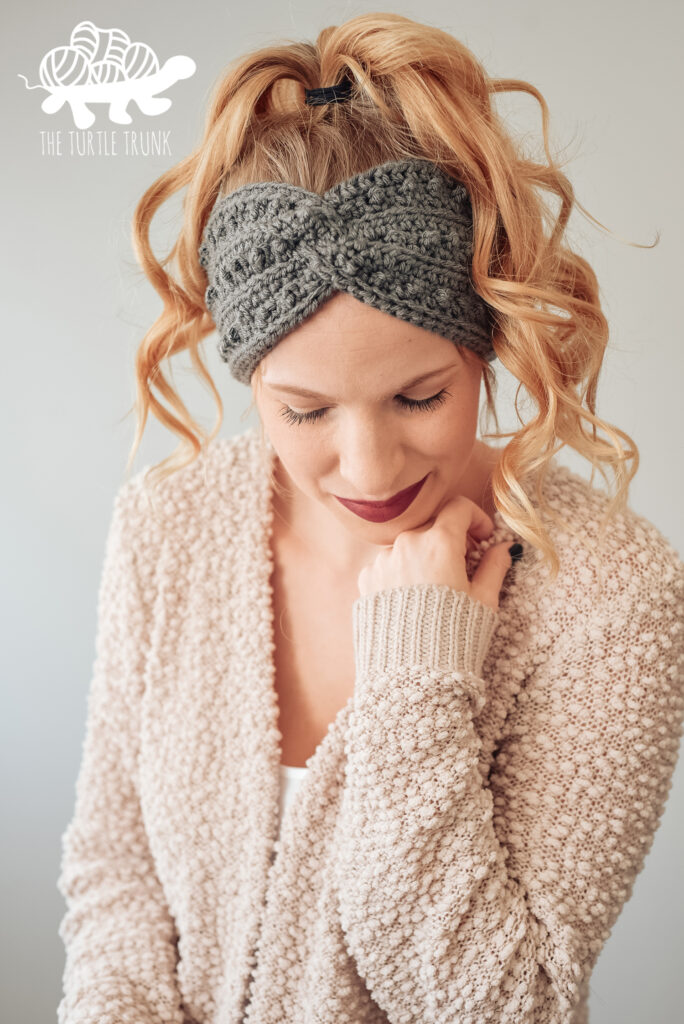
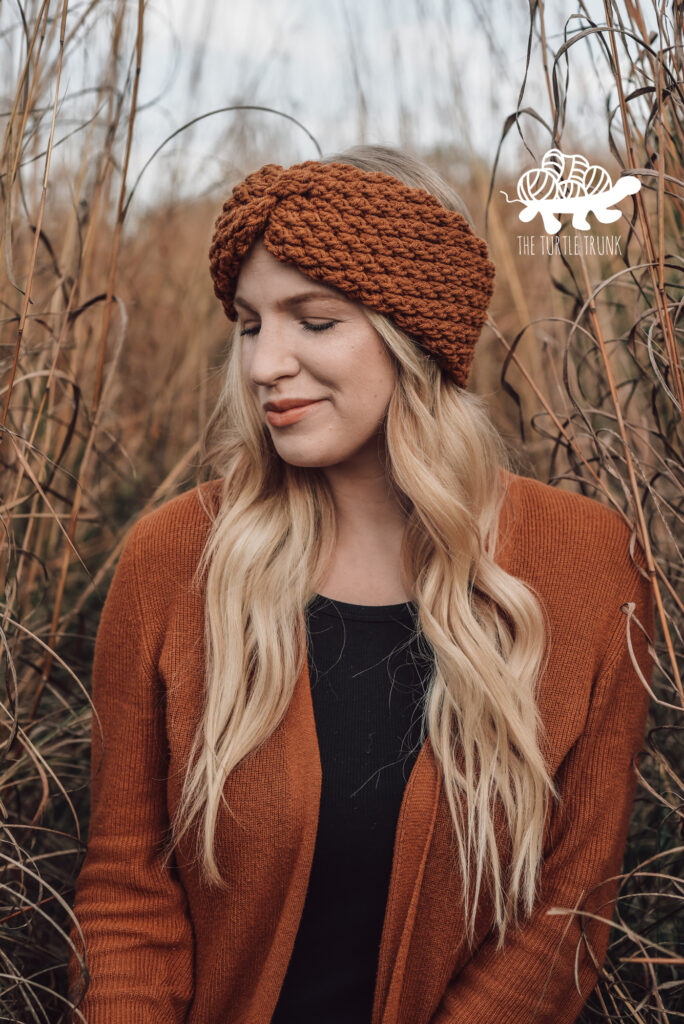
Yarn
The Basic Ridge Headband uses medium 4 weight yarn. For my adult sized headband (brown), I used Yarn Bee Yarn ID in the color Cafe Au Lait.
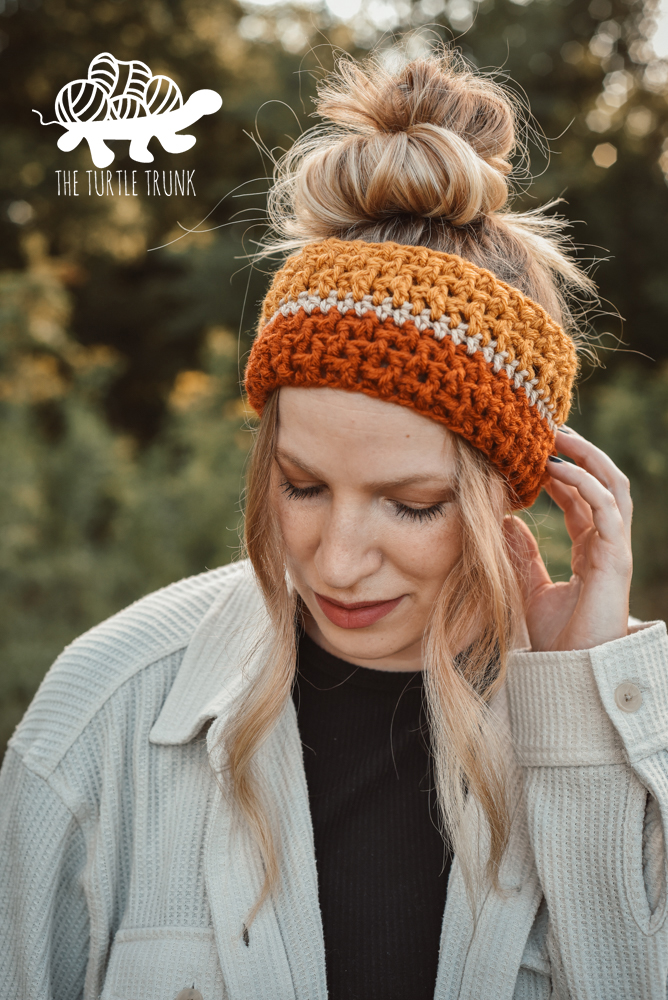
For the child sized headband (multicolor), I used I Love This Yarn Prints in the color Lollipop Love.
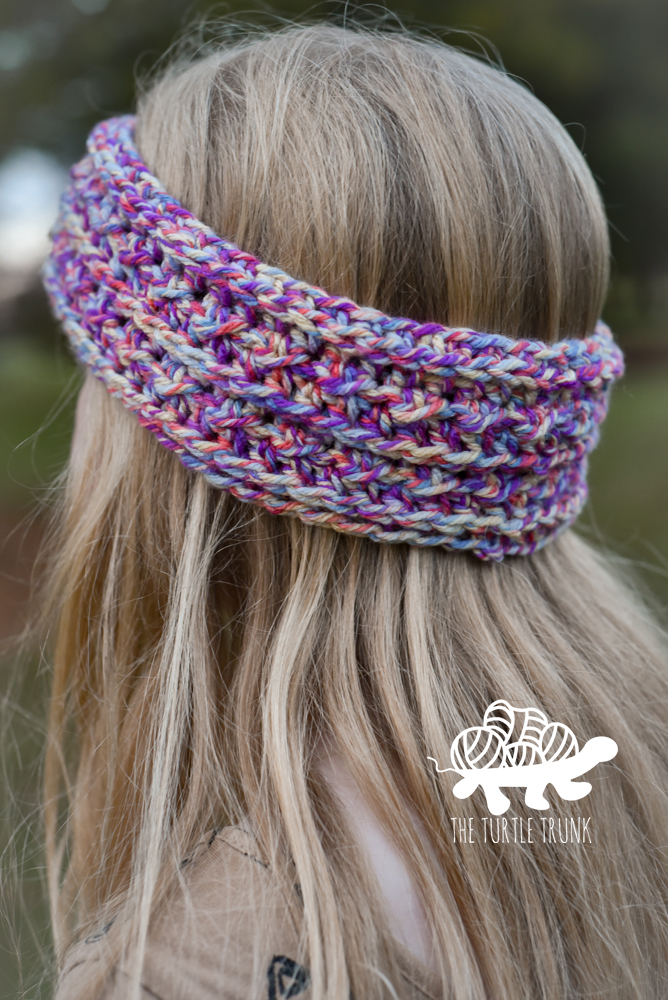
You can substitute with any medium 4 weight yarn that you’d like! Some other yarns I’d recommend are Yarn Bee Soft and Sleek, WeCrochet/KnitPicks Brava, and Vanna’s Choice.
sizes
The Basic Ridge Headband crochet pattern includes 8 sizes: Baby 0-3 months, Baby 3-6 months, Baby 6-12 months, Toddler 1-3 years, Child 3-10 years, Teen/Adult Small, Adult Medium, and Adult Large.
See the size chart below for measurements and yardage.
You can easily customize the headband to be any size though!
To adjust the circumference of the headband: work any even number of chains for your foundation chain.
To adjust the height of the headband: repeat rows 3-5 as many times as you’d like!
| Sizes(head circumference) | Headband Circumference | Headband Height | Yardage |
| Newborn 0-3m (12″) | 12″ | 3″ | 41 yards |
| Baby 3-6m (14″) | 13″ | 3″ | 43 yards |
| Baby 6-12m (15-16″) | 14.5″ | 3″ | 46 yards |
| Toddler 1-3yrs (16-18″) | 16″ | 3″ | 49 yards |
| Child 3-10yrs (19″) | 17″ | 3″ | 51 yards |
| Teen/Adult Small (20″) | 18.5″ | 4″ | 70 yards |
| Adult Medium (22″) | 20″ | 4″ | 76 yards |
| Adult Large (23″) | 21″ | 4″ | 82 yards |
Difficulty
Easy
gauge
12 STs x 8 Rows – 4″ x 4″ in HDC
Adjust hook size up or down to meet gauge.
Notes
- CH 1 at the beginning of each round does not count as a ST.
- At the end of each round, join with a SL ST to the top of the 1st ST of the previous round. Work your 1st ST of the new round into the same ST you joined to.
- The Round and ST numbers are in order by size from smallest to largest.
- Instructions between *asterisks* are to be repeated until the end of the round.
- To adjust the size of the headband:
- Circumference: Work an even number for the foundation chain.
- Height: Repeat rounds 3-5 as many times as you’d like.
supplies
- Medium (4) weight yarn
- I used Yarn Bee Yarn ID
- 5.00mm (H) crochet hook
- Yarn needle
- Scissors
ABBREVIATIONS (us terms)
CH(s) – Chain(s)
ST(s) – Stitch(es)
SL ST – Slip Stitch
HDC – Half Double Crochet
special stitches
Working in the back bump of the chain
When you look at the back of your foundation chain, you will see a loop bumping out on the back. Work your stitches for Round 1 into that back bump instead of the top of the chain. This will create a nice, clean edge for the bottom of the headband.
HDC in the 3rd loop
A HDC stitch has 3 loops. 2 on the top of the stitch (front and back loops), as well as a 3rd loop on the back of the stitch. For a HDC in the 3rd loop, work a regular HDC into the 3rd loop only. This will create a ribbed effect around the headband.
Round 3
Round 3 is worked on the ‘wrong side’ of the headband. This round alternates SL STs and HDC STs to create a fun texture. The texture comes from the 3rd loop of the HDC. Since this loop is on the back of the HDC, this round will be worked on the wrong side, so that the 3rd loop is visible on the right side of the beanie. At the beginning and end of the round remember to turn your work.
Basic Ridge Headband Pattern
CH (36, 40, 44, 48, 52, 56, 60, 64). Join to the first CH to form a loop. CH 1.
Round 1: Working in the back bump of the CH, HDC in each CH around. Join & CH 1. (36, 40, 44, 48, 52, 56, 60, 64)
Round 2: HDC in the 3rd loop in each ST around. Join & CH 1. (36, 40, 44, 48, 52, 56, 60, 64)
Round 3: Turn. *SL ST, HDC* across. Join, CH 1, & turn. (36, 40, 44, 48, 52, 56, 60, 64)
Round 4: HDC in each ST around. Join & CH 1. (36, 40, 44, 48, 52, 56, 60, 64)
Round 5: HDC in the 3rd loop in each ST around. Join & CH 1. (36, 40, 44, 48, 52, 56, 60, 64)
Baby, Toddler, and Child Sizes Only
Rounds 6-8: Repeat Rounds 3-5
Adult Sizes Only
Rounds 6-11: Repeat Rounds 3-5 x2
Tie off yarn and weave in ends.
And you’re all done!
Thanks so much for trying out my Basic Ridge Headband crochet pattern! Be sure to tag me in your photos on Facebook and Instagram so I can see your finished beanie!
You are free to sell the items you make with this pattern, and I’d love if you could please link back to this page. You do not have permission to republish or distribute this pattern in any way or claim it as your own. Do not use my photos in your sale listings or for any other purposes. Thank you


