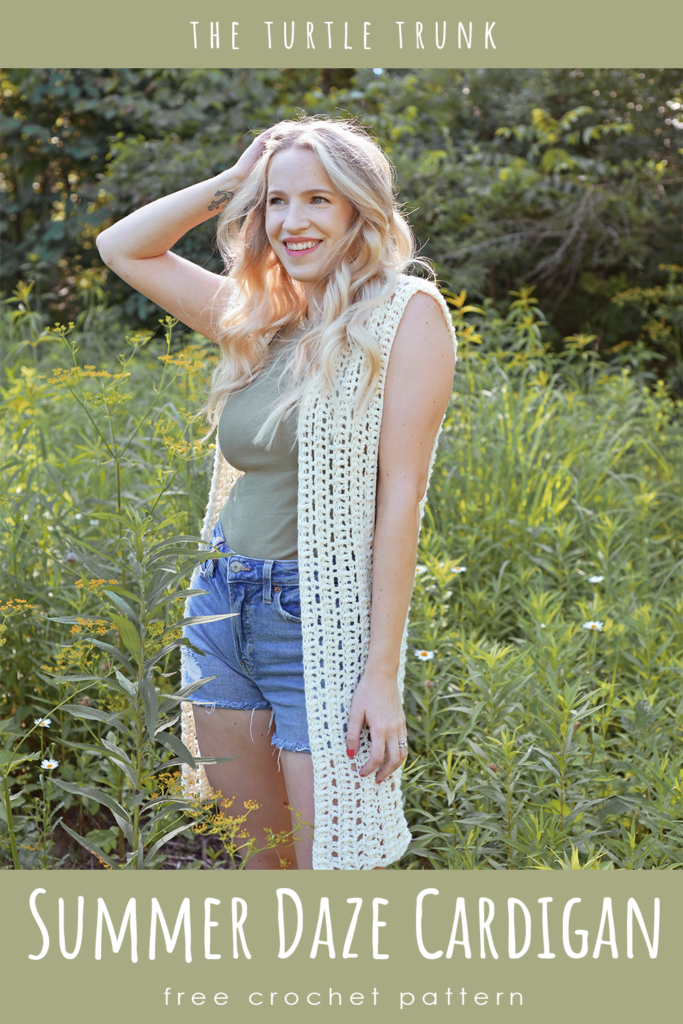
Summer Daze Cardigan Crochet Pattern
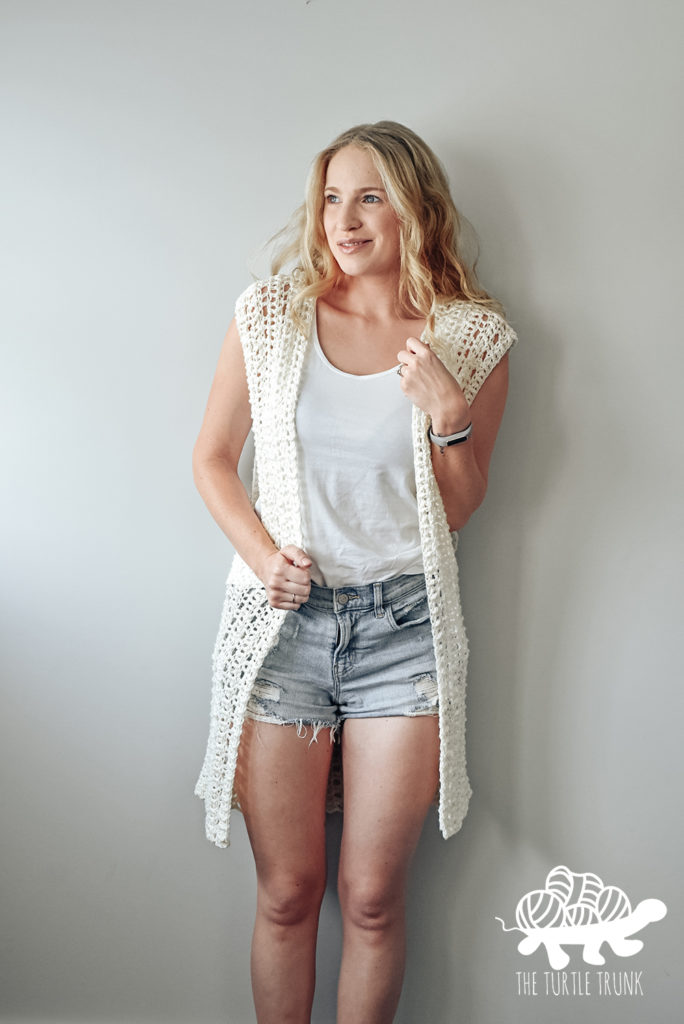
The Summer Daze Cardigan is an easy, sleeveless crochet cardigan that’s perfect for summer as well as layering! This pattern includes 12 sizes ranging from toddler to adult 5x, so you can make one for any age and size! The Summer Daze Cardigan is made up of just 3 rectangular panels that are then seamed together. This pattern is super easy and simple but also beautiful and it goes well with any outfit!
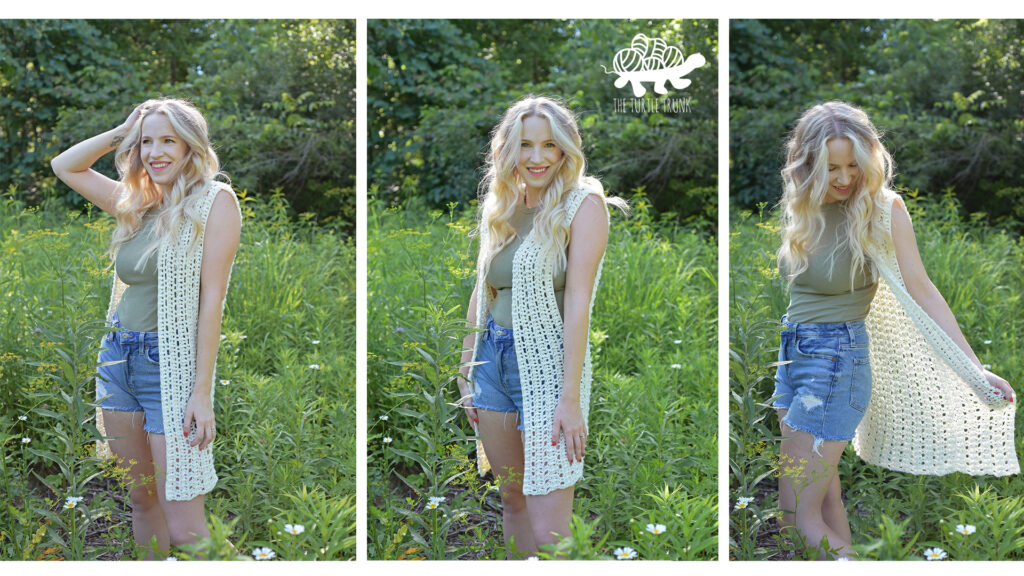
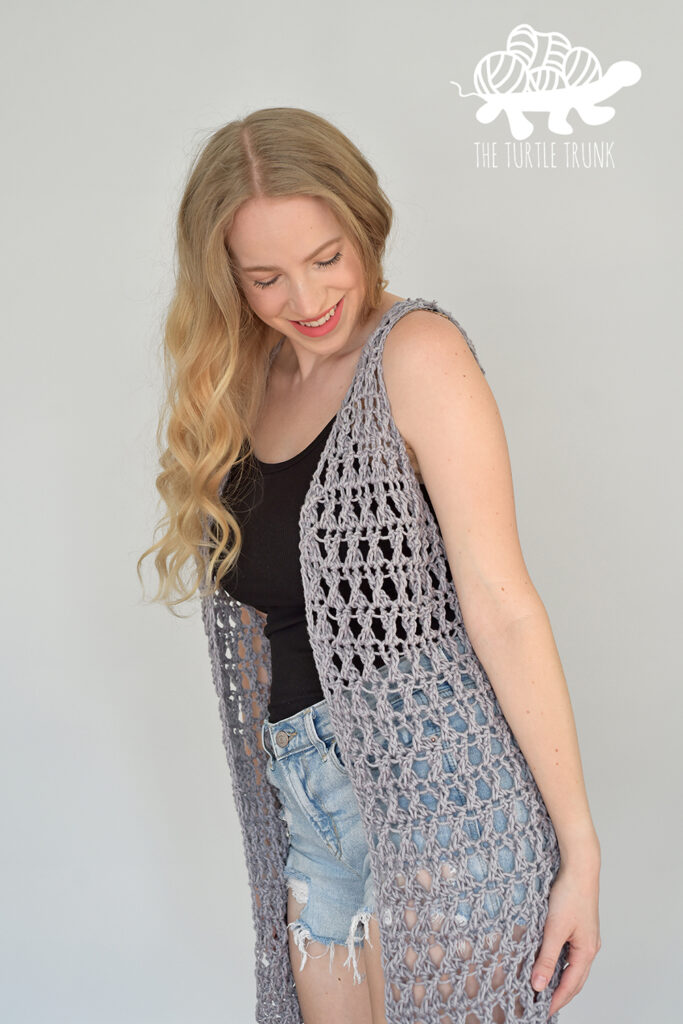
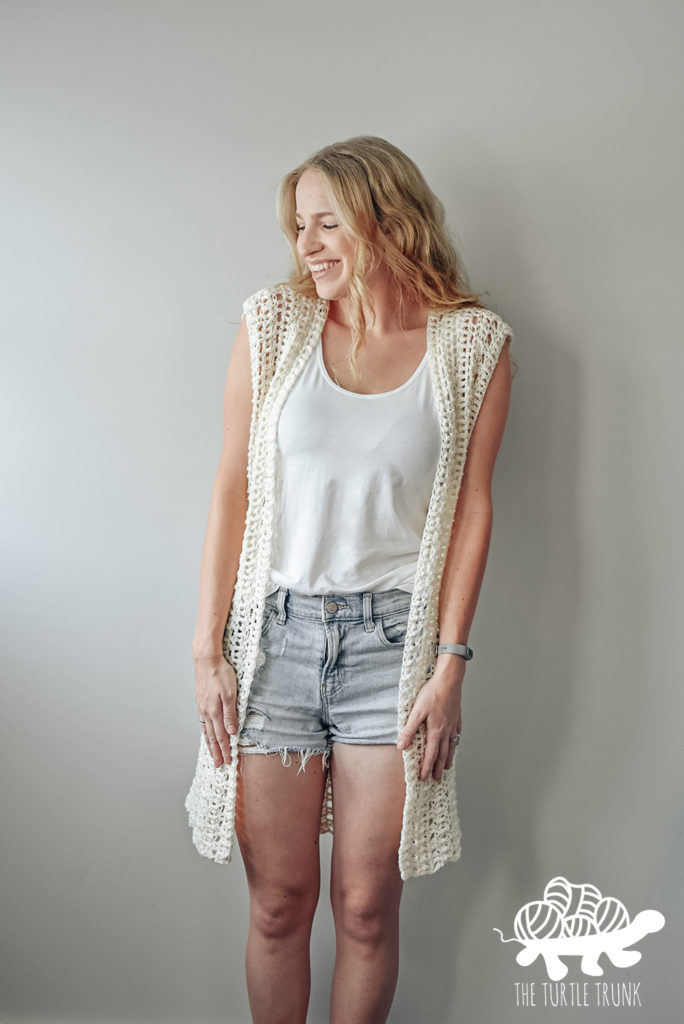
The Summer Daze Cardigan is a lightweight, sleeveless cardigan that’s perfect for Summer but also great for layering in the cooler months!
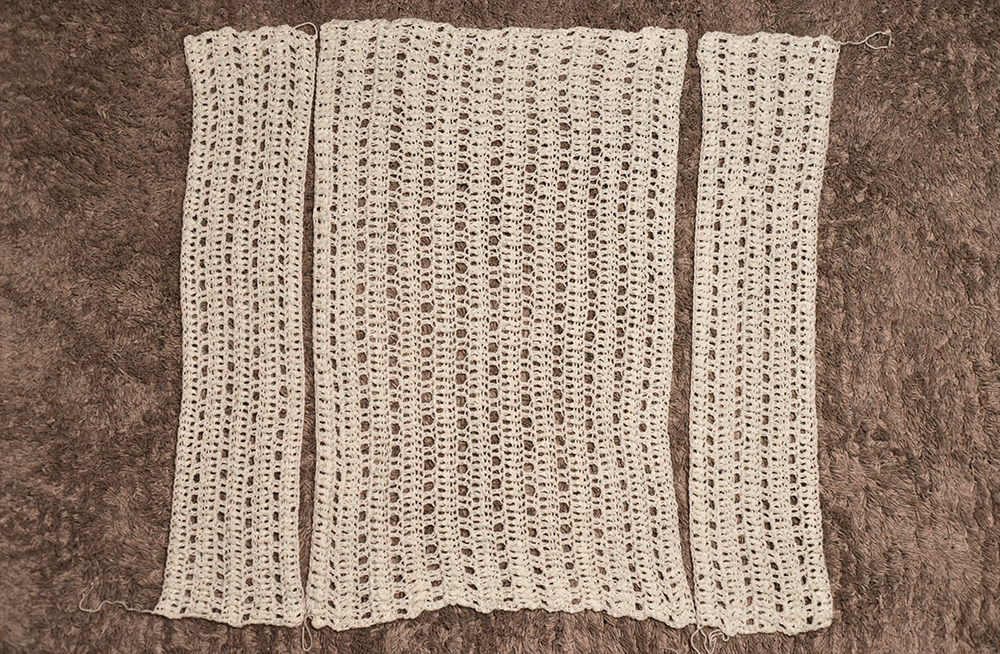
It features a lacey fabric and a simple construction of just 3 rectangles! This crochet sleeveless cardigan works up quickly and can be made any size! The instructions include 12 sizes ranging from toddler to 5X but you can easily adjust the length and width to be any size!
Continue reading below to hear my inspiration for this pattern and to learn more about the yarn I used, then scroll down for the written pattern!
FIND THE AD-FREE AND PRINTABLE PDF
OF THIS PATTERN ON
ETSY AND RAVELRY!
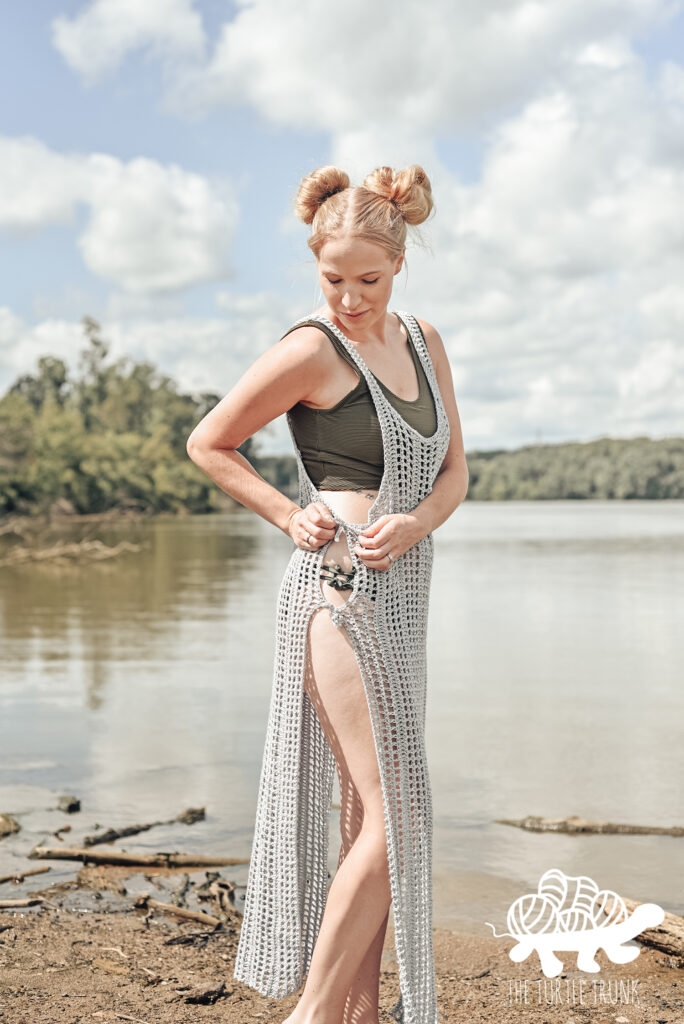
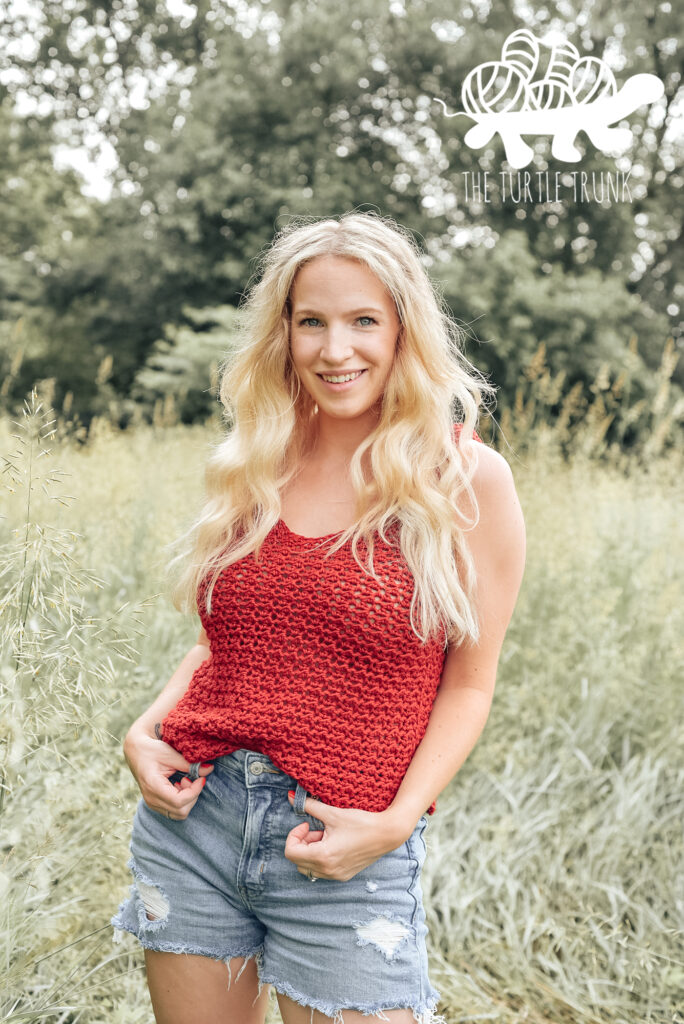
If you want some more Summer crochet patterns, then check out the Beach Daze Cover-Up, Crossroads Vest, and Sweet Tea Tank!
Inspiration
I love layering so naturally I wanted to crochet a beautiful, summery layering piece!
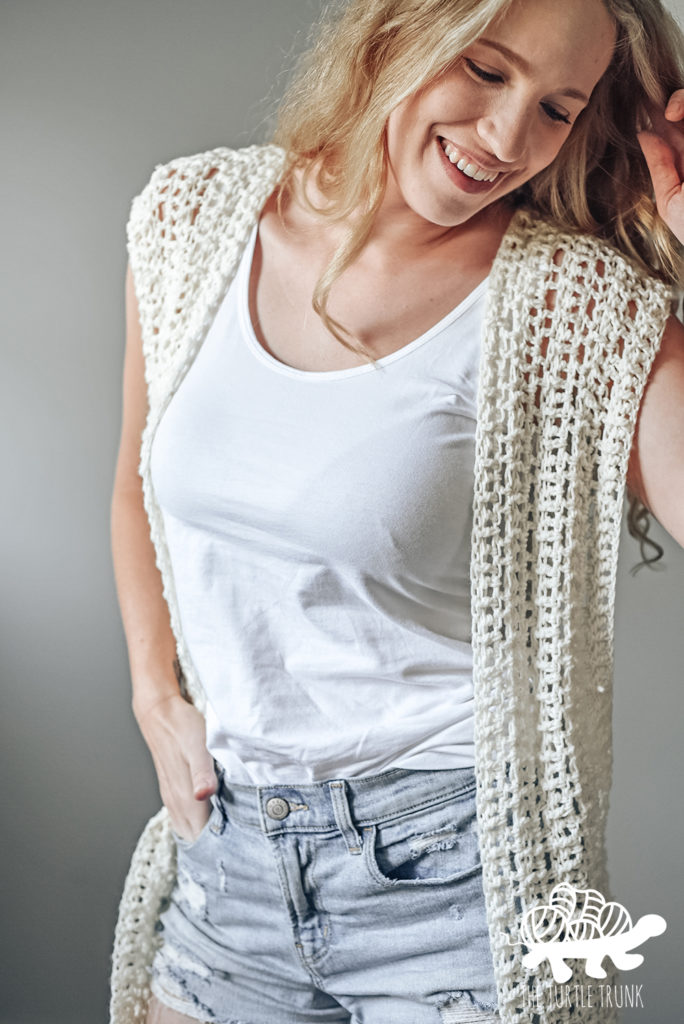
When thinking about the design aspect I wanted for this sleeveless cardigan, I definitely wanted something lacey but not intricate.
I love easy and quick crochet patterns, but that’s something not a lot of garments are. So I wanted to create something, I would be happy to make and also wear!
To create this simple, lacey fabric I used a combination of skipped stitches and chains, as well as some textured double crochet stitches!
We’ll be uses some front post and back post double crochet stitches to add in some awesome texture, but don’t be afraid if you’ve never used those stitches before, they’re so easy to do and they give such a beautiful effect to the fabric!
Yarn
When I originally made this design in 2019, I used Baby Bee Sweet Delight which is a light (3) weight yarn. It comes in a variety of beautiful colors, is very soft, and since it’s fiber content is 60% acrylic and 40% polyamide, it can be machine washed and dried!
I recommend this yarn and I have found my cardigan has held up really well to being worn and washed numerous times and this yarn offered great drape and I also love how soft and comfortable it is!
In 2020, I did end up making another Summer Daze Cardigan because I wanted to extend the size range and also make a video tutorial for this pattern.
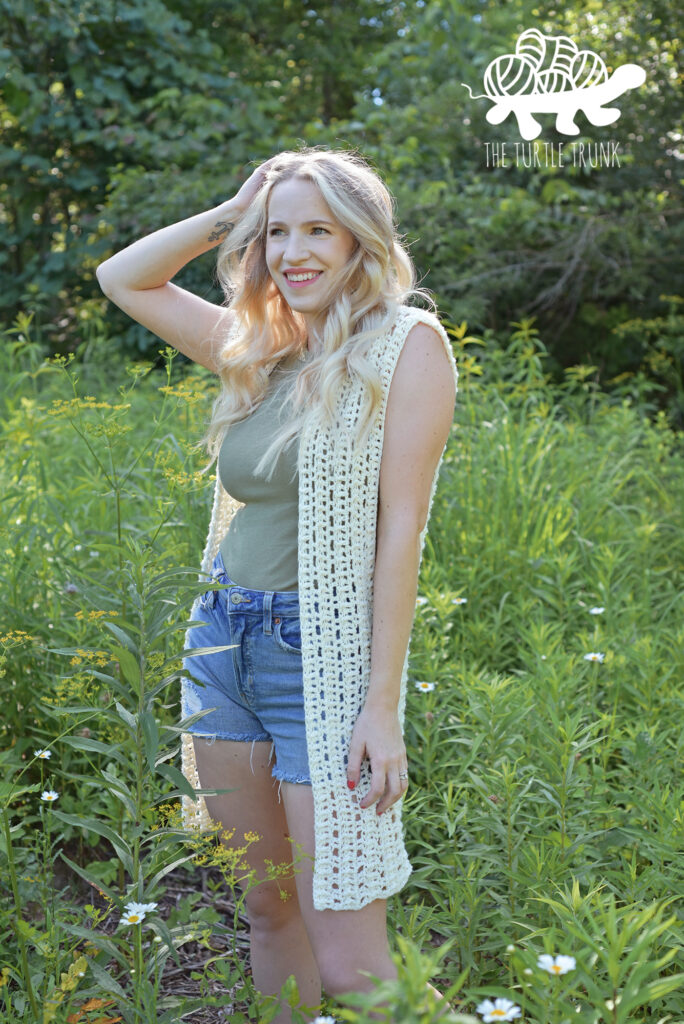
I decided to try Lion Brand Yarn Comfy Cotton Blend this time around and I really enjoyed using it and the finished cardigan with it! Comfy Cotton Blend is also a light (3) weight yarn but its fiber content is 50% cotton and 50% polyester. Because of the fiber content, this second cardigan turned out a bit heavier (but still lightweight enough for summer) and it also showed off the stitch definition a bit better. EDIT: Unfortunately this yarn is now discontinued. Please see below for suitable substitutes.
The first one had a bit of a fuzzy fabric but this one was really clean and sharp. So my second Summer Daze Cardigan turned out a bit different than the first but I love them both and would recommend either of their yarns!
If you’re looking for more yarn substitutions for this pattern, then here are yarns that my testers tried and loved, Lion Brand Yarn Mandala, Lion Brand Ice Cream, Lion Brand Yarn 24/7 Cotton DK, Caron Cotton Cakes, Bernat Soft Baby.
UPDATE 08/2025: I have really been loving Knit Picks yarn lately and think CotLin would be great for this pattern! It is a Dk weight yarn made up of 70% Tanguis Cotton and 30% Linen. It’s super soft, comes in a variety of beautiful colors, and would be perfect for a summery, light garment!
Sizes
The Summer Daze Cardigan pattern has recently been updated, so now it includes instructions for 12 sizes ranging from toddler to adult 5X!
Follow the size chart down below to see what size best suits you or the person you are making this for and also how many yards of yarn you will need for each size.
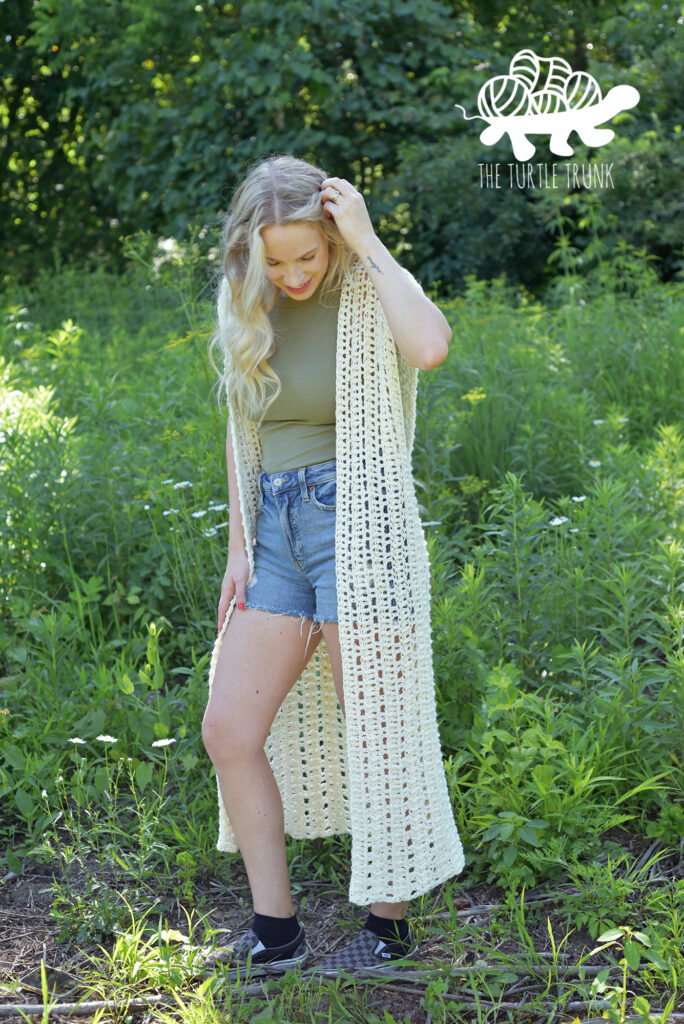
You can also adjust both the length and width to be perfect for you! Note that this cardigan is made in vertical rows so the length is determined by how many stitches you work and the width is determined by how many rows you work.
To adjust the length you can make your starting chain any multiple of 6 + 2, but be sure to work the same number for each of the 3 panels of the cardigan. The width can be adjusted by working more or less rows, but be sure to end on a Row 2 repeat.
| Sizes (Bust) | Cardigan Width (circumference) | Cardigan Length | Yardage (approx.) |
| Kids Small (2-4 yrs) (21-23”) | 11.5” (23”) | 20” | 400 |
| Kids Medium (5-6 yrs) (25-26”) | 13” (26”) | 22” | 450 |
| Kids Large (7-10 yrs) (27-28”) | 14.5” (29”) | 24” | 600 |
| XS (28”-30”) | 16” (32”) | 28” | 650 |
| S (32”-34”) | 17.5” (35”) | 30” | 750 |
| M (36”-38”) | 19” (38”) | 30” | 800 |
| L (40”-42”) | 22” (44”) | 32” | 950 |
| XL (44”-46”) | 23.5” (47”) | 32” | 1,100 |
| 2X (48”-50”) | 25” (50”) | 34” | 1,350 |
| 3X (52”-54”) | 26.5” (53”) | 34” | 1,600 |
| 4X (56”-58”) | 28” (56”) | 36” | 1,850 |
| 5X (60”-62”) | 31” (62”) | 36” | 2,100 |
Not ready to make just yet? PIN this pattern for later!
Follow along with the video tutorial on YouTube!
Difficulty
Easy
Supplies
- Light (3) Weight Yarn (Lion Brand Yarn Comfy Cotton Blend)
- Hook: 6.50mm (K)
- Yarn Needle
- Scissors
Abbreviations (US TERMS)
ST – Stitch
SL ST – Slip Stitch
CH – Chain
SK – Skip ST
DC – Double Crochet
FPDC – Front Post Double Crochet – Yarn over and insert your hook behind and back around the post of the next ST, yarn over and pull up a loop, yarn over and pull through 2 loops, yarn over and pull through last 2 loops.
BPDC – Back Post Double Crochet – Yarn over and insert hook around the front of the post of the next ST, yarn over and pull up a loop, yarn over and pull through 2 loops, yarn over and pull through last 2 loops.
Gauge Pattern
CH 14
Follow rows 1-7 of the pattern then repeat row 2, for a total of 8 rows.
12 stitches by 8 rows = 4”by 4” square.
Adjust hook size up or down to meet gauge.
Notes
- Cardigan is meant to have about 1-2” positive ease, but fit can be adjusted by adding or subtracting the number of rows that are worked. Always finish each panel on a Row 2. Length can be adjusted by making your starting chain longer or shorter.
- Starting Chain must be worked in a multiple of 6 + 2. Example: Chain 90 + 2 = 92. The instructions below create a length that approximately hits the mid-thigh. (note: 3 STs = approx. 1”)
- The numbers in parenthesis represent the row number (at the beginning of the row) and total stitch count (at the end of the row) for each size. Numbers are in order by size starting with the smallest size. When numbers are not in parentheses, they are the same for all sizes.
- Panels are worked in vertical rows so the stitch count determines the length of the cardigan and the rows determine the width.
- The CH 2 at the beginning of the row never counts as a stitch.
Summer Daze Cardigan Pattern
Kid Sizes
Back Panel (Make 1)
CH (62, 68, 74)
Row 1 : DC in 3rd CH from the hook, then DC in each CH across. (60, 66, 72)
Row 2 : CH 2 & turn. FPDC in 1st ST *BPDC in next ST, FPDC in next ST* (repeat ** until 1 ST remains). DC in last ST. (60, 66, 72)
Row 3 : CH 2 & turn. DC in 1 ST, CH 1, SK 1, *DC in next 2 STs, CH 1, SK 1* (repeat ** until 1 ST remains). DC in last ST. (60, 66, 72)
Row 4 : CH 2 & turn. DC in 1 ST, *DC in CH space, DC in next 2 STs* (repeat ** until 1 ST remains). DC in last ST. (60, 66, 72)
Rows 5-(22, 25, 28) : Repeat rows 2-4
Row (23, 26, 29) : Repeat Row 2.
Tie off, then set aside and move onto the front panels.
Note: rows 2-4 can be repeated as many times as you’d like to reach your desired width, just be sure the very last row is a Row 2.
Front Panels (Make 2)
CH (62, 68, 74)
Row 1 : DC in 3rd CH from the hook, then DC in each CH across. (60, 66, 72)
Row 2 : CH 2 & turn. FPDC in 1st ST, *BPDC in next ST, FPDC in next ST* (repeat ** until 1 ST remains). DC in last ST. (60, 66, 72)
Row 3 : CH 2 & turn. DC in 1 ST, CH 1, SK 1, *DC in next 2 STs, CH 1, SK 1* (repeat ** until 1 ST remains). DC in last ST. (60, 66, 72)
Row 4 : CH 2 & turn. DC in 1 ST, *DC in CH space, DC in next 2 STs* (repeat ** until 1 ST remains). DC in last ST. (60, 66, 72)
Rows 5-(7, 7, 10) : Repeat Rows 2-4
Row (8, 8, 11) : Repeat Row 2
Tie off, then move onto assembly.
Note: rows 2-4 can be repeated as many times as you’d like to reach your desired width, just be sure the very last row is a Row 2 and both side panels have the same number of rows.
Adult Sizes
Back Panel (Make 1)
CH (86, 92, 92, 98, 98, 104, 104, 110, 110)
Row 1: DC in 3rd CH from the hook, then DC in each CH across. (84, 90, 90, 96, 96, 102, 102, 108, 108)
Row 2 : CH 2 & turn. FPDC in 1st ST, *BPDC in next ST, FPDC in next ST* (repeat ** until 1 ST remains). DC in last ST. (84, 90, 90, 96, 96, 102, 102, 108, 108)
Row 3 : CH 2 & turn. DC in 1 ST, CH 1, SK 1, *DC in next 2 STs, CH 1, SK 1* (repeat ** until 1 ST remains). DC in last ST. (84, 90, 90, 96, 96, 102, 102, 108, 108)
Row 4 : CH 2 & turn. DC in 1 ST, *DC in CH space, DC in next 2 STs* (repeat ** until 1 ST remains). DC in last ST. (84, 90, 90, 96, 96, 102, 102, 108, 108)
Rows 5-(31, 34, 37, 43, 46, 49) : Repeat rows 2-4
Row (32, 35, 38, 44, 47, 50) : Repeat Row 2.
Tie off, then set aside and move onto the front panels.
Note: rows 2-4 can be repeated as many times as you’d like to reach your desired width, just be sure the very last row is a Row 2.
Front Panels (Make 2)
CH (86, 92, 92, 98, 98, 104, 104, 110, 110)
Row 1 : DC in 3rd CH from the hook, then DC in each CH across. (84, 90, 90, 96, 96, 102, 102, 108, 108)
Row 2 : CH 2 & turn. FPDC in 1st ST, *BPDC in next ST, FPDC in next ST* (repeat ** until 1 ST remains). DC in last ST. (84, 90, 90, 96, 96, 102, 102, 108, 108)
Row 3 : CH 2 & turn. DC in 1 ST, CH 1, SK 1, *DC in next 2 STs, CH 1, SK 1* (repeat ** until 1 ST remains). DC in last ST. (84, 90, 90, 96, 96, 102, 102, 108, 108)
Row 4 : CH 2 & turn. DC in 1 ST, *DC in CH space, DC in next 2 STs* (repeat ** until 1 ST remains). DC in last ST. (84, 90, 90, 96, 96, 102, 102, 108, 108)
Rows 5-(10, 13, 13, 16, 16, 19) : Repeat Rows 2-4
Row (11, 14, 14, 17, 17, 20) : Repeat Row 2
Tie off, then move onto assembly.
Note: rows 2-4 can be repeated as many times as you’d like to reach your desired width, just be sure the very last row is a Row 2 and both side panels have the same number of rows.
Assembly
Note: there is no wrong or right side of your work, so when you are done, your piece will be reversible)
Shoulder Seam
Lay the back panel down with the front panels on top and aligned with the outside edge (there will be a gap in the middle). The starting chains on the front panels will be the sides you seam to the back panel. The back panel and front panels should line up so that the same rows on either side are in line. With a long strand of yarn and your yarn needle, Whip Stitch across the first front panel, then from the outside in (using stitch markers can help hold the pieces together). Tie off, then repeat on the other panel.
Side Seams
With the front panels on top of the back panel, take a long strand of yarn and your yarn needle, then Whip Stitch the first front panel to the back panel, starting at the bottom and working up. Work up as high you’d like keeping a minimum of 6” (kids) and 8” (adult) open for the arm hole, then repeat on other side, making sure to work up the exact same length as the first panel. For reference I left an opening of 15” for the cardigan pictured, this made a very open and loose arm hole. Optional: Add extra flare and leave the bottom few inches open to make side slits!

Finishing
Leave as is or you can also single crochet along the bottom to clean up the edge (work 2 single crochets in each double crochet/CH 2). You can also add fringe to the bottom to add some extra flare!
Thank you so much for following along! I hope you enjoy this pattern and don’t forget to follow me on Instagram and tag me in your photos so I can see your finished Turtle Trunk creations!
You are free to sell the items you make with this crochet pattern, and I’d love if you could please credit The Turtle Trunk as the pattern designer. You do not have permission to republish or distribute this pattern in any way or claim it as your own. Do not use my photos in your sale listings or for any other purposes. Thank you.
This page includes affiliate links. If you make a purchase from these links, I may make a small commission at no cost to you! Thank you for your support!