
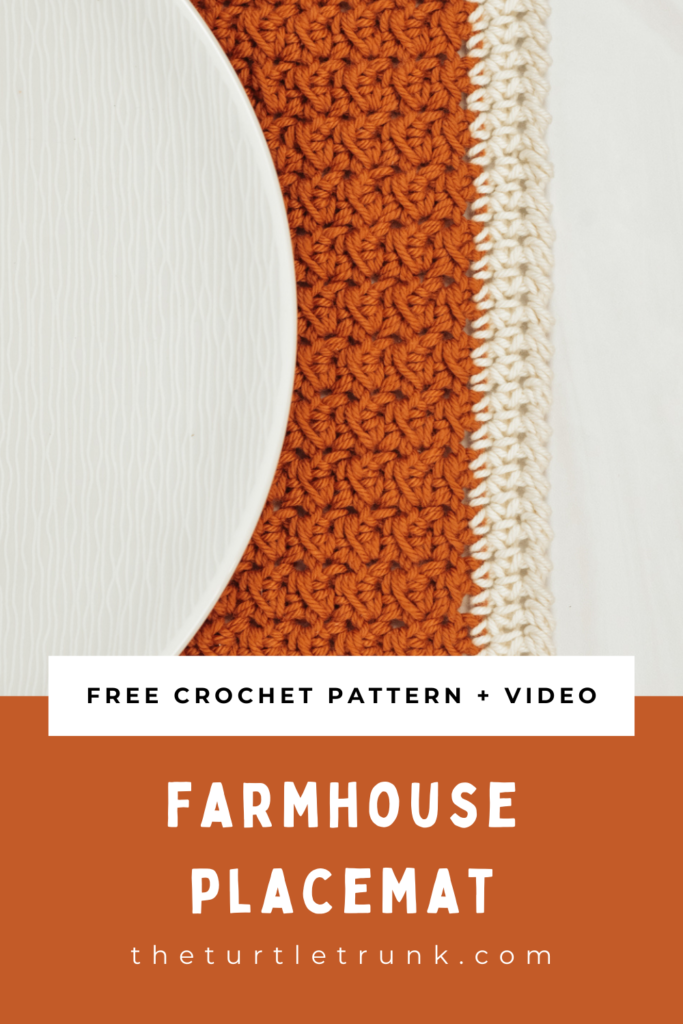
Farmhouse Placemat Crochet Pattern
The Farmhouse Placemat uses the even moss stitch to create a beautifully textured crochet placemat! Perfect for gifting, selling at markets, or making for your own home. These crochet placemats are practical and easy to make!

I am so excited to be adding another crochet pattern to my Farmhouse Collection, the Farmhouse Placemat!
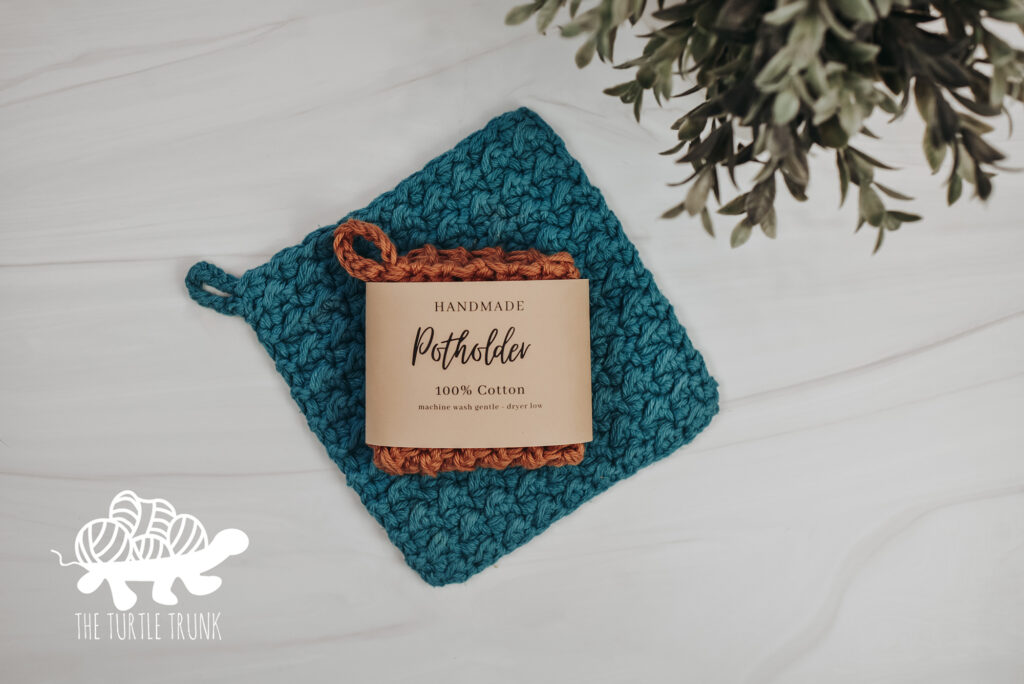
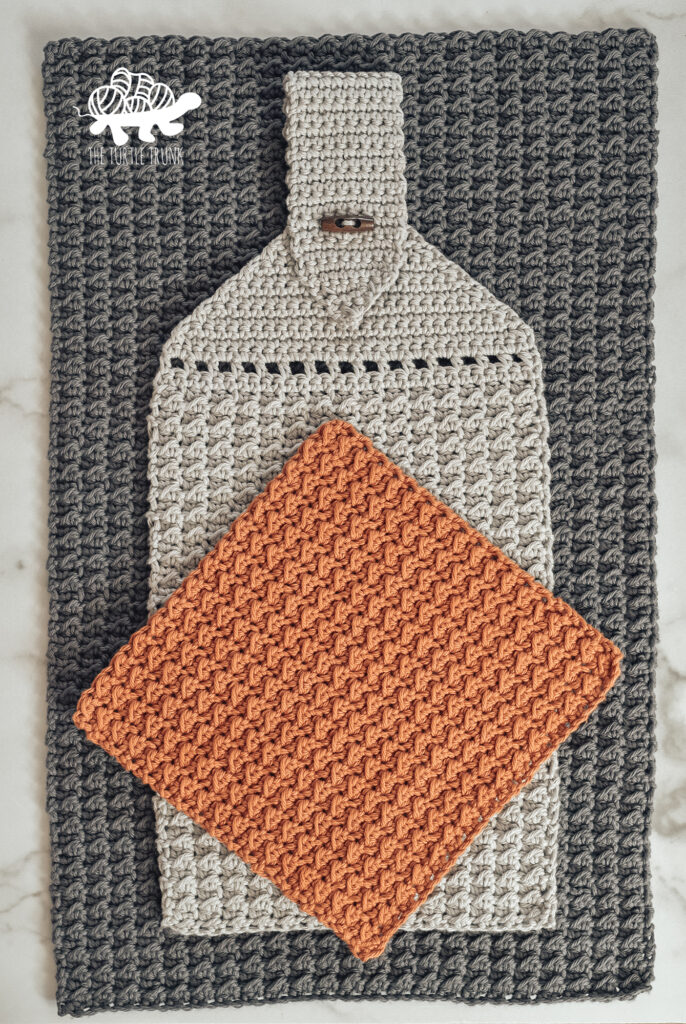
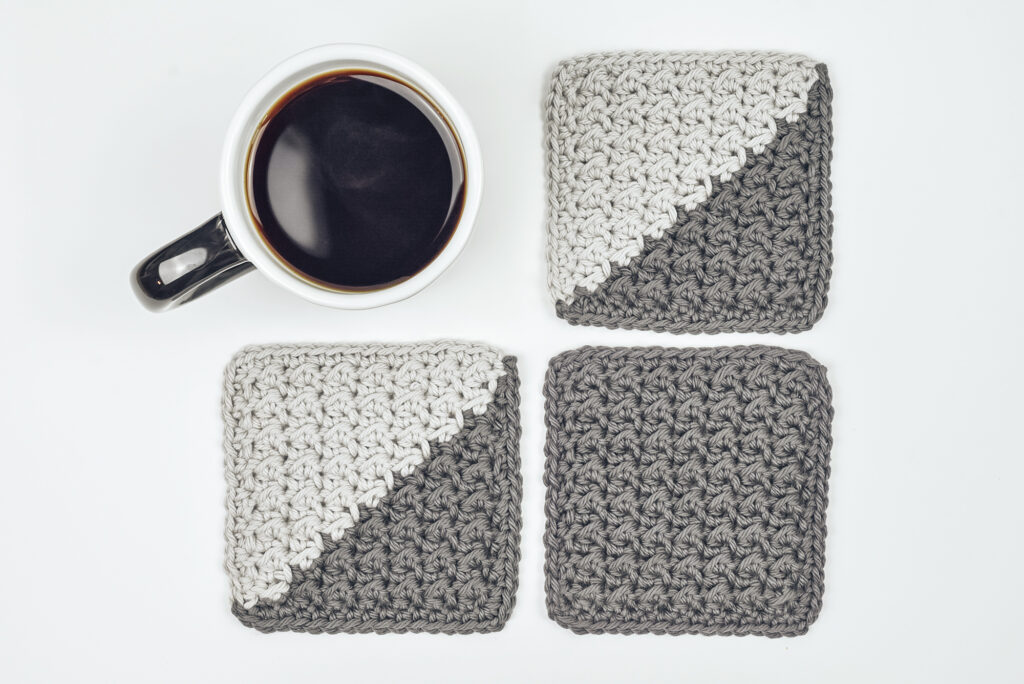
The Farmhouse Collection features crochet patterns for home, dining, and the kitchen! So far the collection consists of a pot holder, dish set, and coasters.
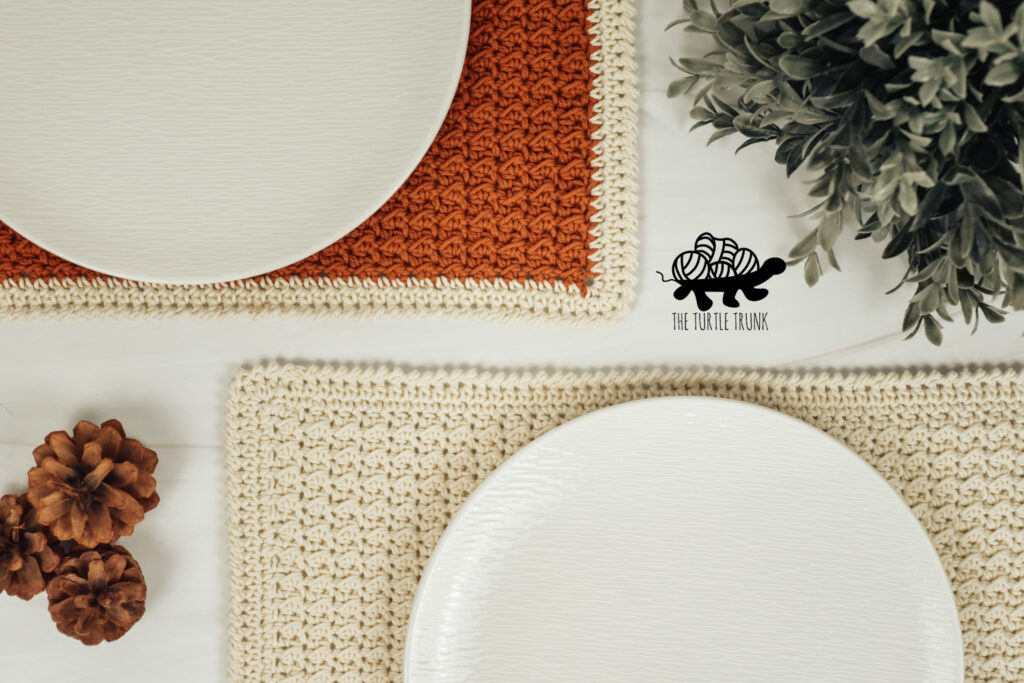
The Farmhouse Placemat features the same amazing stitches and textures as the rest of the collection, with the addition of a fun crab stitch border!
My favorite thing about these patterns is that they look elegant and intricate but they are quite easy to make! Only a few basic crochet stitches are used and you can mindlessly work on it while watching TV or relaxing.
I hope you enjoy this crochet placemat pattern! I plan on adding more patterns to this collection, so let me know I there’s anything specific you’d like to see!
Continue reading below to hear my inspiration for this pattern and to learn more about the yarn I used, then scroll down for the written pattern!
If you’d like more Farmhouse crochet patterns, then check out my Farmhouse Potholder, Farmhouse Dish Set, and Farmhouse Coaster.
FOLLOW ALONG WITH THE AD FREE & PRINTABLE PDF PATTERN FROM
ETSY AND RAVELRY!
Not ready to make just yet?
Save this pattern to Pinterest!
Follow along with the video tutorial on YouTube!
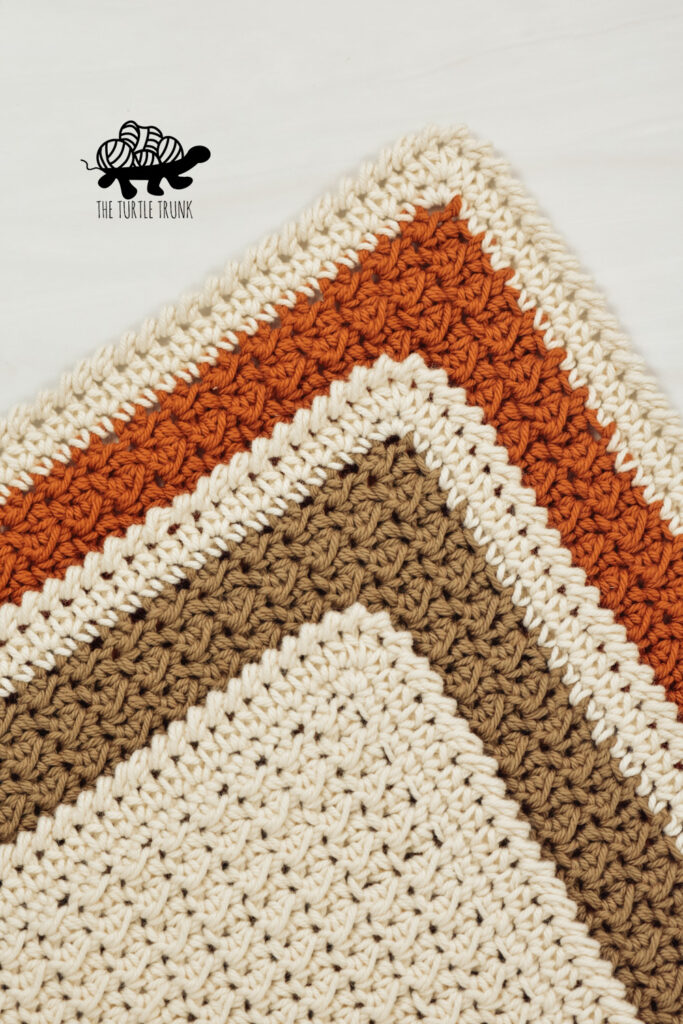
Farmhouse Stitches
All the crochet patterns in the Farmhouse Collection use the same stitch, the even moss stitch!
The even moss stitch alternates between a slip stitch and a half double crochet stitch. A row begins and ends with a slip stitch and for the following row, you repeat, working a slip stitch into the one in the previous row and the same with the half double crochet stitches.
This creates a GORGEOUS texture! A half double crochet stitch has a third loop that pops out on the front, giving the fabric a bumpy, ribbed like texture.
I love how easy the even moss stitch is, using only 2 basic crochet stitches, yet it looks more complicated and intricate!
The Farmhouse Placemat does feature something different from the rest of the Farmhouse Collection. I used a crab stitch / reverse single crochet border!
This border adds a fun, twisted edge around the placemat. And again, it looks like it may be complicated to do but it’s really not. Like the name suggests, it’s just working a single crochet in reverse. So instead of working your stitches to the left, you’ll be working them to the right!
Have no worries if you don’t quite understand what I mean. In the video tutorial for this pattern, I go in great detail on how to do all the stitches!
What kind of yarn should you use for a placemat?
I used 100% cotton yarn for my placemats.
Cotton yarn is durable and machine washable! And chances are if you’re using these placemats for dining, that they’re going to get food and drink spilt on them.
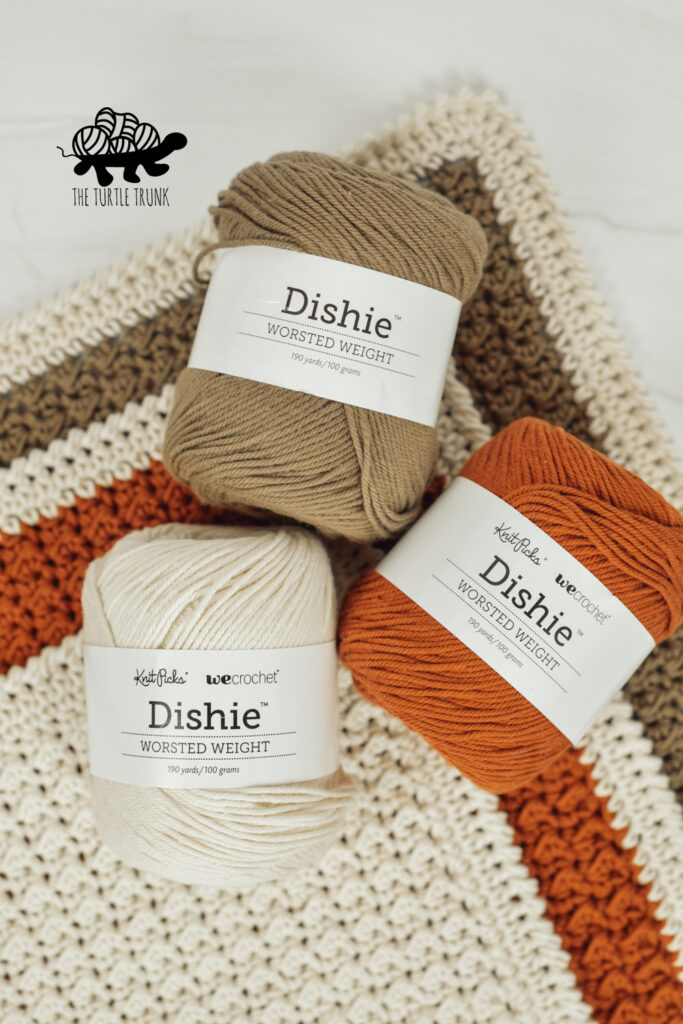
For my Farmhouse Placemats, I used Knit Picks / WeCrochet Dishie.
This was my first time using Dishie and I absolutely love it!
It’s really soft and it comes in a large variety of colors. It can also be washed and dried in the machine, which is great if you’re using these placemats daily!
I used the colors Sunbaked (burnt orange), Swan (creamy white), and Mushroom (beige).
You can make your Farmhouse Placemats in any number of colors. Make it one solid color, two toned, or stripes. Use holiday colors for Thanksgiving or Christmas or just a neutrals for everyday use! The options and possibilities are endless!
Dishie is definitely my new go to for cotton yarn. If you don’t want to use dishie though or don’t have access to it you can use any medium 4 weight cotton yarn you’d like!
Some other cotton yarns I think would work great are Lily Sugar n Cream and I Love This Cotton.
Sizing
The instruction below make a placemat that is approximately 18″ x 12″ but you can easily adjust the pattern to be any size!
To adjust the length (long side) of the placemat, work any EVEN number of chains for your foundation chain. To adjust the width (short side) of the placemat, work any number of rows until your desired width is
Wrap it up!
If you’re planning on selling or gifting your placemats, then check out these printable, paper wrap labels!
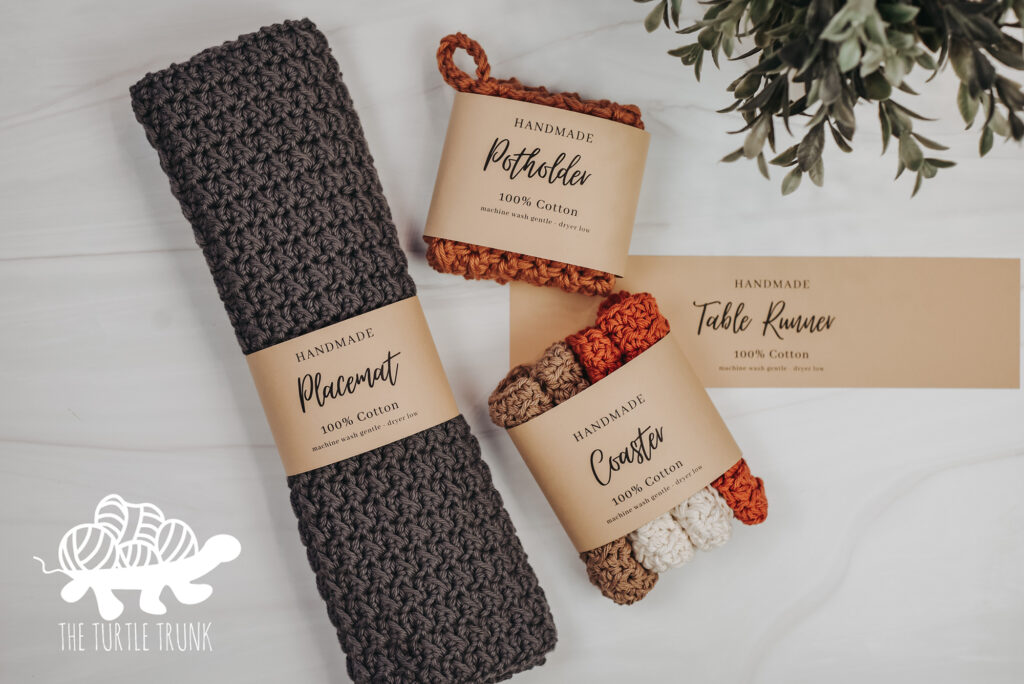
I originally designed wrap labels for my Farmhouse Dish Set, as it was a popular pattern for makers to sell at markets and give as gifts. These wrap labels make your items so much more professional looking and it’s a great and easy way to add any information needed about the item for the receiver to see (like washing instructions, fiber content, ect.)
Simply download the files, print any pages at home that you need, cut, and tape around your items! Easy!
You can find these dining wrap labels in my Etsy shop! The Dining Wrap Label Set includes labels for a placemat, coaster, table runner, and pot holder. I also have Dish Set Wrap Labels, Bath Set Wrap Labels, Face Set Wrap Labels, and Spa Set Wrap Labels.
Difficulty
Advanced Beginner
Gauge
14 STs x 16 Rows = 4” x 4” in Even Moss Stitch
Adjust hook size up or down to meet gauge.
Notes
- Numbers in (parentheses) at the end of each row/round represent the number of stitches to be worked in that row/round.
- Instructions between *asterisks* are to be repeated until the end of each row/round or until otherwise stated.
- Starting chains do not count as stitches. For the border, work the 1st ST into the same ST you joined to.
- To adjust the size of the placemat:
- Length: CH any even number to get your desired length.
- Width: work any number of rows to get your desired width.
- Work SL STs loosely (most importantly the 1st and last of each row) so that you can easily work back into them for the next row.
Supplies
- Medium (4) Weight Cotton Yarn
(I used WeCrochet Dishie)- Color A – Main (Sunbaked) – 167 yards (153 meters)Color B – Border (Swan) – 54 yards (50 meters)
- Total Yardage – 221 yards (202 meters)
- 5.00 mm (H) Crochet Hook
- Yarn Needle
- Scissors
Abbreviations (US Terms)
ST(s) – Stitch(es)
SL ST – Slip Stitch
CH – Chain
SC – Single Crochet
HDC – Half Double Crochet
Special Stitches
Crab Stitch (also known as Reverse Single Crochet)
- Work a single crochet in reverse! Instead of working a single crochet by crocheting into the stitches to the left, you will work to the right, crocheting the opposite way around the placemat.
- Start by inserting your hook into the top of the last ST you worked in the previous round. Yarn over and pull up a loop, yarn over and pull through both loops on your hook. Repeat around, working to the right and in each ST around the placemat. When you reach the end, join with a SL ST to the same space you worked the 1st crab stitch.
Even Moss Stitch
- *SL ST in 1st ST, HDC in next ST* repeat across. SL ST in the last ST.
How to Change Color: on the last ST of the last row, insert hook into ST, drop Color A and pull through with Color B. CH 1. Cut off Color A, leaving long enough tail end to weave in and continue with Color B for the border.
Farmhouse Placemat Crochet Pattern
Starting with Color A (main color), CH 56.
Row 1: SL ST into the 2nd CH from the hook, *HDC into the next ST, SL ST into the next* repeat ** across. CH 1 & turn. (55)
Rows 2-40: SL ST into the 1st ST, *HDC into the next ST, SL ST into the next* repeat ** across. CH 1 & turn. (55)
On the last SL ST of the final row, change to Color B (border color).
Border
Round 1: SC around the placemat, working 3 SC into each corner and 1 SC into the edge of each row on the sides and into each ST across the top and bottom.
Join with a SL ST to the 1st SC and CH 1. (198)
Round 2: HDC around the placemat, working 1 HDC into each ST and 3 HDC into the center ST in the corners.
Join with a SL ST to the 1st HDC and CH 1. (206)
Round 3: Crab stitch (reverse single crochet) into each ST around. Join with a SL ST into the same space you worked the 1st crab stitch. (206)
Tie off yarn and weave in ends.
And you’re all done!
I hope you enjoyed the Farmhouse Placemat crochet pattern! I can’t wait to see your finished creations, so be sure to tag @theturtletrunk on Instagram!
You are free to sell the items you make with this crochet pattern, and I’d love if you could please link back to this page. You do not have permission to republish or distribute this pattern in any way or claim it as your own. Do not use my photos in your sale listings or for any other purposes. Thank you.
This page includes affiliate links. If you make a purchase from these links, I may make a small commission at no cost to you! Thank you for your support!
