Crochet Velvet Baby Mittens Pattern
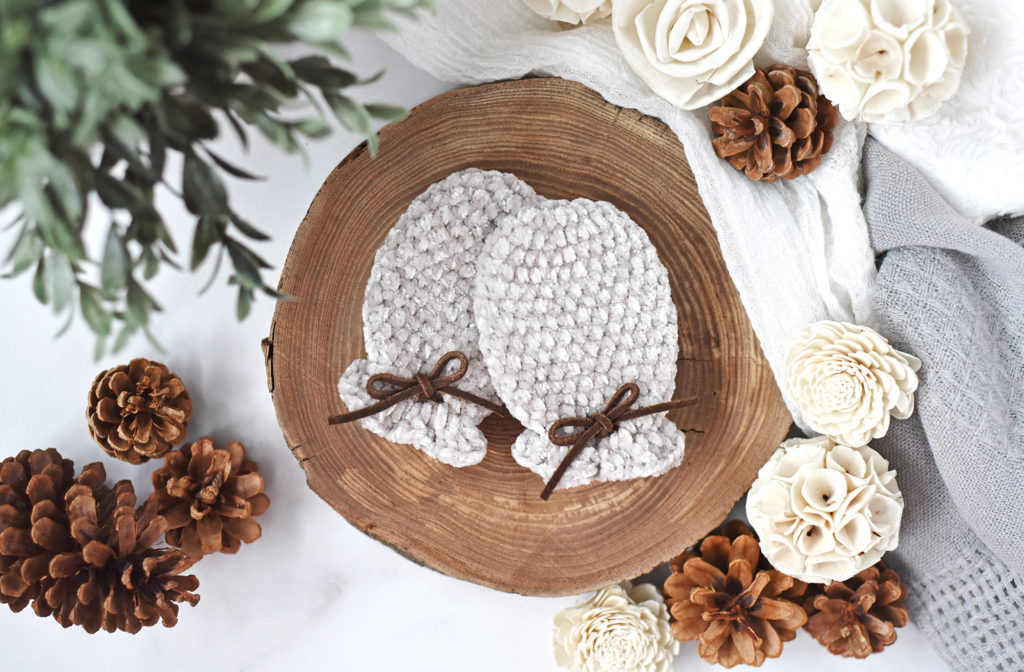
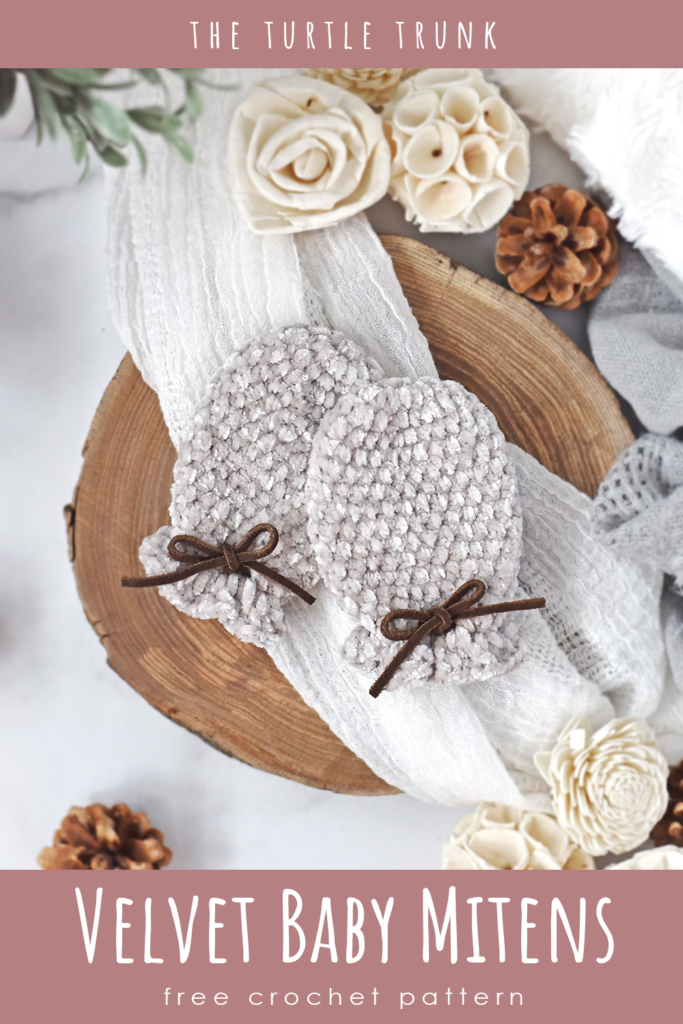
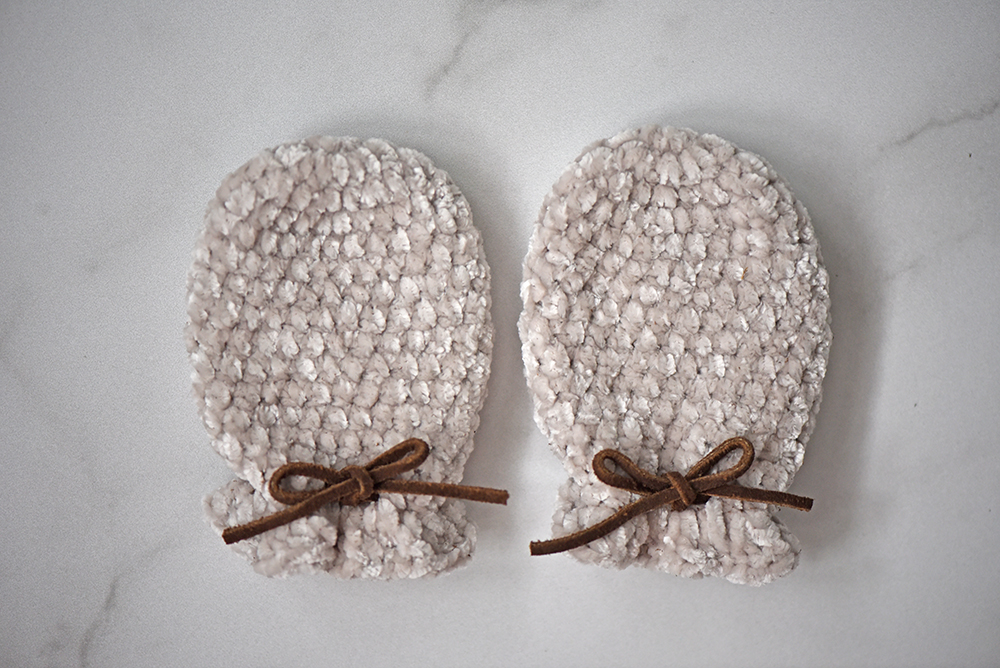
Happy New Years Friends! Over the holidays, my 17 months old daughter and I were visiting family in Canada. It was cold and baby girl needed some mittens! Luckily, I packed some velvet yarn and designed these simple but very cute Velvet Baby Mittens for her!
The Velvet Baby Mittens crochet pattern take less than 20 minutes to make and use minimal supplies! I used Bernat Baby Velvet but you can substitute for any other medium (4) weight yarn as long as you are able to reach gauge for accurate sizing. The pattern includes instructions for 3 sizes: Small (0-6 months), Medium (6-12 months), and Large (12-18 months).
Want the ad-free, easy to print version? You can find this pattern (and many more patterns) on Etsy and Ravelry!
Not ready to make just yet? Save this pin for later!
| Size | Small (0-6 months) | Medium (6-12 months) | Large (12-18 months) |
| Mitten Height (finger tip to wrist) |
2.5” (3.5” with cuff) |
3.5” (4.5” with cuff) |
4.25” (5.25” with cuff) |
| Mitten Width | 2.5” | 3” | 3.25” |
Gauge
8 stitches by 8 rows in Half Double Crochet = 4”by 4” square.
Adjust hook size up or down to meet gauge.
Notes
● Mittens are worked in the round and are NOT joined at the end of each round. Use a stitch marker to keep proper stitch count.
● The number in parenthesis at the end of each round represents the total number of stitches to be worked in each round.
● Repeat instructions between asterisks (*) until the end of each round.
Supplies
● Bernat Baby Velvet (approximately 1.5 oz / 70 yards)
-Substitute with any Medium (4) Weight Yarn, but be sure to check gauge to ensure accurate sizing.
● Hook: 4.00 mm (G)
● Yarn Needle
● Scissors
● Stitch Marker
● 2 – 12” strands of suede lace for the tie
-You can also use leather cord, yarn, string, or ribbon
Abbreviations (US Terms)
ST(s) – Stitch(es)
SL ST – Slip Stitch
CH – Chain
SC – Single Crochet
HDC – Half Double Crochet
HDC2TOG – Half Double Crochet 2 Together
DC – Double Crochet
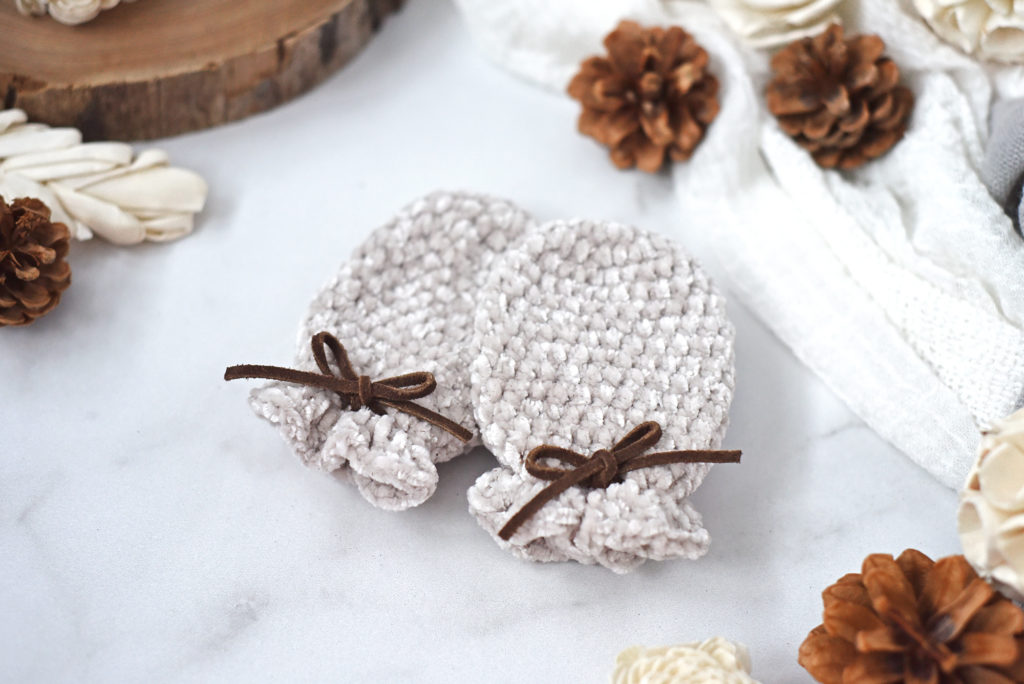
Pattern (make 2)
Small
Magic Circle, CH 1
Round 1: SC x 6 inside circle (6)
Round 2: 2 HDC in each ST around (12)
Round 3: *HDC in 1st ST, 2 HDC in next* (18)
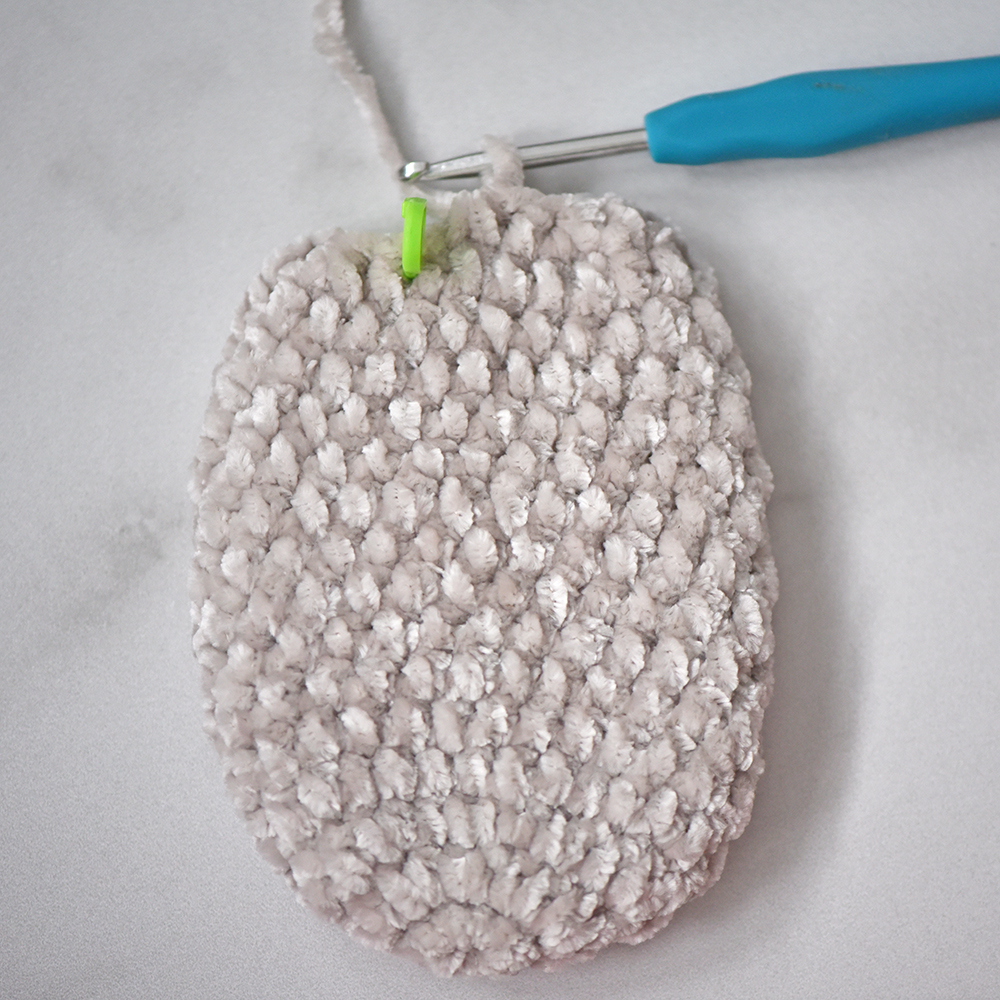
Rounds 4-9: HDC in each ST around (18)
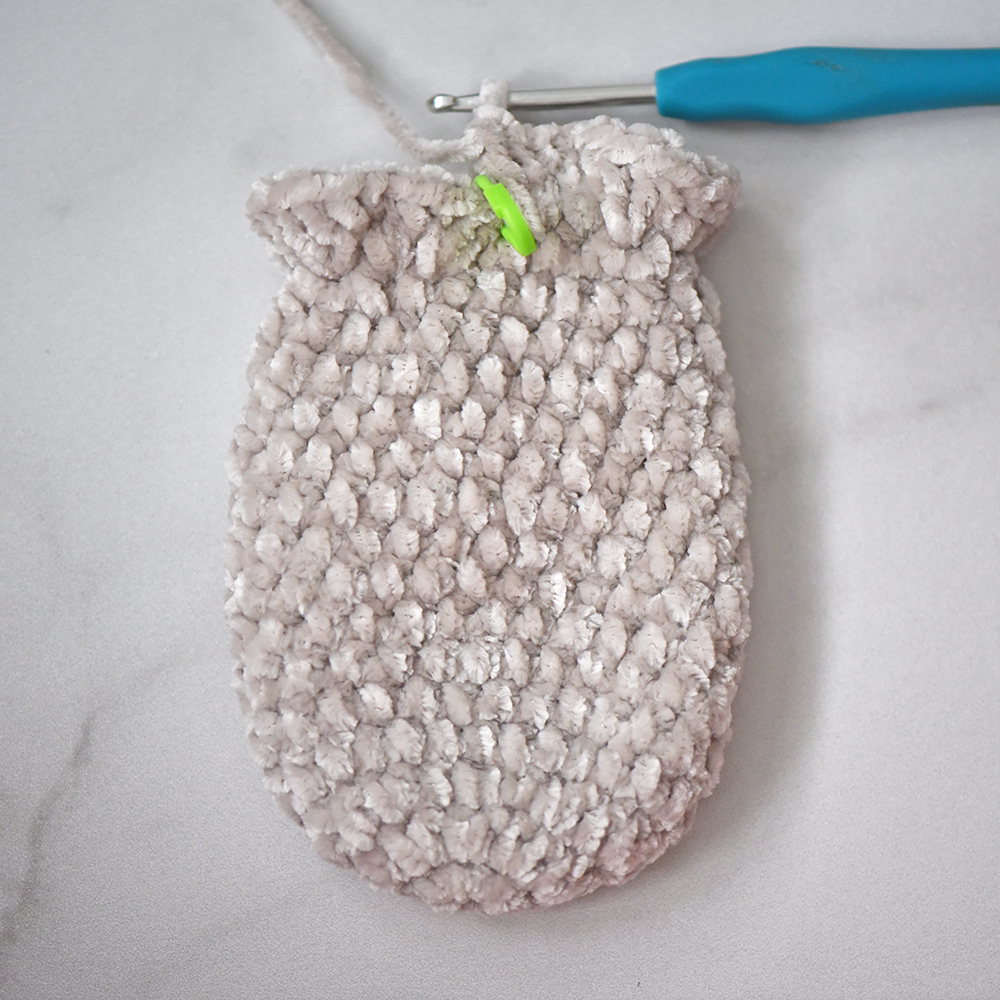
Round 10: *HDC in 1st ST, HDC2TOG in next* (12)
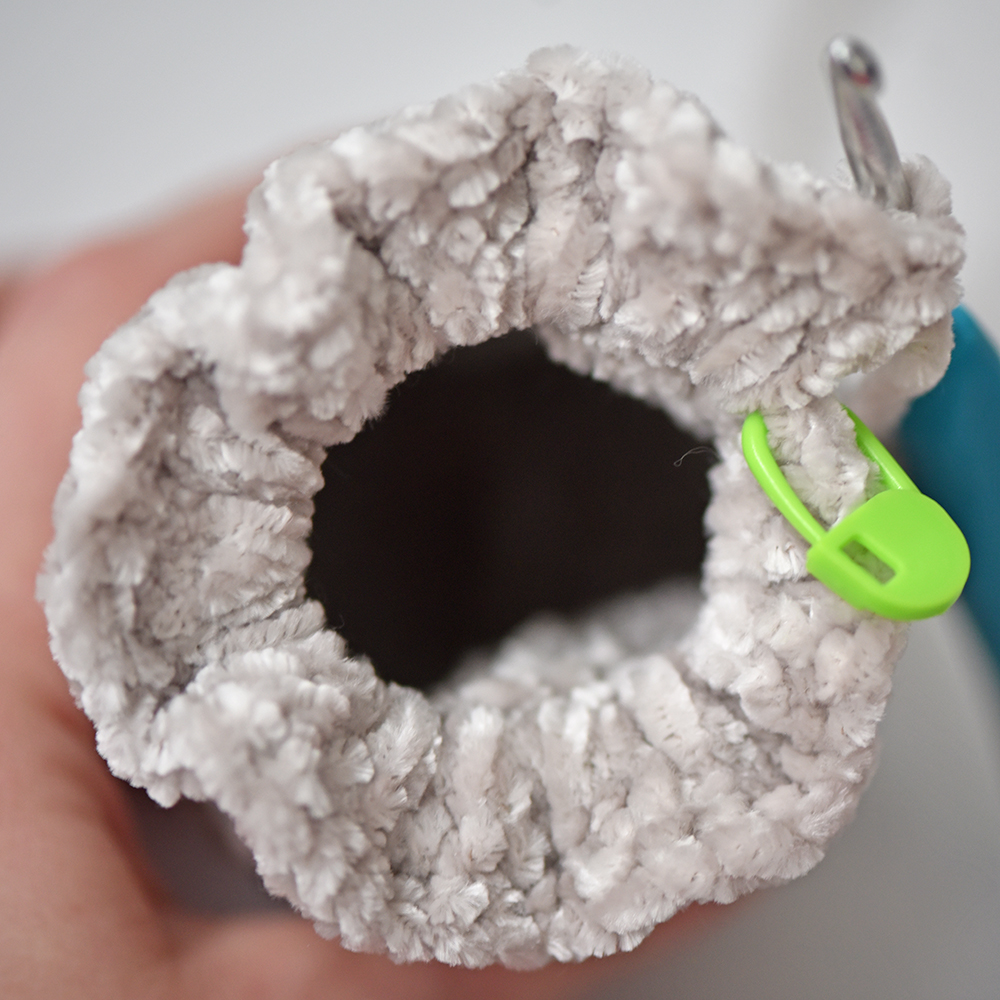
Round 11: 3 DC in each ST around (36)
Move onto Finishing
Medium
Magic Circle, CH 1
Round 1: SC x 7 inside circle (7)
Round 2: 2 HDC in each ST around (14)
Round 3: *HDC in 1st ST, 2 HDC in next* (21)
Rounds 4-13: HDC in each ST around (21)
Round 14: *HDC in 1st ST, HDC2TOG in next* (14)
Round 15: 3 DC in each ST around (42)
Move onto Finishing
Large
Magic Circle, CH 1
Round 1: SC x 8 inside circle (8)
Round 2: 2 HDC in each ST around (16)
Round 3: *HDC in 1st ST, 2 HDC in next* (24)
Rounds 4-15: HDC in each ST around (24)
Round 16: *HDC in 1st ST, HDC2TOG in next* (16)
Round 17: 3 DC in each ST around (48)
Move onto Finishing

HDC in each ST around 
*HDC in 1st ST, HDC2TOG in next* 
3 DC in each ST around (side view) 
3 DC in each ST around (bottom view)
Finishing
SL ST into the top of the 1st DC of the round. Tie off leaving a 5” tail. Weave in tail ends. Continue onto the ties.
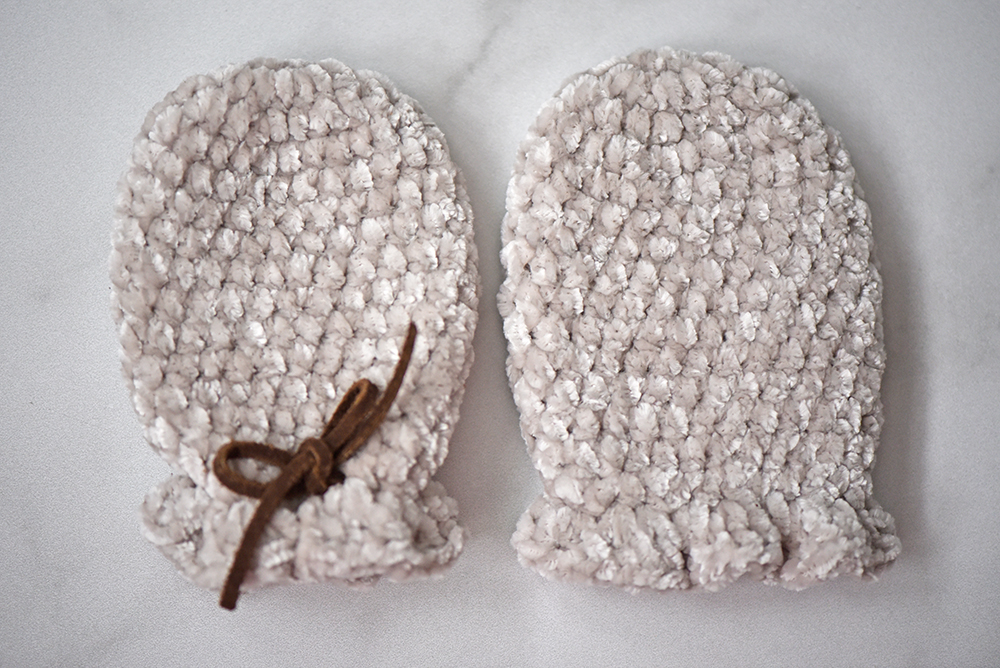
Ties
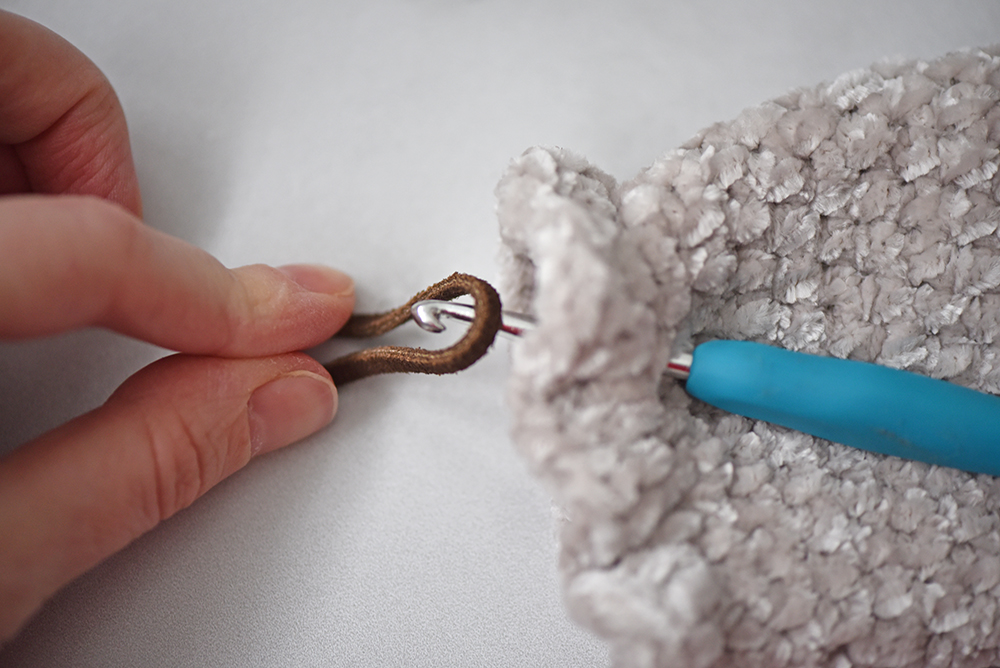
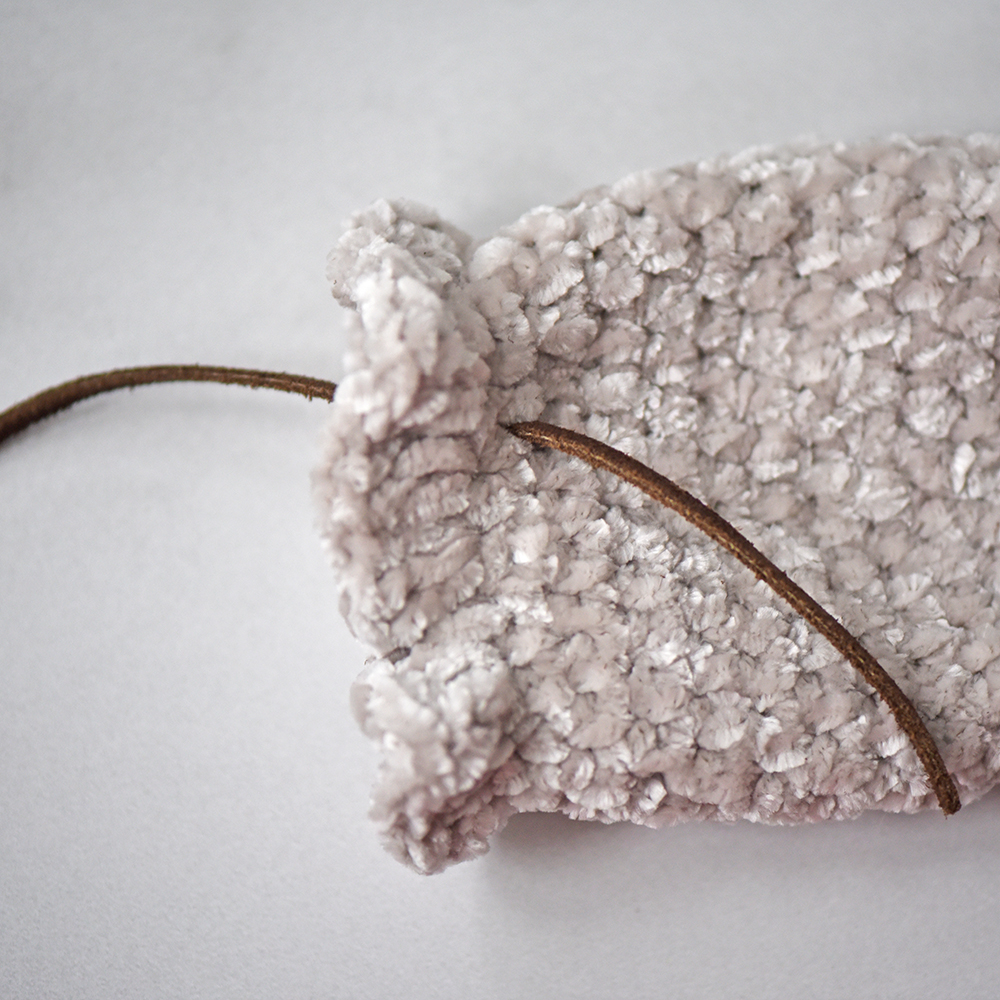
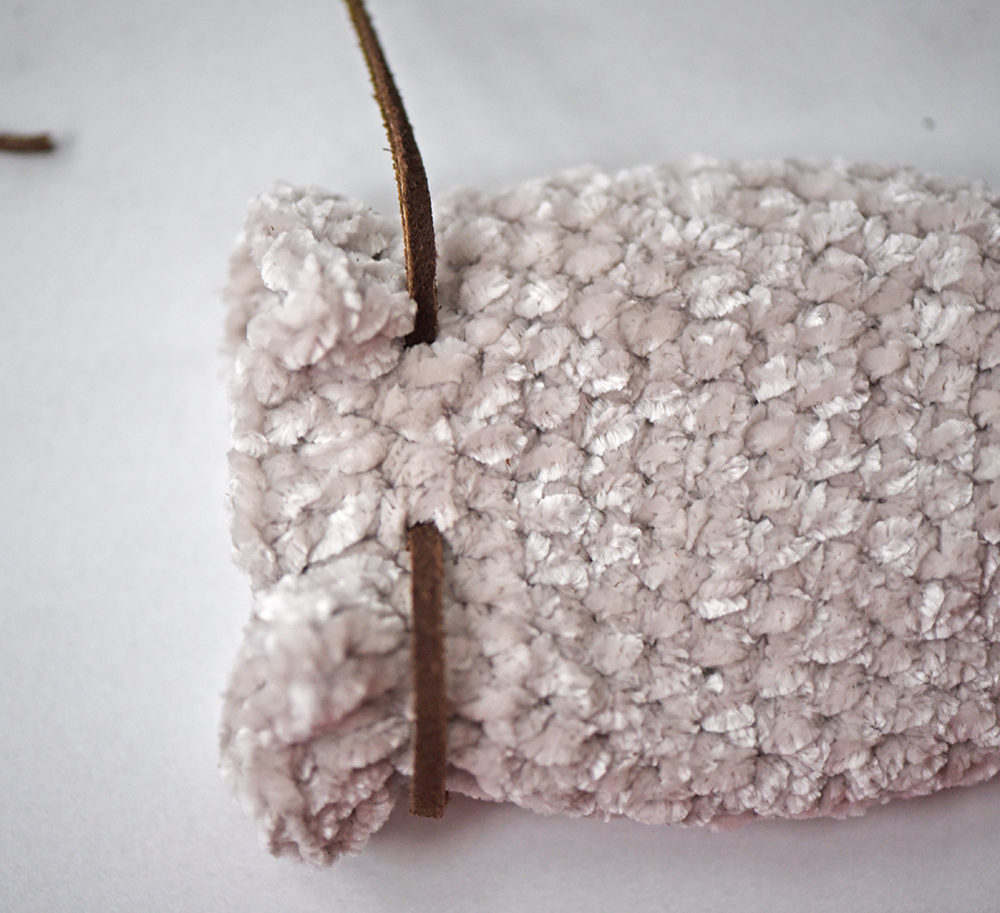
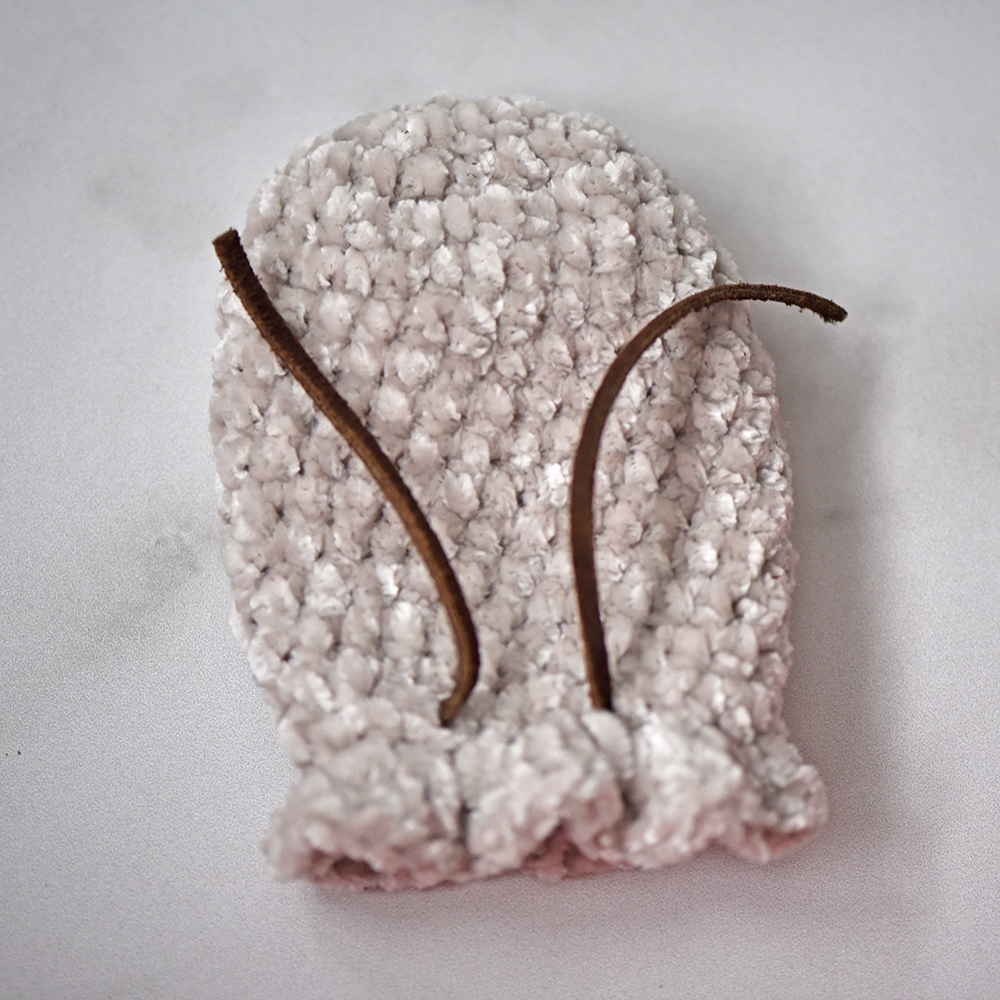
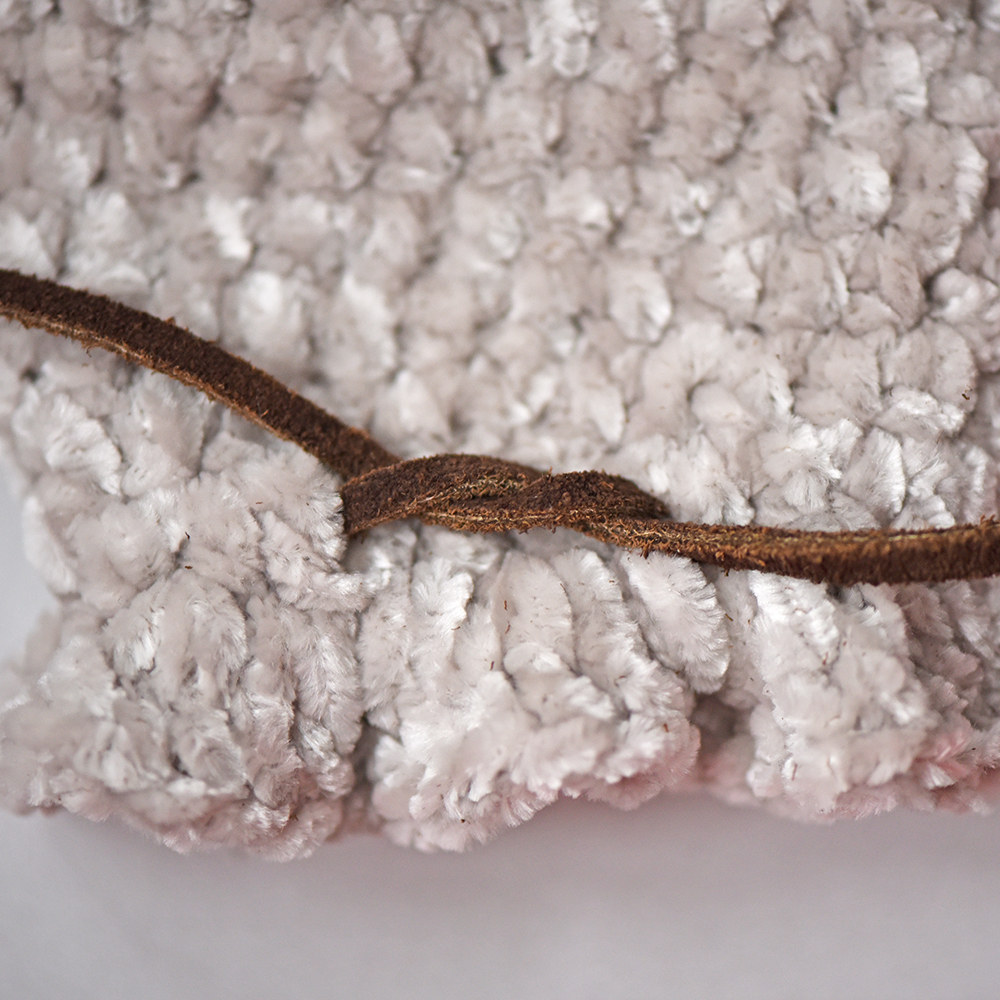
Take the 12” strands of suede lace (or whatever material you have chosen for the tie) and weave around each mitten. Work between Round 10 (small) / 14 (medium) / 16 (large) and the cuff: Round 11 (small) / 15 (medium) / 17 (large). Using your hook to pull, thread through every 3-4 STs until you make it all the way around the mitten. Tie with a bow and cut excess cord.
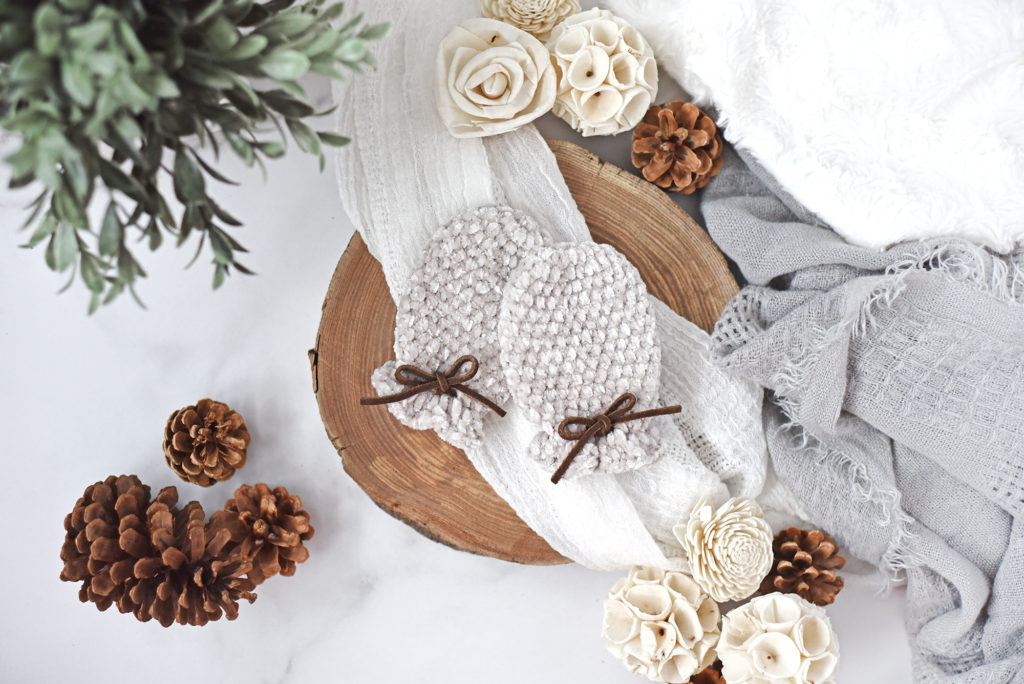
And you’re all done! I hope you enjoyed this crochet pattern! Don’t forget to follow me on Facebook and Instagram & tag me in your photos so I can see your finished creations!
You are free to sell the items you make with this crochet pattern, and I’d love if you could please credit The Turtle Trunk as the pattern designer. You do not have permission to republish or distribute this pattern in any way or claim it as your own. Do not use my photos in your sale listings or for any other purposes. Thank you.
This page includes affiliate links. If you make a purchase from these links, I may make a small commission at no cost to you! Thank you for your support!



Very well written for a beginner. Mine don’t look as cozy as yours but look great with the hat I just made.
Thank you Amanda! I’m so happy you enjoyed the pattern!
-Ali