Avocuddler Crochet Pattern
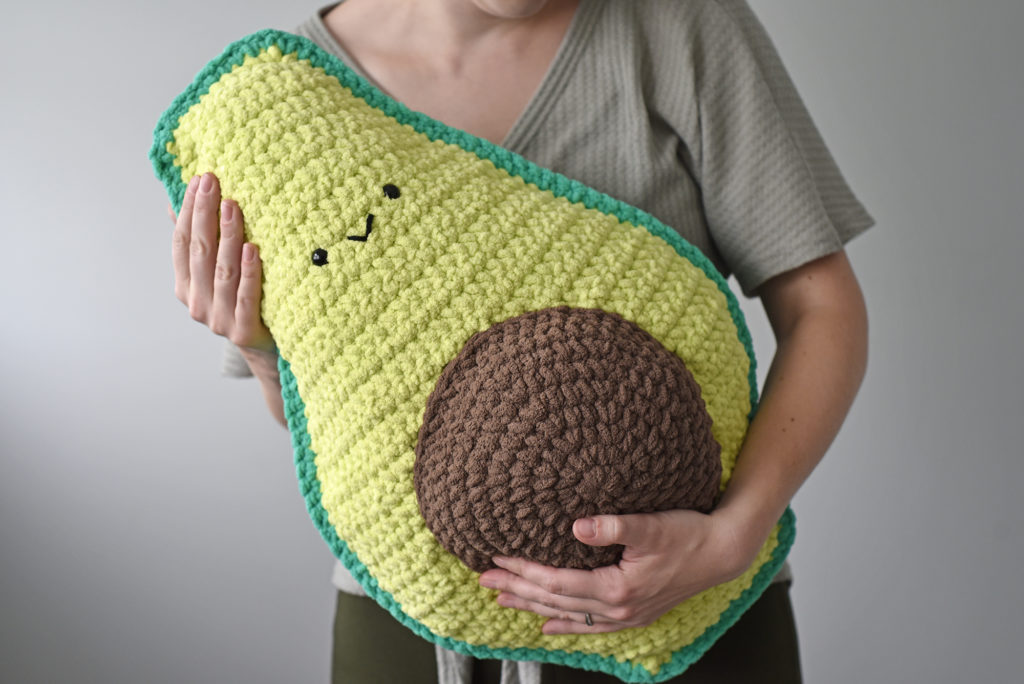
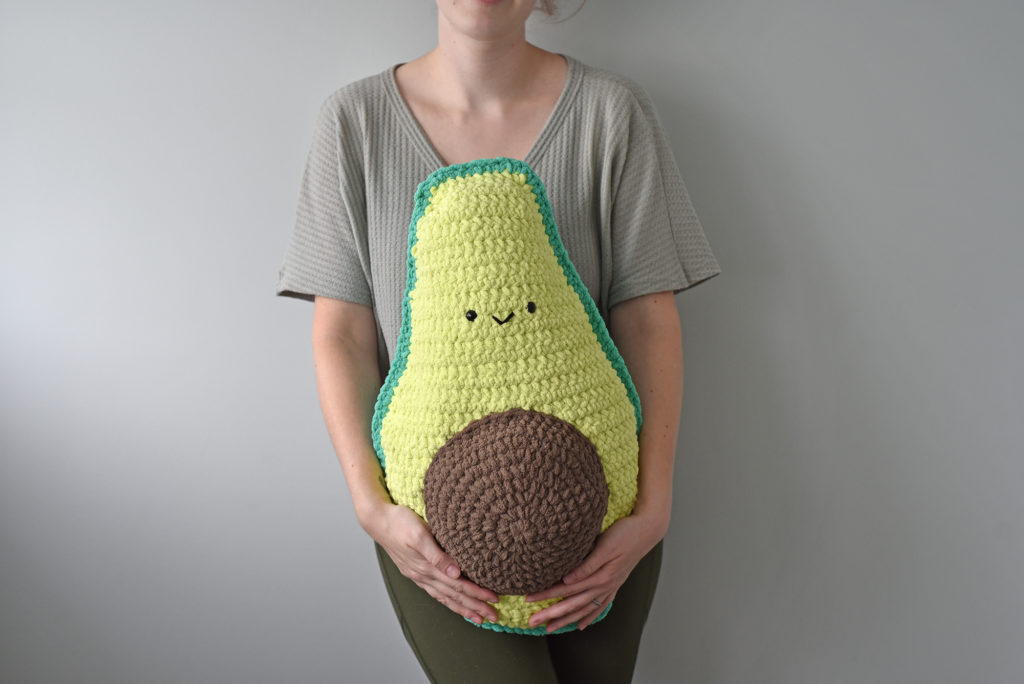
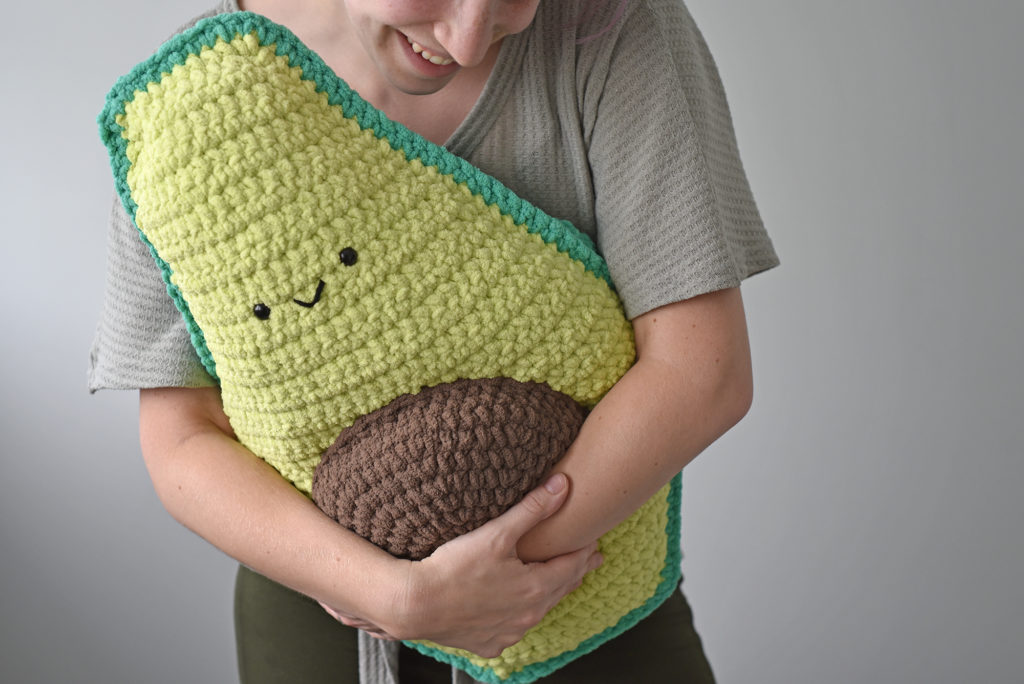
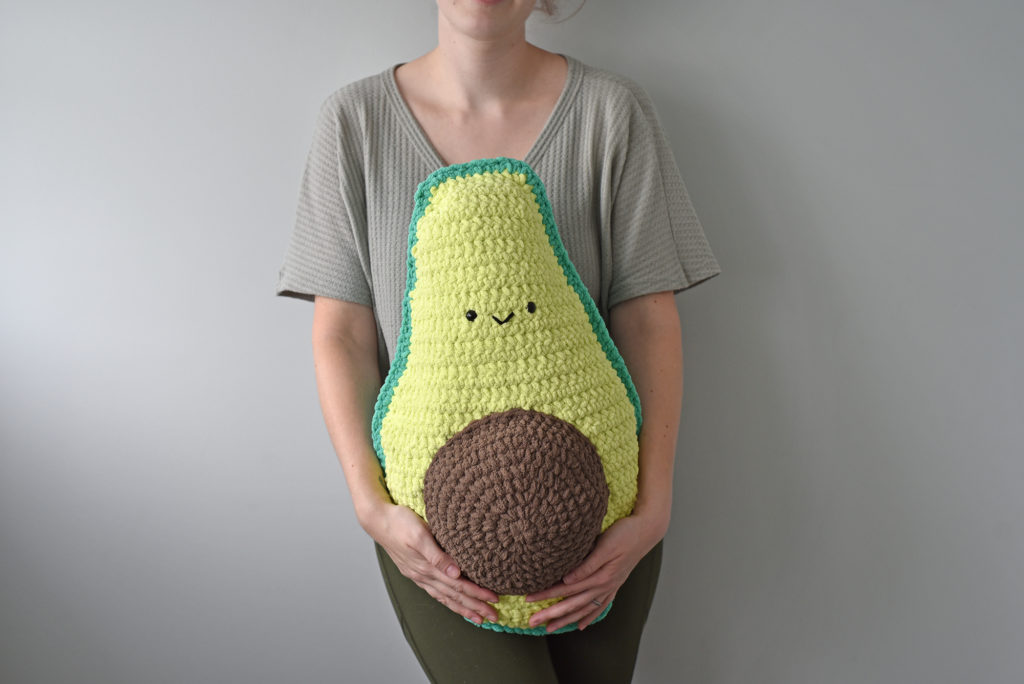
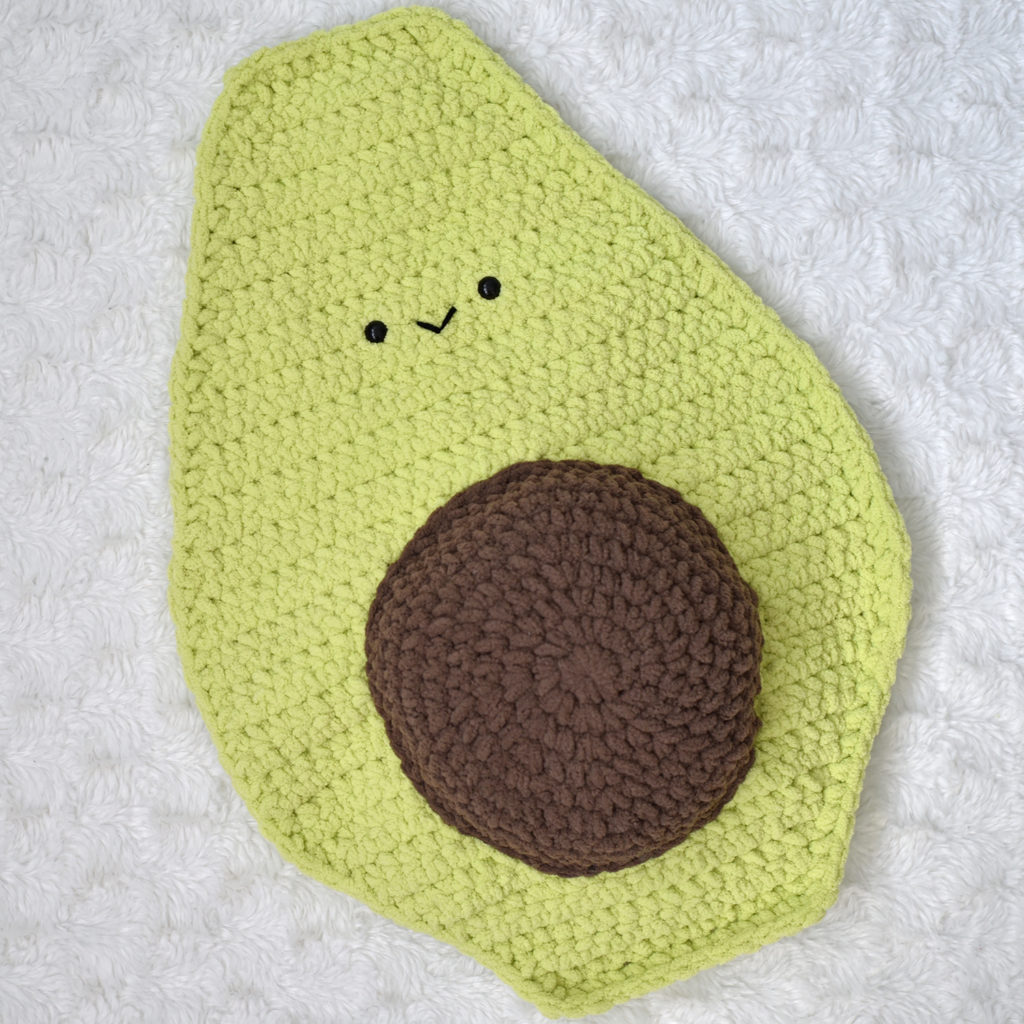
Who wants to avocuddle?! This is probably my most favorite item I have EVER made! The Avocuddler is a BIG, squishy pillow in the shape of an avocado! It is tremendously cuddly and you will not be able to fight the urge to snuggly up next to it!
Design Inspiration
I designed the Avocuddler crochet pattern as a birthday gift to my 11 year old step daughter, and she LOVES it! I think the best part about the Avocuddler is that you can make it for ANYONE! It’s a great cuddle buddy for kids younger and older, teens, and adults! This will be a must make for Christmas and birthday gifts!
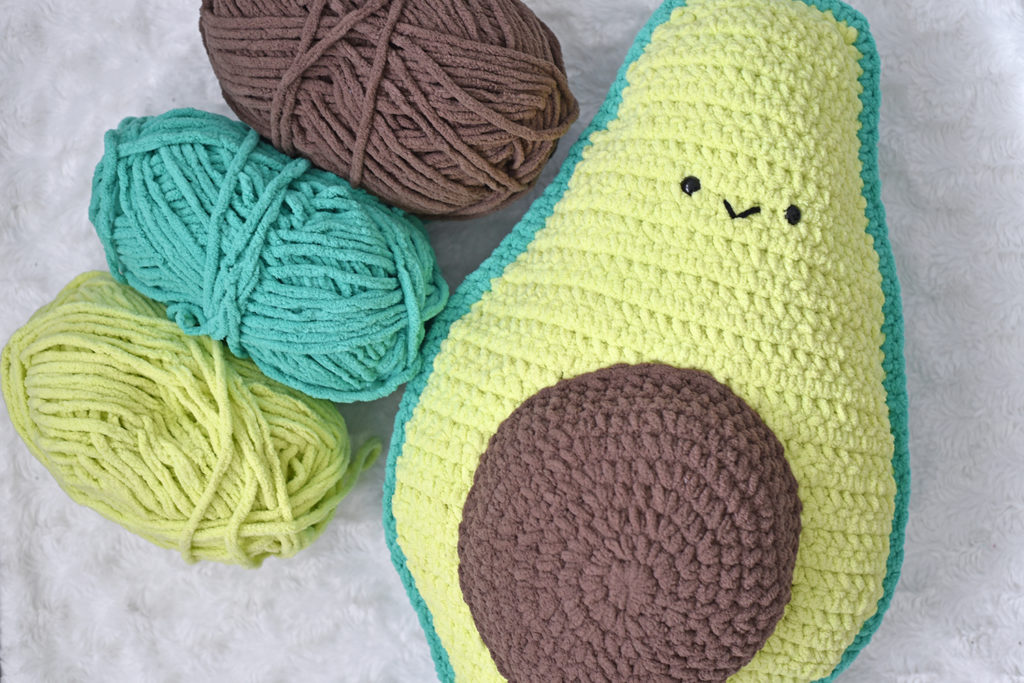
I used Bernat Blanket Yarn, which is incredibly soft and squishy, and it also adds a nice texture to the pillow. I also added safety eyes and a smile to my pillow for a bit of extra fun, but you can easily omit that step if you want a faceless avocado! This pattern is beginner friendly, works up SO fast, and only uses 1 stitch! So let’s get making!
Want the ad free, easy to print, PDF version?! Find it HERE!
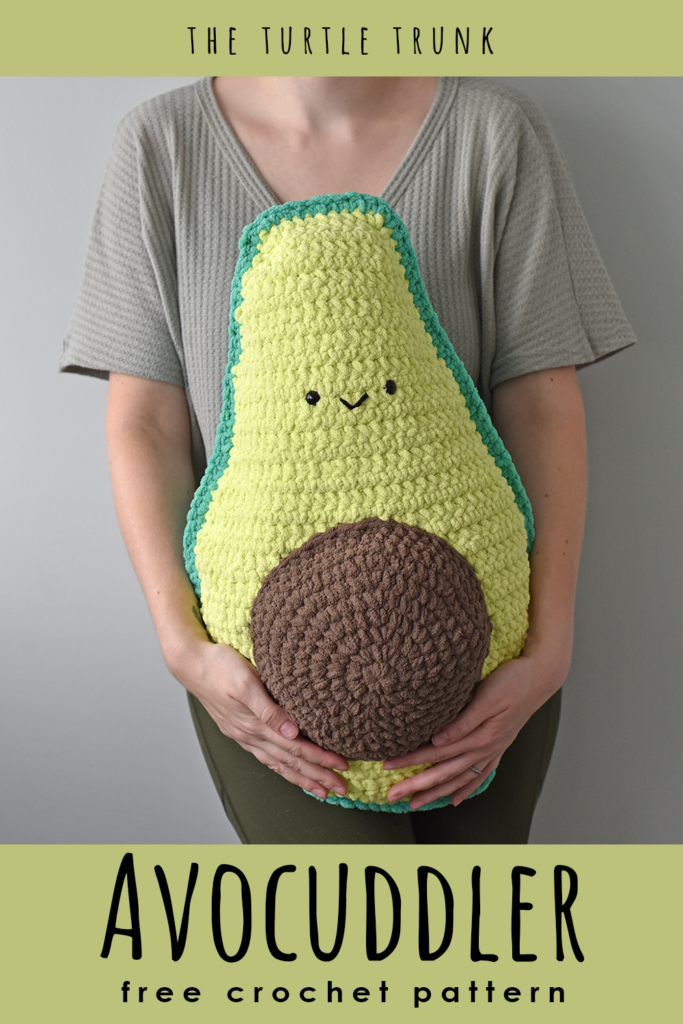
Not ready to make just yet?! Save this PIN for later!
Notes
● The front and back panels are worked in rows. At the end of each row CH 1 and turn. The CH 1 does not count as a stitch. The pit is worked in the round. Do not join at the end of each round. Use a stitch marker to keep proper count
● Repeat instructions given between asterisks (*) until the end of each round or until otherwise stated
● The number in parenthesis at the end of each row/round states the total number of stitches for that round
● Final size is approximately 23″ tall
Supplies
● Bernat Blanket Yarn in
Go-Go Green (darker green): approx. 6 oz (126 yards)
Lemon Lime (lighter green): approx. 5.5 oz (116 yards)
Taupe (brown): approx. 2 oz (42 yards)
● Medium (4) Weight Yarn in Black for mouth (approx. 6”)
● Hook: 8.00 mm (L)
● Polyester Fiber Fill for stuffing (approx. 10 oz)
● 2 12 mm Safety Eyes
● Yarn Needle and Scissors and Stitch Marker
Abbreviations (US Terms)
ST – Stitch
SL ST – Slip Stitch
CH – Chain
SC – Single Crochet
SC2TOG –Single Crochet Two Together
Pattern
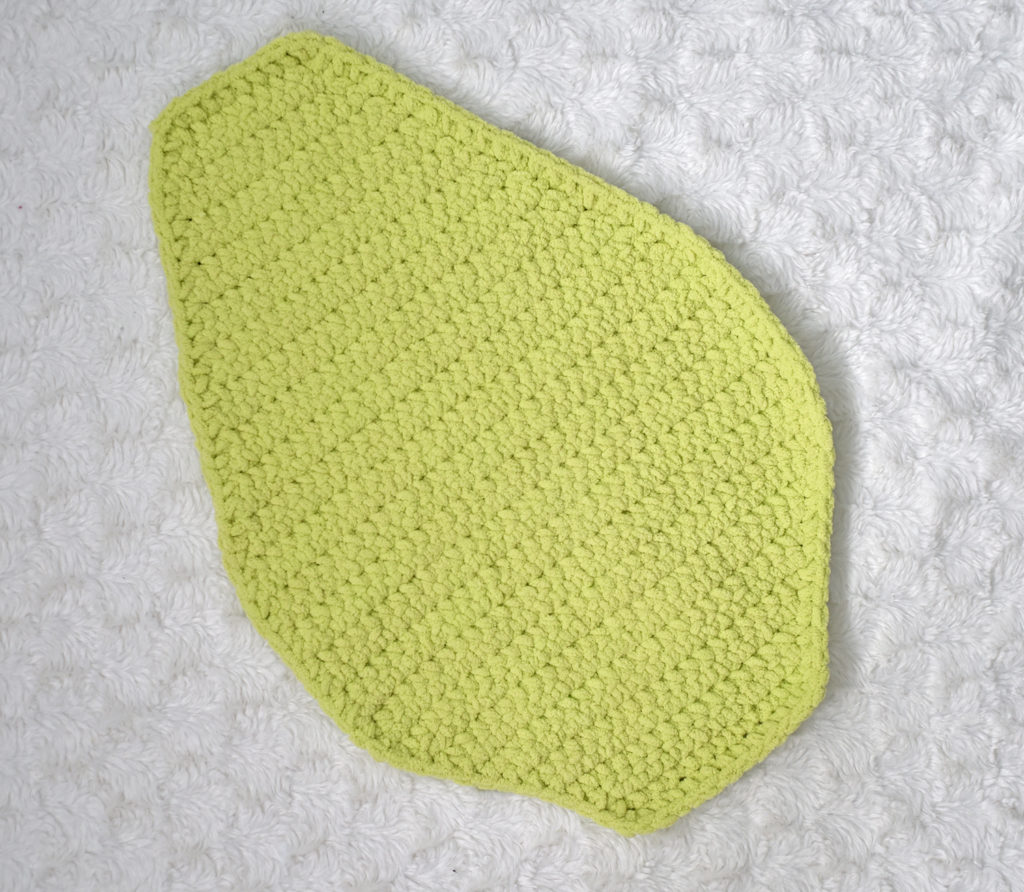
Front Panel (Lemon Lime)
CH 13
Row 1: SC in 2nd CH from hook, SC in each CH across (12)
Row 2: 2 SC in 1st ST, SC in each ST across until 1 ST remains, 2 SC in last ST (14)
Rows 3-11: Repeat row 2 until there are 32 STs across.
Rows 12-22: SC in each ST across (32)
Row 23: SC2TOG, SC across until 2 STs remain, SC2TOG (30)
Row 24: SC in each ST across (30)
Rows 25-40: Repeat rows 23 & 24 until there are 14 STs across
Row 41: SC2TOG, SC in the next 10 STs, SC2TOG (12)
Row 42: SC2TOG, SC in the next 8 STs, SC2TOG (10)
Row 43: SC2TOG, SC in the next 6 STs, SC2TOG (8)
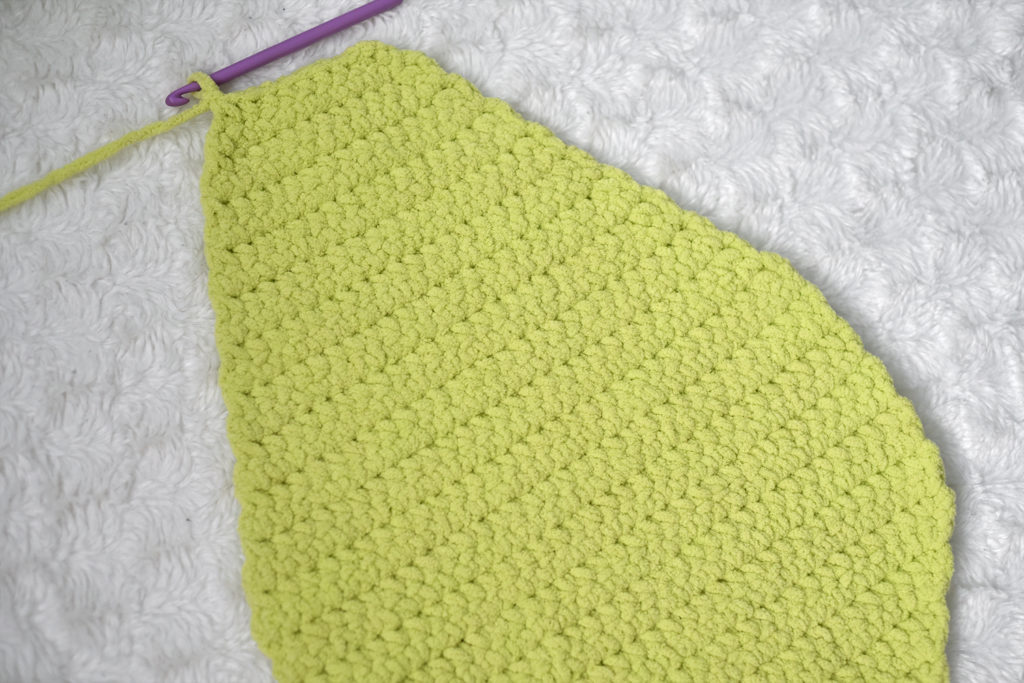
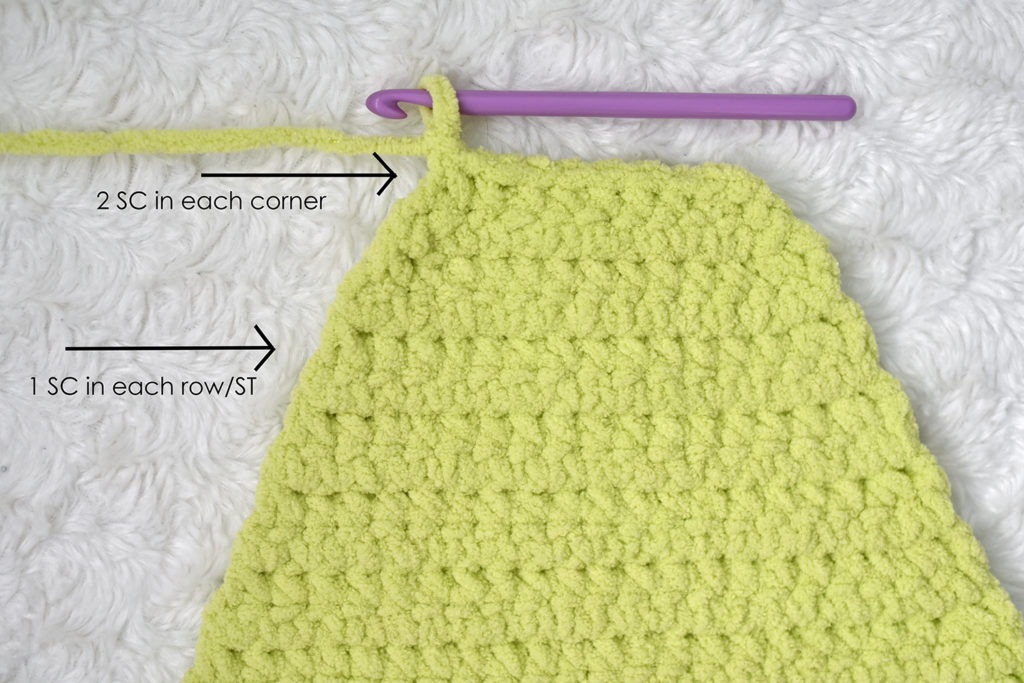
SC in the same ST. Working to the left, make a SC boarder around the entire panel (you will work 2 SC in each of the 4 corners to help make a smooth corner and work 1 SC in each row/ST). There will be a total of 110 SC around. Tie off yarn. Set aside front panel and move onto the pit.
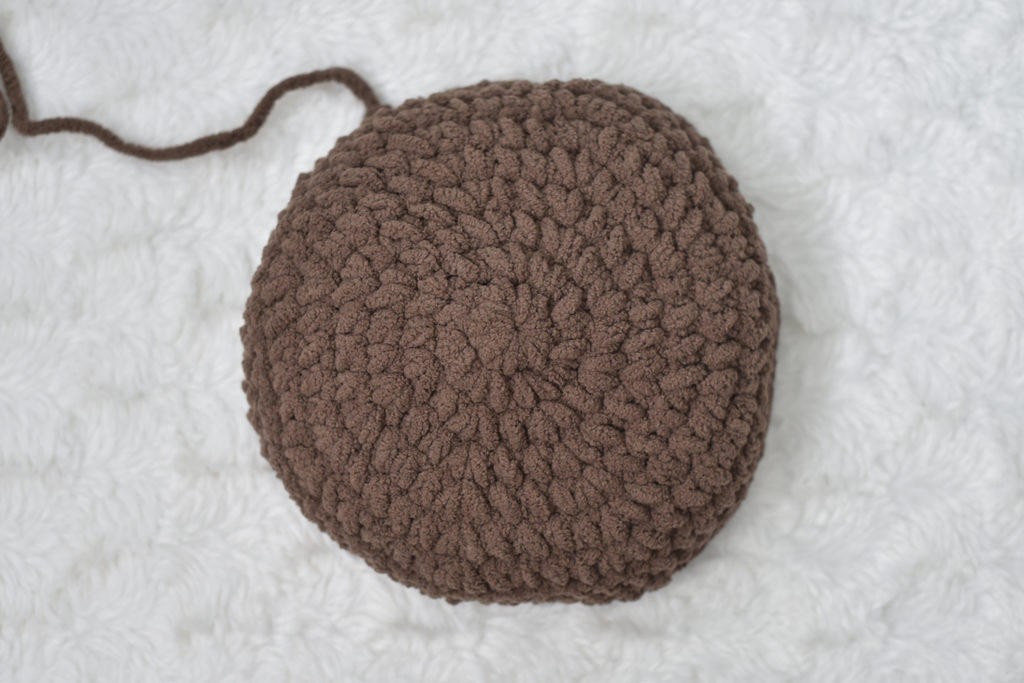
Pit (Taupe)
Magic Circle, CH 1
Round 1: SC x8 inside circle (8)
Round 2: 2 SC in each ST around (16)
Round 3: *SC in the 1st ST, 2 SC in the next* (24)
Round 4: *SC in the 1st 2 STs, 2 SC in the next* (32)
Round 5: *SC in the 1st 3 STs, 2 SC in the next* (40)
Round 6: *SC in the 1st 4 STs, 2 SC in the next* (48)
Round 7: *SC in the 1st 5 STs, 2 SC in the next* (56)
Rounds 8-10: SC in each ST around (56)
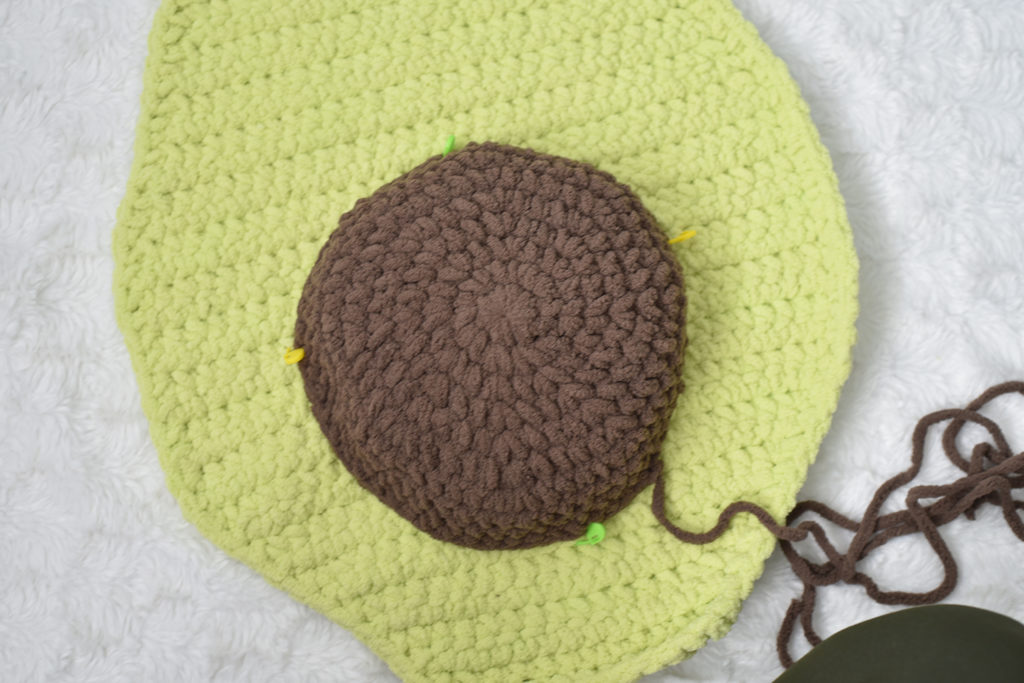
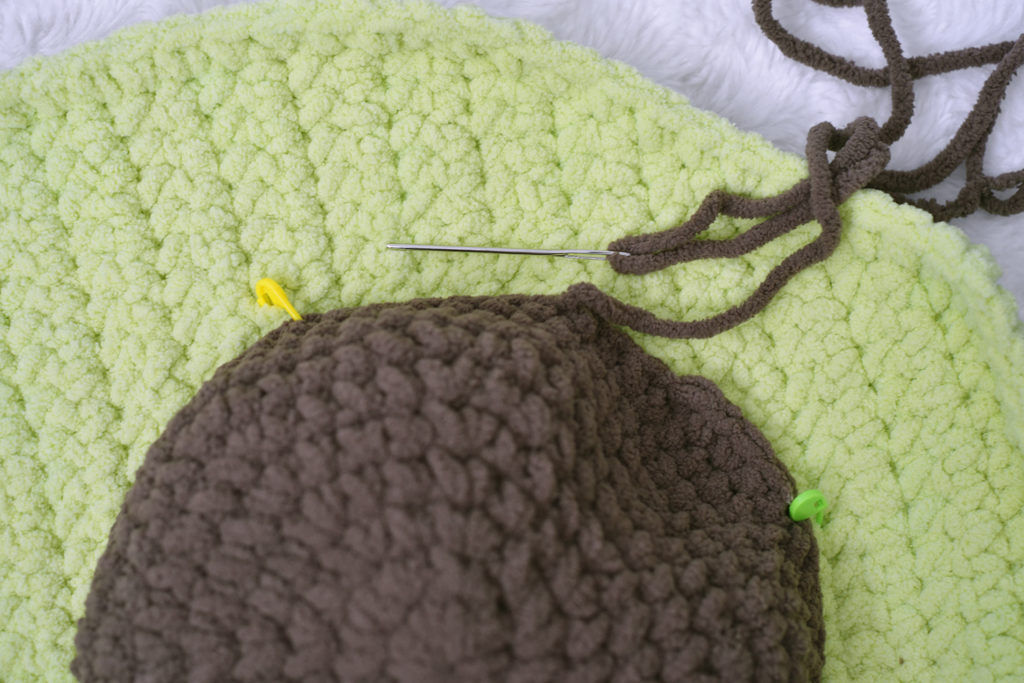
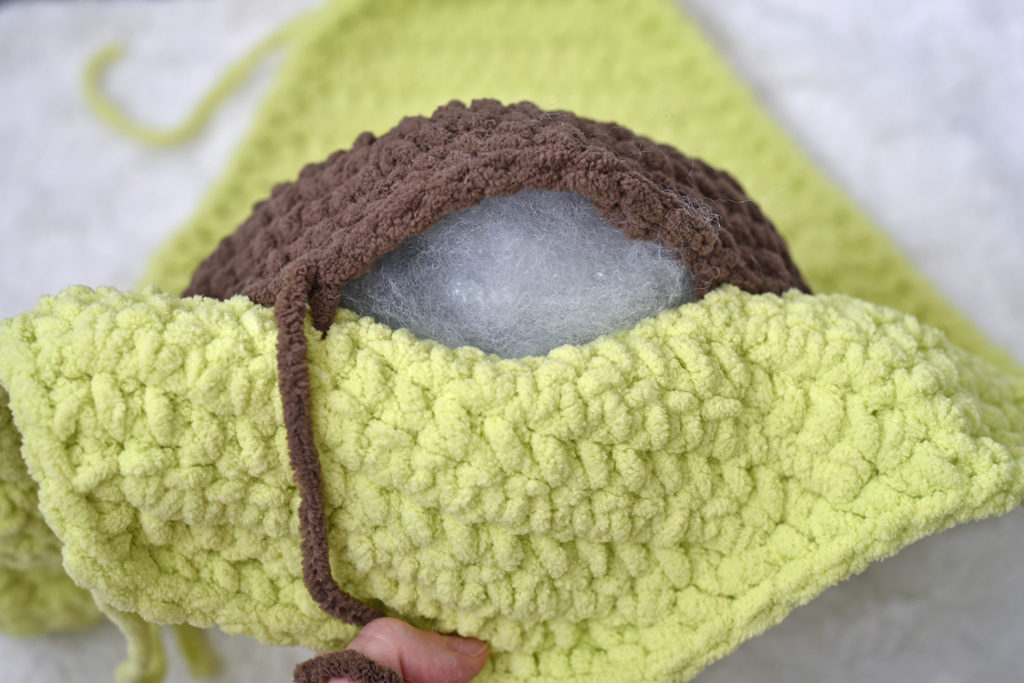
Tie off yarn leaving long 24″ tail. Place pit onto the front panel centered between rows 7 & 24. Use stitch markers to keep the pit in place and take your yarn needle and sew the pit onto the front panel. Be sure to stuff with fiber fill before sewing the pit up completely. When you reach the end, secure the yarn on the back with a few knots.
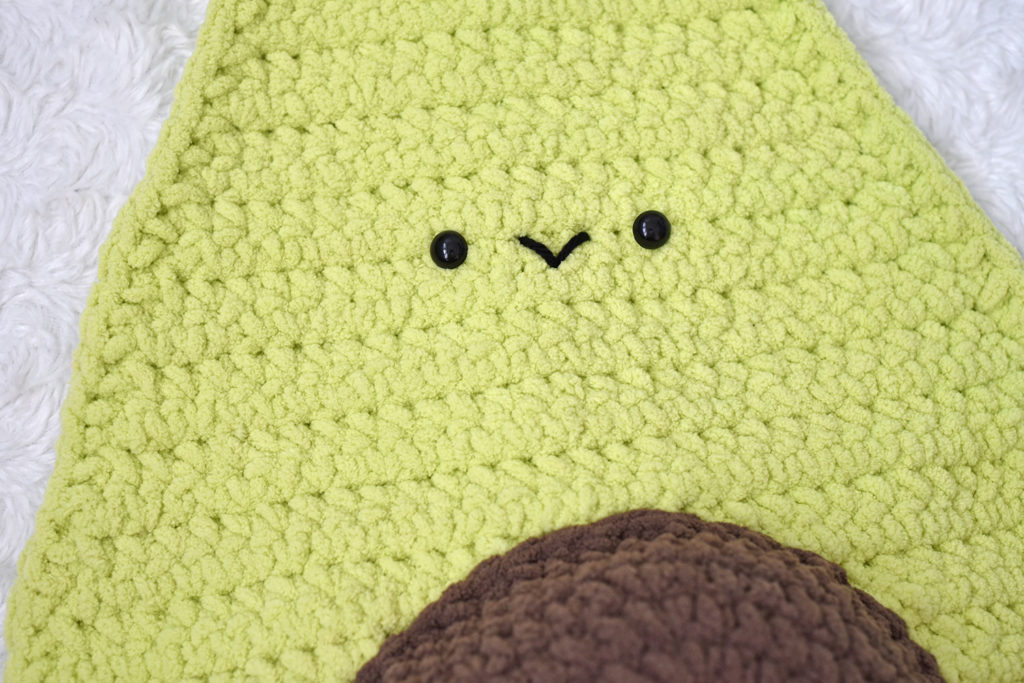
Optional: Place eyes centered between rows 32 & 33 and about 6 STs apart. Using the 6″ strand of black, medium weight yarn, make a “V” shape between the eyes to create a smile.
Back Panel (GoGo Green)
Repeat the instructions of the Front Panel but do not tie off yarn at the end.
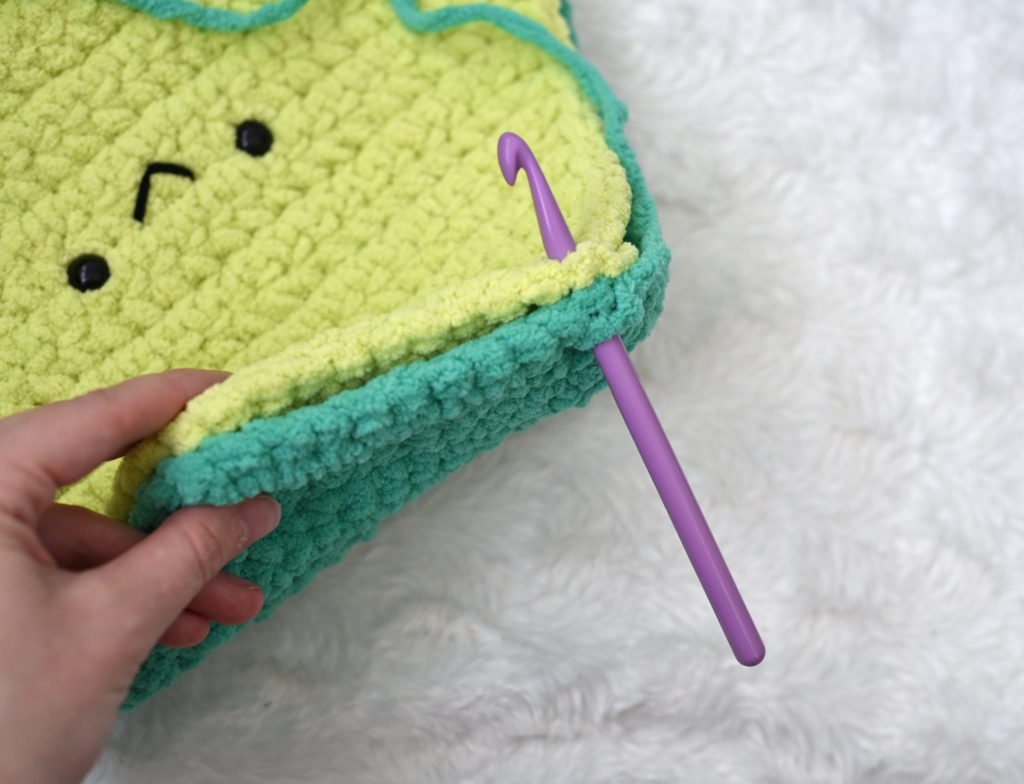
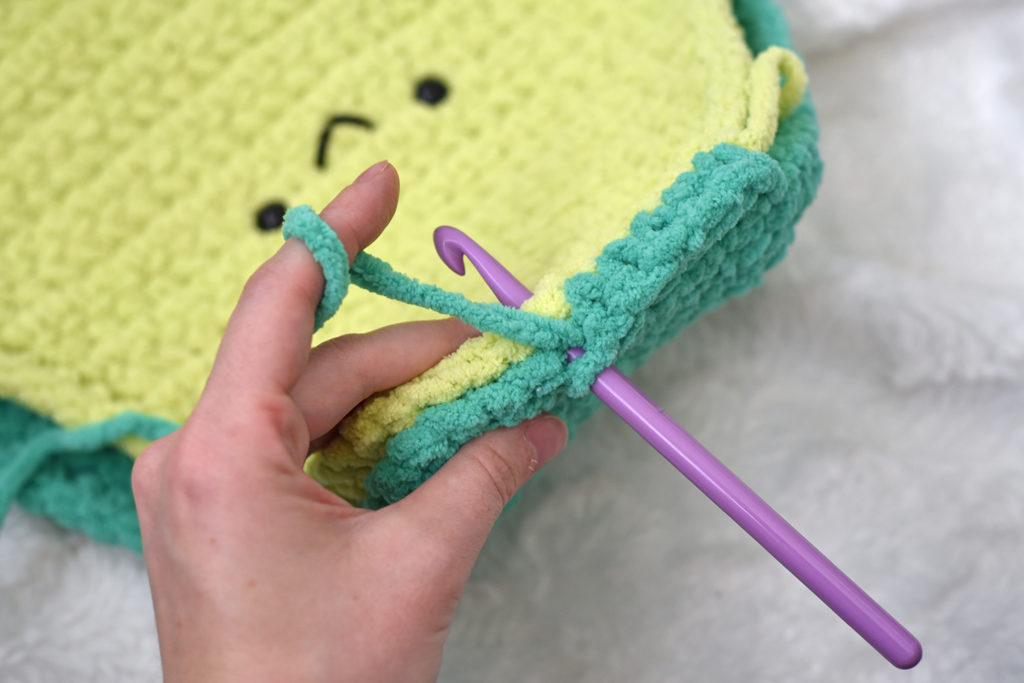
Place the front and back panels together so that they line up, and the face on the front panel is on the outside. Working in both panels, SC the pieces together. You will work 1 SC in each ST around for a total of 110 SC’s. Be sure to stuff with fiber fill before stitching it up completely. Tie off and weave in end.
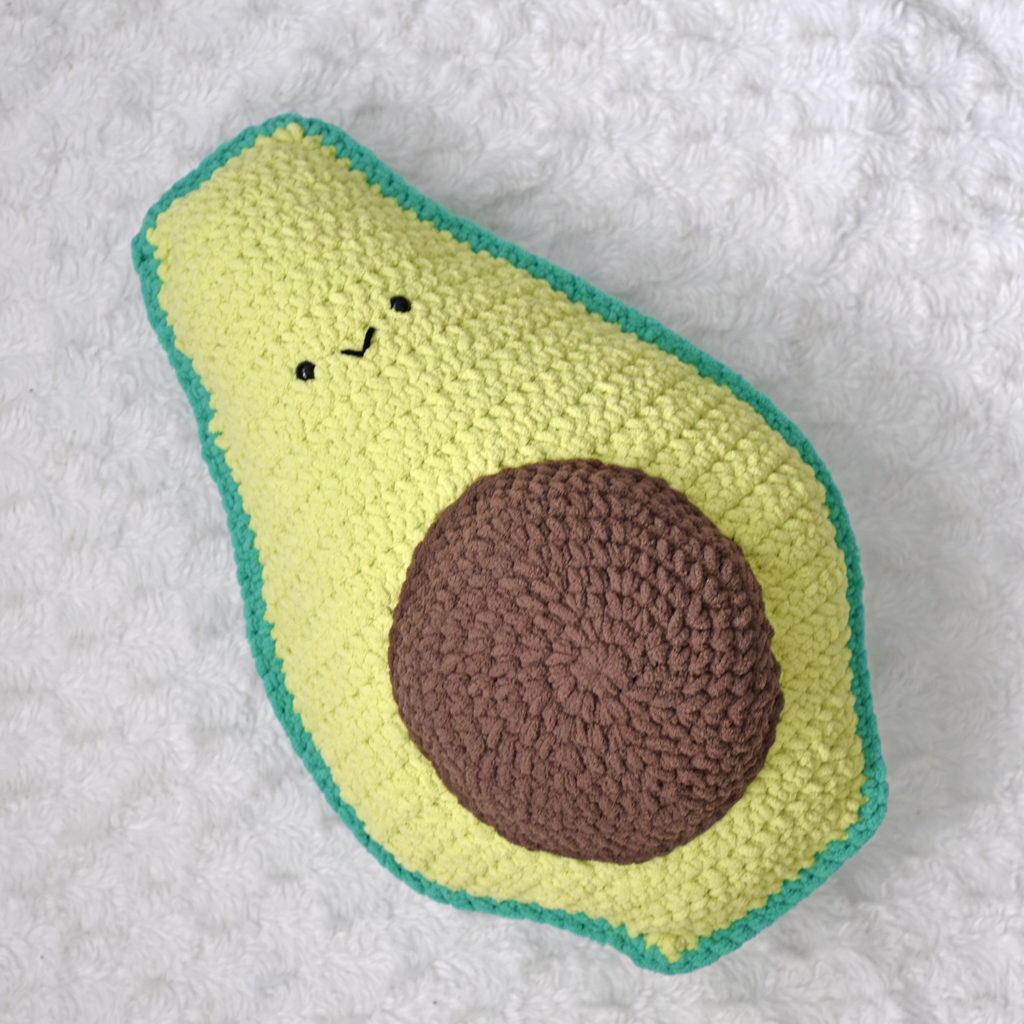
And you are all done! I hope you enjoyed the pattern for this Avocuddler! Be sure to show off your finished creation on Instagram and don’t forget to tag me so I can see!
You can find the ad-free, easy to print PDF version on Etsy and on Ravlery!
You are free to sell the items you make with this crochet pattern, and I’d love if you could please credit The Turtle Trunk as the pattern designer. You do not have permission to republish or distribute this pattern in any way or claim it as your own. Do not use my photos in your sale listings or for any other purposes. Thank you.
This page includes affiliate links. If you make a purchase from these links, I may make a small commission at no cost to you! Thank you for your support!


I love this avocuddler pillow! I would love to make this for my daughter, do you have video for this pattern? I more on the beginners crochet.
Hi Brenda! Unfortunately I do not have a video tutorial for this pattern. If you do decide to make this pillow, feel free to ask me any questions if you need help!
-Ali
I just made it for my son-in-law and I’m so excited to give it to him for Christmas 🙂 it was super easy to make and I’m a beginner.
I am so happy you enjoyed the pattern! And I hope your son-in-law loves his gift! Thank you!
-Ali
It’s so amazing and beautiful. I Feel Happy Because It’s So attractive And Useful. These ideas Are Very Impressive thanks for helpful ideas I am very very happy to see this because you give me creative ideas.
Thank you so much for your kind words! I am so happy you enjoy the pattern!
Ali
I love your ideas. That’s all is so impressive and unique. you are doing nice and loveable crocheting.
Thank you so much!
-Ali