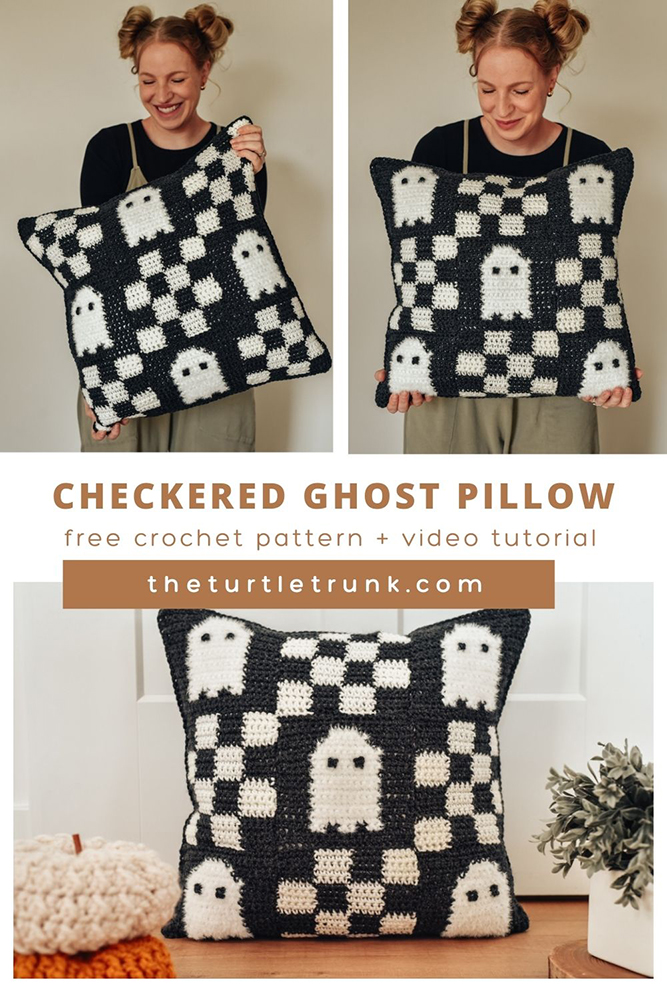
Checkered Ghost Pillow Crochet Pattern
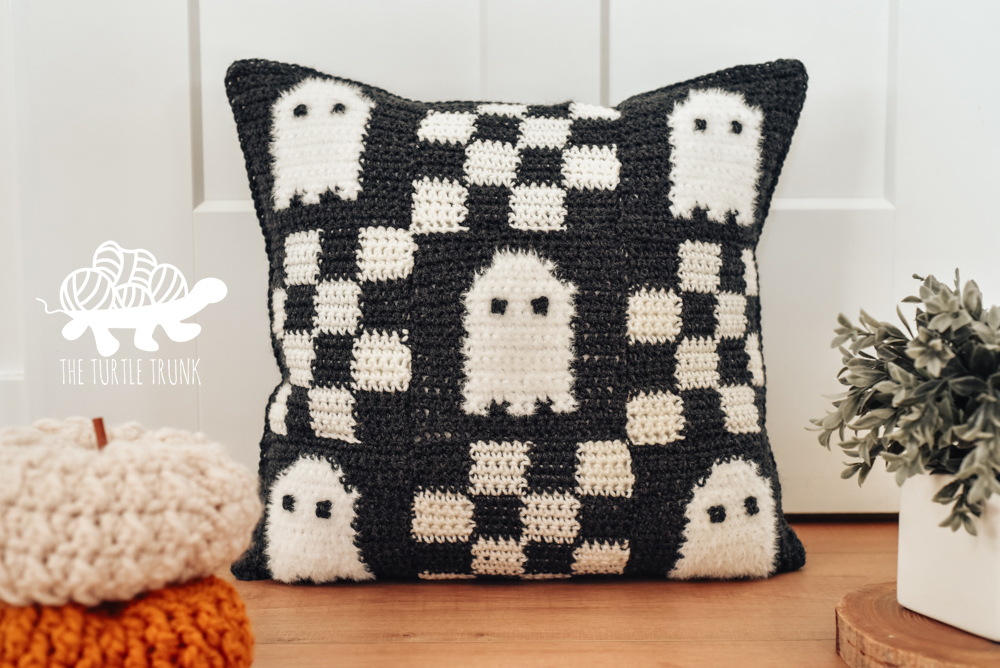
The Checkered Ghost Pillow is a fun and spooky crochet pillow pattern, that’s perfect for Halloween decor! It features 18, 6″ squares (9 checkered and 9 ghosts). Feel free to use these squares to make more spooky projects too!
It’s spooky season!
So here’s a fun and spooky new crochet pattern, the Checkered Ghost Pillow!
This crochet pillow cover features 18, 6″ squares that are joined together, then crocheted around a pillow insert. Each panel consists of 9 squares of checkers and ghosts.
In this pattern I’ll teach you how to crochet a ghost square and a checkered square, then show you how to join them into 2 panels with an invisible join, and show to seam those panels together to make a pillow cover!
Keep reading below to learn more about this pattern or scroll to the bottom for the free written pattern, graph, and video tutorial. You can also grab the ad-free, printable, PDF pattern on Etsy and Ravelry!
FOLLOW ALONG WITH THE AD FREE & PRINTABLE PDF PATTERN
FROM ETSY AND RAVELRY!
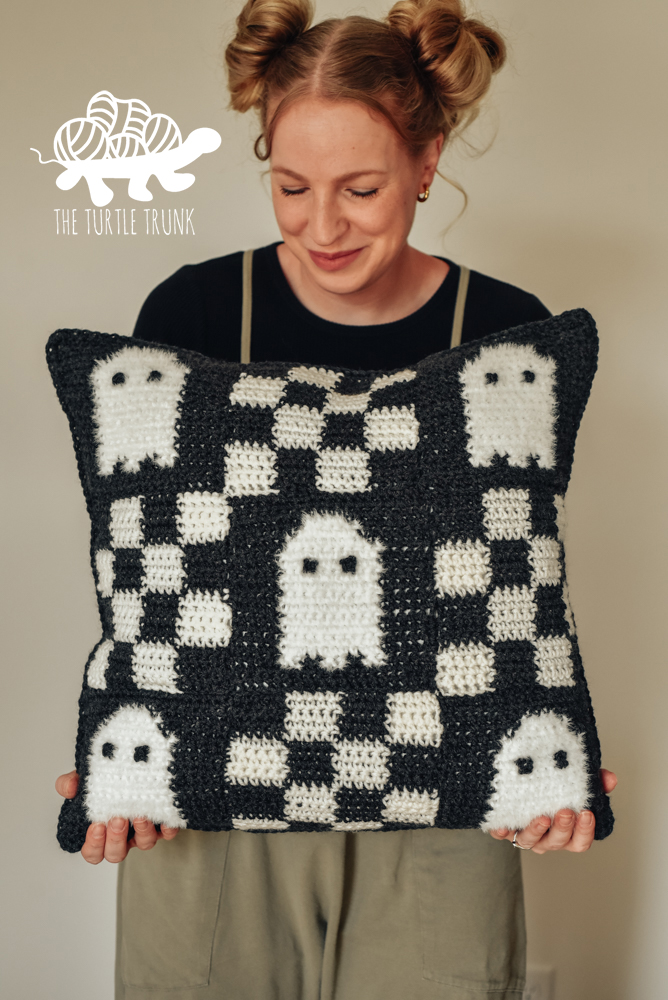
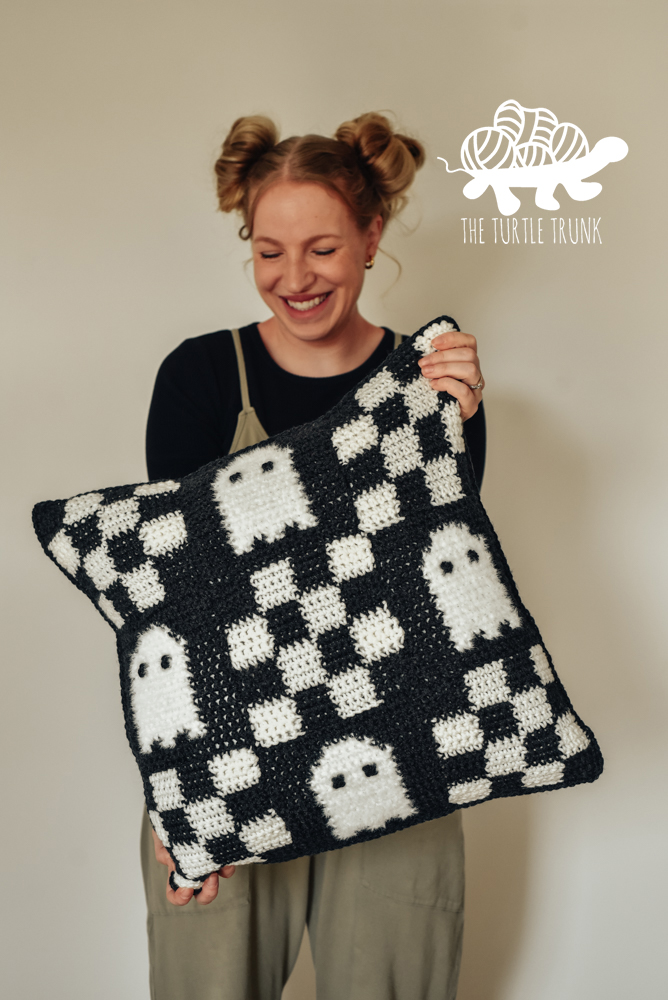
For my Checkered Ghost Pillow, I crocheted 9 ghost squares and 9 checkered squares, and organized them in an alternating pattern on each pattern. Feel free to make any number of either square and lay them out however you please!
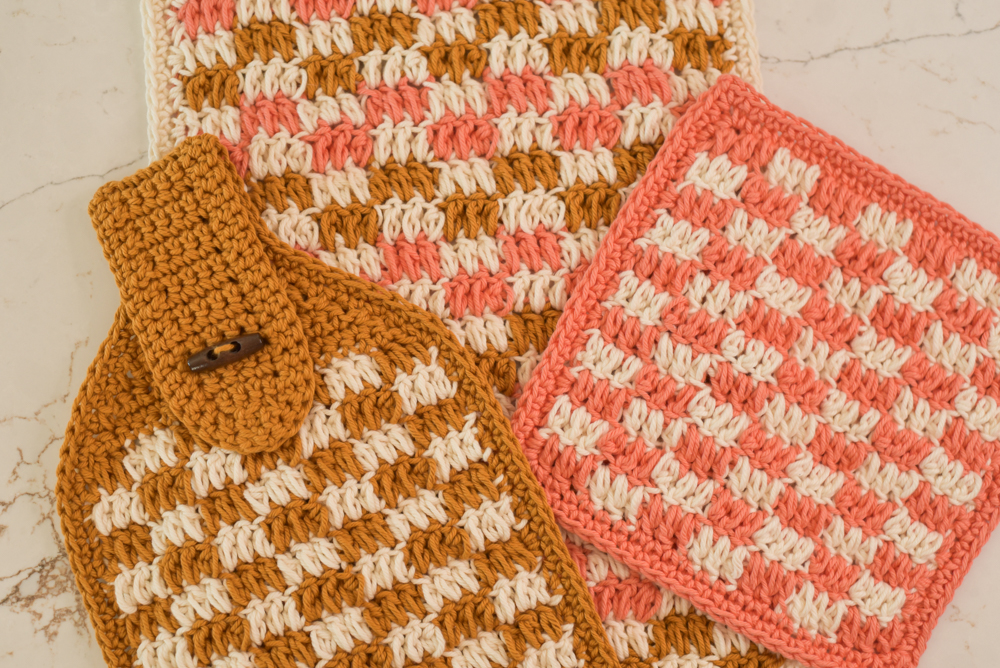
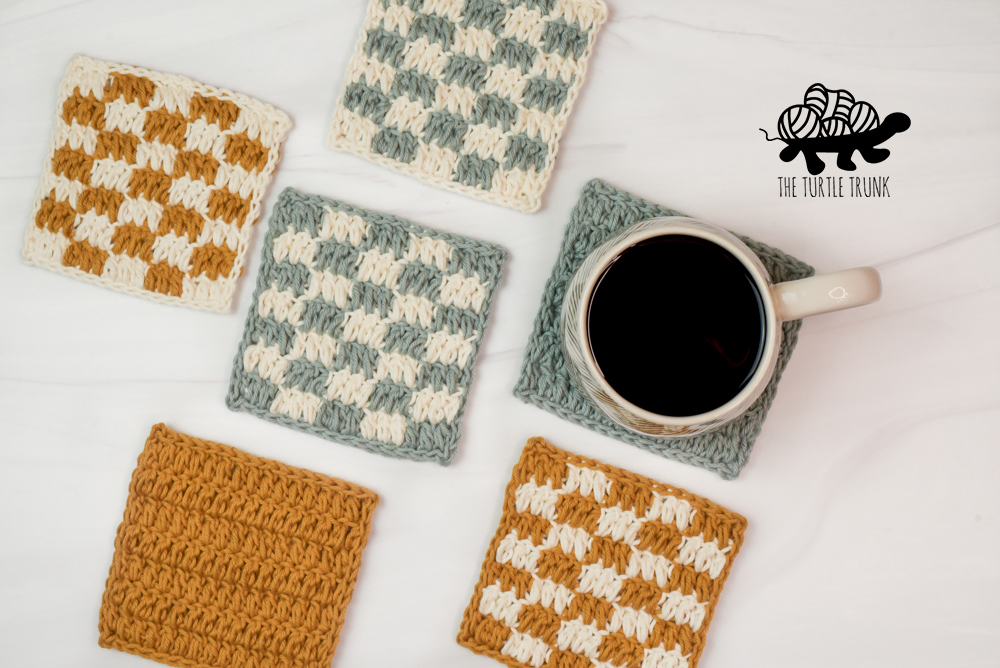
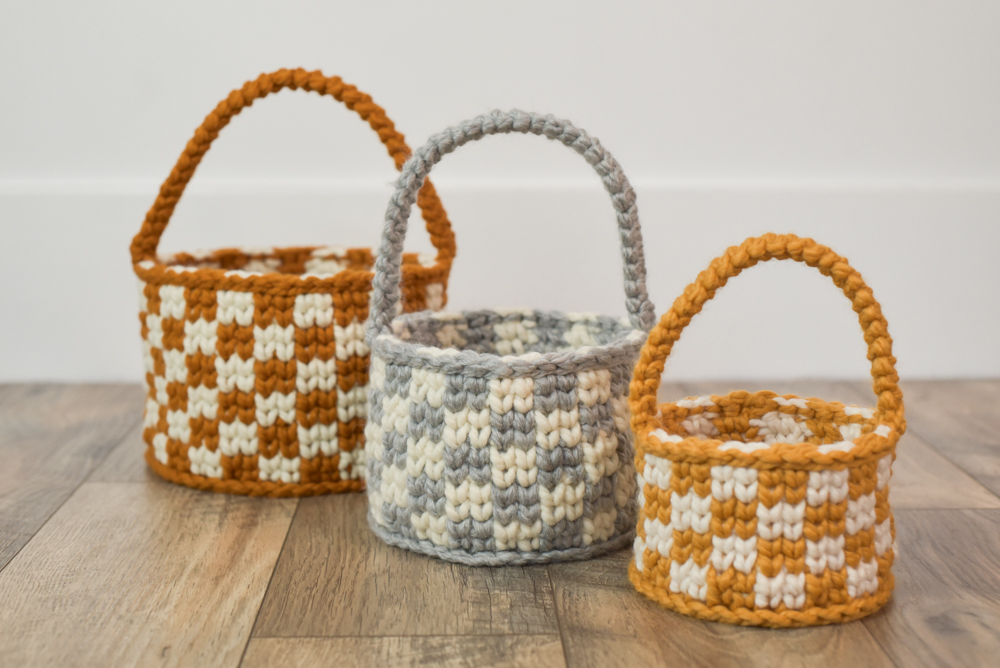
You can also use these square patterns to make other projects! Try making more squares to make a blanket, use them to make a bag or coasters, a wall hanging, there are so many options!
Not ready to make just yet?
Save this pattern to Pinterest!
Follow along with the video tutorial for this pattern on YouTube!
Check out these other Checkered crochet patterns by The Turtle Trunk!
Yarn
I used 2 contrasting colors of medium (4) weight yarn for my Checkered Ghost Pillow.
The darker, background color is Color A. I used Bernat Super Value in the color Dark Grey.
The lighter, ghost color is Color B. For the checkered squares I used Bernat Super Value in the color White.
For the ghost squares, I used Lion Brand Yarn Feels Like Bliss in the color White. This yarn is soft and fluffy, and I thought it was a fun change of texture for the ghosts! Feel free to sub for more of the Bernat Super Value yarn in white if you’d prefer though!
The total yardage needed to make this 8″ pillow is approximately: 420 yards of Color A and 336 yards of Color B.
For each individual 6″ square the yardage is: Checkered Square – 22 yards of Color A and 22 yards of Color B. Ghost Square – 30 yards of Color A and 13.5 yards of Color B.
Difficulty
Advanced Beginner / Easy
gauge
13 STs x 13 Rows – 4″ x 4″ in SC
Adjust hook size to meet gauge.
notes
- This pillow consists of 18 squares (9 per side). Feel free to make any # of either square to get the design you’d like!
- This pattern includes both written instructions and graphs. You can follow along with one or both.
- At the end of each row, CH 1 & turn.
- Written Instructions: When working on the right side you will see ‘←’. When working on the wrong side you will see ‘→’. Make sure all loose ends are on the wrong side.
- Work a FSC for Row 1. From Row 2 on, only SC STs are used. This pattern is written in simplified terms. Each row will tell you the color and the number of stitches for that color. Ex. A5, B10, A5.
- Changing Color: change color on the last SC before a new color starts. Start your last SC as usual, before the final pull through, drop the current color pull through the 2 loops on your hook with the new color. The next SC you work will be the first of the new color.
- Carrying Yarn: I carried the non working yarn through the workign STs to avoid cutting + attaching yarn or using multiple bobbins. Feel free to use your favorite color work method.
supplies
- Medium (4) weight yarn in 2 contrasting colors. Total yardage:
- Color A – 420 yards
- Color B – 336 yards
- I used Feels like Bliss in White for the Ghosts – 120 yards
- I used Bernat Super Value in White for the white squares – 216 yards
- 5.50mm (I) crochet hook
- 18″ Pillow Insert
- Yarn needle
- Scissors
abbreviations (us terms)
CH(s) – Chain(s)
ST(s) – Stitch(es)
SL ST – Slip Stitch
SC – Single Crochet
FSC – Foundation Single Crochet
RS – Right Side
WS – Wrong Side
Checkered Ghost Pillow Pattern
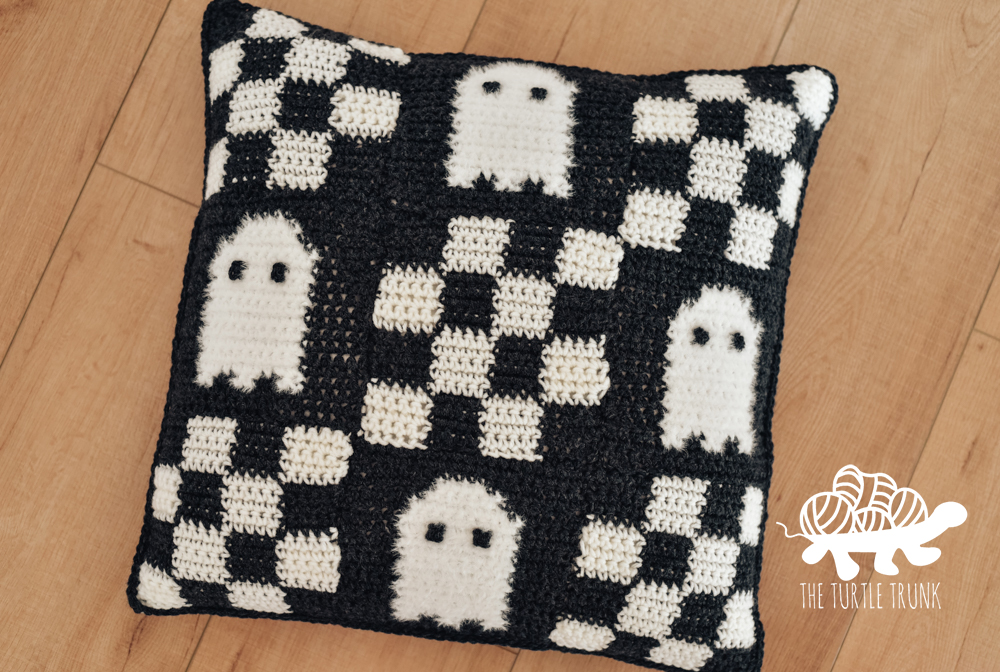
Ghost Square – Make 9
← Row 1 [RS]: FSC A20
→ Row 2 [WS]: A20
← Row 3 [RS]: A20
→ Row 4 [WS]: A5, B2, A2, B2, A2, B2, A5
← Row 5 [RS]: A5, B10, A5
→ Row 6 [WS]: A5, B10, A5
← Row 7 [RS]: A5, B10, A5
→ Row 8 [WS]: A5, B10, A5
← Row 9 [RS]: A5, B10, A5
→ Row 10 [WS]: A5, B10, A5
← Row 11 [RS]: A5, B10, A5
→ Row 12 [WS]: A5, B10, A5
← Row 13 [RS]: A5, B10, A5
→ Row 14 [WS]: A5, B10, A5
← Row 15 [RS]: A6, B8, A6
→ Row 16 [WS]: A7, B6, A7
← Row 17 [RS]: A8, B4, A8
→ Row 18 [WS]: A20
← Row 19 [RS]: A20
→ Row 20 [WS]: A20
Cut off yarn and weave in ends.
Move on to Adding Eyes.
Adding Eyes
See the video tutorial for help.
Feel free to add eyes, a mouth, or any other features to your ghost! I added eyes to mine using a surface crochet stitch, but you can embroider them on, crochet them separate then sew them on, or any other way you’d like!
To surface crochet: Insert your crochet hook where you’d like your left eye to be (I placed mine on Row 13 and in between the 12/13 ST). We are going to work a small square around this ST. Place a slip knot on your hook and pull through. Working to the left insert your hook between the next 2 STs, yarn over and pull through the loop on your hook. Then working down, insert your hook to the stitch below, yarn over and pull through the loop on your hook. Working to the right, insert your hook in between the next 2 STs, yarn over and pull through the loop on your hook. Lastly, working up into the space we started in, insert your hook, pull up a loop and pull through the loop on your hook. Cut off your yarn. Pull the tail through with your hook. With your yarn needle, thread your yarn to the back of your square. Tie off and weave in ends.
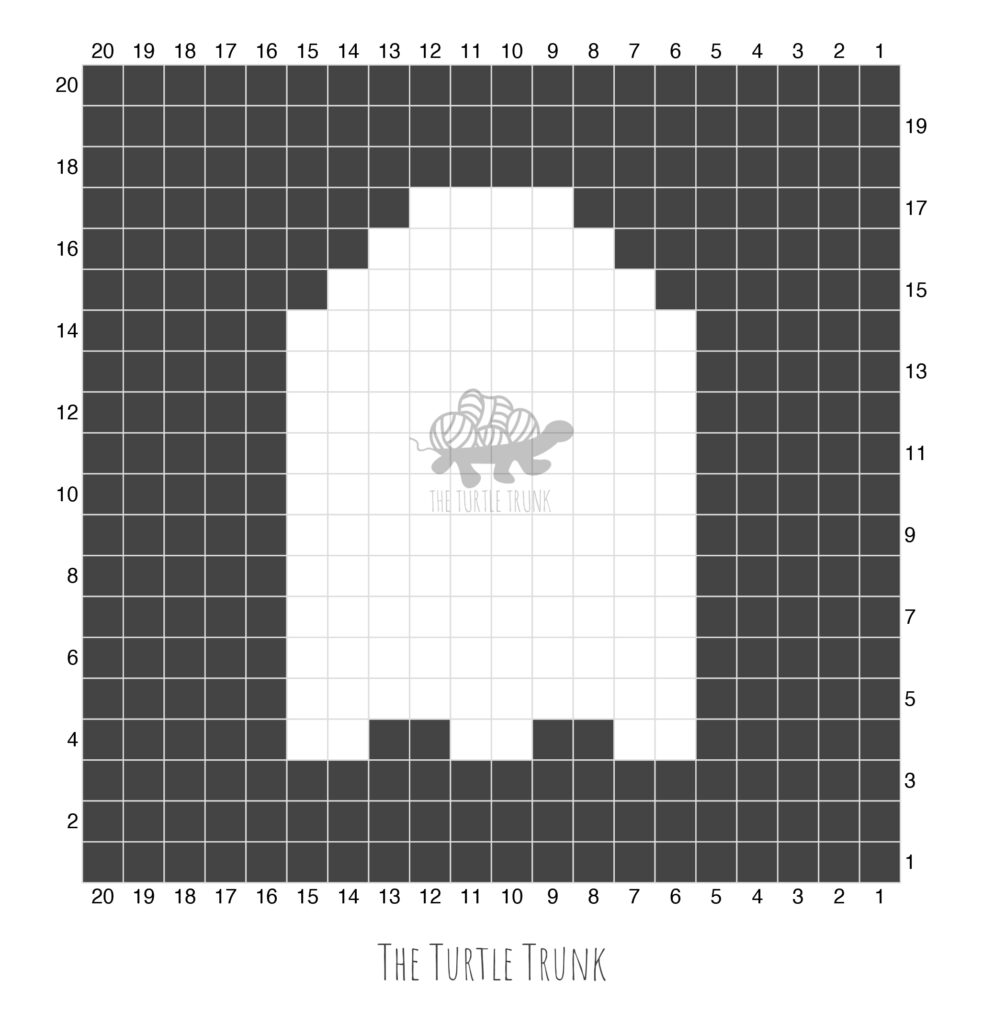
checkered Square – Make 9
← Row 1 [RS]: FSC A5, B5, A5, B5
→ Row 2 [WS]: B5, A5, B5, A5
← Row 3 [RS]: A5, B5, A5, B5
→ Row 4 [WS]: B5, A5, B5, A5
← Row 5 [RS]: A5, B5, A5, B5
→ Row 6 [WS]: A5, B5, A5, B5
← Row 7 [RS]: B5, A5, B5, A5
→ Row 8 [WS]: A5, B5, A5, B5
← Row 9 [RS]: B5, A5, B5, A5
→ Row 10 [WS]: A5, B5, A5, B5
← Row 11 [RS]: A5, B5, A5, B5
→ Row 12 [WS]: B5, A5, B5, A5
← Row 13 [RS]: A5, B5, A5, B5
→ Row 14 [WS]: B5, A5, B5, A5
← Row 15 [RS]: A5, B5, A5, B5
→ Row 16 [WS]: A5, B5, A5, B5
← Row 17 [RS]: B5, A5, B5, A5
→ Row 18 [WS]: A5, B5, A5, B5
← Row 19 [RS]: B5, A5, B5, A5
→ Row 20 [WS]: A5, B5, A5, B5
Cut off yarn and weave in ends.
Joining the Squares
See the video tutorial for help.
To join all the squares we will use the mattress stitch. You will need a yarn needle and yarn color of choice. I will be using Color A.
Start by laying out your squares into 2 panels. Panel 1: Row 1 (Ghost, Checker, Ghost), Row 2 (Checker, Ghost, Checker), Row 3 (Ghost, Checker, Ghost). Panel 2: Row 1 (Checker, Ghost, Checker), Row 2 (Ghost, Checker, Ghost), Row 3 (Checker, Ghost, Checker).
Cut a strand of yarn that is 2 times the length of 3 squares. This is enough yarn to join 3 squares.
Joining order: it does not matter what order you join the squares. I started with the top left square and the one directly below it, then added the 2nd square on the top and the one below that, and then the 3rd square on the top and the one below that. Then I added the 3rd row, working all the horizontal joins first, then doing all the vertical joins.
Mattress Stitch
Lay the first 2 squares beside each other, with the right sides facing up. Insert your needle into the 1st ST on the left square, working from the bottom of the stitch, up through the top, pull the yarn through, leaving about a 2” tail. Then repeat on the right square, insert your needle through the bottom of the first stitch and up through to the top.
*Next, insert your needle back through the first stitch on the left square, but go from the top of the stitch down to the bottom, then bring your needle up through the next stitch. Repeat on the right square, insert your needle through the first stitch, working from the top down, then bring your needle up through the next stitch.*
Repeat ** across. Every inch or so, stop and pull the 2 ends of the yarn strand tight to close the gap, then continue joining.
When you reach the end, keep the yarn strand attached and use to continue joining the next square in that line. Join more yarn strands as needed. Repeat for the rest of the squares.
Seaming the Pillow Cover
See the video tutorial for help.
After you have your 2 panels done, lay them on top of each other, with the rights sides facing out and the wrong sides facing each other.
With your crochet hook and yarn, crochet the 2 panels together. Start in the top left corner, working 1 SC in each row down the side. In the corner work 2 SC to help round the corner. SC in each ST across the Botton, 2 SC in the corner, SC in each row up the right side, 2 SC in the corner. Before starting on the top, insert your pillow, then SC in each ST across the top.
Cut off your yarn and weave in the end.
And you’re all done!
I hope you enjoyed the Checkered Ghost Pillow crochet pattern!
I can’t wait to see your finished creations, so be sure to tag @theturtletrunk on Instagram!
You are free to sell the items you make with this crochet pattern, and I’d love if you could please link back to this page. You do not have permission to republish or distribute this pattern in any way or claim it as your own. Do not use my photos in your sale listings or for any other purposes. Thank you.
This page includes affiliate links. If you make a purchase from these links, I may make a small commission at no cost to you! Thank you for your support!