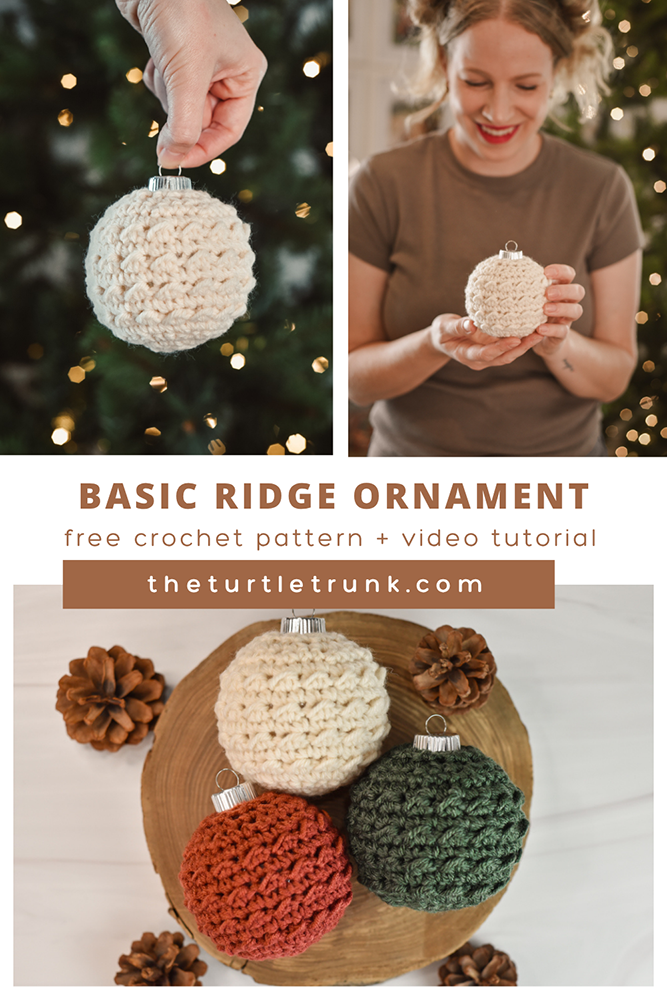
Basic Ridge Ornament Crochet Pattern
The Basic Ridge Ornament is a quick and easy Christmas decoration crochet pattern. It features a fun and unique texture, using only 2 basic crochet stitches. This pattern is beginner friendly, use minimal yarn, and it works up fast! It’s perfect for holiday gifts or making for your own home, or to sell at holiday craft markets.
The Basic Ridge Ornament is perfect for a last minute, holiday gift!
Make for friends, family, or teachers. Put them on your own Christmas tree at home. You can even sell them at holiday markets and craft fairs!
This pattern works up fast and uses only 35 yards of yarn!
The Basic Ridge Ornament is a crochet cover that fits over a 3.25″ round ornament. It’s worked in back and forth rows, and uses only a few, basic crochet stitches! This pattern is beginner friendly and takes less than 20 minutes to make!
Quick heads up! This page includes affiliate links. If you make a purchase from these links, I may make a small commission at no extra cost to you! You can read more about my disclosure policy HERE. Thank you for your support!
Scroll down for the free crochet pattern or follow along with the step by step video tutorial on YouTube! You can also purchase the ad-free, printable PDF from Etsy and Ravelry!
YOU CAN FIND THE AD-FREE AND PRINTABLE PDF VERSION
OF THIS PATTERN ON ETSY AND ALSO RAVELRY!
Not ready to make just yet?
Save this pattern to pinterest!
Follow along with the video tutorial on YouTube!
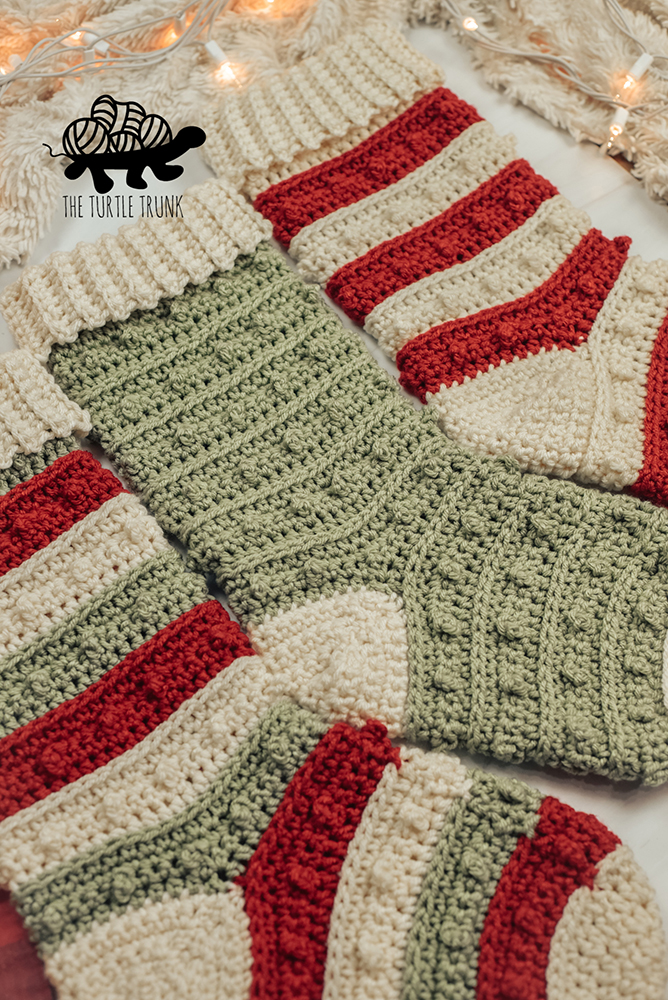
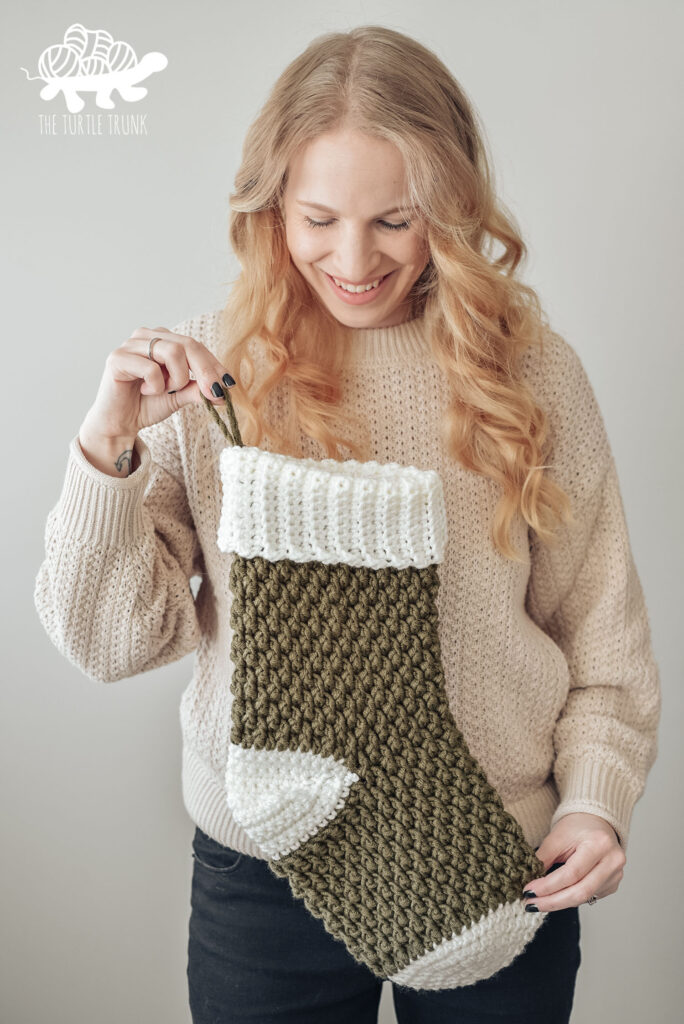
If you enjoy the look and ease of the Basic Ridge Ornament, then be sure to check out the rest of the Collection, including the Basic Ridge Beanie and Basic Ridge Headband!
Check out these other holiday crochet patterns from The Turtle Trunk!

yarn
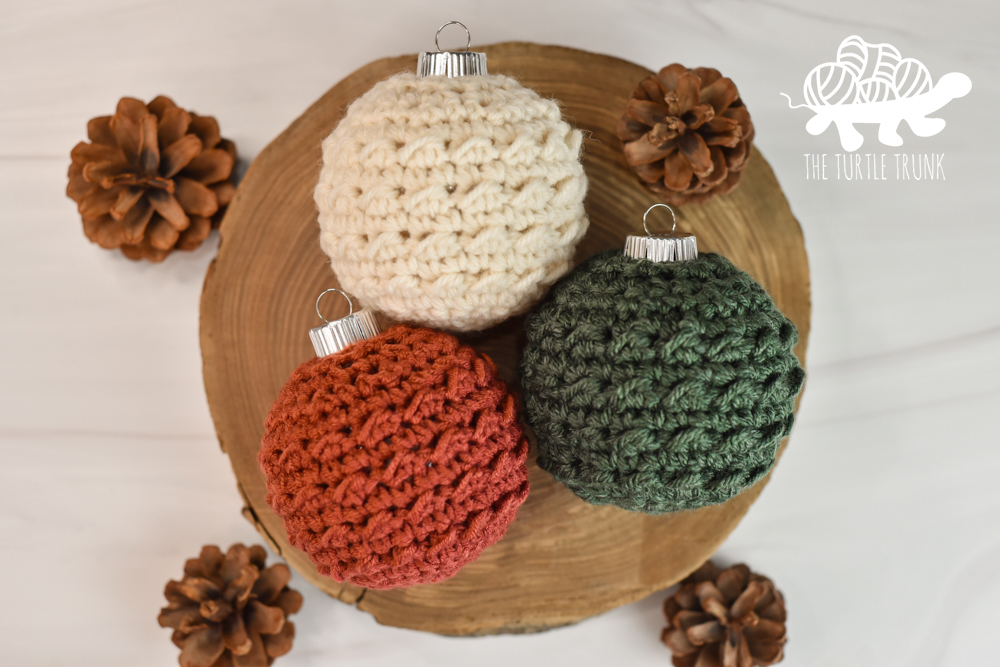
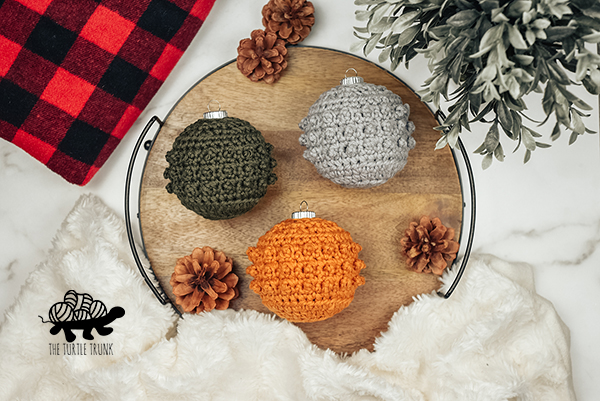
I made 3 Basic Ridge Ornaments using 3 different yarns! They are all medium 4 weight yarns, although I did notice slight thicknesses in each one. So let’s take a look at each one and I’ll tell you which one (or ones) were my favorite!
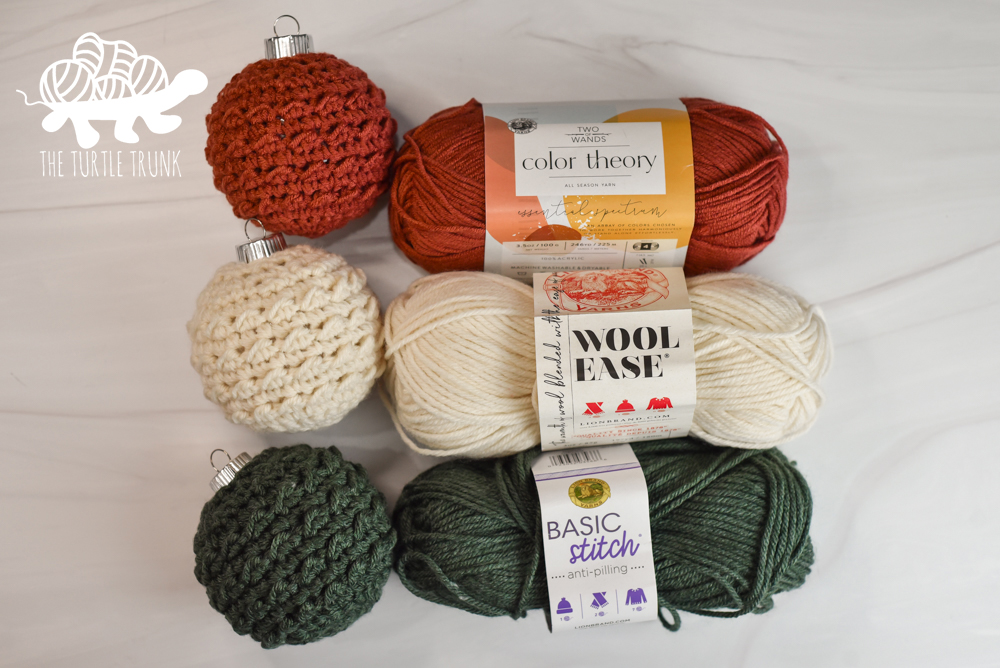
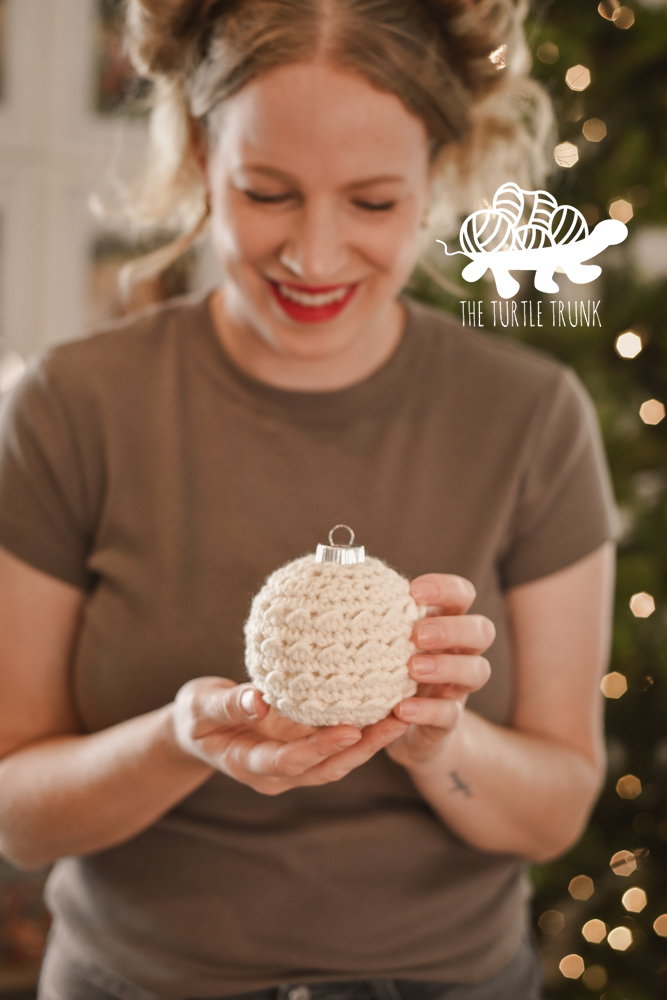
First, I used Lion Brand Yarn Wool Ease in the color Fisherman (white). I love how this one turned out! The coverage and stitch definition is great. There is almost no gaps between the stitches so you cannot see the inside of the ornament.
Secondly, I used Lion Brand Yarn Basic Stitch in the color Pine Heather. This gave a very similar look as the Wool Ease. It had great coverage and stitch definition, and fit over the ornament very well.
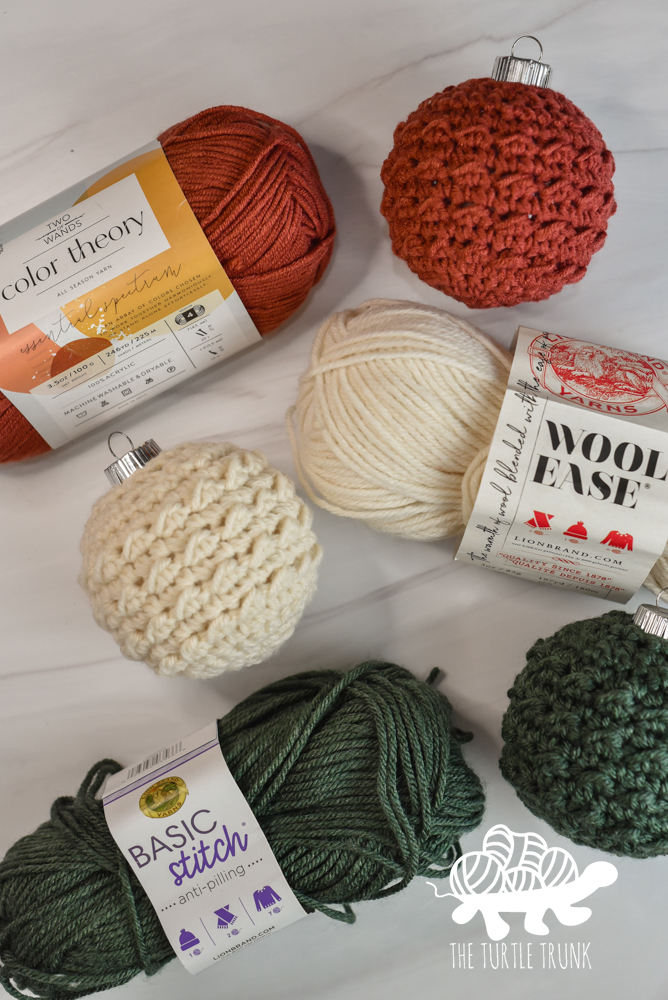
For my third ornament, I used Lion Brand Yarn Color Theory in the color Canyon. I noticed this yarn was slightly thinner than the other two, even though they’re all classified as a medium 4 weight yarn.
The only effect this had on the cover was that there were slightly larger gaps between the stitches and I had to stretch it a but more over the ornament. This was not a problem for me, it still looks just a nice as the other two, but you can see a tiny but of the plastic ornament underneath.
This is something to keep in mind if you’re reusing ornaments or using colored ornaments and don’t want to be able to see it under the cover at all.
Try out the pattern with your favorite medium 4 weight yarn! You can also use multiple colors for a striped look!
size
This pattern makes one size cover that fits on a 3.25″ round ornament. This measurement is the diameter of the ornament, with a circumference of 10″.
I got a pack of 6, 3.25″ round plastic ornaments from Michaels. You can also find these at any stores that sell Christmas decorations and retailers like Walmart and Amazon. Feel free to use plastic or glass. You can even reuse old ornaments you already have!
If you are wanting to make the cover slightly larger or smaller, try going up or down a hook size.
Difficulty
Easy / Beginner
gauge
12 STs x 12 Rows = 4″ x 4″ in SC.
Adjust hook size to reach gauge.
size
Fits on a 3.25″ round ornament
notes
- This pattern is worked in back and forth rows. Do not join at the end of the rows.
- CH 1 at the beginning of each row does not count as a ST.
- Instructions between *asterisks* are to be repeated until the end of the row.
- ‘# ST’ means to work that # of STs into the same ST. ‘ST x#’ means to work the ST into that # of STs across.
- Odd numbered rows are worked on the ‘wrong side/inside’ and even numbered rows are worked on the ‘right side/ outside’ of the ornament.
supplies
- 35 yards of Medium (4) weight yarn
- I used Wool Ease (white), Basic Stitch (green), & Color Theory (red).
- 5.00mm (H) crochet hook
- 3.25″ round ornament
- Yarn needle
- Scissors
abbreviations (us terms)
CH(s) – Chain(s)
ST(s) – Stitch(es)
SL ST – Slip Stitch
SC – Single Crochet
SC2TOG – Single Crochet Two Together
HDC – Half Double Crochet
special stitches
Single Crochet Two Together
Insert hook into the stitch, yarn over and pull up a loop. Insert hook into the next stitch, yarn over and pull up a loop (3 loops on hook). Yarn over and pull through all 3 loops on your hook.
Turned Rows
This pattern is worked in turned rows. This will create an open slit on the cover so you can easily fit it over the round ornament. At the end of each row, chain 1 and turn. The CH 1 does not count as a stitch.
Right Side / Wrong Side
Even numbered rows are worked on the ‘right side’ and the odd numbered rows are worked on the ‘wrong side’. The ridge texture comes from the backside of the HDC stitches from the row 5 repeat. When seaming up your cover, you want the ‘right side’ on the outside, so that you can see the ridges from the row 5 repeat.
Whip Stitch
Insert the needle into the top stitch working from the outside of the stitch to the inside. Then go into the corresponding stitch on the other side, working from inside to the outside. Repeat this all the way down the cover. At the end, secure with a few knots and weave in your end.
Basic Ridge Ornament Pattern
Magic Circle, CH 1
Row 1: SC x8 inside the circle. CH 1 & turn. (8)
Row 2: 2 SC in each ST across. CH 1 & turn. (16)
Row 3: *SC, 2 SC* repeat across. CH 1 & turn. (24)
Row 4: *SC x2, 2 SC* repeat across. CH 1 & turn. (32)
Row 5: *SL ST, HDC* repeat across. CH 1 & turn. (32)
Row 6: SC in each ST across. CH 1 & turn. (32)
Rows 7-12: Repeat Rows 5 & 6.
Row 13: *SC x2, SC2TOG* repeat across. CH 1 & turn. (24)
Row 14: *SC, SC2TOG* repeat across. CH 1 & turn. (16)
Row 15: SC2TOG x8. (8)
Tie off yarn leaving a 12″ long tail.
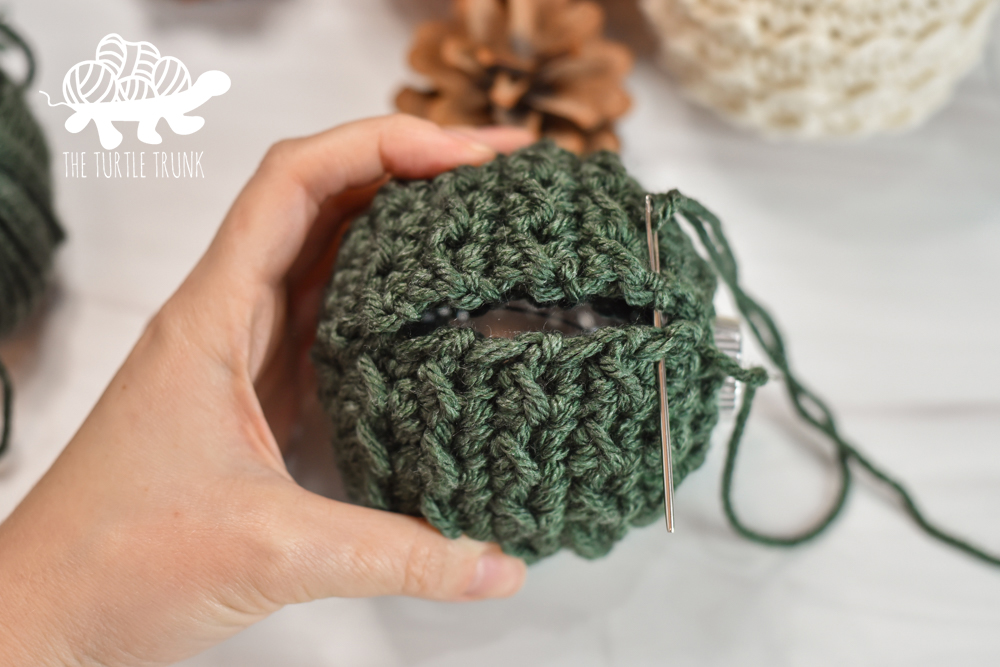
Wrap cover over a 3.25″ round ornament, with the right side facing out. Using a yarn needle and a whip stitch, sew up the seam of the cover to secure it around the ornament. Secure with a few knots at the end and weave in ends.
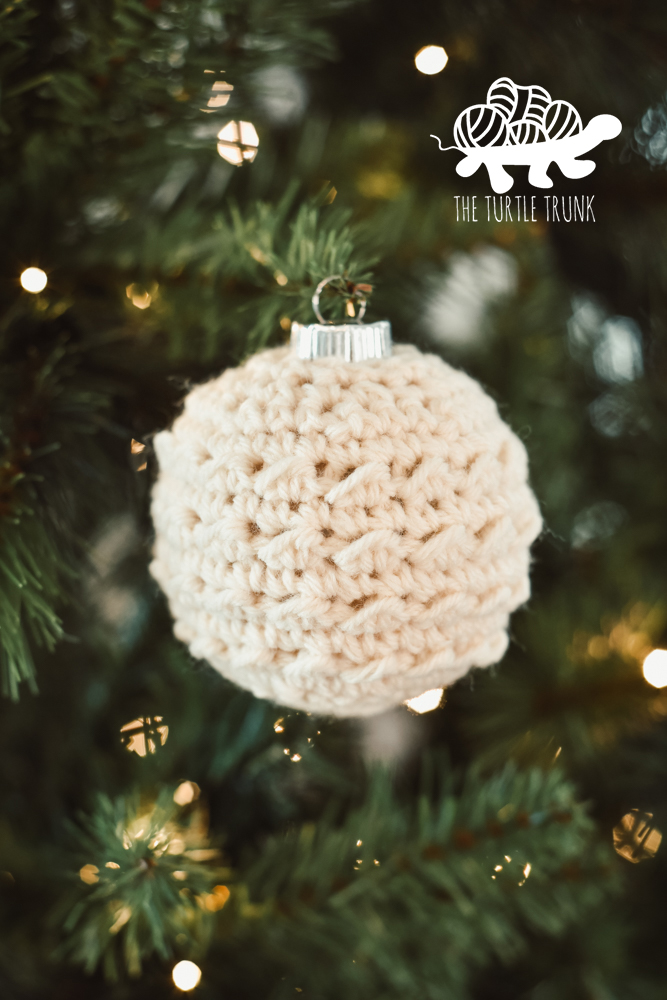
And you’re all done!
Thanks so much for trying out my Basic Ridge Ornament crochet pattern! Be sure to tag me in your photos on Facebook and Instagram so I can see your finished beanie!
You are free to sell the items you make with this pattern, and I’d love if you could please link back to this page. You do not have permission to republish or distribute this pattern in any way or claim it as your own. Do not use my photos in your sale listings or for any other purposes. Thank you